DIY Zipper Purse

When it comes to bags, there is no such thing as too much! I will be showing you how to make an easy and simple zipper bag with a chain strap. This bag is so sleek and sophisticated and can be worn as a shoulder bag or sling bag.
Tools and materials:
- Paper
- Marker
- Measuring tape
- Fabric
- Interfacing
- Zipper
- Chain
- D rings
- Clips
- Sewing machine
Make a pattern
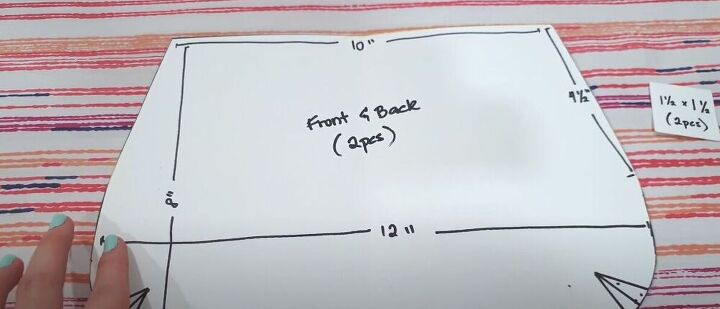
So to start off you will need to make a rectangle that is 12 inches wide and 8 inches long. To make the curve on each side you will need to take out an inch. There is also a dart on each side that is an inch tall and ½ an inch wide. The top of the pattern is 10 inches and you will need to take out an inch on each side.
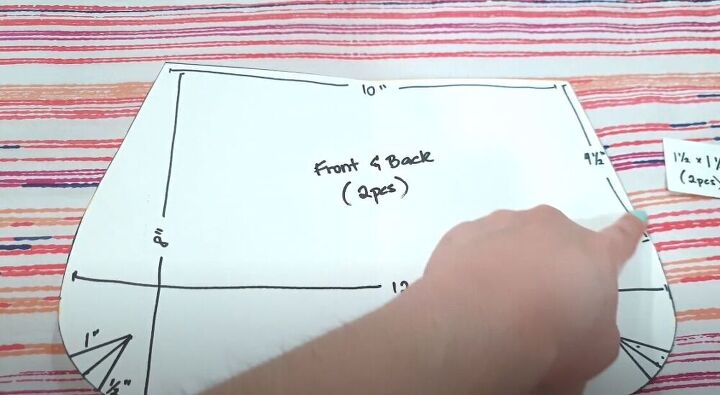
To connect the sides, draw a 4.5-inch straight line. After the 4.5 inches, you will need to curve it out. You will need 2 pieces. One for the front and one for the back.
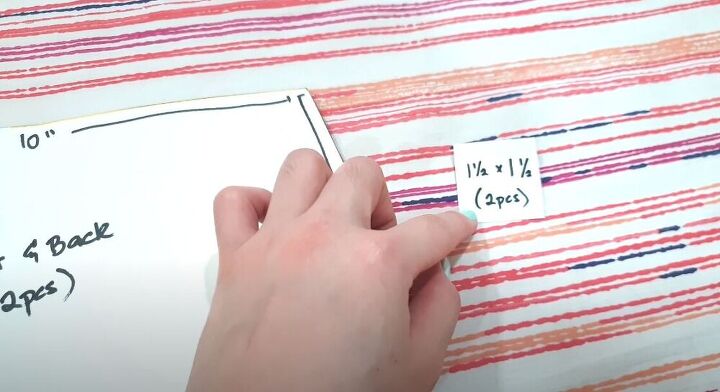
For the rings, you will need 2 pieces, 1.5 by 1.5 inches.
Cut out the interfacing
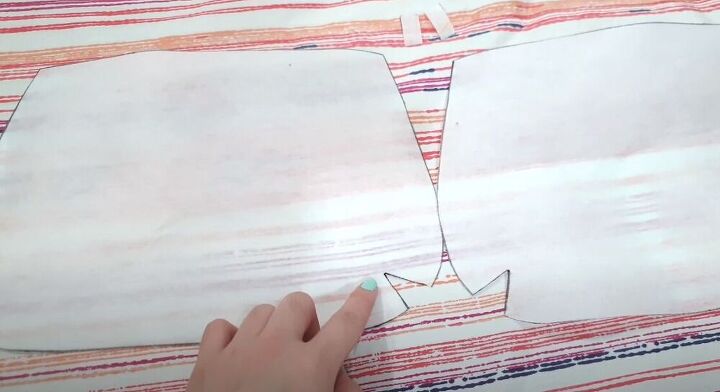
For this purse, you will be using interfacing. Make sure to cut 2 pieces with the exact same measurements. You can go ahead and cut out the darts to avoid bulkiness.
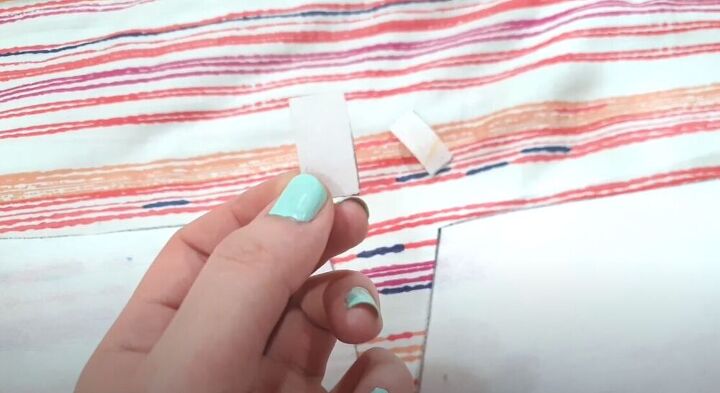
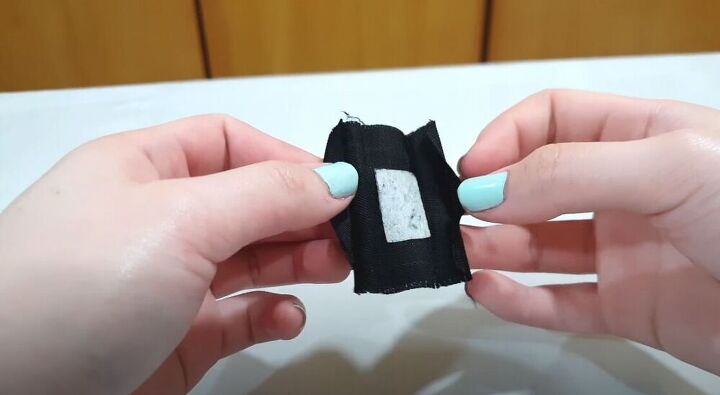
These small pieces that are an inch tall and ½ an inch wide will be the interfacing for your loop.
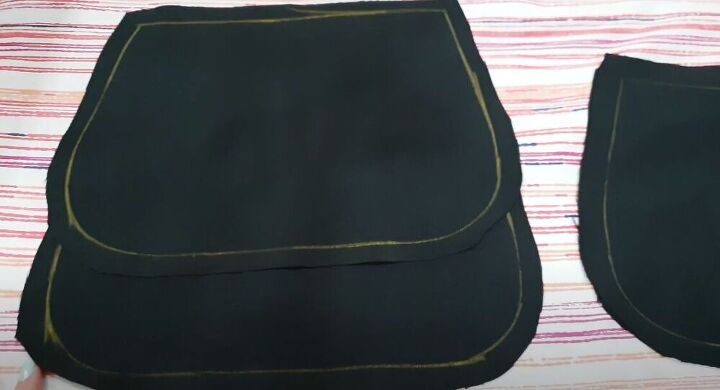
Cut fabric
Go ahead and cut out 4 pieces of fabric. 2 for the main fabric and 2 that will be used for lining. Make sure to measure and leave 1/2 an inch for seam allowance. Make sure to leave ½ an inch of seam allowance for the loops as well.

Make sure you have a good quality chain strap available and two D rings.
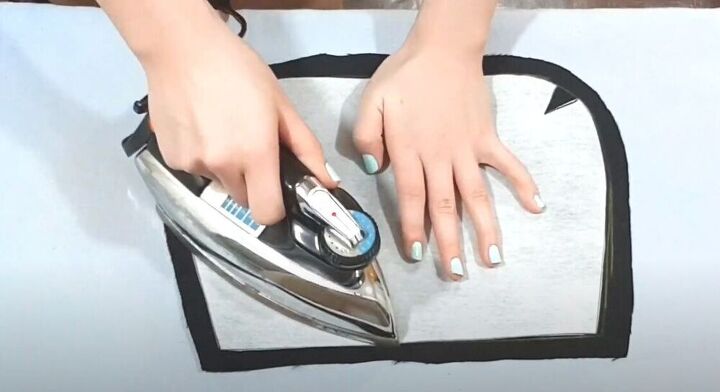
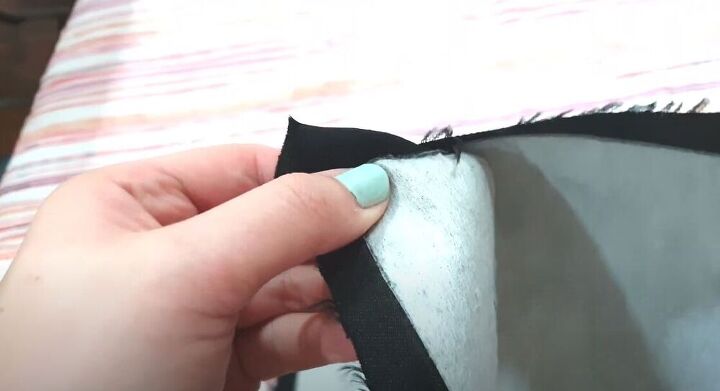
Press on the interfacing
To kick things off, iron on the interfacing. Make sure the shiny part of the interfacing is facing the fabric.
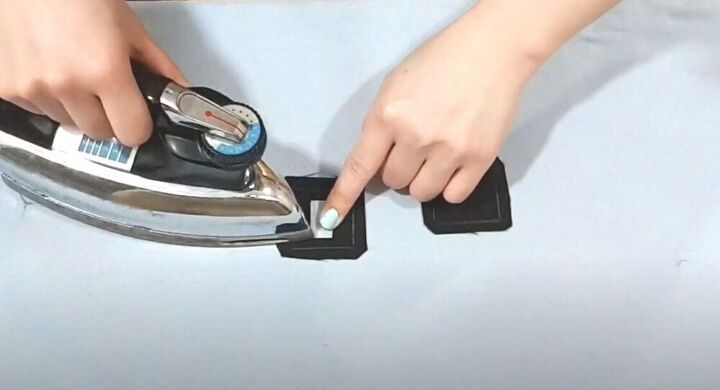
Don’t forget to press the interfacing onto the ring fabric.
Sew the purse
Next, pinch the darts and sew a straight stitch so that they look like this.
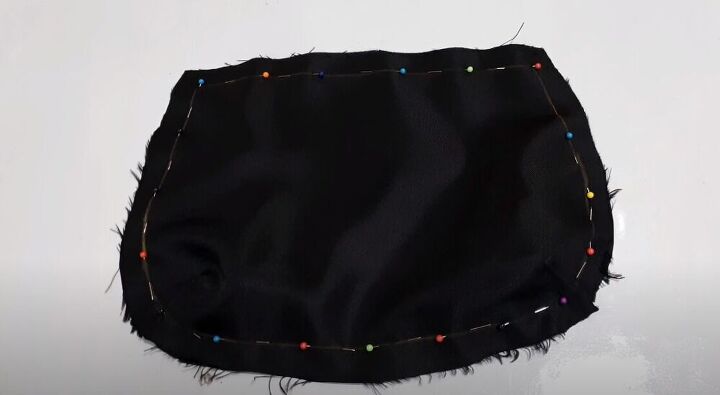
Go ahead and pin two pieces, right sides together. Then sew a straight stitch along the pinned lines. Leave the top unsewn. Sew the two pieces with interfacing together and the other two, without the interfacing, together as well.
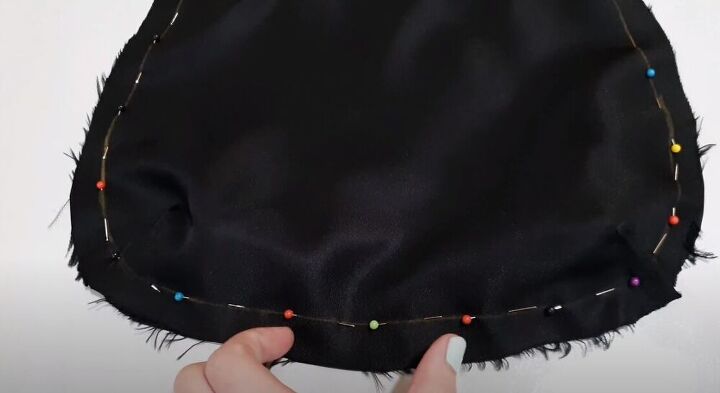
On the bottom part, leave a small gap unsewn. Once you have finished sewing, turn the pieces right sides out.
Sew the loops
Next, to make the loop for the D ring, you need to fold each edge in twice toward the middle.
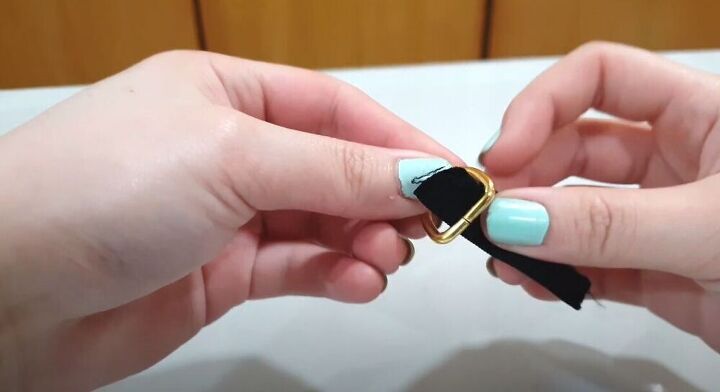
Then slide the D ring over the fabric. Fold the fabric in half and secure it.
Attach the zipper and D rings
Place the lining fabric over the interfacing fabric so that they are right sides together.
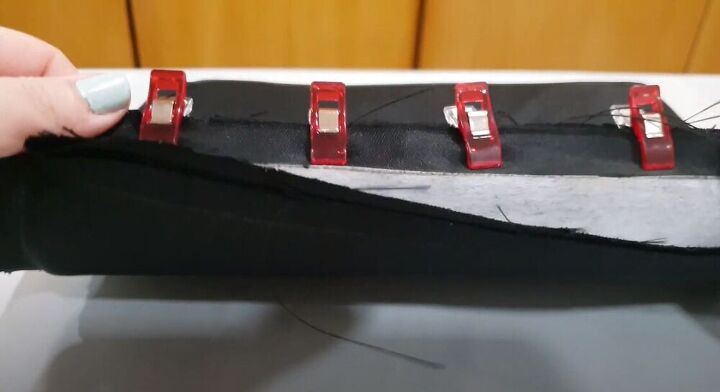
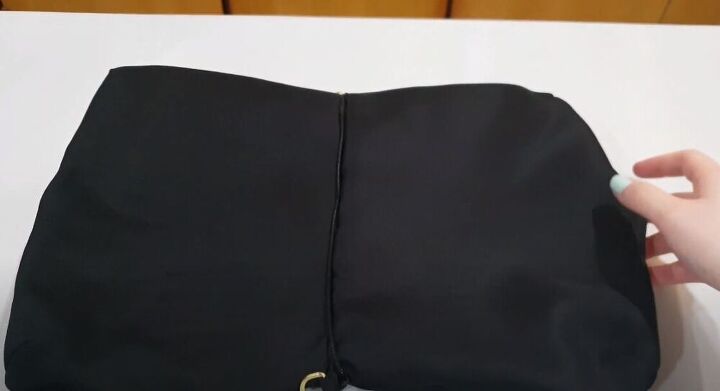
Next, go ahead and place the zipper facing down on the edge of the bag. Make sure to clip or pin the zipper in place.
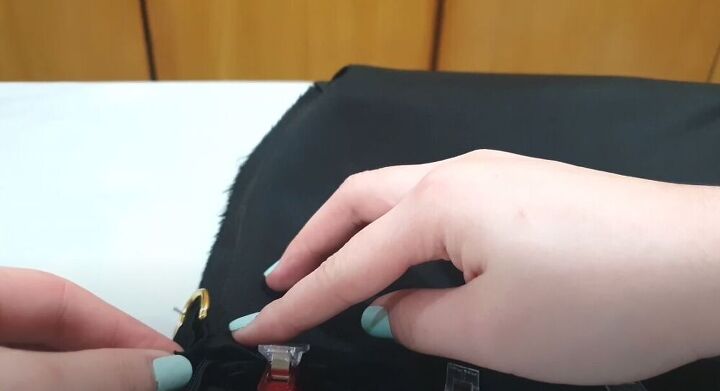
Next, pin on the D rings to each side of the purse. Make sure to sandwich it in between the two pieces of fabric. Go ahead and sew a straight stitch all around the purse, making sure everything is securely on.
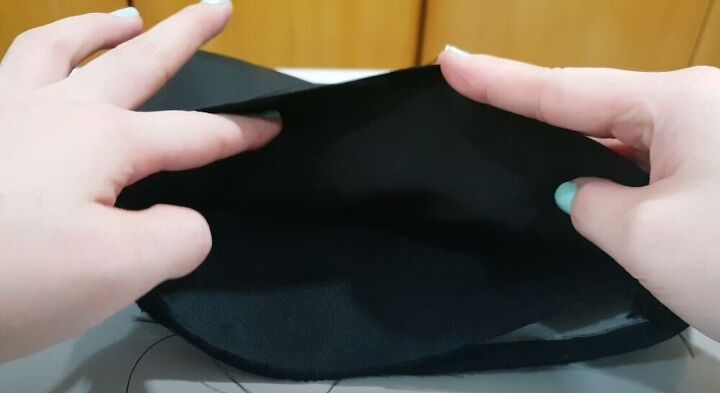
Turn right side out
Then, turn the fabric right side out through the gap you had left in the fabric. Make sure to sew the gap closed with a blind stitch.
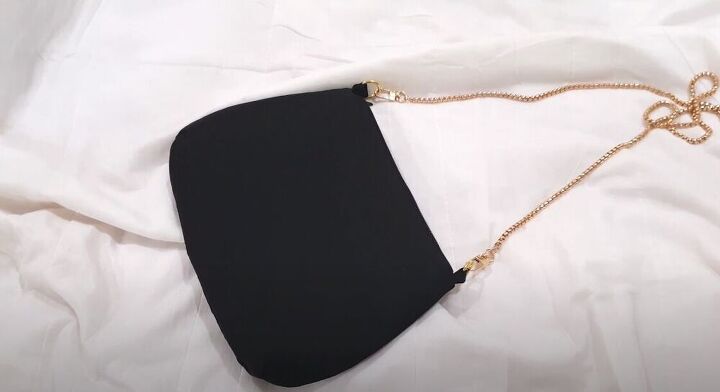
All that’s left to do is attach the chain. You can wear the purse with a long chain as a sling bag.
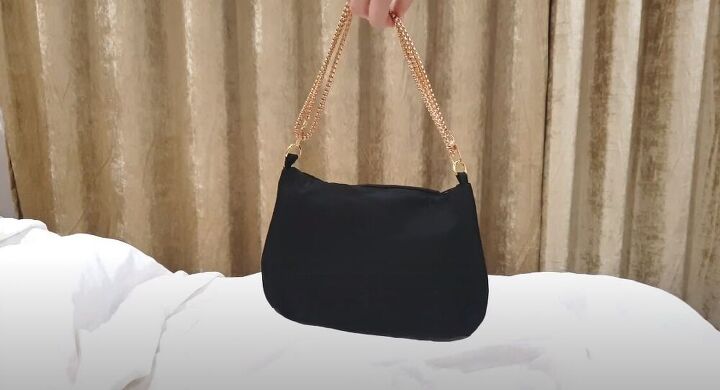
You can also double up the chain to make a sophisticated over the shoulder bag. How would you wear this zipper purse? Let me know in the comments below!
The author may collect a small share of sales from the links on this page.


Comments
Join the conversation
What a perfect bag! I love the versatility of a purse that can be worn as a crossbody or a shoulder bag, and I love one that has one strap like this one. 2 strap ones drive me nuts because one is always falling down off my shoulder. Kudos to you and thanks for sharing ☺️
Really cute!