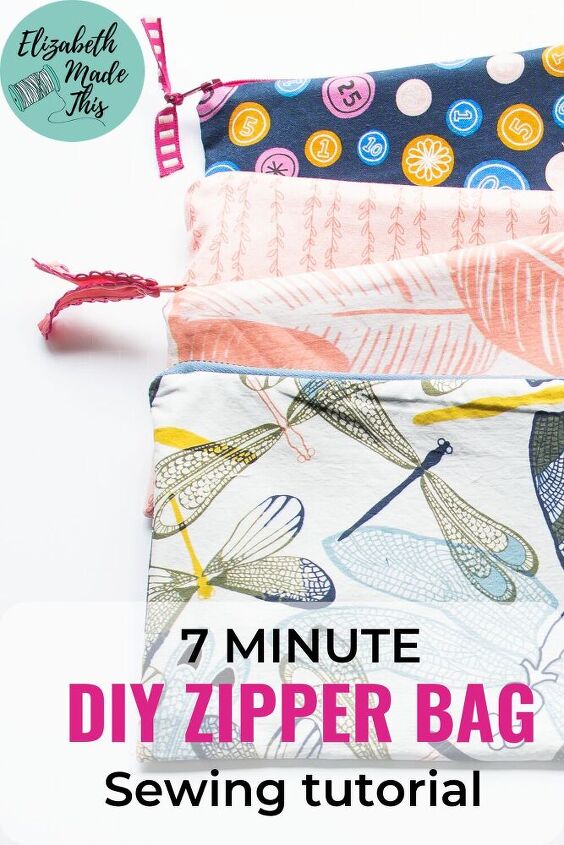
7 Minute DIY Zipper Bag
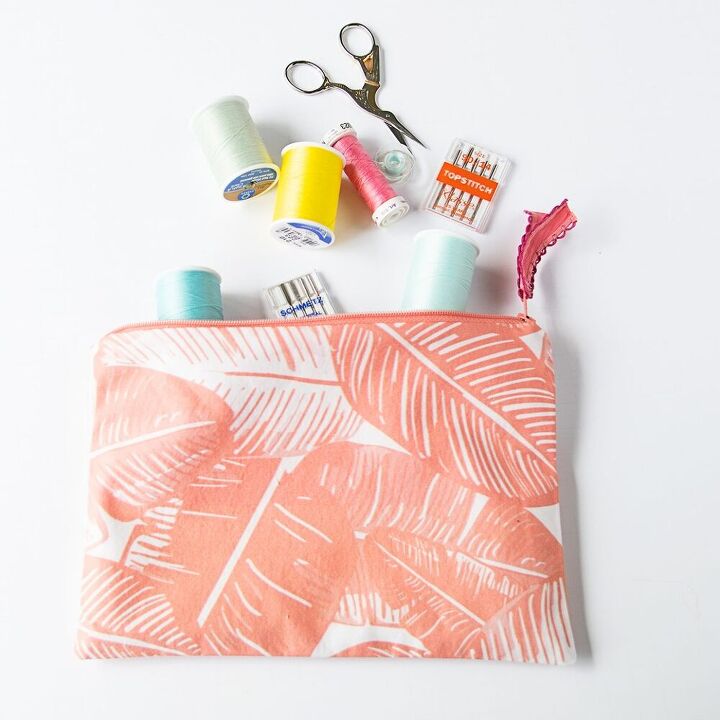
Oh how I love the 7 minute DIY zipper bag! So many awesome things:
1) This lined zipper pouch tutorial is a perfect project for beginning sewists of any age who might be scared of zippers.
2) When you know how to sew a zipper pourch, you’ve got a back pocket project ready to sew for literally any occasion. These little zipper bags are a staple of my own personal charity sewing efforts. And they can hold any little small thing you need them to!
3) You can this easy zipper pouch from almost no fabric. Better yet, this project can help you bust through your collection of weird scraps!
4) This is a lined zipper bag tutorial. Linings make everything look nicer, and I think you’ll love learning how to sew a zipper bag with lining. Your DIY zipper pouch will look as good on the inside as it does on the outside.
5) My favorite, they are so so quick to make! Your first one or more might take longer than 7 minutes, but with very little practice, you’ll get there! So, let’s grab a couple of supplies, and let me show you how to make up your own 7 minute DIY Zipper Bag!
7 Minute DIY Zipper Bag supplies
- One 9″ zipper with nylon or metal teeth
- 1/4 yard each of 2 coordinating cotton prints/solids or 2 fat eighths
- zipper foot, sewing machine, thread, scissors, ruler, chalk, chopstick, iron
- optional: 1/4 yard fusible interfacing, piece of ribbon or a charm
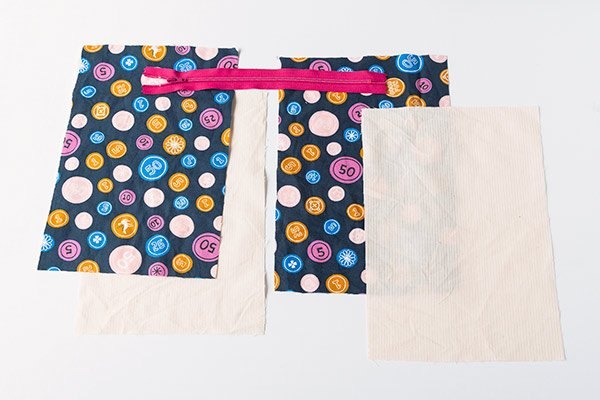
Cut your DIY zipper bag pieces

If the fabric for your outer fabric feels a little thin, cut 2 more rectangles the same size of fusible interfacing.
I did that for both this cotton lawn and cotton voile. Both of these kinds of cottons are a little lighter weight than regular quilting cottons. The interfacing will help them hold up a little better as a bag.
Install your zipper foot
Switch out your sewing machine’s foot to your zipper foot. For my Janome, it snaps into place, but follow your machine’s instructions however it is that you need to change out your feet.
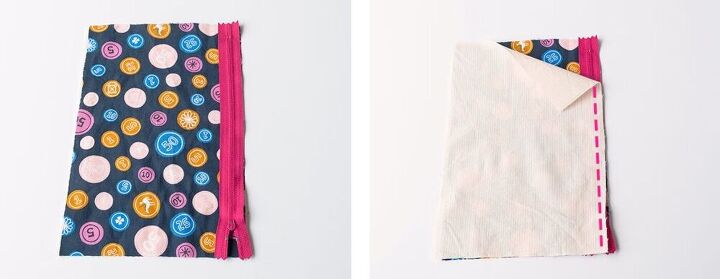
Make a zipper sandwich
Lay your zipper face up on your table. Next, lay one of the outer bag pieces on the zipper right sides together so that the top long edge of the fabric matches the long edge of the zipper.
Flip your fabric/zipper over and match the right side of 1 lining piece to the wrong side of the zipper. The edges of the outer fabric and the lining should be matching, with the zipper sandwiched between the fabric pieces.
Sew the zipper to the fabric
Stitch along the top edge of the fabric with a 3/8″ seam allowance. You won’t be able see where you’re stitching on the zipper, but you’ll be able to feel the edge of the foot moving along the right edge of the zipper teeth.
Your goal is to keep all of the edges even as you sew. Use your hands to pinch everything together. This is a really short seam, so you shouldn’t need pins. And yes, you really can sew without pins!
When you get to the zipper stop, lift the presser foot and your needle, and move the fabric just out of the way. Pull on the slider to move it out of the way of the zipper foot. Then, put your needle back down where you stopped and finish stitching to the end of the fabric.
Bring the wrong sides of the fabric together. See how the zipper is stitched nice and clean between the two pieces?!

Sew the second side of the zipper
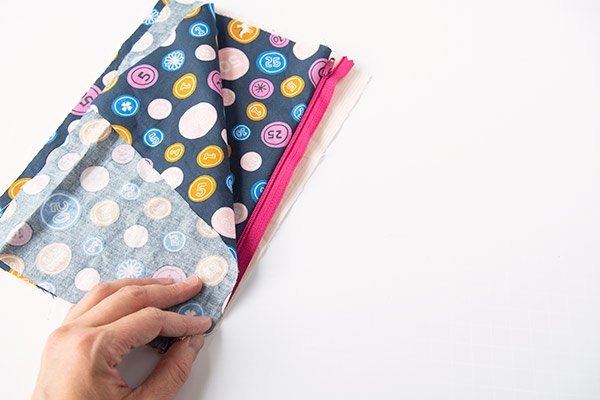
Repeat the zipper sandwich step and sew the second side of the zipper the same way. Now we get to sew the bag!
Sew the bag
Unzip and start sewing the lining
The most important step: Unzip the zipper! If you don’t, you can’t turn the bag. Well, you will, eventually, but it’ll be frustrating. Just unzip the bag.
Fold the fabric out flat so that the right sides of the lining match to each other. The right sides of the outer fabric should match too.
Sew around the perimeter of the bag with a 1/2″ seam allowance starting in the middle of the bottom of the lining. Sew to the corner, then leave your needle in the fabric. Next lift the presser foot and pivot the fabric so that you’re ready to go up one of the sides with the zipper.
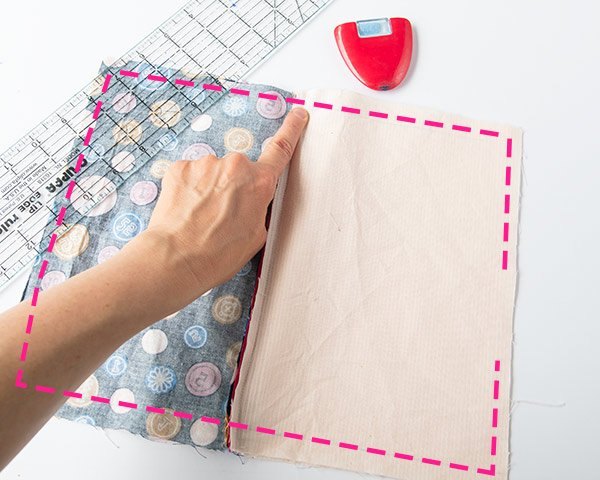
Feel with your fingers where the zipper is. Depending on the make of your zipper, it’s probably more than 1/2″ from the side. Wherever the end is, draw a straight line with your chalk and ruler on the side of your bag just past where the zipper is.
Sewing the first side with the zipper
Lower your presser foot and keep sewing up the side on your chalk line. When you get to the zipper, stop and do two things: pinch the zipper ends together and fold them towards the lining. This is how to sew a zipper pouch without dented corners.
If you’ve ever tried to sew a zipper bag before and had problem with the corners of the zipper looking lumpy, this will fix the problem.
Also, it’s a good idea to go really slowly when you get close to the zipper end. You may even want to use the fly wheel to work the needle. If you go slowly here, you won’t break a needle on the zipper.
Keep sewing until you get to the corner on the outer fabric. Pivot again here, leaving the needle down, lifting the presser foot, and turning the fabric so that you’re looking at the bottom edge of the outer fabric.
Finish sewing the bag
Sew the bottom edge of the outer fabric, pivot, then sew up the second zipper side. Make sure you fold the ends of the zipper towards the lining again and draw a straight line to stitch on.
Pivot again at the corner of the lining and finish up by sewing the bottom of the lining. Don’t sew the lining’s bottom up completely. Leave about a 3-4″ hole so that you can turn the bag out in the next step.
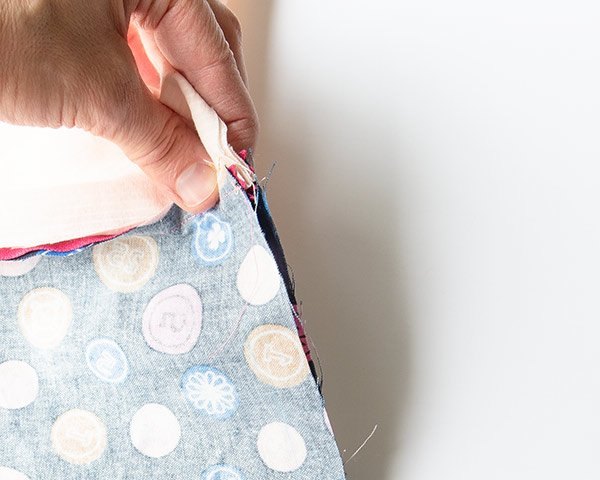
Turn the bag right side out
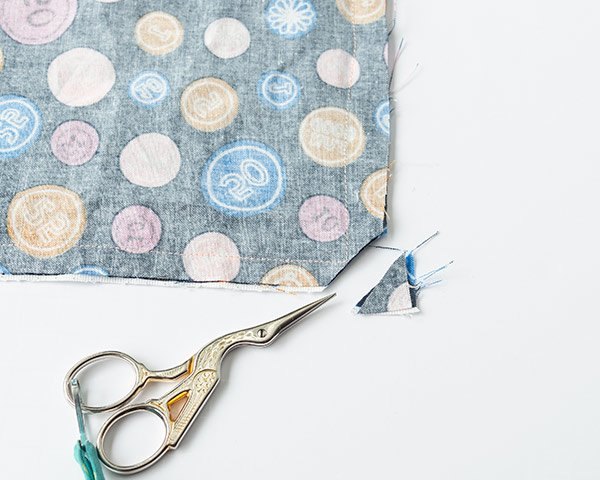
First cut the corners at an angle.

Next, reach inside the hole in the lining and pull the bag right side out through the hole. I find it the easiest to grab the zipper to do this.
Grab a chopstick and gently poke out the corners. Now it’s pressing time.
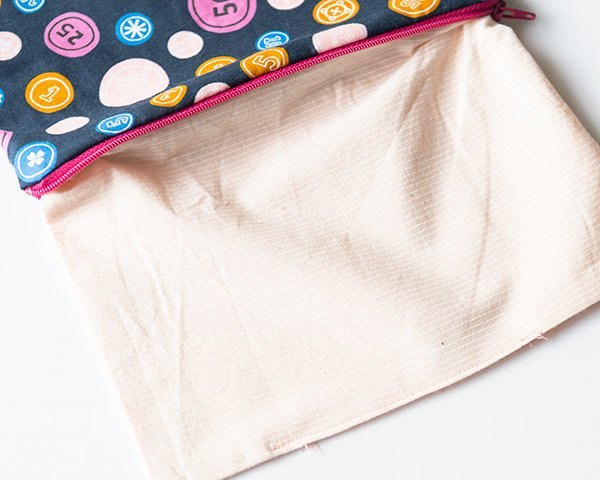
Press the bag
Keeping the bag flat, press all the edges. Make the the seam allowance is folded towards the inside on the hole in the lining. We’ll close that up in the next step.
Also press the bag where the zipper is sewn to the fabric. Use only the tip of the iron and keep it away from the zipper teeth. Nylon teeth will melt if they touch the iron!
Sew up the hole in the lining
There’s a hole in the bottom of your bag! This is our last bit of sewing to close it up.
Take the bag back to your sewing machine and stitch close to the edge through both layers of the lining. Start a little before the hole starts, and end a few stitches beyond the hole. Make sure to backstitch at the start and the end of this stitching to lock that stitching in place.
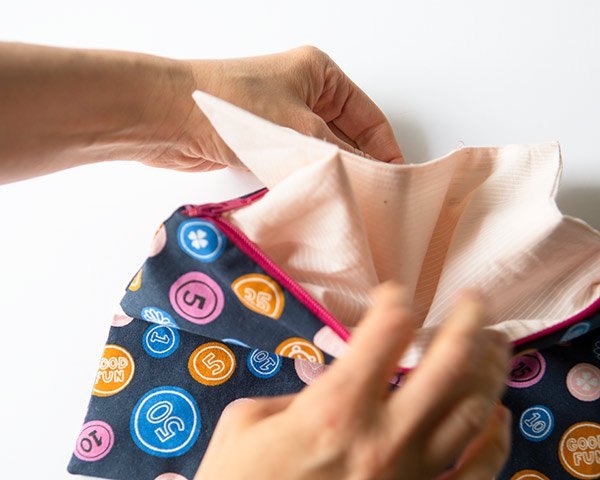
Press the bag again, then slip the lining inside the outer bag. Tug on the ends of the zipper so that the ends sit on the top of the bag.
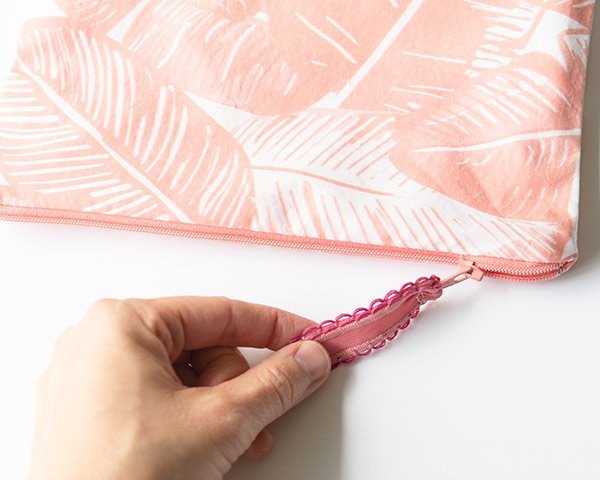
You can add a charm or tie a piece of ribbon through the zipper slider to fancy it up. Tie it or sew it like I did with this one.
Zip it up and you’re done!
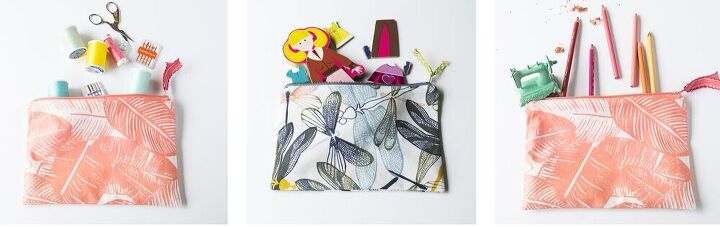
Just like potato chips, you can’t sew just one!
See, I told you these DIY zipper bags were super easy! So the next time
you have some weird fabric scraps, grab a zipper and sew up a little collection of these easy zipper pouches. I didn’t mention it before, but the 7 minute DIY zipper bag can make an instant sewing party too. You can cut up a ton and get a group of friends together and sew up a whole stack over cake and coffee. I did this for my birthday and it was the perfect way to spend the day!
The author may collect a small share of sales from the links on this page.

![DIY Square Cosmetic Zipper Bag & Lemons! [Tutorial]](https://cdn-fastly.upstyledaily.com/media/2021/11/02/7612395/diy-square-cosmetic-zipper-bag-lemons-tutorial.jpg?size=350x220)
![How to Sew a Zipper on a Jacket [surprisingly Simple]](https://cdn-fastly.upstyledaily.com/media/2021/11/23/7646807/how-to-sew-a-zipper-on-a-jacket-surprisingly-simple.jpg?size=350x220)


Comments
Join the conversation
Looks like fun & easy; I will definitely try it. ~Thanks!