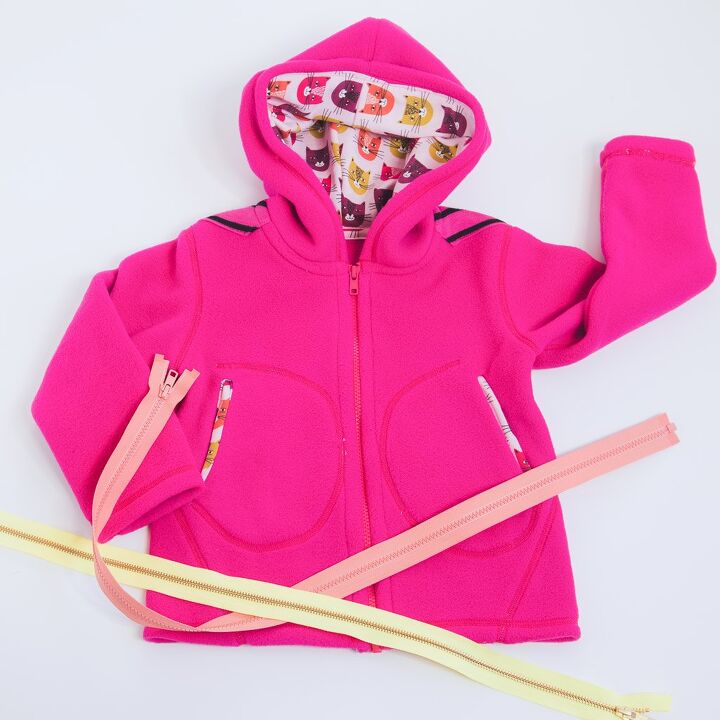
How to Sew a Zipper on a Jacket [surprisingly Simple]
If thinking about how to sew a zipper gives you hives, I just bet you’ll find yourself loving learning how to sew a zipper on a jacket.
It turns out separating zippers are really about the easiest zipper to sew around outside of an invisible zipper. Sounds too good to be true? Let me convince you.
The secret to sewing a separating zipper is all about the preparation. Get that right, and you can fly through stitching one in place, no drama, no throwing things. Just stitch it up and get on with your day.
Here I’ll show you how to prepare a garment for sewing a separating zipper. After that, I’ll show you the easy process of how to sew a zipper on a jacket step by step.
So start dreaming about making sweet sweet motorcycle jackets and let’s learn how to sew these zippers!
Table of Contents
How to sew a zipper on a jacket: supplies
elizabethmadethis.com is a participant in the Amazon Services LLC Associates Program, an affiliate advertising program designed to provide a means for sites to earn advertising fees by advertising and linking to Amazon.com.’ As an Amazon Associate, I earn from qualifying purchases. If you purchase a product through one of them, I will receive a commission (at no additional cost to you). I only ever promote products that I use and love and I think you will love too. Thanks for supporting this blog!
- separating zipper (metal teeth, YKK plastic (Vislon) or nylon coil) ( Wawak.com has a great selection)
- measuring tape
- jacket or other garment needing a separating zipper
- SewKeysE fusible knit stay tape
- Clear quilting ruler with 1/8″ markings ( my favorite one)
- fabric marking pen
- Zipper foot
- sewing machine needle (appropriate for the fabric of your project)
- Twill tape, ribbon like grosgrain or petersham(optional) or 1″ strip of contrast fabric
- Press cloth ( silk organza is great here)
- Zipper end nippers (if your zipper is longer than needed)
How to measure a garment for a jacket zipper (separating zipper)
Why it’s important to use the right length zipper for separating zippers.
Bummer alert:
While it’s always easy to shorten a zipper after the fact, when you’re working with separating zippers, you want to pick a zipper that is the right length the first time.
Metal zippers you can shorten after the fact by adding small metal stops.
The thing is that often plastic zippers are an excellent choice for adding to jackets. There are no small plastic zipper stops that I know of that you can buy to fix a too-long zipper.
If you really really can’t find the right length zipper for a jacket, you can use thread stops which is what I’ll show you how to do in this separating zipper tutorial.
But the simplest thing is to use the right length zipper to start with.
Measuring a jacket for a separating zipper
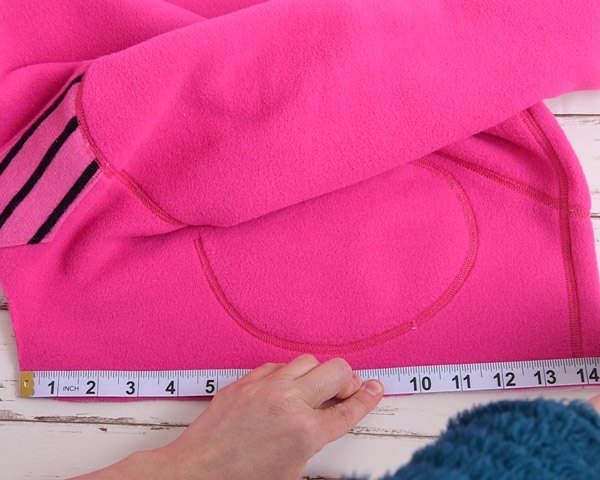
First, lay out your garment that needs the zipper on your table. Measure the zipper opening vertically with your measuring tape from seam allowance end to seam allowance end.
Do not measure the pattern. Pattern tissue paper can move on you, leading to an inaccurate measurement.
Zippers are sold by the inch length. Buy the zipper closest to the length you measured. Hopefully you’ll be able to find just what you need!
Check out just where to find zippers in the Ultimate Jumbo Mega Guide to Online Fabric Stores.
How to sew a zipper on a jacket step by step
Press on stay tape in the zipper area
This is the most important step. The stay tape will stabilize the zipper area. Skip this step and you will get a wavy zipper that looks straight up awful.
Friends don’t let friends skip interfacing.
To add the stay tape to your garment, flip everything over to the wrong side. SewKeysE 1.25″ knit interfacing tape is super convenient and perfect for this type of project. It’s one of the notions I always keep in my supplies.
Next, lay the tape so that the rough side is face down on the fabric on either side of the zipper opening.
Make sure that the tape will extend into the stitching line.
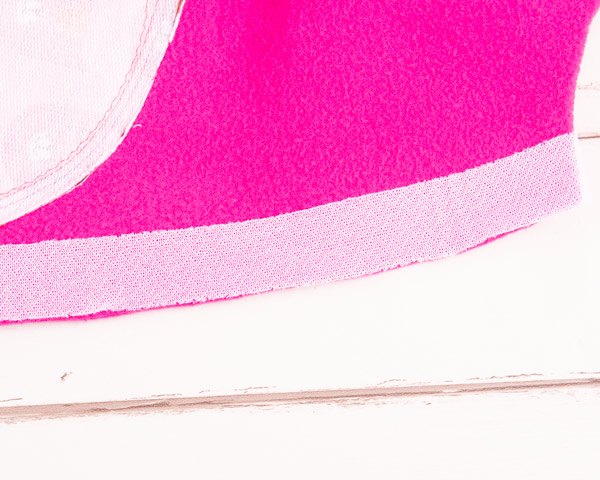
It’s totally okay if you need to place the tape a little bit away from the raw edge in order for the stitching line to have interfacing under it.
Press on the tape with steam and an iron set to the appropriate heat setting for your fabric. This will fuse the tape in place.
Hem your garment
Hem your project. The zipper is going to sit at the bottom of the hem, so it’s easier to hem it now.
Prepare the first side of the zipper
From here, it’s time to sew the first side of the zipper.
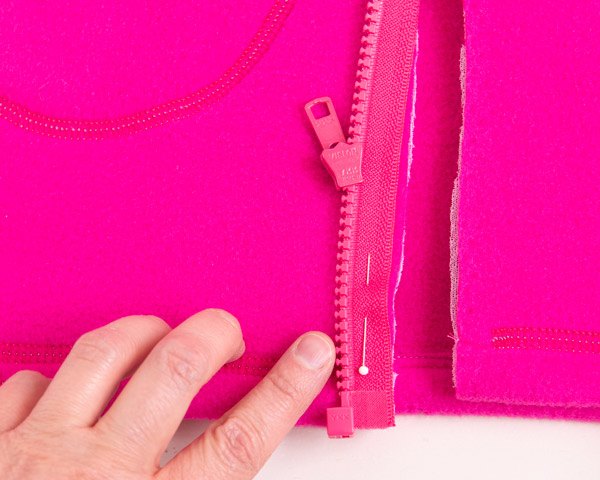
Flip your work to the right side. With your ruler and marking pen, make a mark 1/8” above the seam allowance on the bottom and 1/8” below the seam allowance at the top. This will give the stop a little bit of wiggle room as you sew it in. If you’re working with a zipper that’s longer than what you need, you can skip this step.
Set the zipper face side up in the middle of the zipper area. Unzip the zipper. Grab the side with the zipper pull. You’re going to sew this side in first because it’ll be easier to adjust sewing the non-stop side than the other way around.
Flip the zipper towards the garment, lining up the edge of the tape with the zipper opening.
There’s a couple things to notice here:
- The zipper teeth point TOWARDS the body of the garment.
- The zipper pull is face down. Remember these two things, and you’ll always sew your zipper in correctly.
Line up the bottom of the zipper with the bottom mark you made. Pin on either side with 1 or 2 pins.
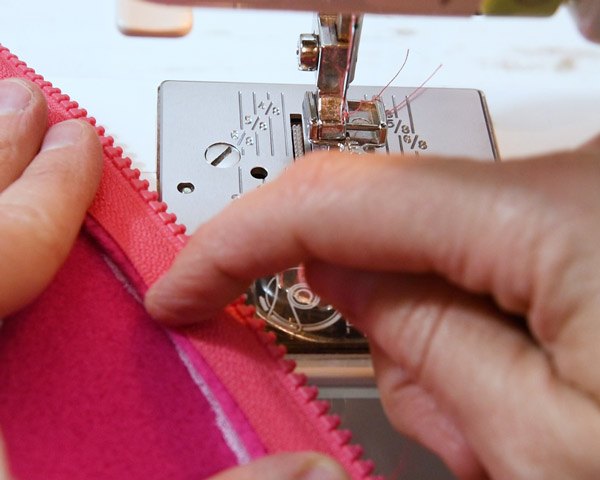
Sewing the side of the zipper with the pull
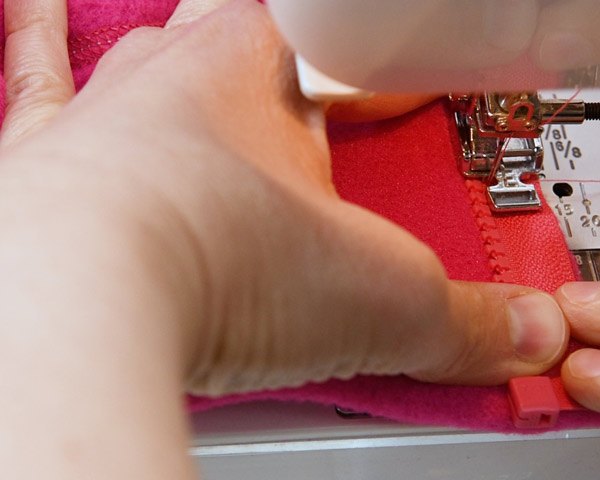
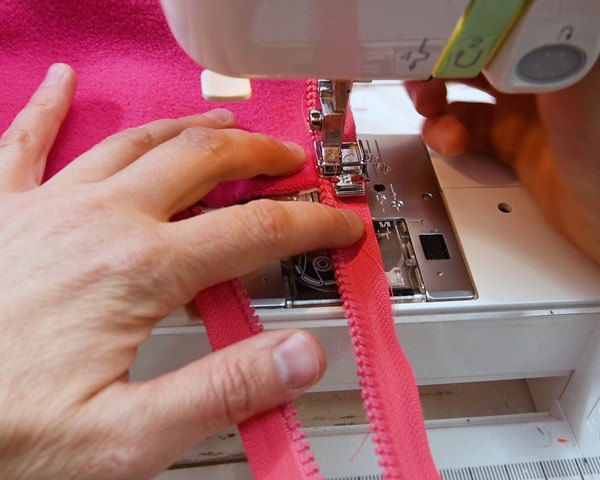
Next, baste the bottom inch of the zipper with a long straight stitch (set it to the maximum length on your machine). Let the zipper foot ride right next to the zipper teeth as you do this.
Baste the top inch of the zipper in the same way as you did the bottom. Check your markings. Make sure that the zipper tape isn’t creeping into the seam allowance.
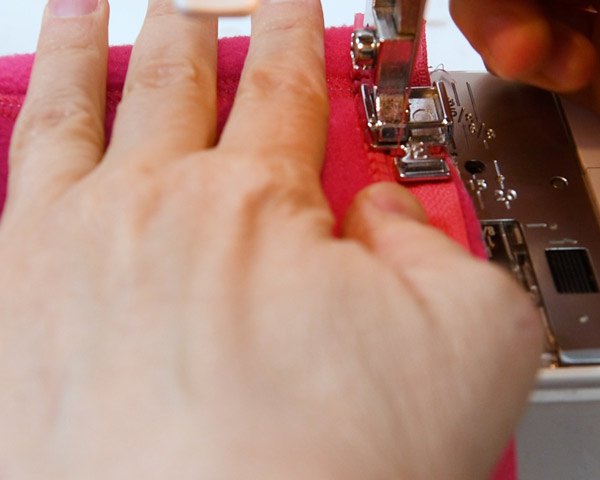
If everything looks good, hold the tape taut between your hands and sew the zipper from top to bottom. Keep the tape against the raw edge of the zipper opening, and let the zipper foot ride along the edge of the teeth.
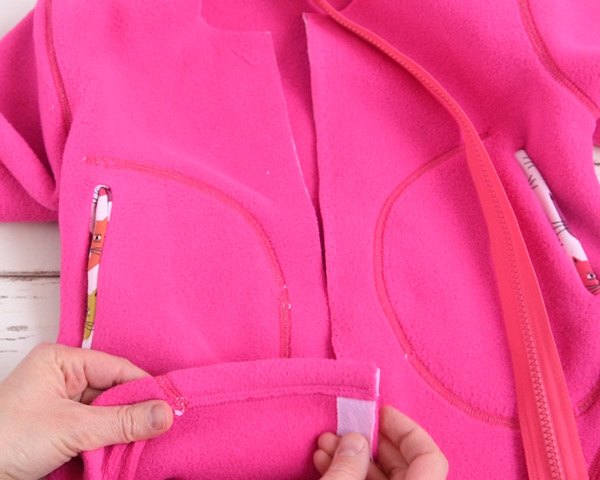
Preparing the second side of the zipper (no pull)
Lay the second side of the zipper face up next to the second side of the zipper opening.
Flip the tape onto the fabric. The right side of the zipper is facing the right side of the fabric, and the teeth should be facing the body of the garment. Pin down the the zipper to the garment for about 2” on the top and 2” on the bottom of the zipper tape.
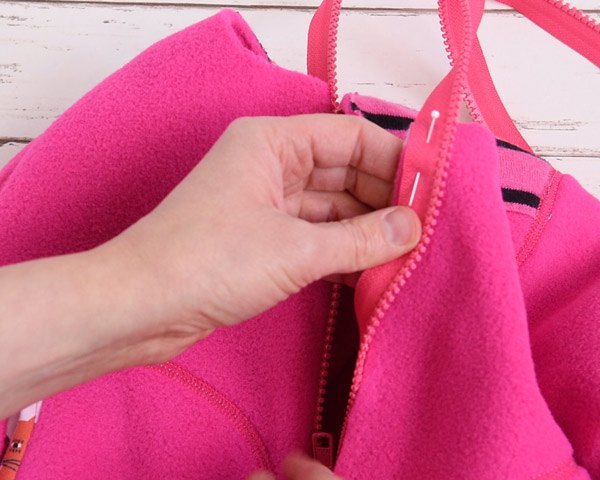
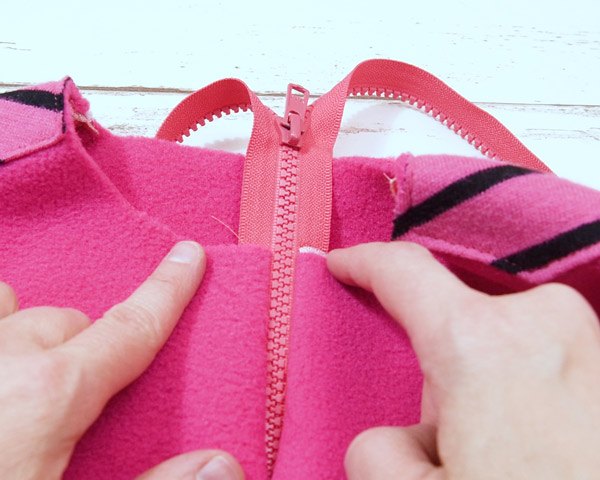
Flip the sewn side of the zipper to the right side, pressing it with your hands. Slip the second side of the zipper into the zipper pull. Then, zip up the zipper.
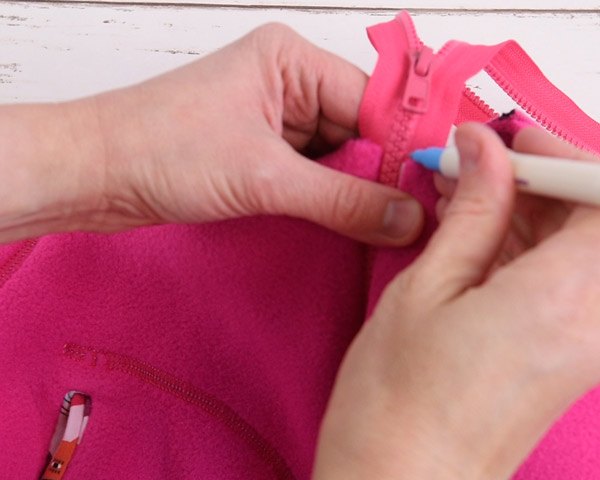
Check the alignment. The sides of the zipper should be even. Adjust the pins if needed.
Make a mark where the teeth stop on the top and the bottom on the fabric.
Sewing the second side of the zipper
Baste the bottom inch of the zipper with a long straight stitch. Let the zipper foot ride right next to the zipper teeth as you do this.
Sew the top inch of the zipper with a basting stitch in the same way as you did the bottom.
Slip the second side of the zipper into the zipper pull. Next, zip up the zipper. Check to see that the top of the neck and the bottom of the zipper are both even. If not, remove the basting stitches and try again. The beauty of just basting a little bit means that if you mess up, you can literally pull out the thread with your fingers rather than having to spend a lot of time with a seam ripper.
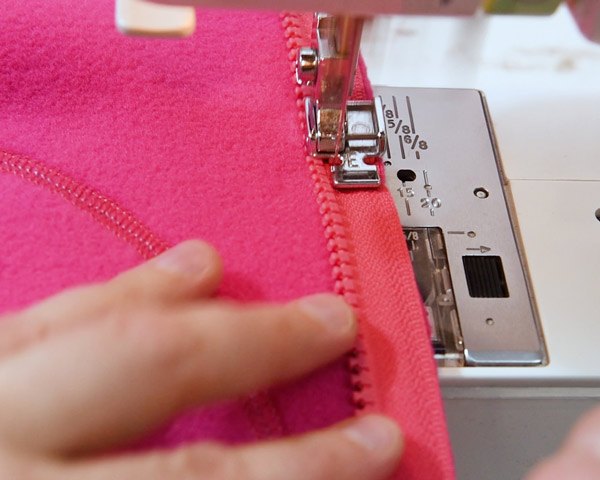
When everything looks good, hold the tape taut between your hands and sew the zipper from bottom to top. Keep the tape against the raw edge of the zipper opening, and let the zipper foot ride along the edge of the teeth.
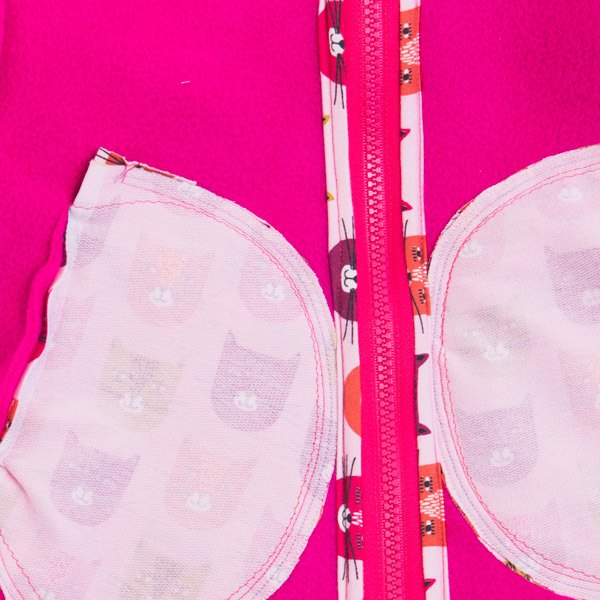
Pressing the zipper
Cover the zipper with a press cloth and press the tape and the sewn seam toward the side seams.
If you’re working with a plastic zipper, pay extra attention to not touch the teeth with the iron. Irons will melt plastic zipper teeth. Trust me, it’s a heartbreaking scenario I don’t want you to go through!
Finishing the zipper tape (optional but awesome)
This step is optional, but if you find the edge of the zipper tape irritating when you’re wearing it, it can make a nice finish.


Working from the wrong side, cover over the edge of the zipper tape with the wrong side of a strip of a 1″ strip of fabric. Sew the fabric to the zipper tape with a 1/4″ seam allowance. From there, wrap the fabric around the zipper tape and sew close to the wrapped edge.
Alternatively you can cover the edge of the zipper with twill tape or a decorative ribbon. Simply stitch on both sides of the ribbon close to the finished edge.
Also, you can stitch the zipper edge to a lining if your jacket pattern calls for it, or you can simply stitch down the edge of the tape if you don’t find zipper tapes irritating to your skin.
Finishing the top of the zipper
If you used the correct length zipper
If your zipper is the correct length, all you need to do from here to finish the top of your zipper is finish your neckline per your particular pattern. In my case, I sewed on a hood to finish off the neckline of my jacket. Other ways to finish a neckline could be with ribbing, a collar, or some kind of facing.
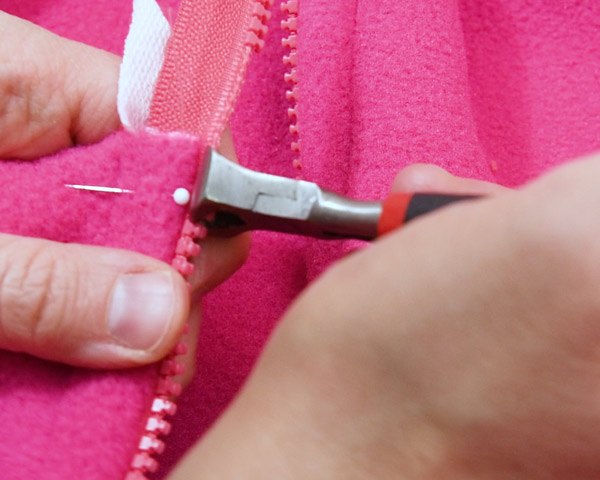
What if your zipper was too long to start with?
If on the other hand, you started out with a zipper that was too long, here’s what to do:
First, mark both sides of the top of the zipper a seam allowance down from the raw neck edge. I’m using a pin here.
Remove about 1″ of teeth above and right at these markings with your zipper end nippers.
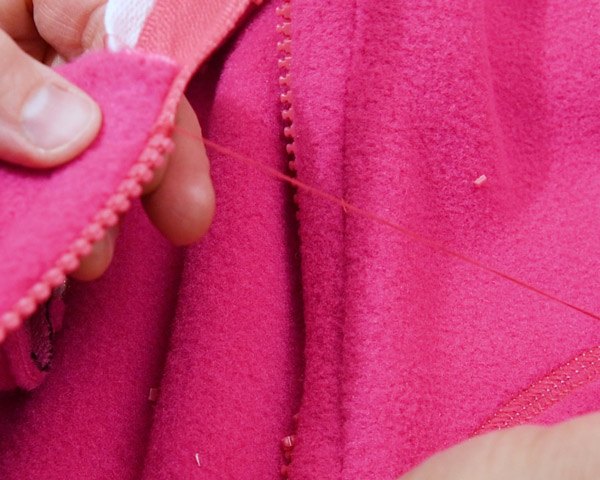
After that, thread up a hand needle with a doubled length of thread. Knot it, then sew around the edge right above the top zipper tooth about 5-6 times. Knot and cut off the thread, then repeat for the second side of the zipper.
Once you’ve done this, it’s safe to cut off the extra length of tape. After that, you can finish off your neckline as your pattern indicates.
Conclusion
And that, friends is how to sew a zipper on a jacket. If you want to learn more about zippers, check out these posts:
- How to sew an invisible zipper (easy fancy)
- 7 Minute DIY zipper bag
- How to shorten a zipper every which way to Sunday
The author may collect a small share of sales from the links on this page.


Comments
Join the conversation