How to Make an Easy-Sew DIY Kimono Jacket in 5 Simple Steps

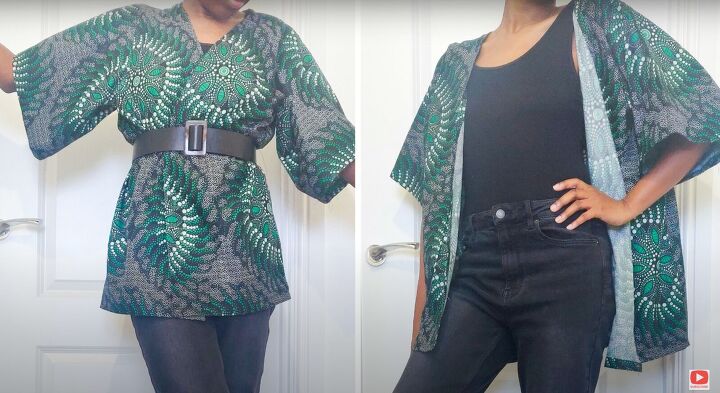
This easy-sew DIY kimono jacket is the perfect addition to your spring wardrobe. You can wear it on top of a sweater or a simple tank for a stylish cover-up.
This kimono-style jacket sewing pattern is easy to make as it features simple straight lines. The only challenging part is making and adding the bias tape.
Let’s get started with how to make a kimono jacket!
Tools and materials:
- 1 yard Ankara fabric
- Measuring tape
- Ruler
- Tailor’s chalk
- Scissors
- Sewing machine
- Pins
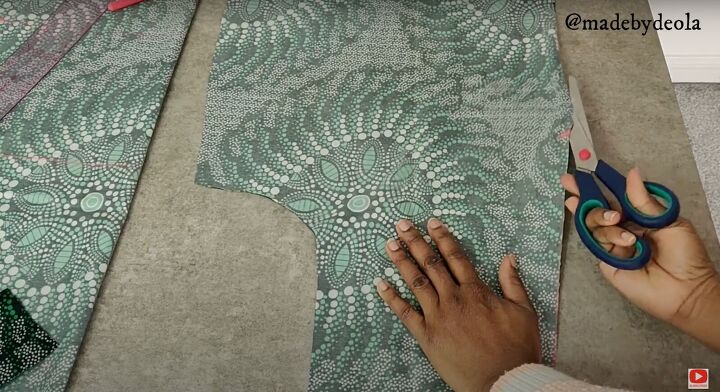
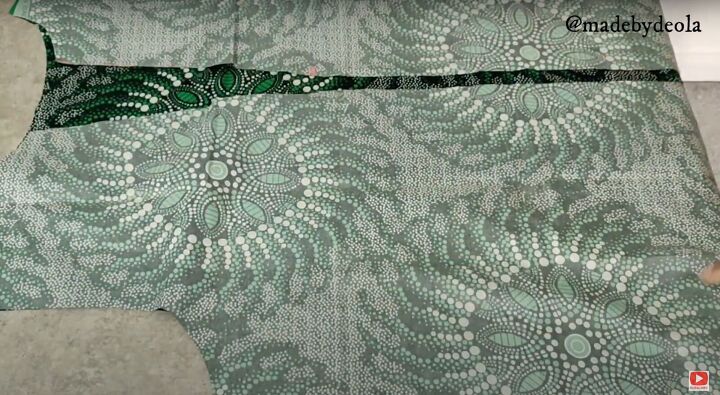
1. Make the kimono-style jacket sewing pattern
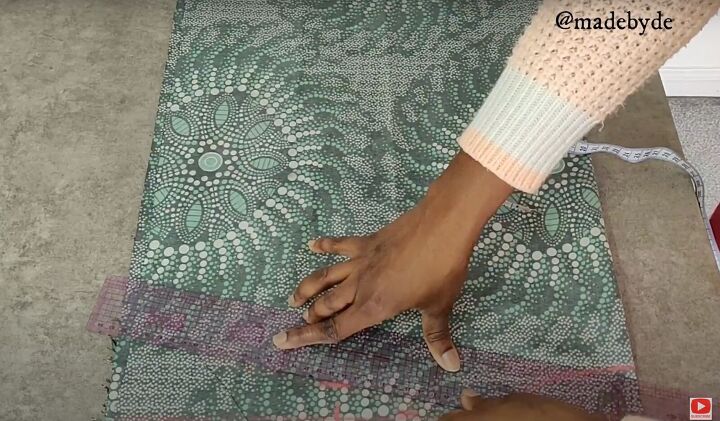
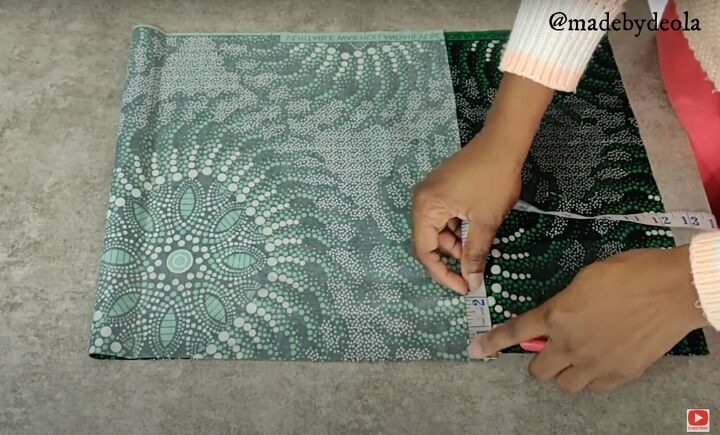
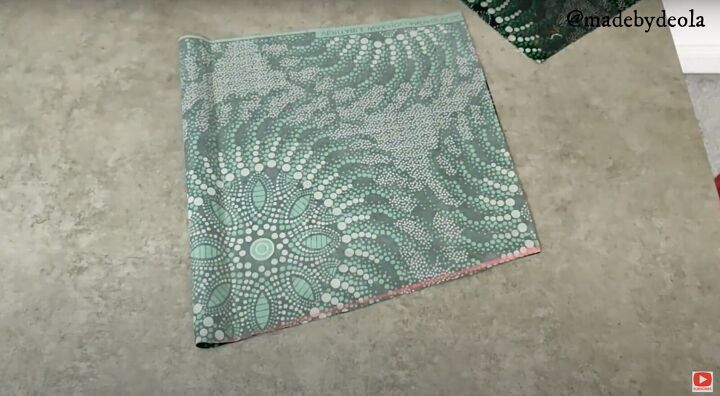
Fold the fabrics and place them one on top of the other. This way you can cut both the front and back at the same time.
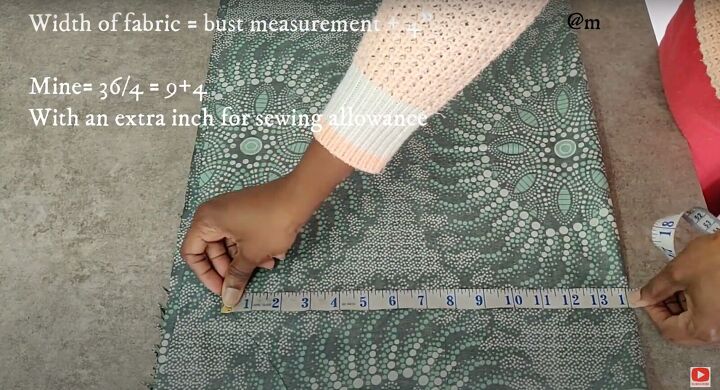
Measure the width of the fabric to be equal to your bust measurement, divide by 4, and add 4 inches to that divided measurement.
For example, my bust is 36 inches, divided by 4 is 9 inches, and then I add 4 inches for 13 inches total. Add one more inch for seam allowance.
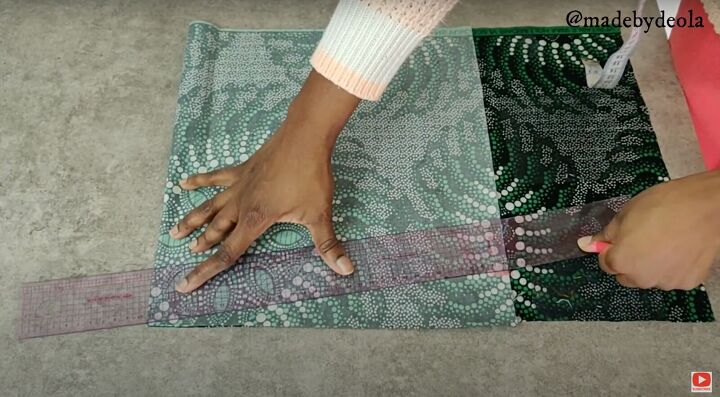
Take off one inch at the top. Mark.

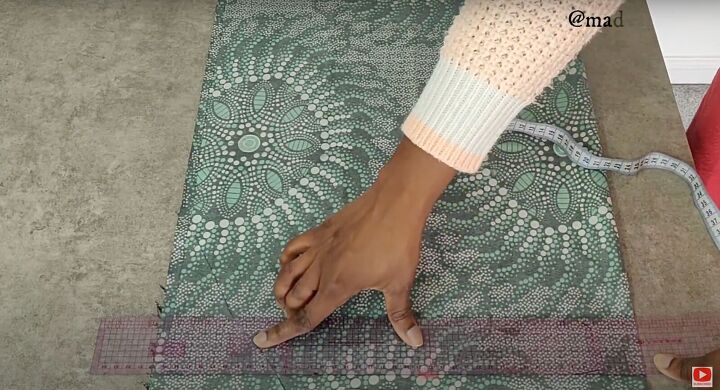
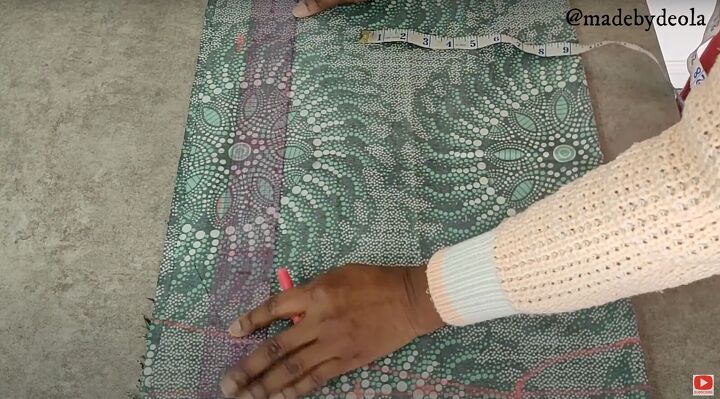
Then mark the shoulder measurement across at 9 inches.
Mark 1 inch below that.
Mark the neck width at either 3 or 4 inches across and 1 inch down. Connect the neck measurement in a curve.
Connect the shoulder slant to the neckline with your ruler.
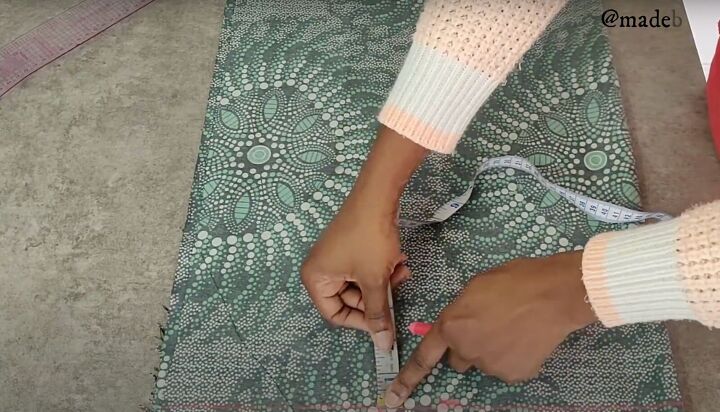
Mark the width down the length of the fabric.
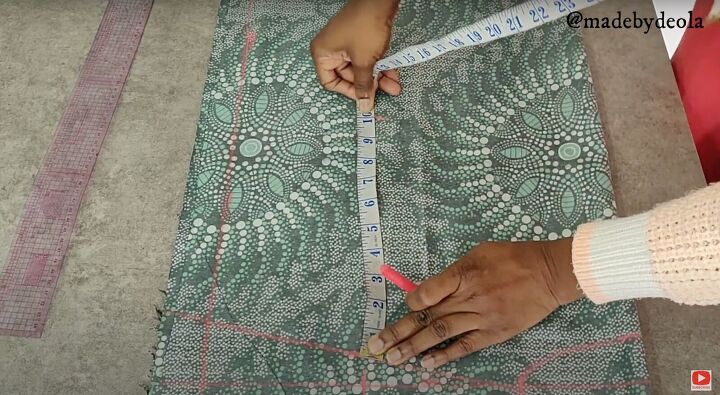
Measure 10 inches down for the bust line from the shoulder line.
Measure the length of your kimono jacket. You won’t need to measure a waist or hip line as it is meant to be loose.
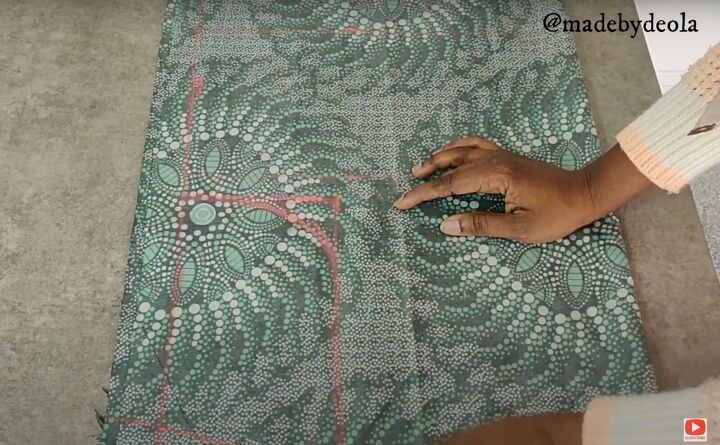
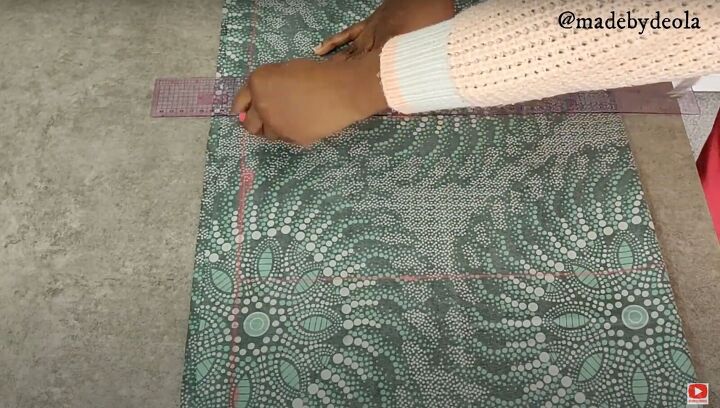
Measure 9 inches for the armhole. Connect the shoulder measurement and curve out the underarm area. Add 1 inch seam allowance to the shoulder and cut out the pattern.
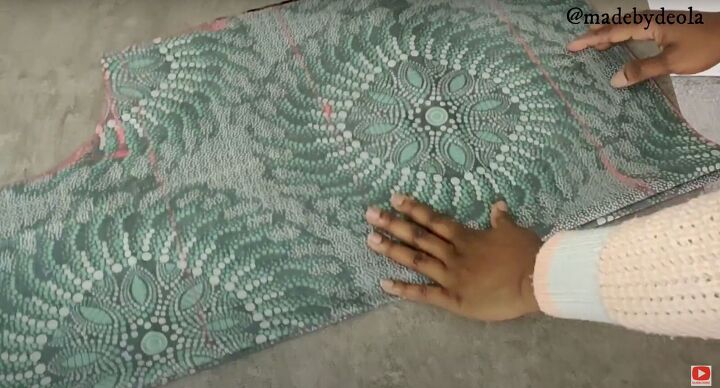
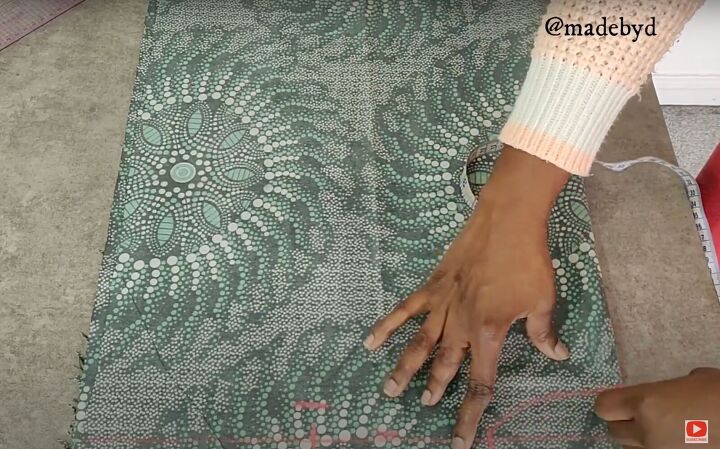
You should have 2 pieces.
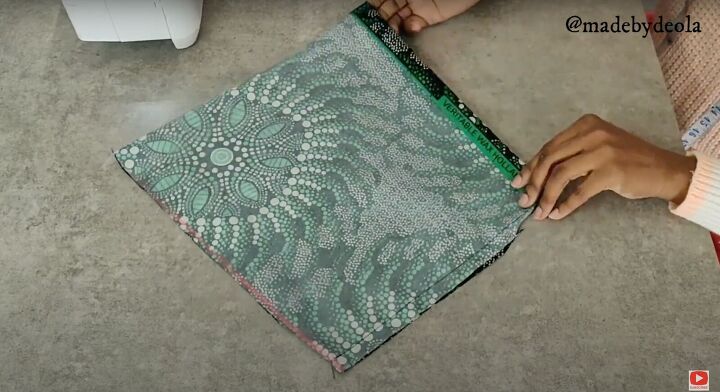
2. Make the neckline opening
On the front piece, measure down 11 inches for the neckline. Mark.
Measure 2 inches across from the top of the neck down to meet the 11 inch mark. Connect the two points together.
Cut that part away. Then cut along the fold to make the opening.
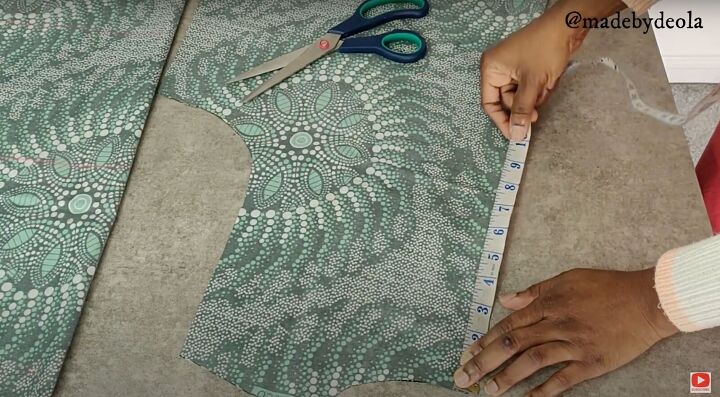
3. Make the sleeves
Fold the fabric in half, right sides together. Measure 12 X 13 inches for each sleeve.
Measure 2 inches from the edge and mark. From that measurement, use your ruler to mark a slant going towards the fold.
Cut the excess fabric away. Make the second sleeve using the same method.
4. Sew the kimono
Pin the front and back pieces right sides together. Start sewing the shoulders and side seams.
Sew the sleeve seams. Hem the sleeve up 1 inch.
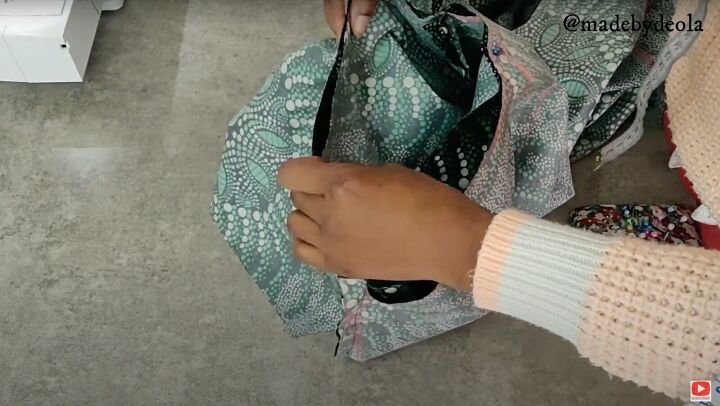
Turn the sleeves right side out and place them inside the bodice. Line up the side seams. Pin in place. Sew.
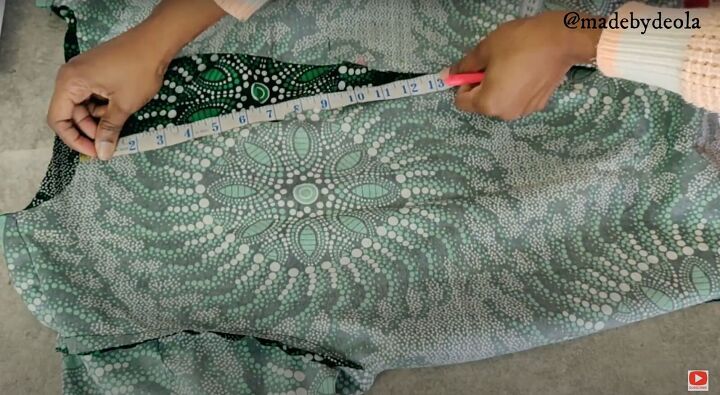
5. Finish the kimono
Measure and mark 13 inches down on one side of the neckline.

Use the ruler to make a proper diagonal line from the 13 inch point up to the neckline.
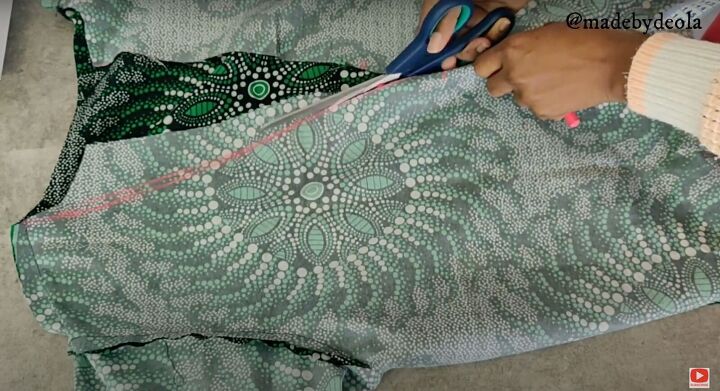
Trim away that fabric.
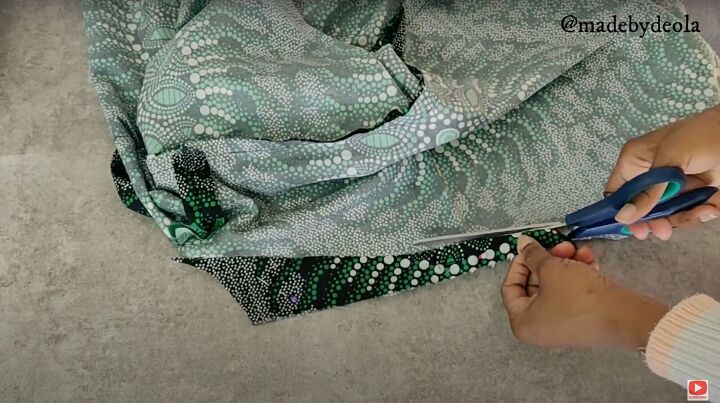
Use that cut piece as a template for the other side.
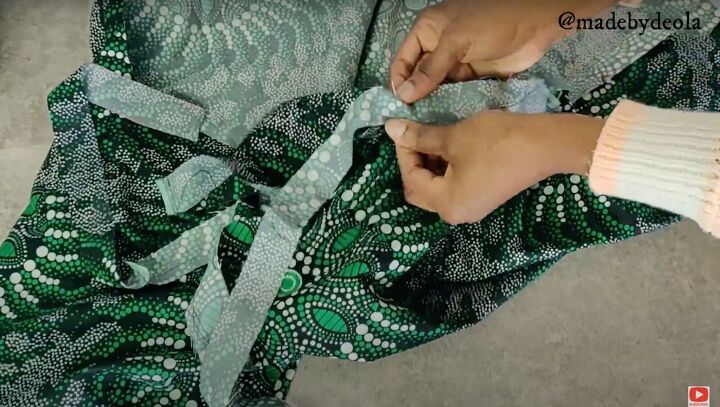
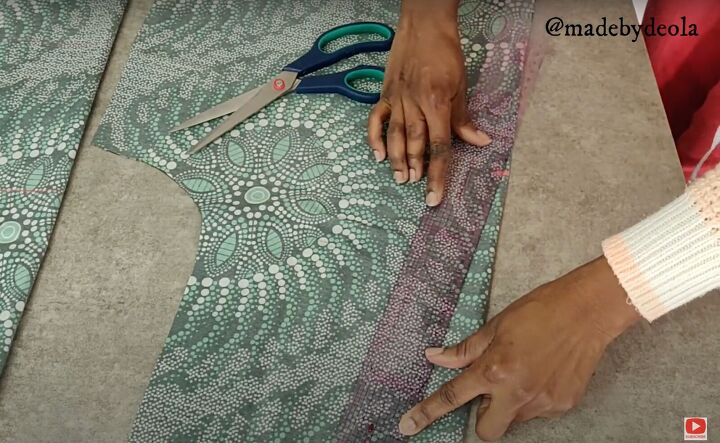
Cut bias tape to match the length of the entire front opening. Pin in place. Sew.
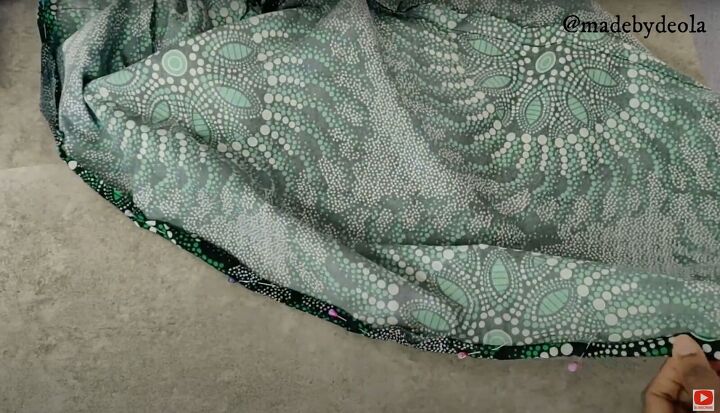
Double fold the bias tape to cover the seam. Pin and then sew. Hem the bottom.
DIY kimono jacket tutorial
You’ve just made a beautiful, stylish DIY kimono jacket! You can wear it open, with a belt, or even make a matching sash if you have enough fabric left.
Please let me know in the comments if you made this and don't forget to share your photos.
The author may collect a small share of sales from the links on this page.


Comments
Join the conversation