How to Make a DIY Kimono Scarf in 5 Quick & Simple Steps

You’re going to just love this DIY kimono scarf idea. I’ll show you how to turn a large scarf into a kimono! I think this is a great light layer, especially during transitional weather, from winter to spring or summer to fall.
You can pair this with shorts or a dress. It’s such a versatile piece. If you don't have a sewing machine, you can make this with needle and thread or use no-sew glue to put this piece together. Let’s start!
Tools and materials:
- Large scarf
- Measuring tape or ruler
- Scissors
- Tassel trim
- Sewing machine
- Thread
- Pins
- Iron
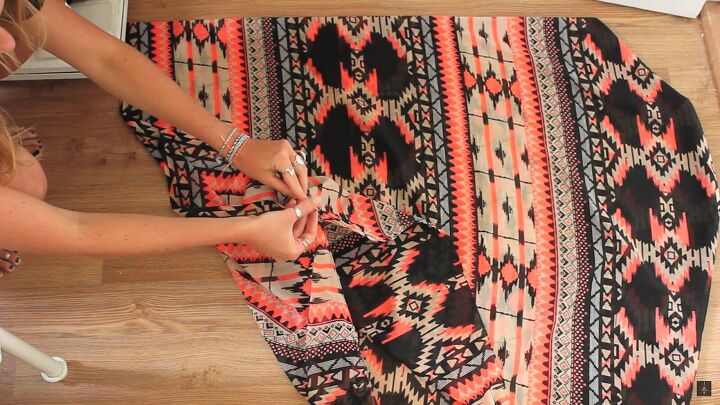
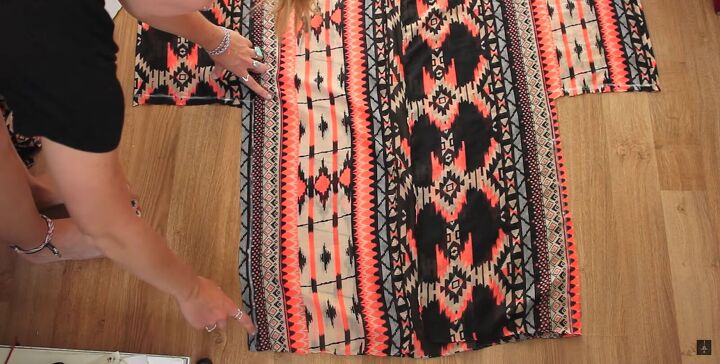
1. Fold and cut
Start by folding your large scarf in half; it should almost be 1-meter x 1-meter (39.37” x 39.37”) once you’ve folded it in half.
The fold along the top is where your shoulders rest. So, fold it in half again.
Then, find the middle point and cut down the center. This will be the opening at the front.
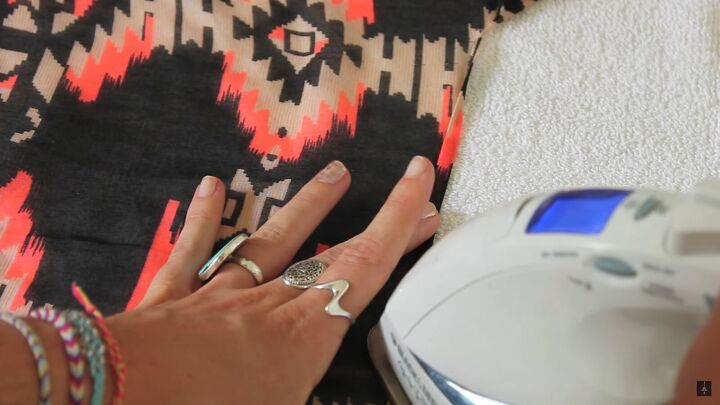
2. Hem the raw edges
Fold the raw edges over twice and press down the fold. This is a better technique than pinning (for this type of fabric).
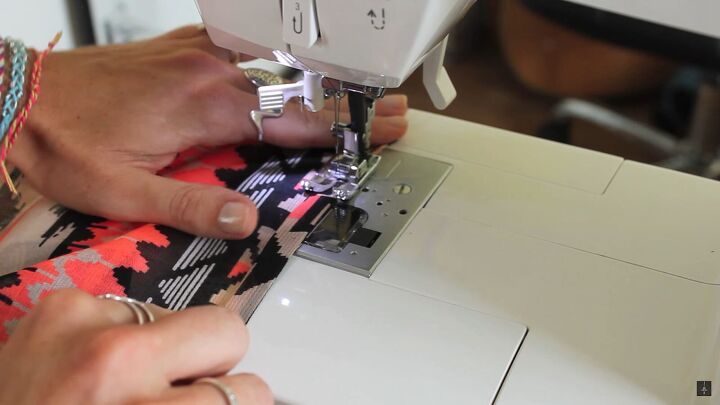
Once you’ve ironed down both sides, take it to the sewing machine and start hemming! Use a single, plain stitch down the center of the folds.
Tip: Make sure you fold inward so the seams look polished from the outside of your kimono scarf.
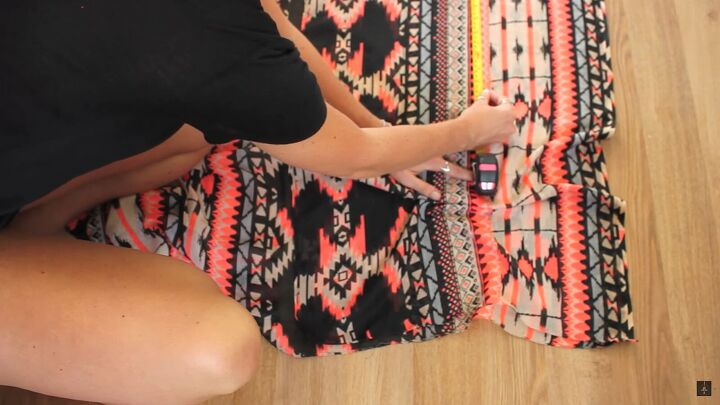
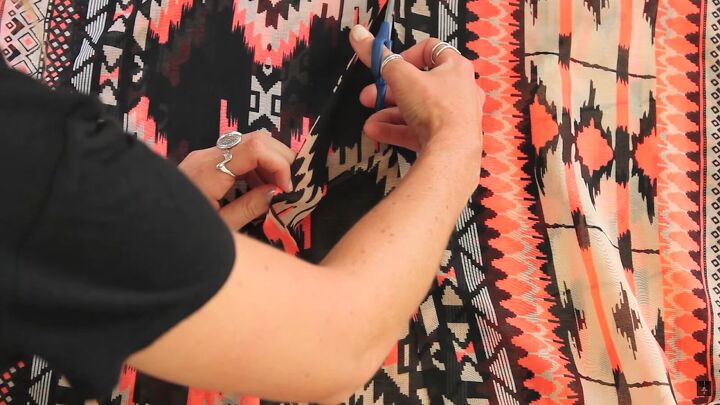
3. Measure where to cut
To assemble the kimono, mark about 15 inches on each side and about 20 inches down from the top.
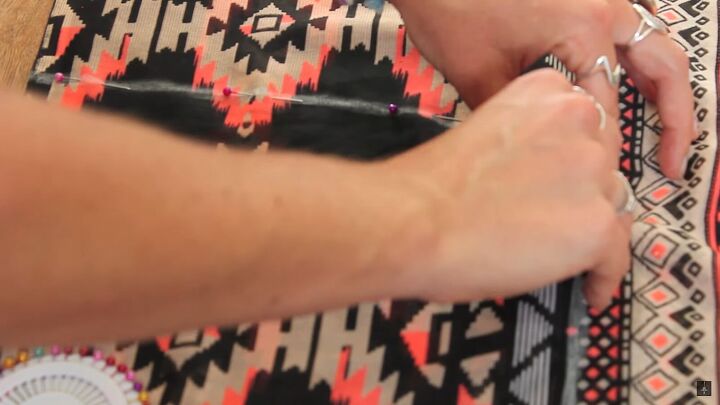
Like this, you’ll create a rectangle that you will cut out. Pin along the lines, so when you cut it, you do so through both layers.
Cut ½ inch to an inch away from the chalk line.
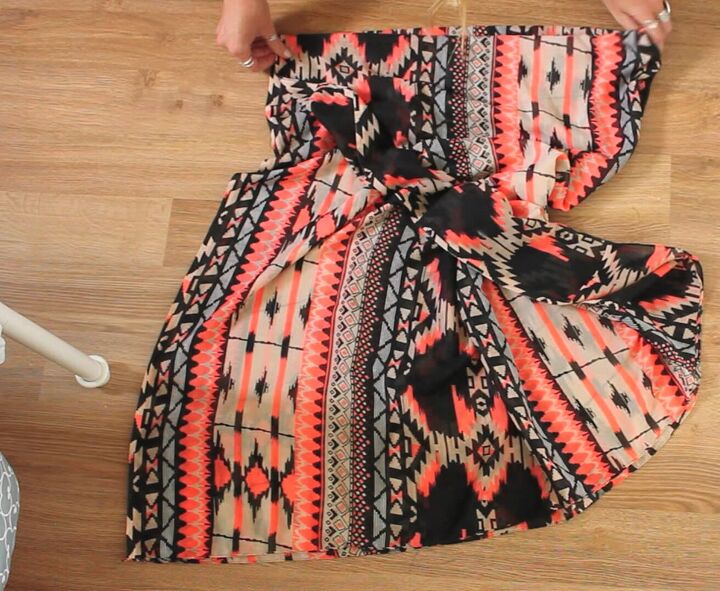
This is what it should look like.

4. Sew the kimono
Pin the edges and sew!
Tip: Make sure your kimono is inside out, so the seams will be on the inside.
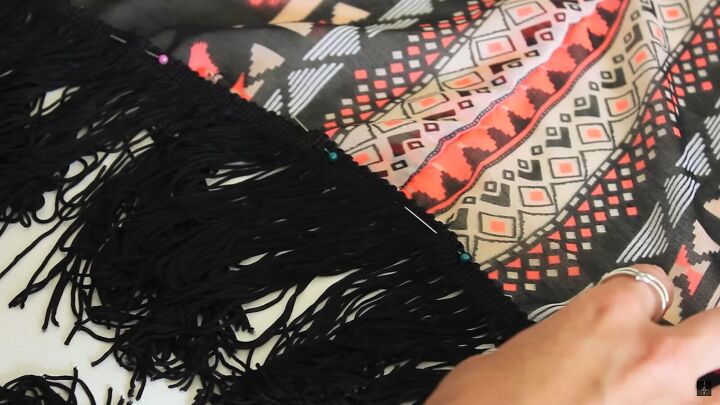
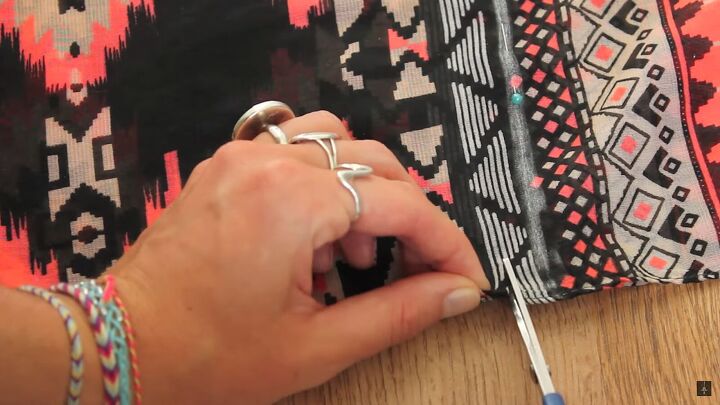
5. Add fringe (optional)
If you want to add a fringe, then go ahead and pin the trim to the bottom of your kimono scarf.

Then stitch it. It takes a little precision when using the sewing machine, so it may take a little time. However, you can also hand stitch this on or even use no-sew glue.
Tip: I had to cut my fringe shorter as it was too long.

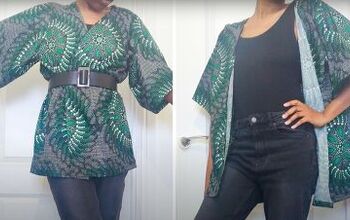
DIY kimono scarf tutorial
There you have it! A lovely kimono scarf. What do you think of this quick transformation? I also love the tassel details; it just adds a unique touch to the whole look.

Thanks for joining me on this DIY, and I hope you now have the inspiration and know-how to transform a scarf into a kimono.
The author may collect a small share of sales from the links on this page.


Comments
Join the conversation
No, not too inspired on this one, too much work considering I can just use a regular large scarf (have many) and drape over my shoulders and go, don't like the tassels too much. Otherwise, thanks for sharing.
This was goofy confusing and lack of photo visual made it frustrating. Not a seamstress
Love it. Will make soon and add photo💜