How to Make a Kaftan Quickly & Easily in 5 Simple Steps

If you’re looking to learn how to make a simple kaftan, it doesn’t get easier than this! This kaftan sewing pattern is super easy, especially if you opt out of sewing the contrasting trim.
This DIY kaftan is perfect for summer holidays, as a pool cover-up, or depending on the fabric, fabulous for any occasion! Ultra flattering for any body type, let me show you how to make a kaftan.
Tools and materials:
- 3 yards fabric
- Contrasting fabric trim 1 yard
- Sewing machine
- Measuring tape
- Ruler
- Tailor’s chalk
- Scissors
- Iron
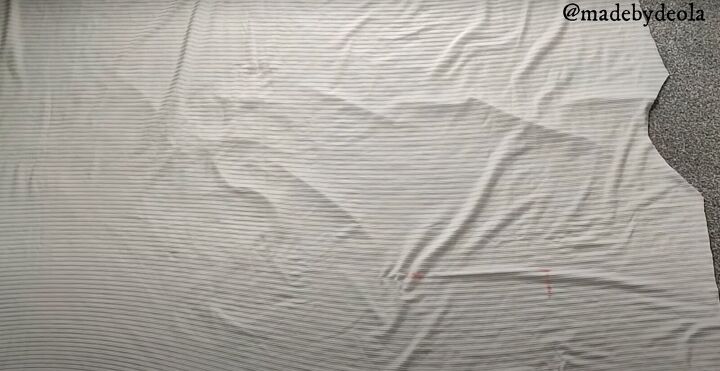
1. Make the pattern
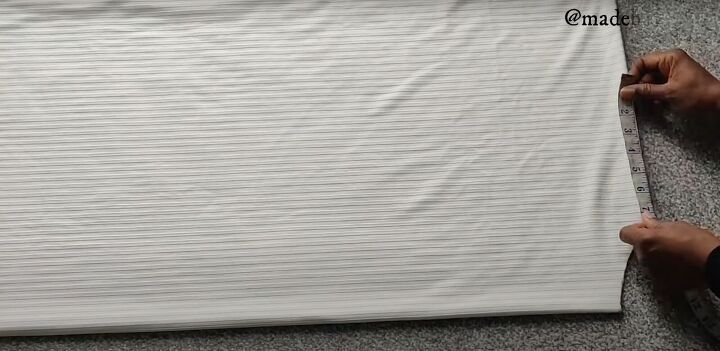
For the width, use the measurement of the widest part of your body plus 6 to 8 inches additional. For the length, that’s up to you. In this tutorial, I used these measurements:
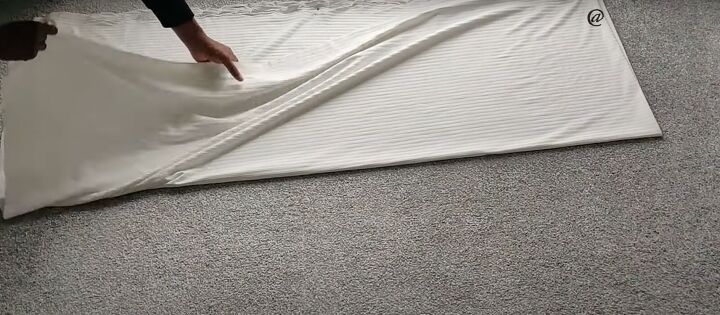
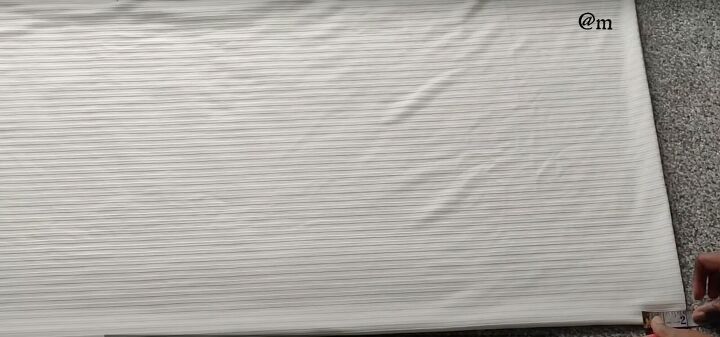
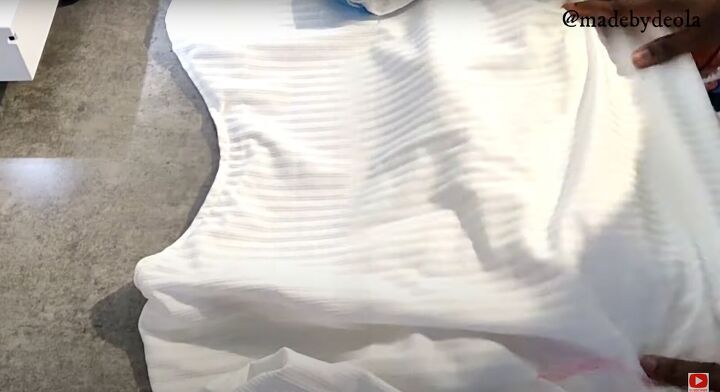
Fold the fabric lengthwise to measure 40 X 54 inches. Then fold the fabric again so the top measurement is 20 inches.
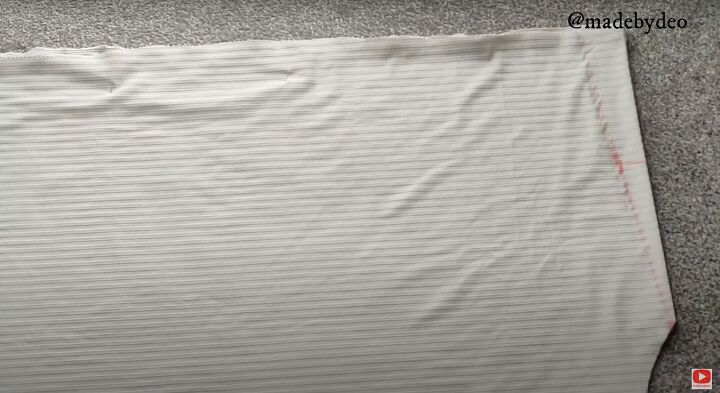
At the top fold, mark the neckline in the top corner 2 inches.
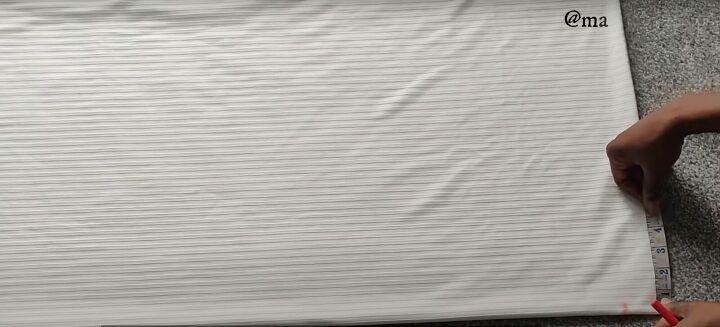
Then mark across 3 or 4 inches. You can make the neckline as low or as wide as you want.
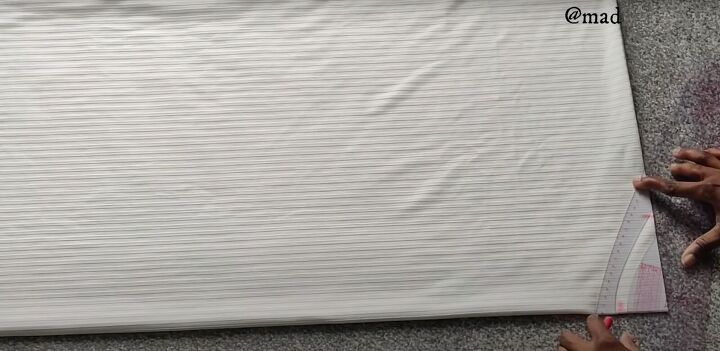
Connect those two points on a curve. Cut the neckline out.
From the edge of the neckline measure the shoulder to be 8 inches.
Using that measurement, mark 1 inch for the shoulder slant and connect it to the neckline. Measure across the rest of the fabric.
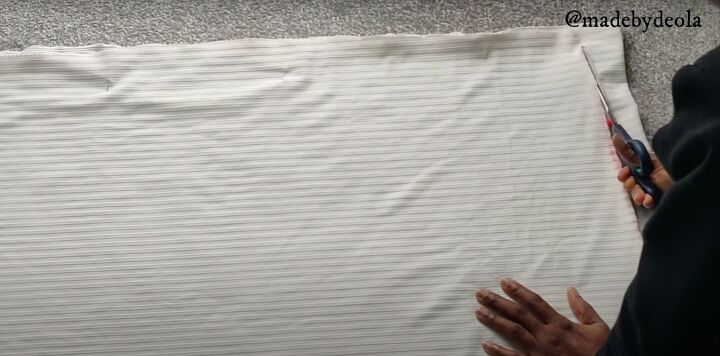
Cut on the marked areas.
2. Mark the sides
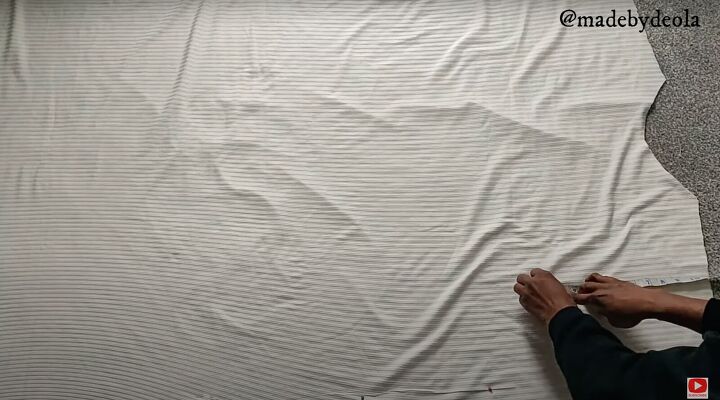
Open up the front and back of the kaftan with the wrong sides facing you. From the shoulders, measure down 10 or 12 inches to mark where to sew the sides up.
This remains unsewn so your arms go through!
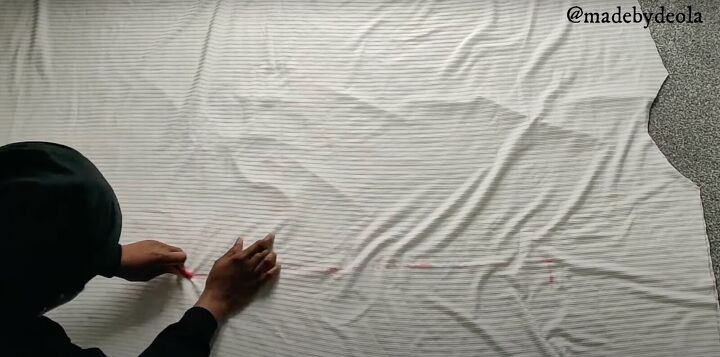
From that marking, mark 8 to 10 inches in from the outside edge of the fabric to meet that mark. Mark all the way down to the bottom of the dress. Repeat for the other side.
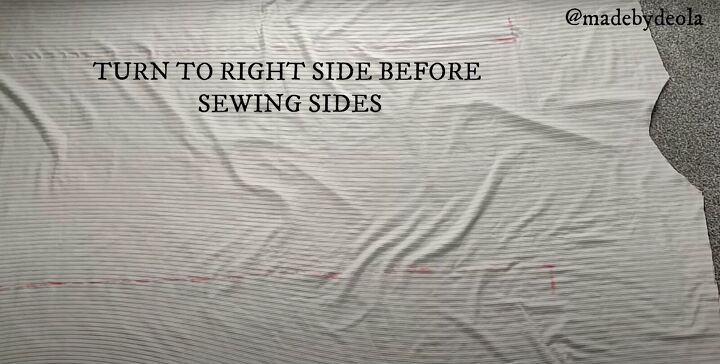
3. Sew the kaftan
Keeping the front and back right sides together, sew the shoulders together. Turn the dress to the right side before sewing the side seams.
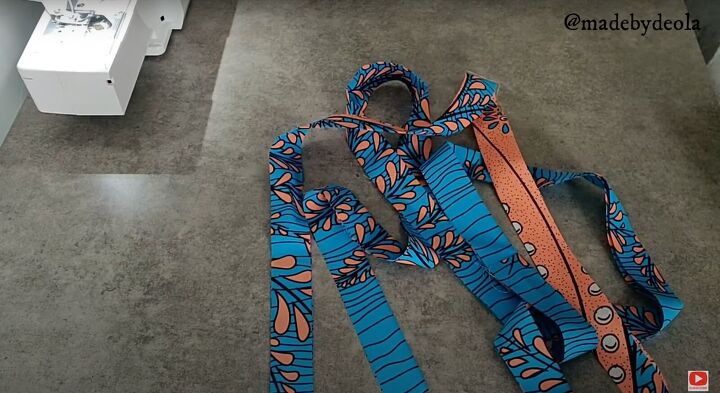
4. Add trim (optional)
This step is optional but makes the kaftan look gorgeous! Cut 2 long strips of the contrasting fabric to match the length from the edge of the sleeve all the way down on both sides and 3 inches wide.
Depending on your fabric length, you may need to sew pieces together. Fold in half and press flat.

Find the center of the fabric strip and pin it right at the center edge of the sleeve. Make sure the fold is on the outside. Pin down on either side until you reach the end.

Sew into place. Use the same method for the other sleeve.
5. Finishing touches
Finish the neckline by folding it ½ inch towards the inside and sewing it down. Hem the bottom with a single or double fold.

How to make a kaftan
You just learned how to make a kaftan! This is a lovely, light, but modest, garment to wear in the warmer months. Let me know what you think of this tutorial and the final result in the comments below.
The author may collect a small share of sales from the links on this page.


Comments
Join the conversation