How to Make a Bucket Hat Out of Jeans in 5 Simple Steps

In this tutorial, I'm going to show you how to make a bucket hat out of jeans. This super-simple DIY denim bucket hat is on-trend and also really quick and easy to make. Just grab your materials and let's get started!
Tools and materials:
- Jeans
- Bucket hat or online pattern
- Scissors
- Pen
- Measuring tape or ruler with string
- Paper
- Pins
- Sewing machine

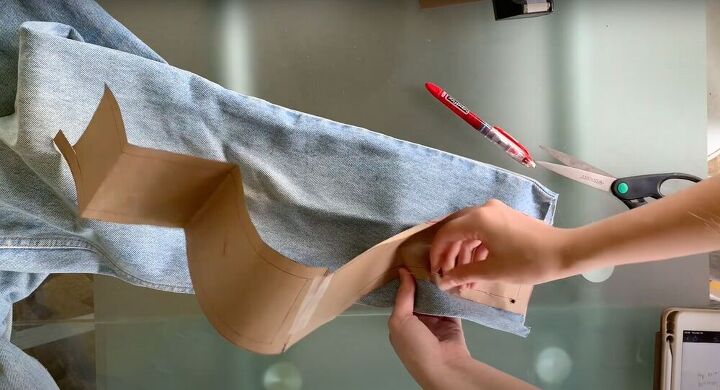
1. Make the DIY bucket hat pattern
I'm using an existing bucket hat I already own and copying the pattern.
If you don’t have a measuring tape, trace the top of the hat with the string, marking off the end, then use the ruler to measure the length. Repeat this with the bottom brim of the hat.
Finally, measure the top of the body for the size of the hat's top. Once you’ve collected all your measurements, draw the pattern pieces on paper and cut them out.
To get the curve, you can use the slash and spread technique. Check out the video from 1:38) to see how to do this.
2. Cut out your fabric
After cutting out your pattern pieces, place them on your jeans and pin them in place. It is important that your fabric be precise, so make sure you follow the pattern carefully.
Remember that for all pieces other than the circle (that makes the top of the hat) you will need to cut two pieces (or once through both layers of the jeans).
In the end, you will have two brims, two bodies, and one circle.
3. Build the hat
Place the two brim pieces and the two body pieces together, right sides touching. Pin in place.
Next, sew a one-inch seam allowance along each pair's shorter sides - connecting the pieces.
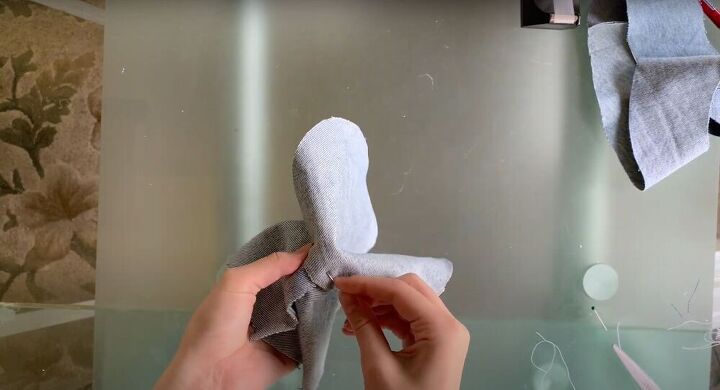
The next step is the most difficult one - attaching the circle top to the rectangular body. Start by placing the circle over the body and pinning the circle on four sides. Make sure to align the pins with the side seams.
Finally, sew the top in place, making sure to avoid lumps to keep the top from getting bumpy.
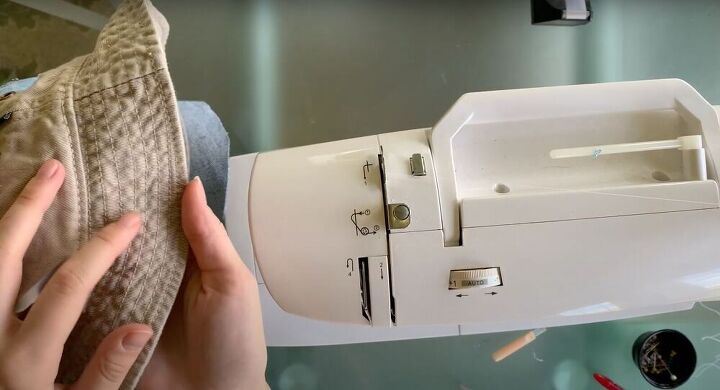
4. Add decorative stitching
Using an edge stitch, or thick wide stitch, stitch along the body of the brim to create the detailing. Simply sew in a straight line all the way across the brim a few times to create the decorative stitching.
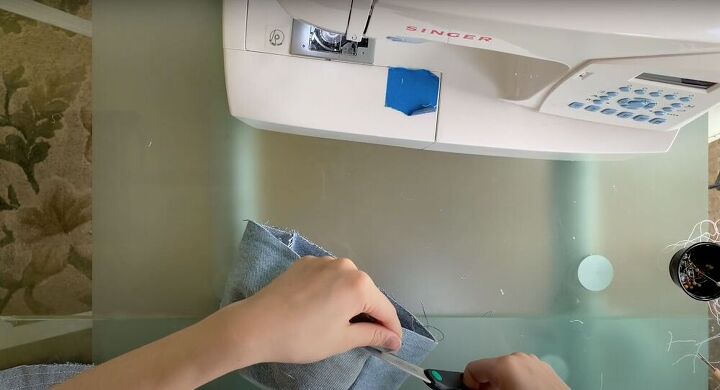
5. Finish the hat
Try the hat on and measure the length of the body. If like mine, yours was too long, take some scissors and cut off any excess.
Next, pin the brim of the hat to the body and sew it all around using the same pinning and sewing technique from earlier (when we attached the top to the body).
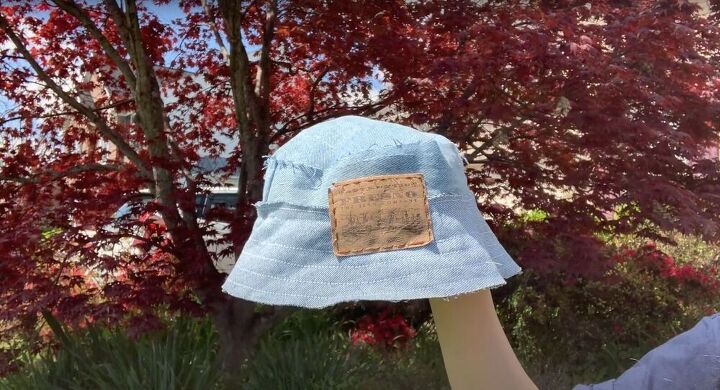
How to make a bucket hat
You can add any patching and detailing you want at the end and really make it your own - I went for the jean label. Not only does this make it fun and unique but it can also cover up any mistakes and/or messy stitching - an added advantage!
Let me know what you think of this DIY denim bucket hat in the comments below.
The author may collect a small share of sales from the links on this page.


Comments
Join the conversation
Great tutorial, I want to do this!
could use some more visuals