Copper + Wood Rings
3 Materials
$10
3 Hours
Easy
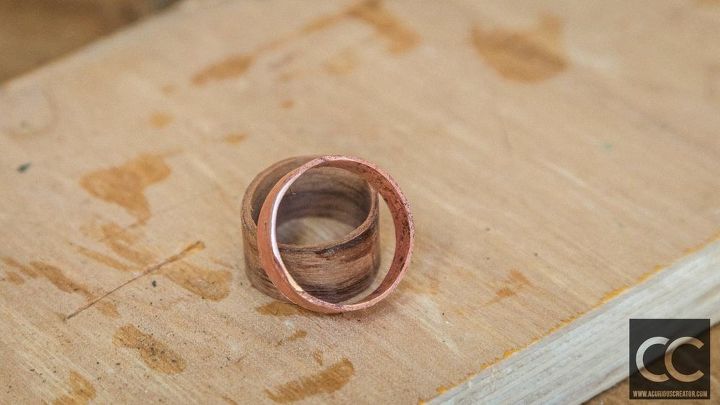
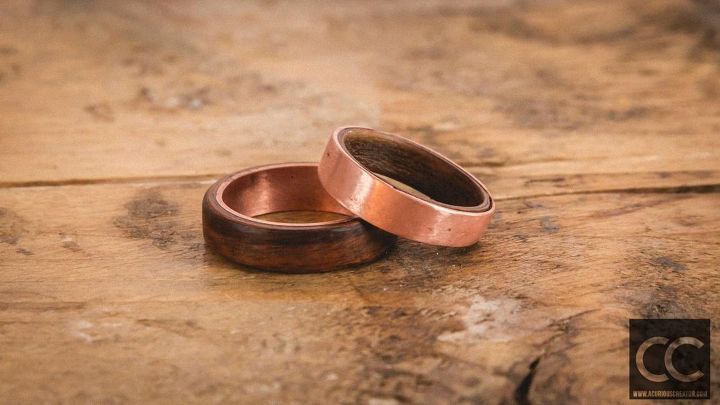
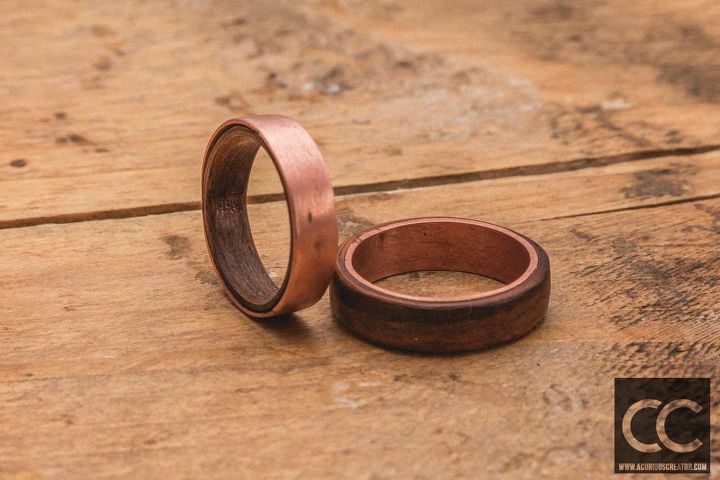
In this video, I show how I made my copper + wood & wood + copper rings. I've wanted a copper ring for a while but couldn't decide whether I wanted the copper on the inside or the outside. So I decided to make one of each and then decide. I'm using standing copper piping that is used commonly in the UK in plumbing.
{
"id": "4746472",
"alt": "",
"title": "",
"video_link": "https://www.youtube.com/embed/K15WjNAJYGE",
"youtube_video_id": "K15WjNAJYGE"
}
{
"width": 634,
"height": 357,
"showRelated": true
}
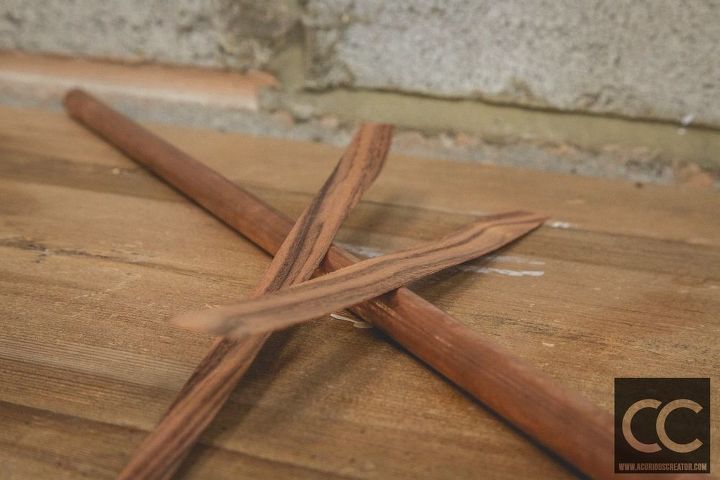
I started with 2 strips of the Rosewood veneer. I cut them down to around 1cm thick. I knew this was going to be well oversized, but planned on sanding them down to the final size later on. I bought this in a large strip, and it was around 0.6cm thick, which I think is fairly standard for veneers.
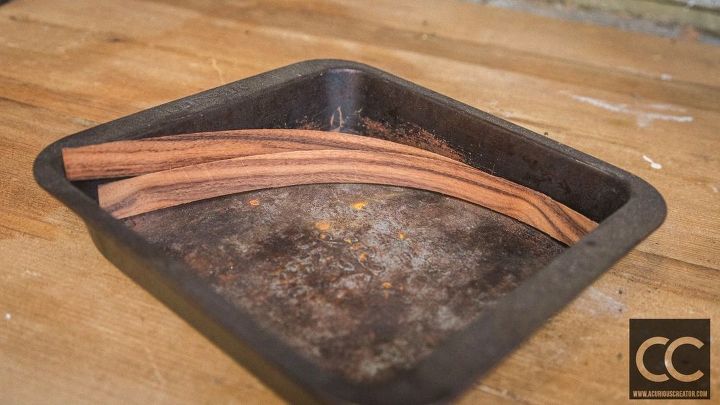
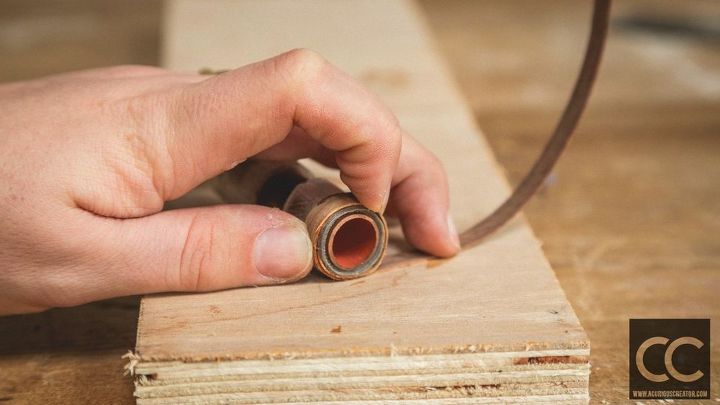
I took the 2 strips and soaked them in some boiling water for about an hour. This softens them up so they are more pliable. If you tried to bend them straight away they would just end up cracking and splintering. After an hour I took them out of the water and wrapped them around some spare copper pipe with some sellotape on. I used a cheap ring size measurer to work out my size, and then a chart which gave me that size in millimetres. I wrapped the tape around the pipe until it was a tiny bit under my ring size. You want to start the wood off smaller and sand up to your size for the best fit. Once the wood was coiled around the pipe, I secured it in place with some tape and left it to dry for a few hours.
After it has dried it holds it's shape much better and allows you to form it.
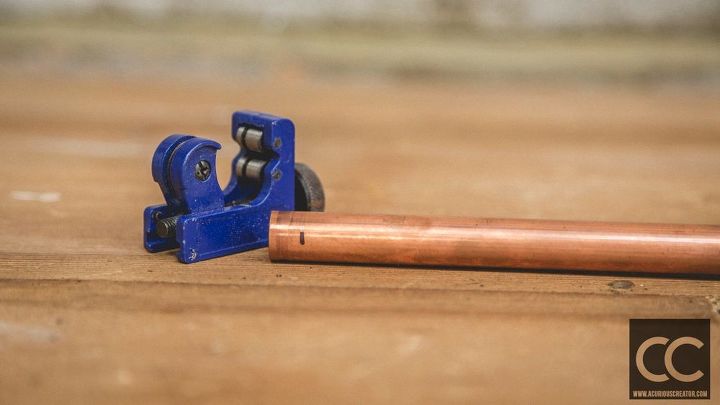
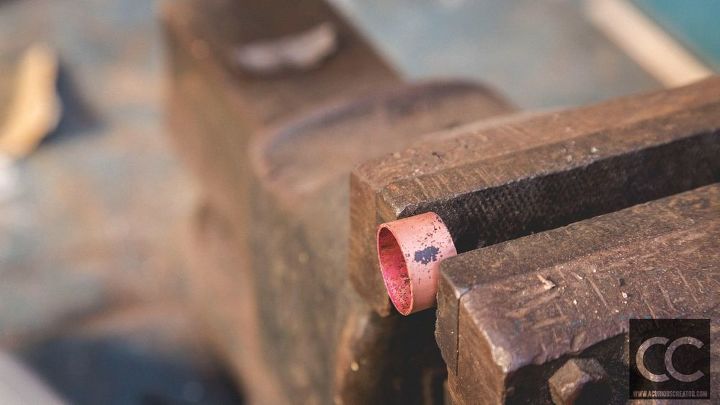
I started with some 15mm copper pipe. I also measured this at 1cm wide and used my pipe cutter to cut the copper. This cutter works great and is nice and cheap, only trouble is, it does take a while to make any cuts. I put the two ring shapes on a fire brick and used my propane torch to heat them up.
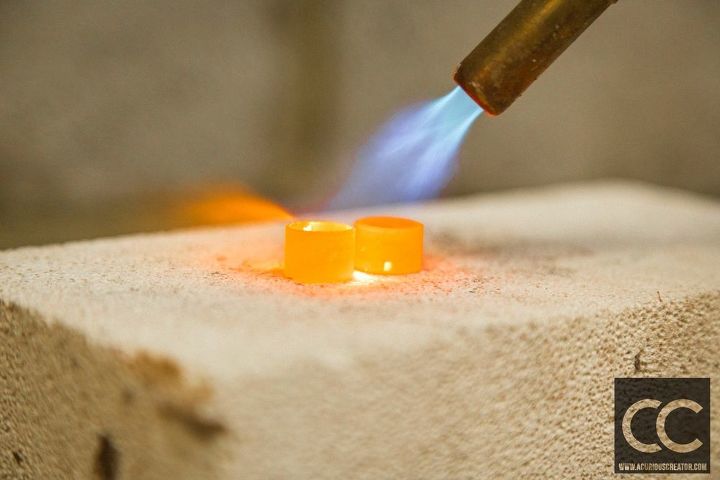
This process is called annealing, and by warming the copper it makes it much softer and easier to shape. It didn't take very long to get them to a red-hot temperature, then I quenched them in water.
I'm not sure with copper what temperature you are meant to get this to, but this worked out just fine for me.to, but this worked out just fine for me.
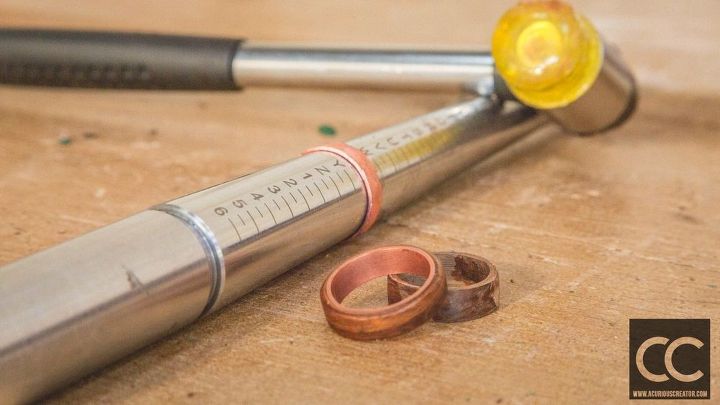
I took the copper onto my steel mandrel and using a nylon hammer starting to increase the size. With the mandrel it's important to get a solid steel one, the cheaper ones are made from aluminium and not designed to do any shaping on. So as soon as you go near them with a hammer then start to get heavily marked. Also, I was using a nylon hammer, if you use a metal one you will start to mark the copper ring badly and leave it with a horrible finish.
However, I quickly realised that it was going to take far too long to get my 15mm copper pipe to size. I was trying to be cheap and reuse it from old projects. So I went out and got some 22m pipe. This was much easier to work with, only trouble is my pipe cutter was now too small, so I used my hacksaw to cut it down.
The first one, (copper inside, wood outer) the 22mm was a tiny but too big, so after warming I went around the outside with a hammer and knocked it down a little, this made it a perfect fit. The copper outside ring needed to be quite a bit bigger, so I put it on the mandrel and kept going until it was big enough.
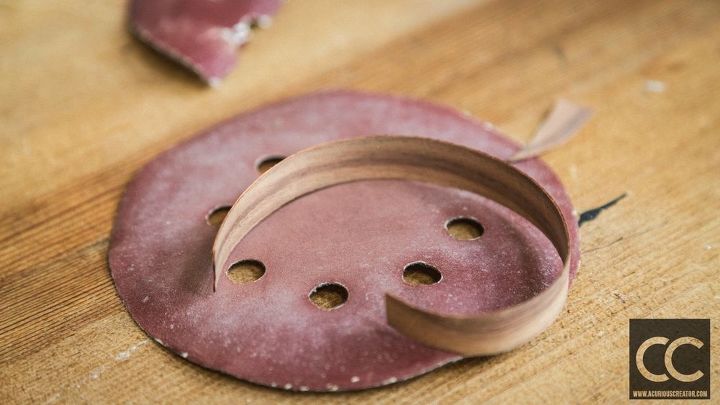
Now that the wood had been drying for a few hours I took some sandpaper and sanded down the edges so they were each a fine taper. This helps give a smooth and seamless finish when its glued up.
The first ring I put glue down onto the wood and began to carefully wrap it around the copper ring. I added more glue as I went to make sure it was a strong finish. I always use the liquid super glue when making rings, the glue then soaks right down into the wood and makes it incredibly strong.
The other ring I use my copper pipe ring size to wrap the wood around, glueing as I went. I have a more detailed guide and just this. I took them over to the disc sander to sand down the wood. You can certainly do this by hand, but this way was very quick.
For the wood inner, and copper outer I needed to get the copper pipe quite a bit bigger. However it was taking forever to get it wide enough on the mandrel, I think that was due to the fact it was still 1cm.
knew the final dimension was going to be closer to 0.5cm so I used my dremel with a cut off wheel and cut it down. This made it much easier to reshape the ring. Again, the more you work the copper the harder it gets, so when it started getting a lot stiffer, I re-annealed it which made it soft again.
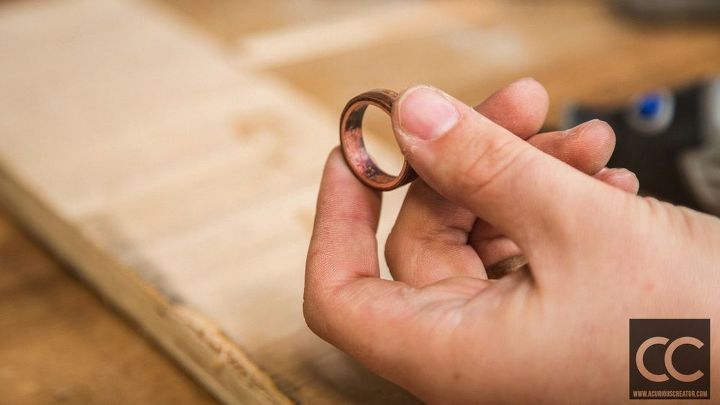
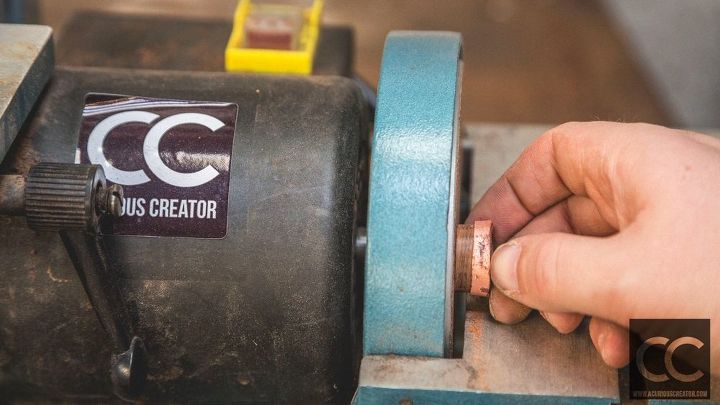
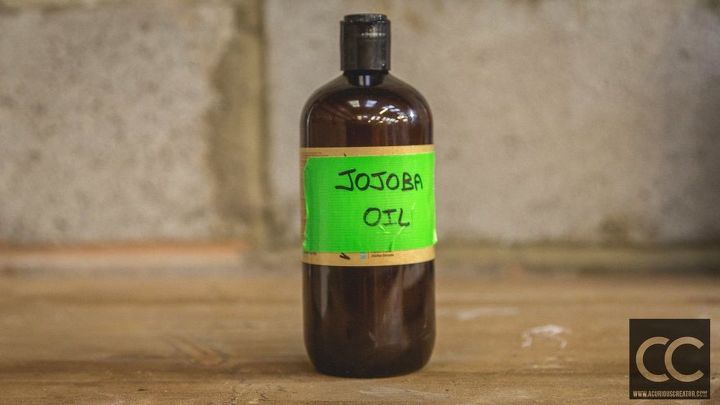
To finish the rings I used some Jojoba oil. This helps protect the wood a bit and really brings out the grain. On the copper, I used my Dremel again with a polishing bit and some compound. I didn't want it to be mirror shiny so just cleaned it up.
After time the copper with start to get a nice natural patina and discolour a little. This is exactly what I wanted as I love that look. However, if you don't you can seal the copper with some more super glue, or a clear coat.


Any price and availability information displayed on [relevant Amazon Site(s), as applicable] at the time of purchase will apply to the purchase of this product.
Hometalk may collect a small share of sales from the links on this page.More info
The author may collect a small share of sales from the links on this page.

Want more details about this and other fashion and style ideas? Check out more here!


Comments
Join the conversation
They look amazing! Great tutorial. Love this.