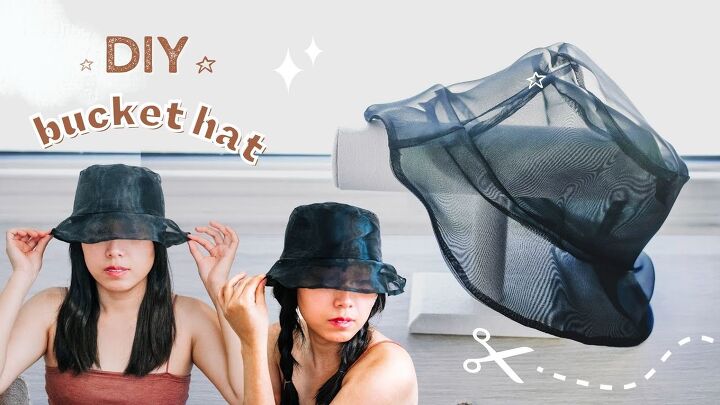
How to Make a Sheer Bucket Hat in 10 Simple Steps

I recently saw an all-black bucket hat on Instagram and decided to make it myself using my fabric stock. I landed up making this beautiful and sheer bucket hat from organza fabric. The results were really pretty, and I want to share this cute bucket hat DIY with you! Let’s begin!
Tools and materials:
- Bucket hat pattern (members only - sign up to my channel for access)
- Organza fabric
- Scissors
- Paper
- Fabric clips
- Pins
- Sewing machine
- Thread
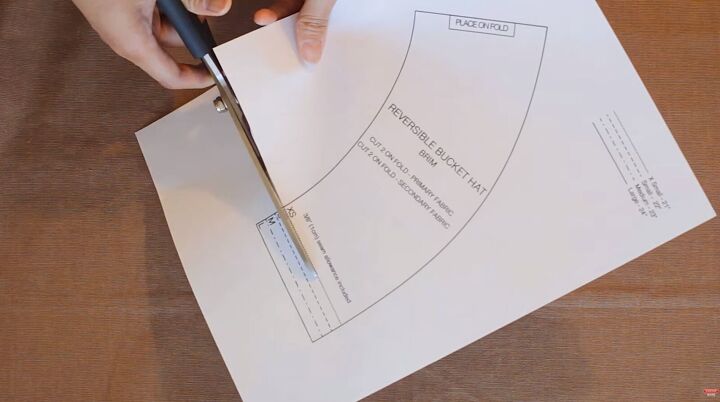
1. Print and cut the pattern
Download the pattern here. This custom bucket hat pattern comes in 4 sizes, so just cut along the applicable lines, as shown.
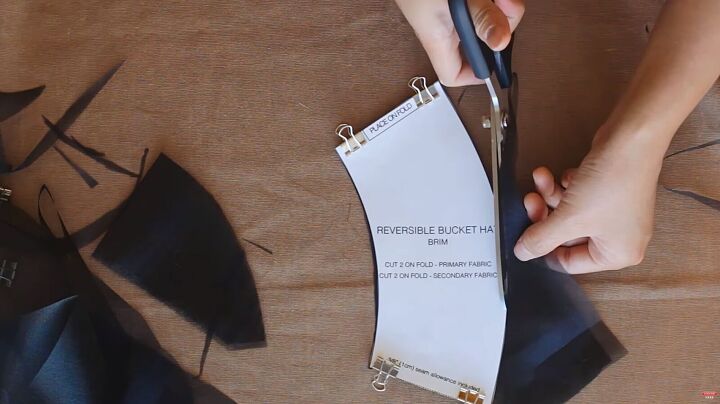
2. Cut the fabric pieces
Pin or clip the pattern pieces to the fabric, so they don’t move out of place (organza is pretty slippery). Then, cut out each piece, with some along the fold, as instructed.
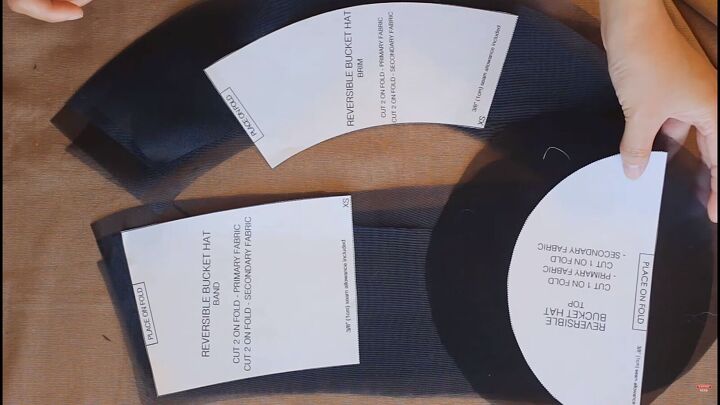
You should have 4 brim pieces, 2 top hat pieces, and 4 band pieces.
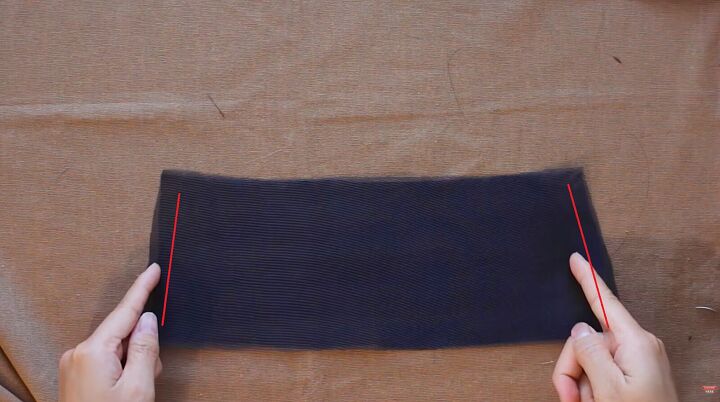
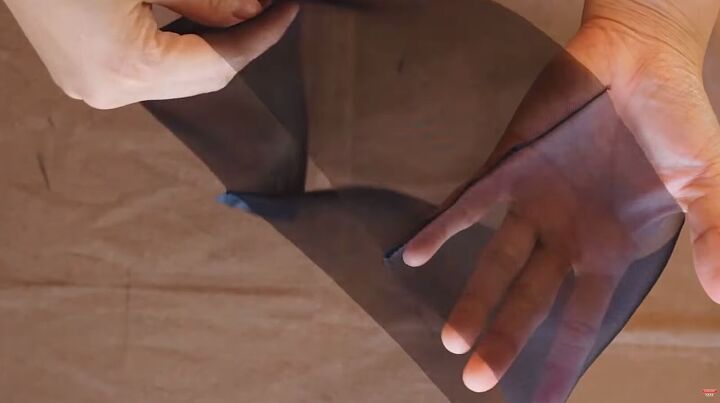
3. Stitch the crown
Lay two band pieces on top of each other and stitch the sides to create a loop.
4. Stitch the crown to the top
Pin the top piece to the crown, and stitch to secure.
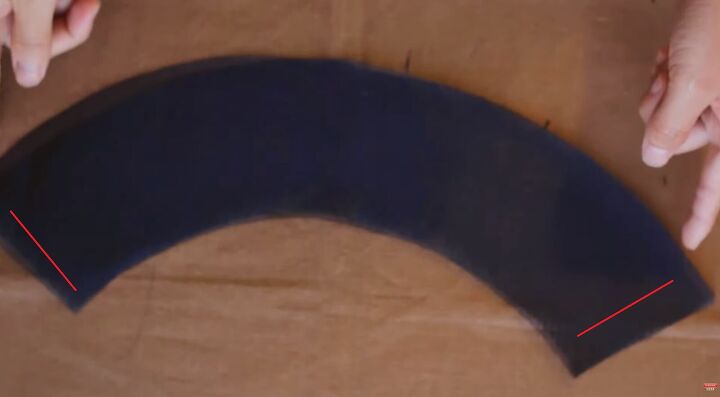
5. Stitch the brim pieces
Now, go ahead and stitch the brim pieces at the sides, the same as you did with the crown.
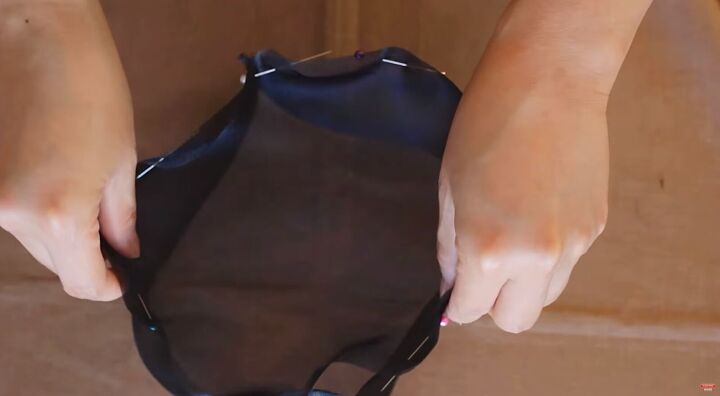
6. Pin the brim to the crown
Pin the brim to the crown and top piece, ensuring the side seams are aligned.
Now, sew to secure. Make a second cute bucket hat by following steps 3-6.
7. Create one more hat piece
Once that’s done, we can put this sheer bucket hat together in the next step!
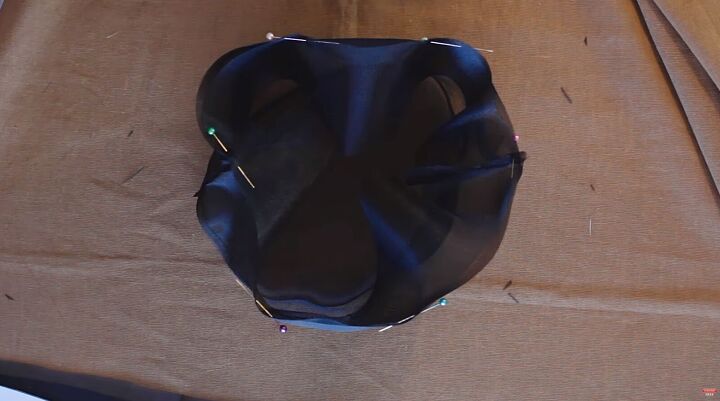
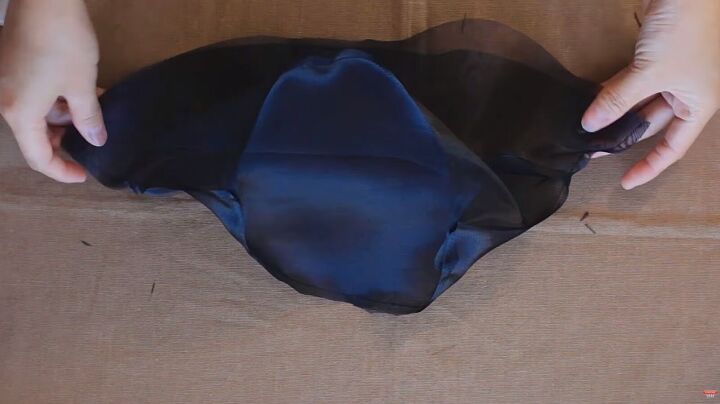
8. Join the two custom bucket hats
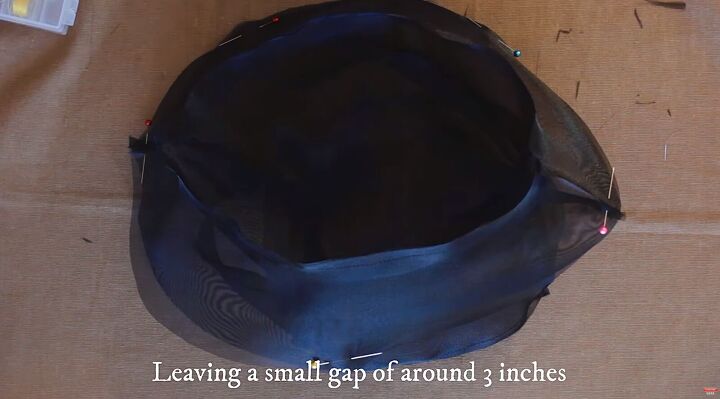
Place both hat pieces right sides facing, and align the seams. Then, pin the brim all around and leave a small 3-inch gap.
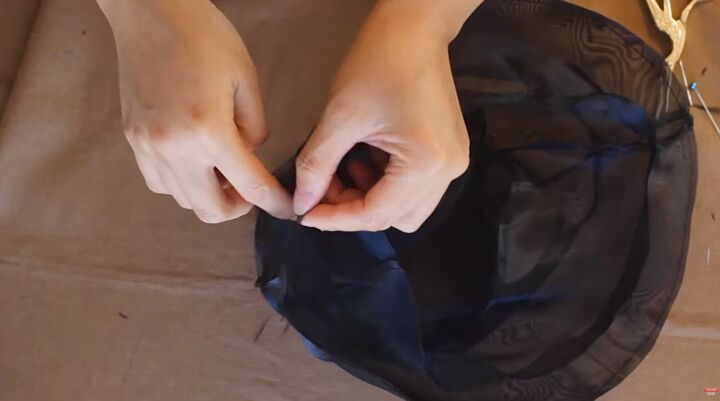
9. Turn right sides out
Through the 3-inch gap, turn the sheer bucket hat right sides out.
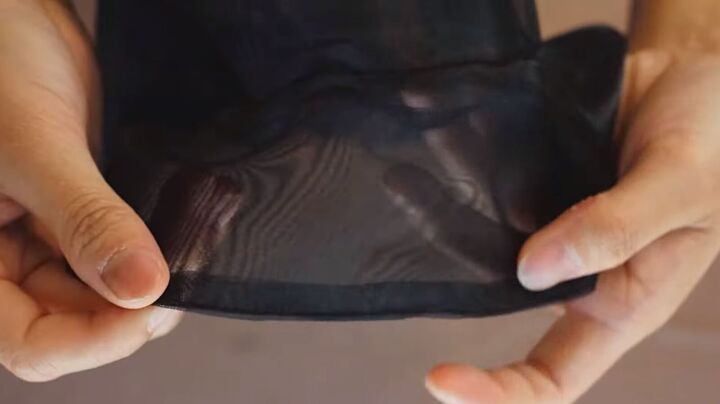
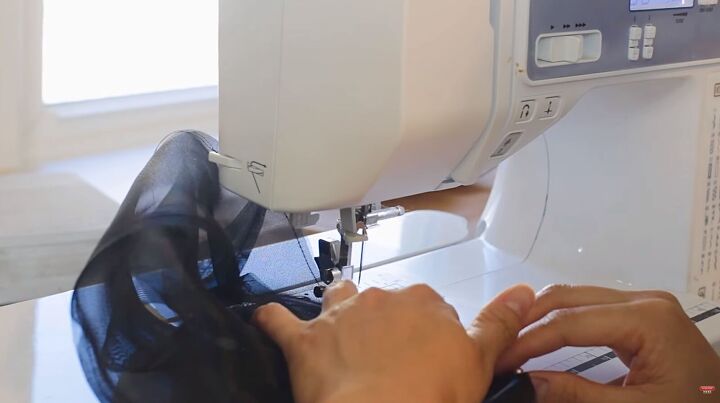
10. Topstitch the brim
Next, topstitch the brim of your cute bucket hat and watch it take shape!
Tip: You can stabilize the brim if you want.
How to make a sheer bucket hat
That’s it! Your all-black bucket hat (also known as a fisherman’s hat) is complete! It’s such an easy DIY, and you could probably make a couple more of these in many colors, too. Thanks for joining me, and good luck!
The author may collect a small share of sales from the links on this page.


Comments
Join the conversation