How to Make a Cute, Sheer DIY Bucket Hat For Spring & Summer

I’m going to show you how to make a DIY bucket hat with embroidered net fabric. For this design, I’m going to flatline/underline the embroidered netting with the stiff tulle to give the hat the thickness it needs.
This means that for this DIY, I’m going to layer the two fabrics together and treat them as one layer. This way, I can keep the transparency of the pretty embroidered netting and make the hat have more structure.
Tools and materials:
- Embroidered net fabric
- Bucket hat pattern
- Stiff tulle fabric
- Cutting mat
- Rotary cutter
- Weights
- Pins
- Sewing machine
- Seam and hem finish
- Scissors
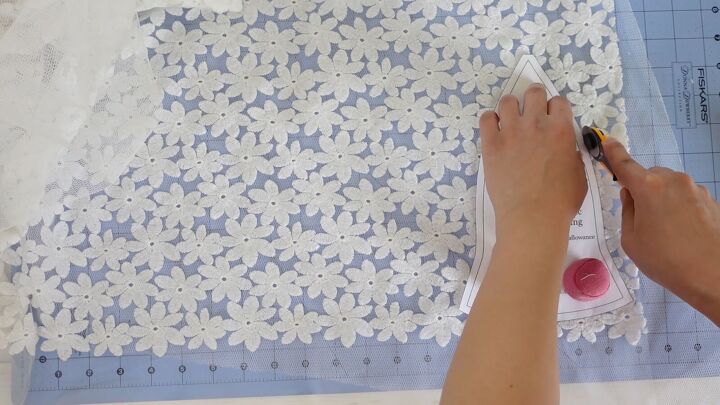
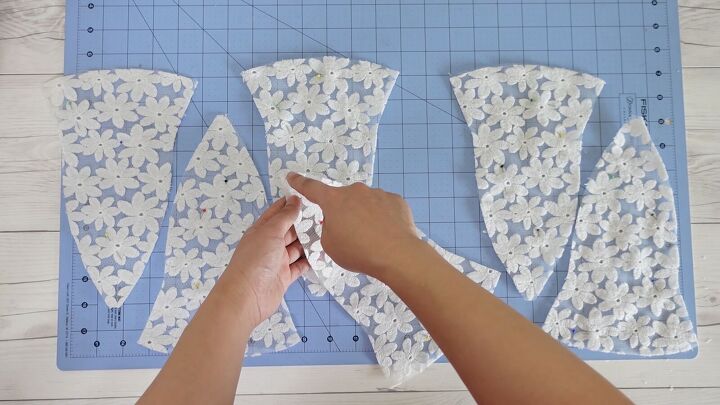
1. Cut the pieces
First, lay the stiff tulle on your cutting mat and place the embroidered netting over it. You can use my free bucket hat pattern.
Align the pattern with the straight line of your cutting mat or the edge of your table to keep the grain of the fabric straight. Then, align the arrow on the pattern with the grain of the fabric. Cut out six of the same pieces using a rotary cutter.
Tip: It is helpful to place weights on the pattern to stop it from moving around.
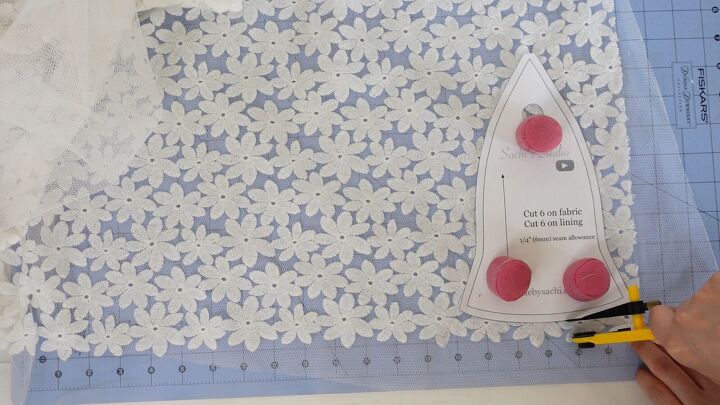
Add a half-inch to the hem of the hat for a seam allowance. You can make a hat with a bigger brim by adding more inches here in this way.
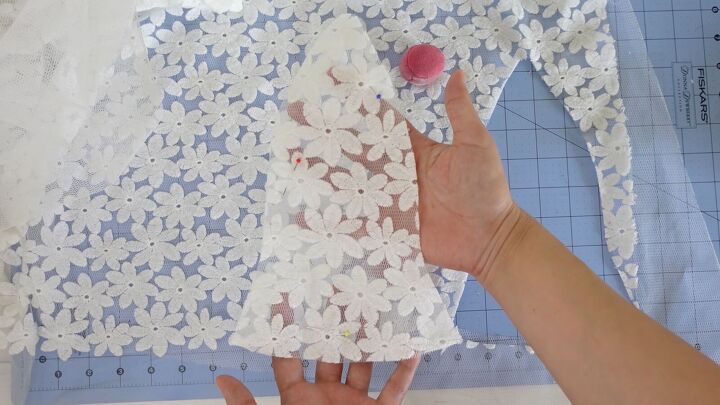
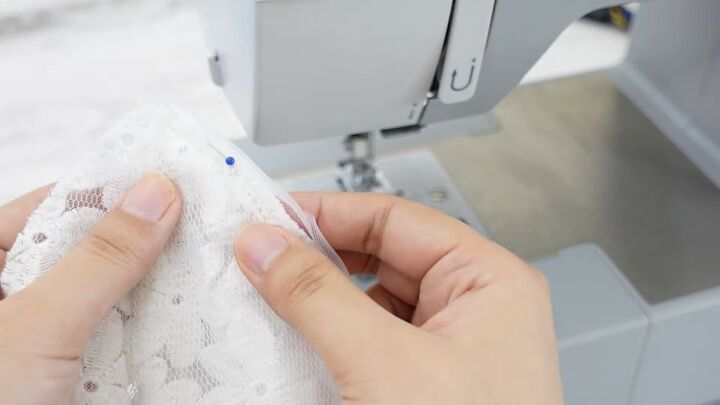
2. Pin
After removing the weights, place some pins through the fabrics to keep the two layers together. Pin through the embroidered areas so that the pins won't shift around.
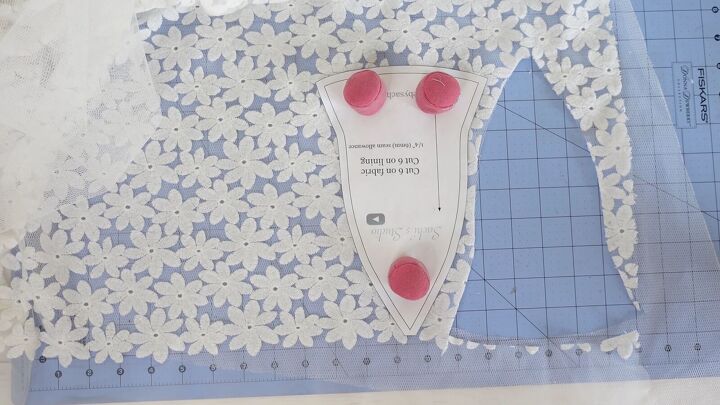
3. Repeat
Since I’m not going to worry about the pattern matching in this project, I flipped the pattern to save the fabric. Ensure to keep the grain of the fabric straight. Cut out five more pattern pieces.
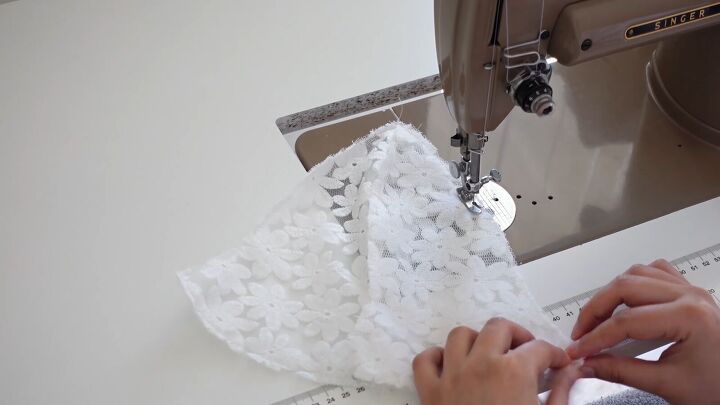
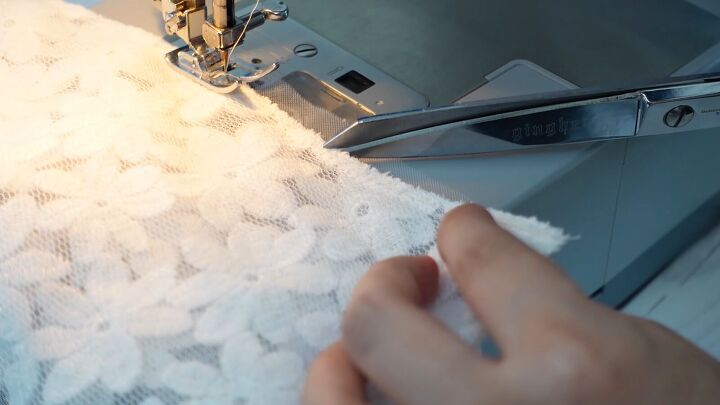
4. Sew the edges
Once you have cut out six pieces of double layers, sew around the edge of each piece about ⅛ or 3/16 of an inch in from the edge. You can remove the pins when you have sewn around the edge.
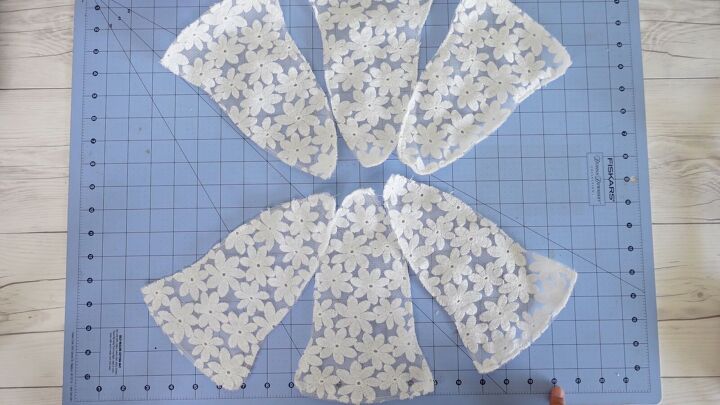
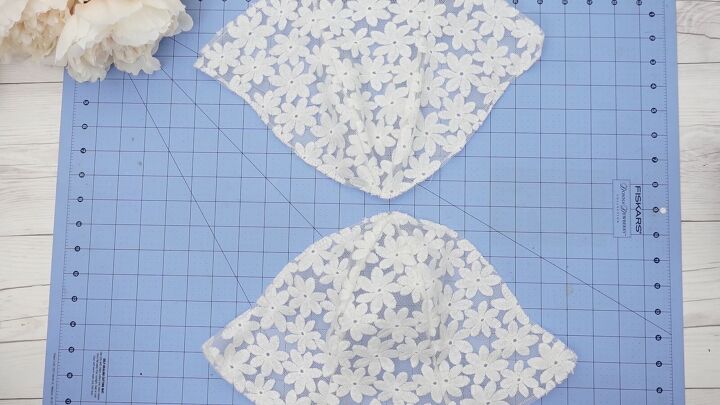
5. Connect the pieces
Arrange the pieces as shown above and sew two lots of three pieces together.
To do this, place one piece on top of another with the right sides touching and sew along one side with ¼ of an inch seam allowance.
Then, open the two pieces up. Place the third piece on top of the middle piece with the right sides touching and sew down the side.
6. Finish the edges
The next step is to wrap the edges with some seam and hem finish. For me, this is a must when it comes to sewing sheer fabric.
Trim the seam allowances just a little to make the edge smooth. Then wrap the seam allowance with your finish and pin it at the beginning.
You can also pin all the way down if that is easier for you. Proceed to sew down; I used a regular zigzag stitch for this.
When I came to the curve of the hat, I snipped a couple of notches to release the tension. I also pulled the curved seam allowance straight before wrapping it with the seam finish.
7. Repeat
Repeat this whole process with the other three sections of the hat.
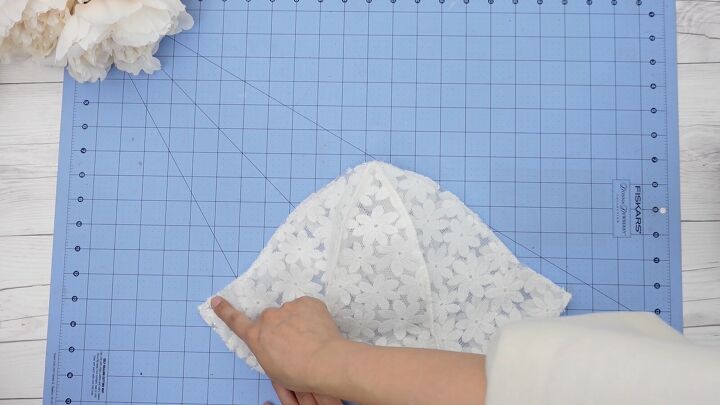
8. Connect the two pieces
Once you have your two parts, each made up of three sections, place one on top of the other with the right sides facing.
Sew all around the edges of the hat, obviously leaving the bottom part open so that you can put it on your head.
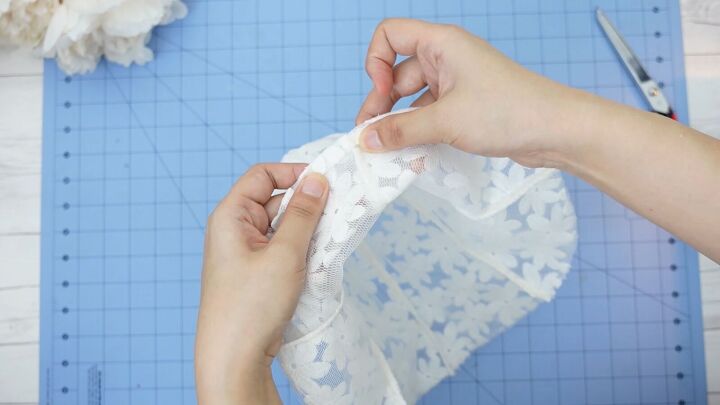
9. Hem the bottom
The final step is to finish the bottom of the hat by folding it in twice to create a hem and pin the hem down. Continue to sew it all the way around the hat.
DIY bucket hat tutorial
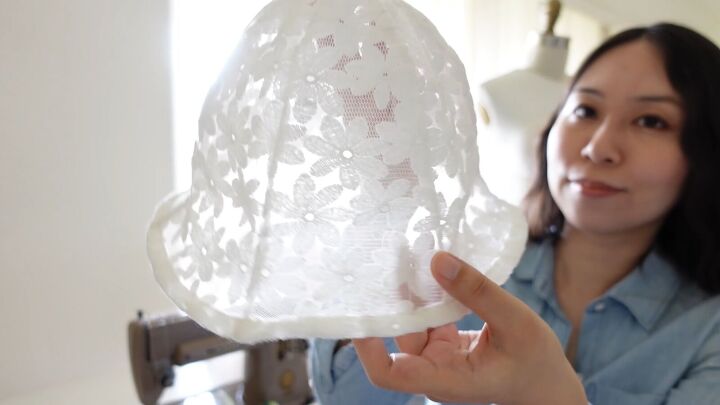
My DIY bucket hat is complete. I think it came out light and airy, holding its shape without any extra weight. The great thing about this hat is that you can throw it in your bag, and it will spring back to its shape when you take it out.
It might not protect you from the sun so much, but the sheer design looks super cute for spring and summer. It’s great on-the-go coverage for when you’re having a bad hair day!

Let me know what you think of this tutorial and the final result in the comments below.
14 Modest and Casual Spring Outfit Ideas!
The author may collect a small share of sales from the links on this page.


Comments
Join the conversation
and I just gave all my tulle away to the thrift store. This would be perfect as my head gets so hot when I wear hats in the summer