How to Make an Organza DIY Bucket Hat That's Perfect for Summer

In this tutorial, I’m going to show you how to level up your DIY bucket hat game! I have created a 5-panel bucket hat sewing pattern for this, and I’ll show you how to sew a bucket hat with this pattern.
You can use any fabric with this pattern, but I decided to go for organza to bring in a chic element. Let’s get sewing!
Tools and materials:
- Free bucket hat sewing pattern ( sign up to my newsletter to get the pattern)
- Cutting mat
- weights/pins
- ½ yard organza or other fabric like cotton, linen, or canvas
- 26” ribbon or binding
- Rotary blade or scissors
- Sewing machine
- Matching thread
1. Download and print the pattern
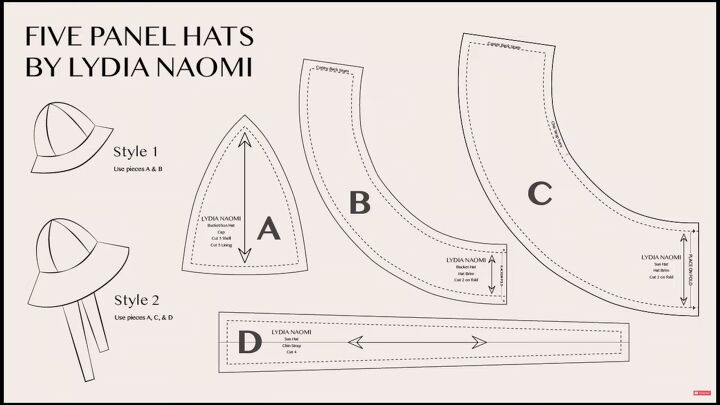
Head on over here to download the free bucket hat sewing pattern. You’ll notice this hat has two styles with four different pieces.
The DIY bucket hat has a head circumference of 24.5 inches. It sounds like a lot, but for me, it fits well.
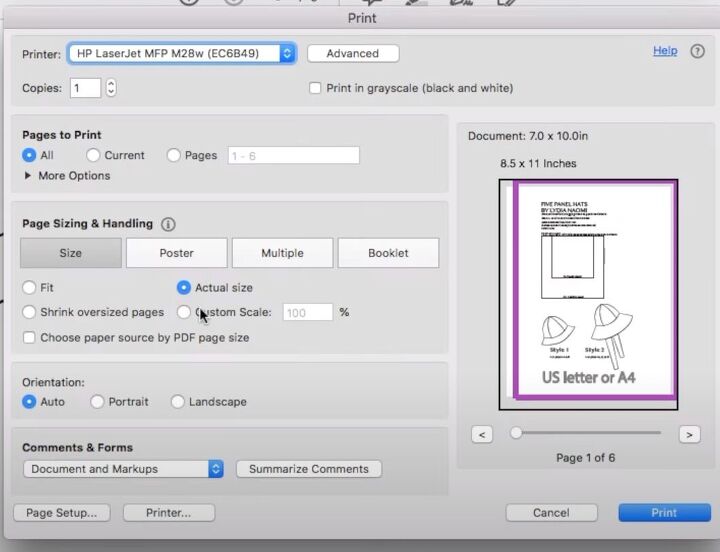
When printing the pattern, make sure to select the “actual size” scale or a 100% scale on an A4 or US letter paper size.
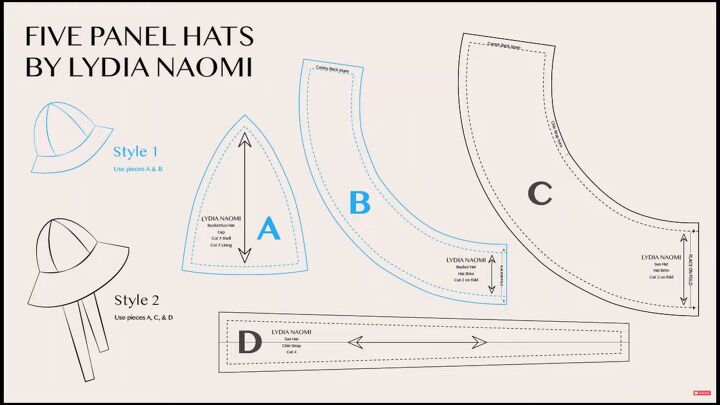
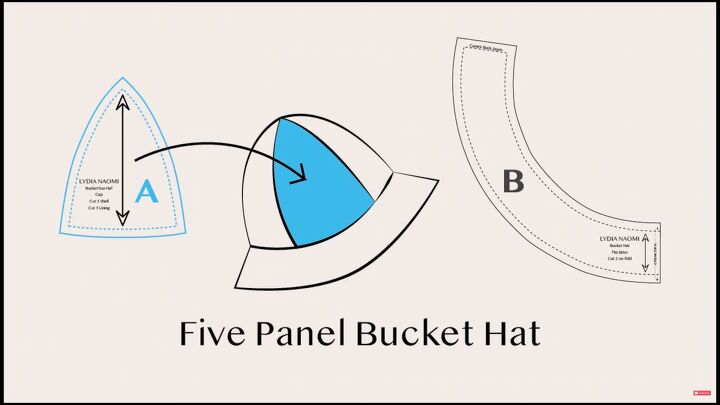
You'll only need to use pieces A and B for this cute little DIY bucket hat. The triangular piece is one of 5 panels that make up the cap of the hat. So, go ahead and cut 10 of these, 5 for the outer fabric and 5 for the lining.
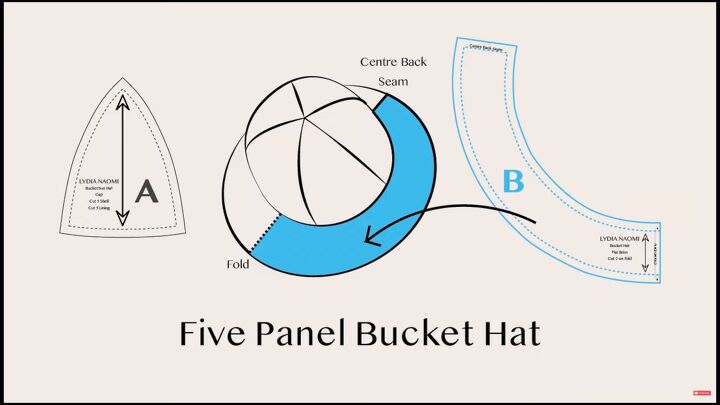
The brim piece is to be cut on the fold to create the entire hat brim with a seam in the back. You’ll need two of these.
Note: The seam allowance for this pattern is 3/8” all around.
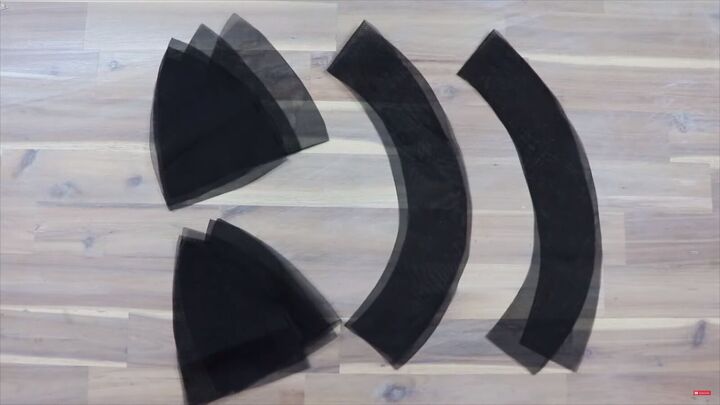
2. Cut the pieces
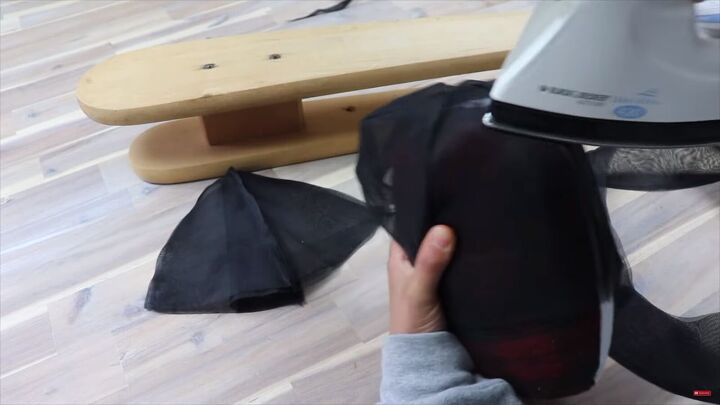
I’m using a rotary cutter and mat. Also, since organza shifts easily, I made sure to pre-fold and iron the fabric. Also, be sure not to cut these panels off grain when using organza.
So, cut;
- 2 brim pieces on the fold
- 10 hat cap pieces
You can also fold your fabric four times, iron, and cut to make more pieces without cutting the cap pieces individually.
Tip: If you’re a beginner, I suggest doing your DIY bucket hat in cotton, linen, or canvas.
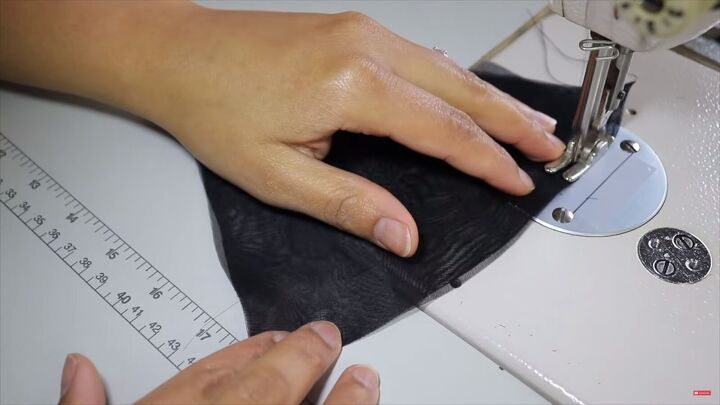
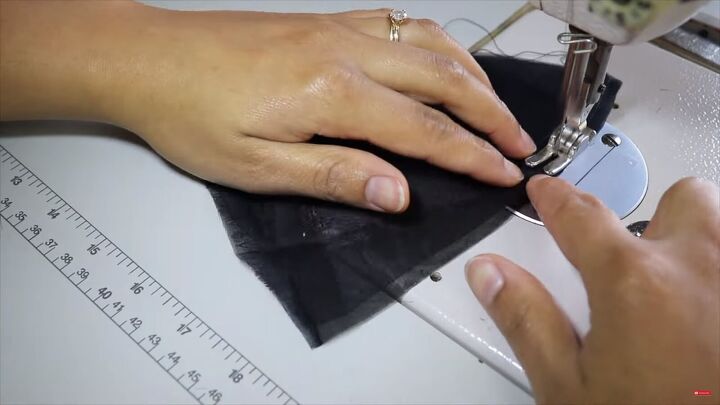
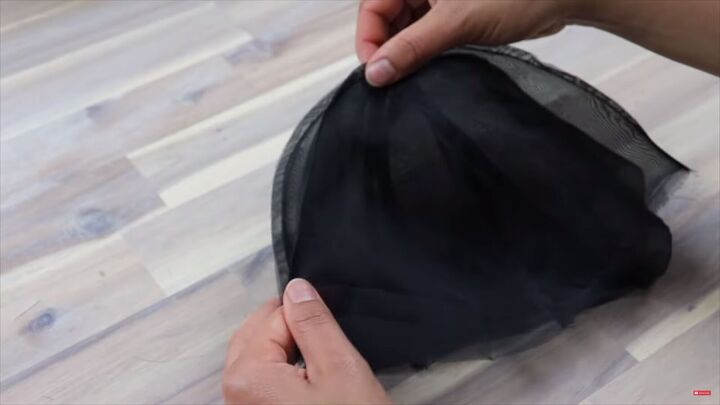
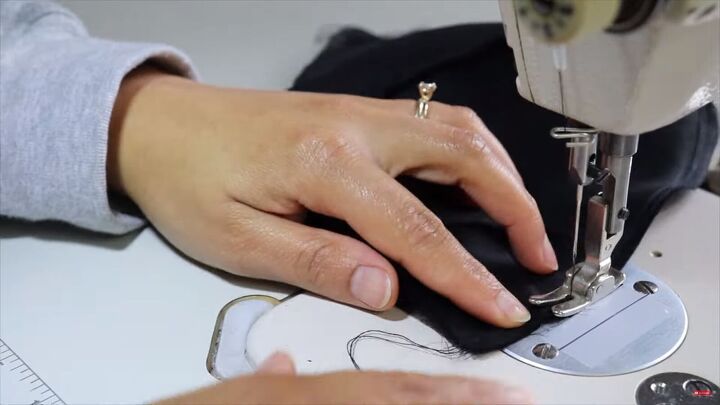
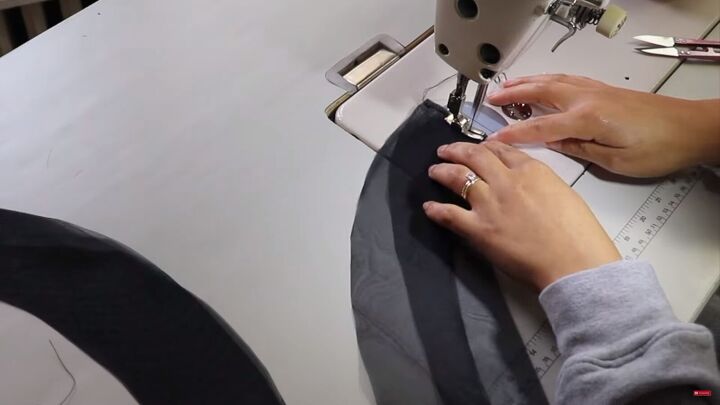
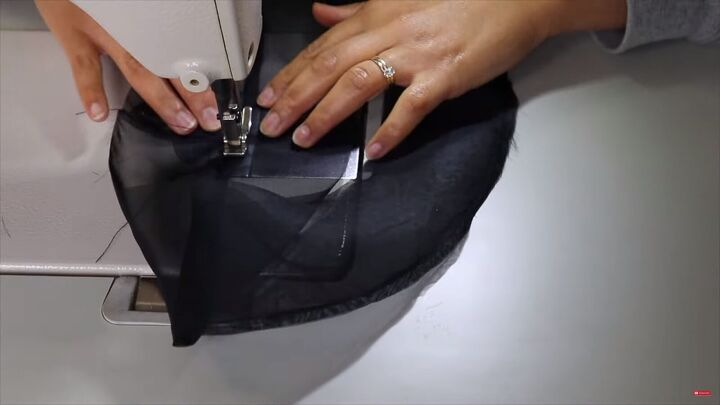
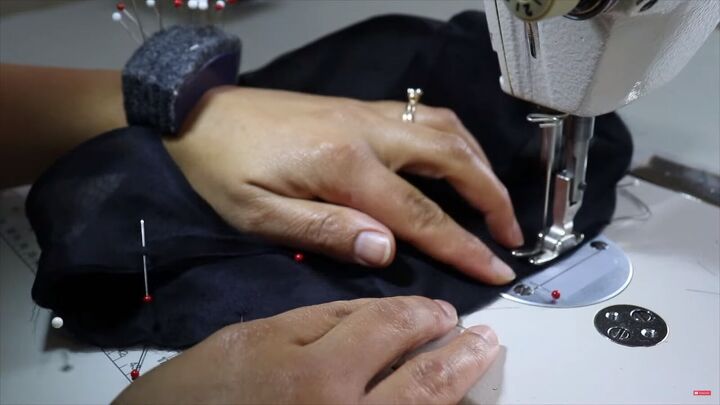
3. Sew the cap pieces
Now, I will show you how to sew the bucket hat! Start by sewing two cap pieces together on one long side, right sides together.
Open up the sewn panel and add another panel to create a 3-panel portion. Line the new panel to the center seam of the stitched panel.
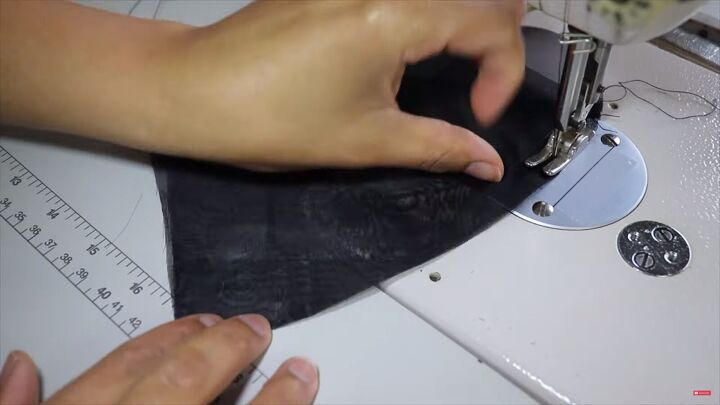
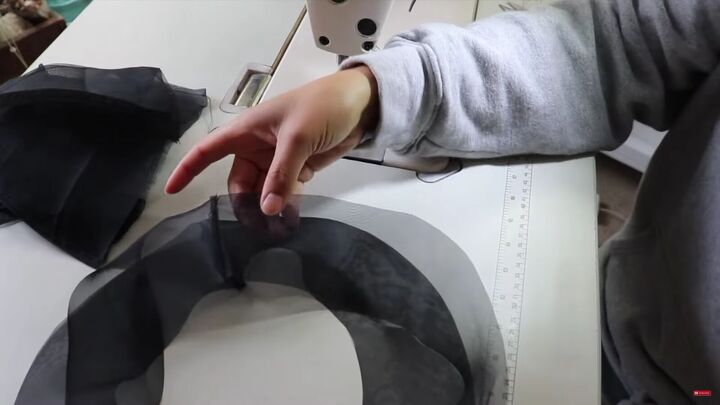
Next, sew the remaining 2-panel pieces together.
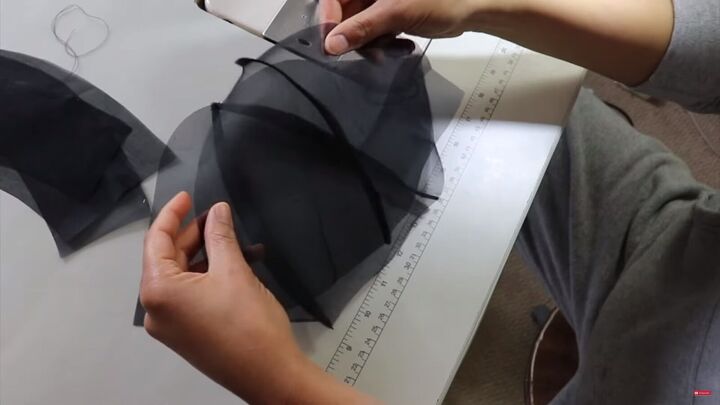
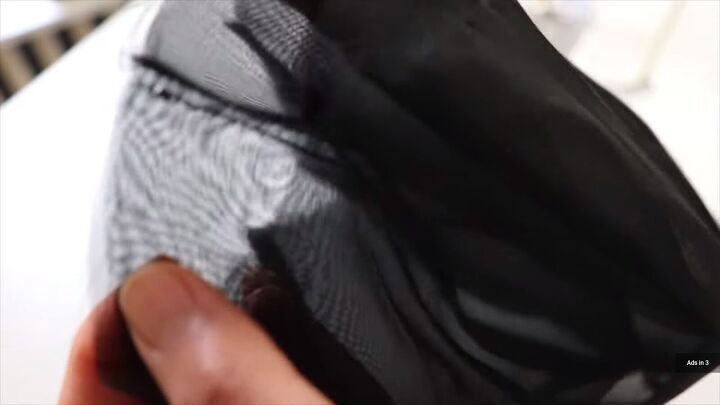
Then, sew this 3-panel piece to your 2-panel piece in one long seam to create the full 5-panel cap.
Make sure to match the panel seams at the top so that they intersect perfectly.
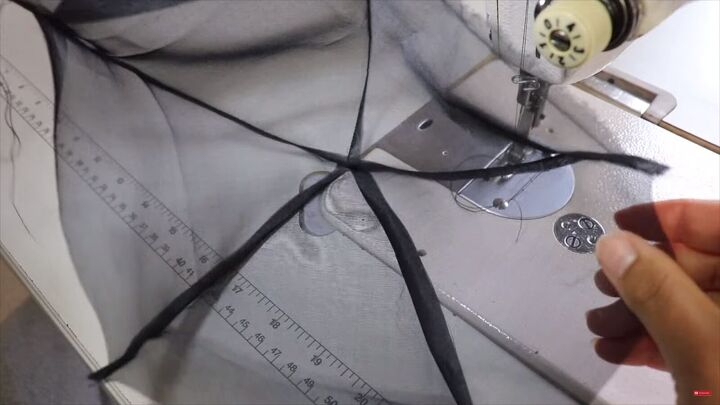
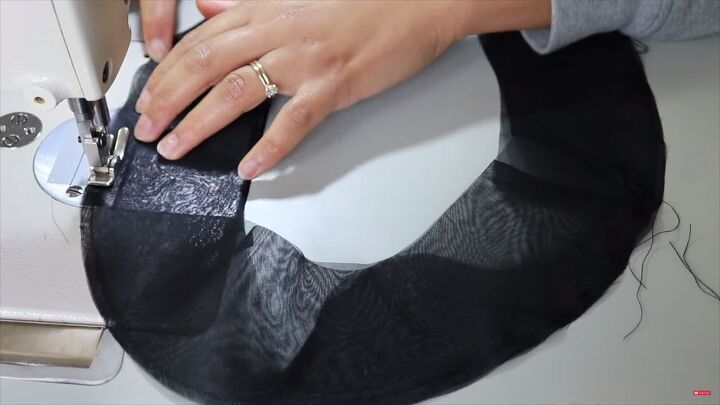
Next, repeat this with the other 5-panel pieces to create a separate cap.
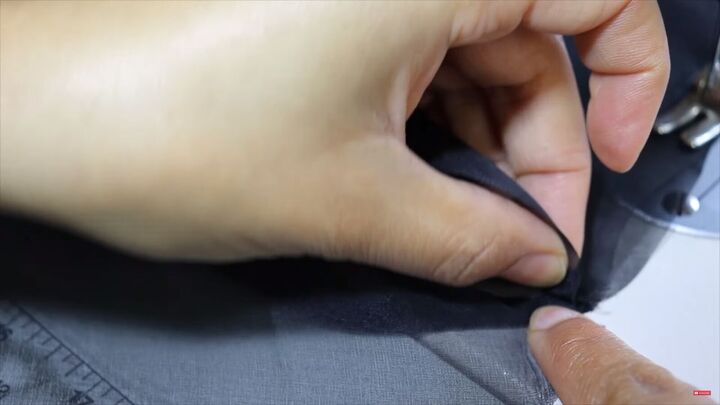
Use your tailor's ham to iron the seams to one side. You could also topstitch your seams as you sew them.
You can skip this step if it does not seem easy, but this will keep your shell and lining caps together. On each separate cap, find your long seam and match these seams together. Make sure the same amount of panels is facing each other.
Now, sew along the long seam to connect both caps.
Flip it out, and you have an inseparable cap.
Tip: Alternatively, place the caps together and hand-stitch the top.
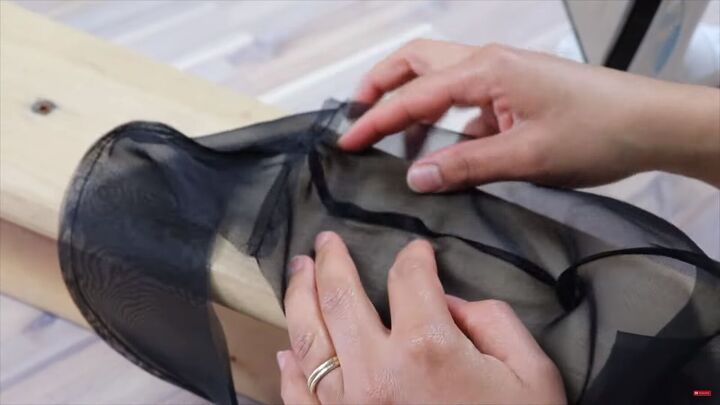
4. Sew the brim pieces
Take your two brim pieces, and with the right sides together, sew the open ends.
Finger press or iron the seams open and place each piece right sides together. That means the smooth side of your seam will be touching.
Sew around the outer perimeter of the brim.
Open the brim and iron the seam allowance to one side so that you can understitch it. This is an optional step but gives off a nice, clean, finished look.
Now understitch the seam. Ensure the seam is facing the side that will be facing down when wearing the hat.
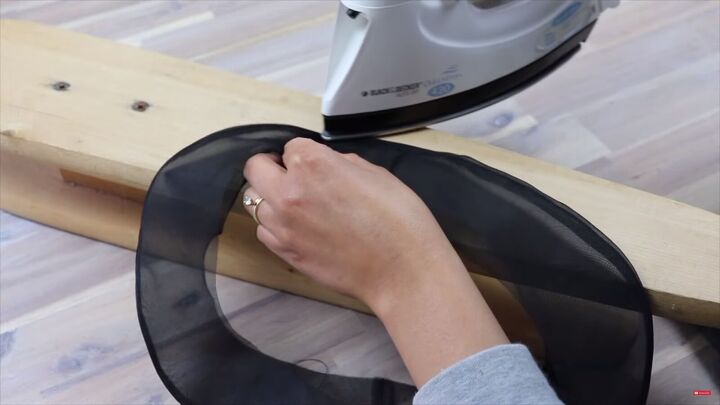
Turn this out and iron the edges.
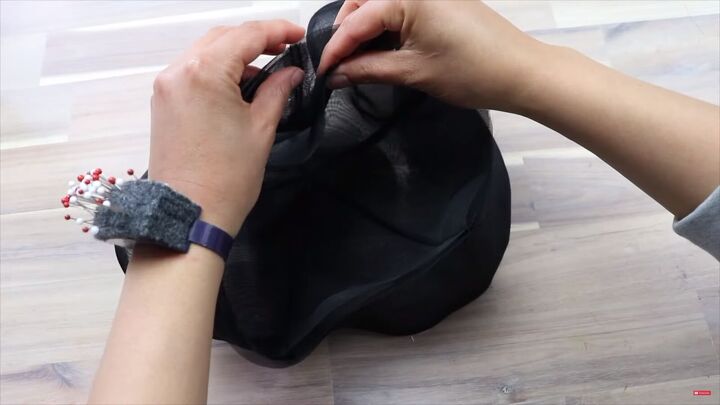
5. Assemble the DIY bucket hat
Place your cap right sides down, and match the raw edges of the brim to the cap’s raw edges. The right sides of the brim should be facing down, too.
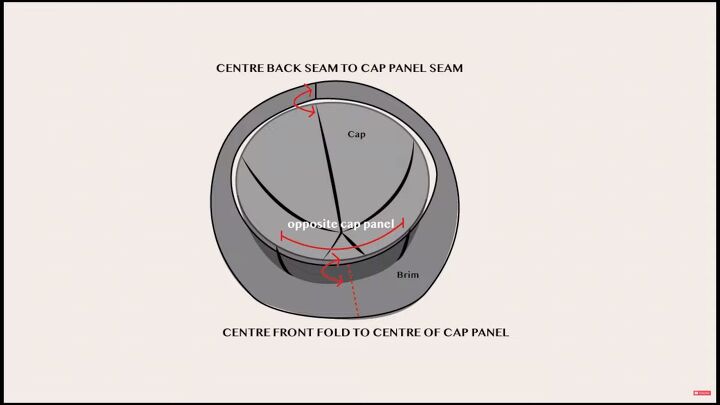
Be sure to match the seams accordingly.
Pin all the way around and sew!
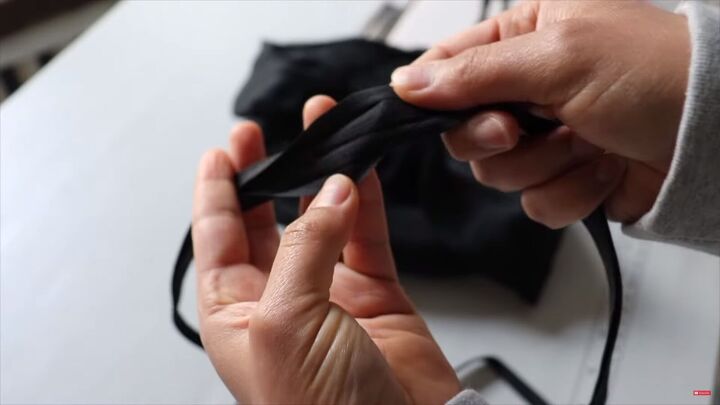
6. Add binding
Since I don’t want this raw edge showing and I want to cover the seam, I opted for a piece of binding.
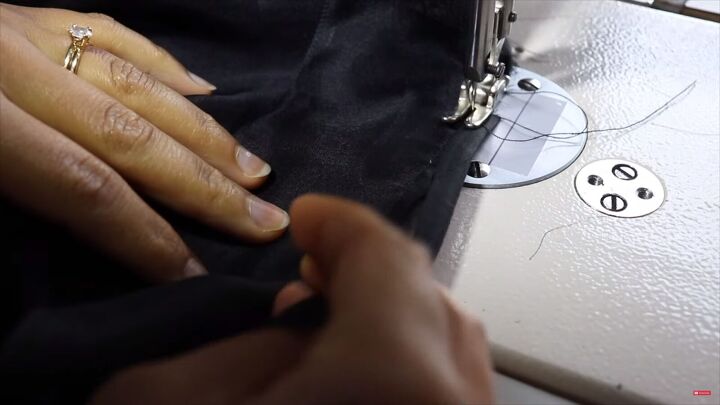
With the brim of your hat facing up, sew your ribbon to the seam allowance ⅛” away from the original seam.
When you come back to where you began, fold under the raw edge of the ribbon so it covers the other end.
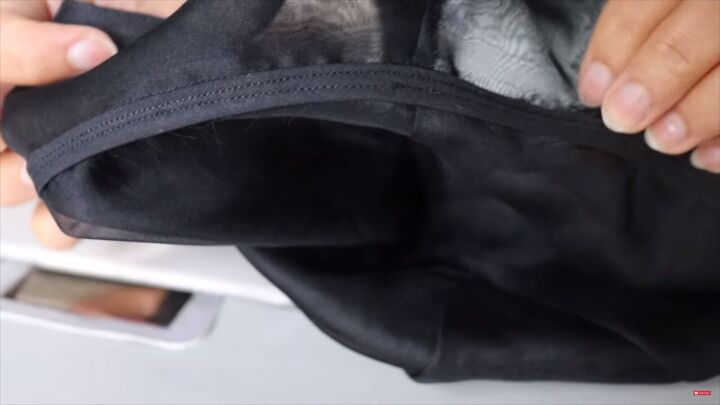
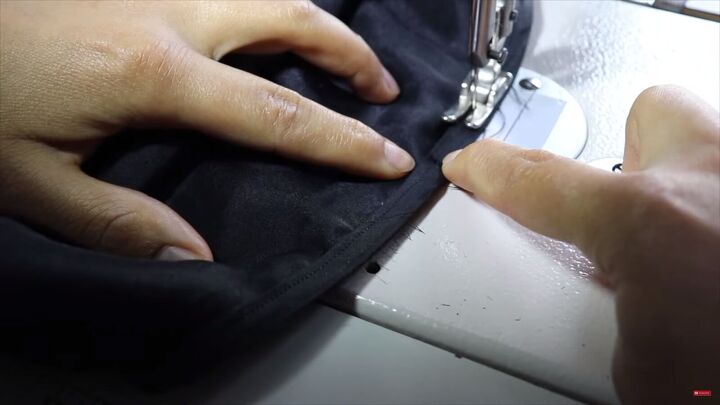
Push your seam allowance upward and do a topstitch about a ¼ “ away from the seam.
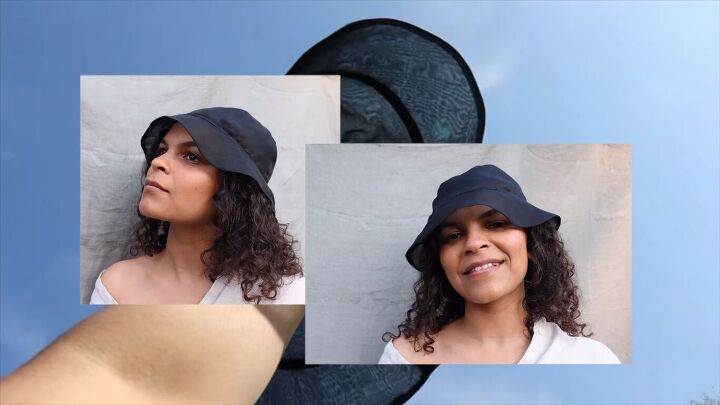
DIY bucket hat tutorial
Here’s the finished DIY bucket hat! I hope you enjoyed this as much as I did. Now you can make your own bucket hat in any color or print that you like!
The author may collect a small share of sales from the links on this page.


Comments
Join the conversation