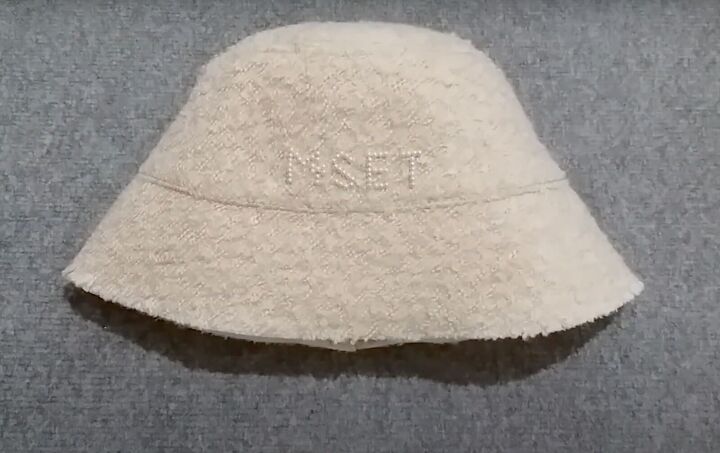
How to Make a DIY Bucket Hat Without a Sewing Machine

A bucket hat is a perfect accessory for those days when you need some sun protection or your hair isn’t at its best. This DIY bucket hat is a chic head topper that even a novice at sewing can whip up in a single afternoon.
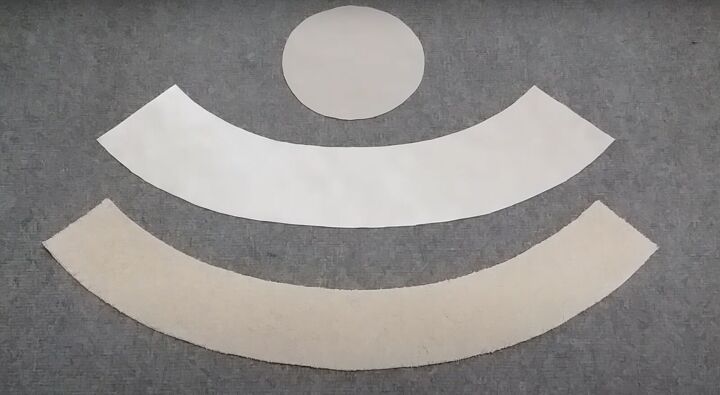
My bucket hat pattern uses just 3 pieces to make this charming chapeau. Let me show you how to make the DIY bucket hat right now.
Tools and materials:
- Outer fabric
- Satin lining or second outer fabric if you want to make it reversible
- Fusible interfacing
- Measuring tape
- Pen
- Ribbon (optional)
- Pins
- Iron
- Needle and thread
- Sewing machine (optional)
- Decorative pearls, studs, or applique (optional)
1. Get your measurements
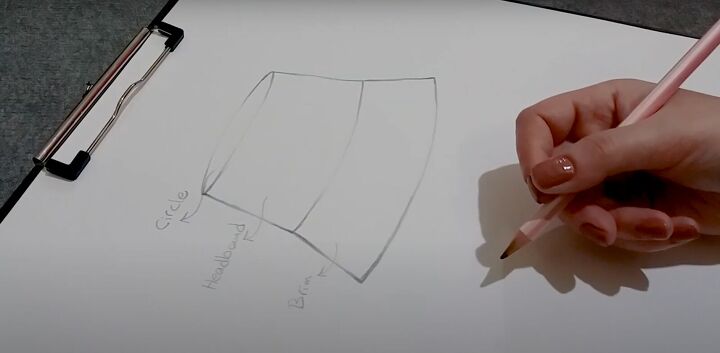
You can use new or repurposed fabric. There are 3 parts to the hat: circle, headband, and brim. The measurements for these pieces will be the same for the outer fabric, fusible interfacing, and lining so keep your measurements to measure all 3.
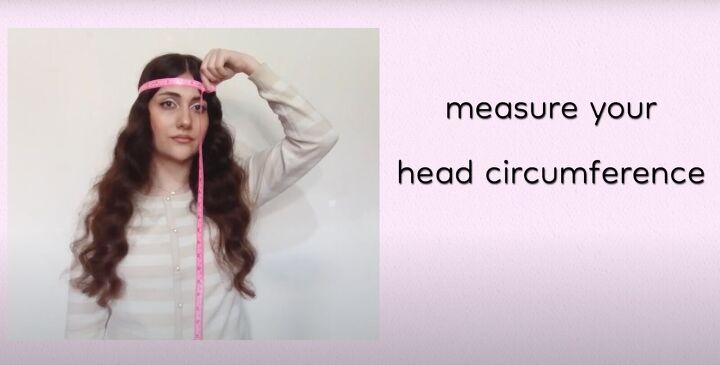
First, you’ll need to measure your head circumference. Don’t make it too tight. Calculate your head circumference and subtract 4 inches. Divide your result by 6.28 to find the radius.
2. Make the circle
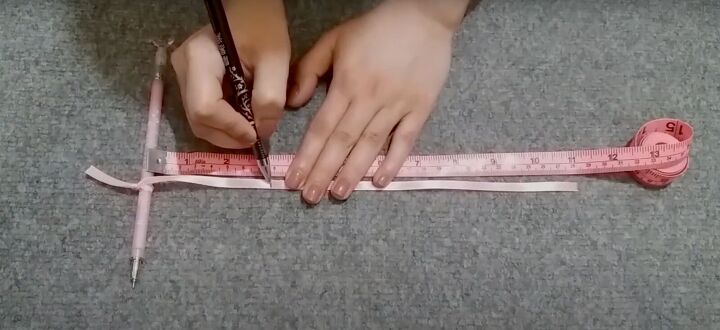
To draw the circle you could either use your measuring tape or use a ribbon tied to a pen. Mark your radius measurement on the ribbon and cut the ribbon at the mark. Hold the ribbon edge down with your non-dominant hand and pull to the use the pen to mark across the fabric.
Fold a piece of fabric in half.
Draw a half circle with the radius along the fold.
Cut this circle out with a ½-inch seam allowance.
3. Make the headband
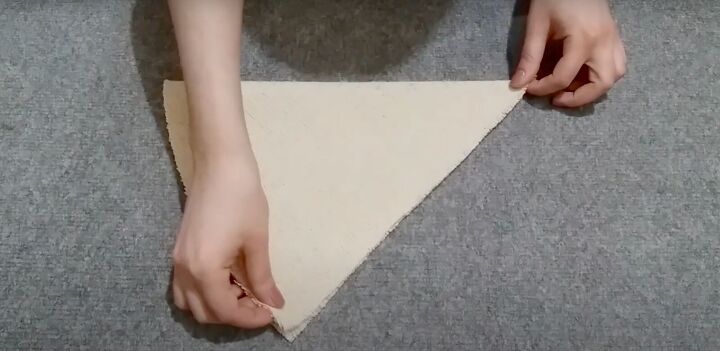
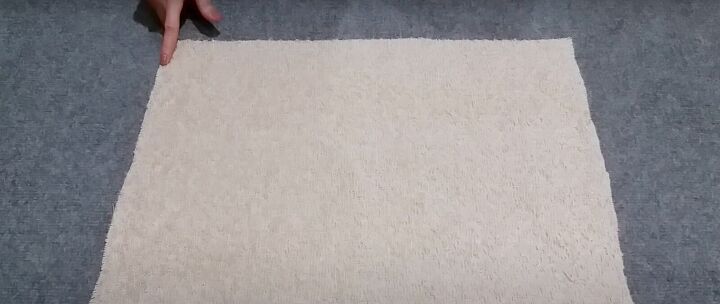
Use a piece of fabric that has a right-angle corner.
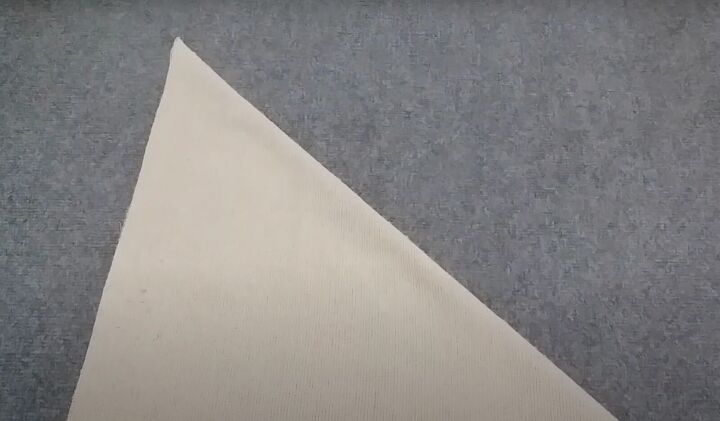
Fold the fabric in half diagonally, right sides together. Mark a ½-inch seam allowance from the raw edge. Use the top point of your triangle as the center.
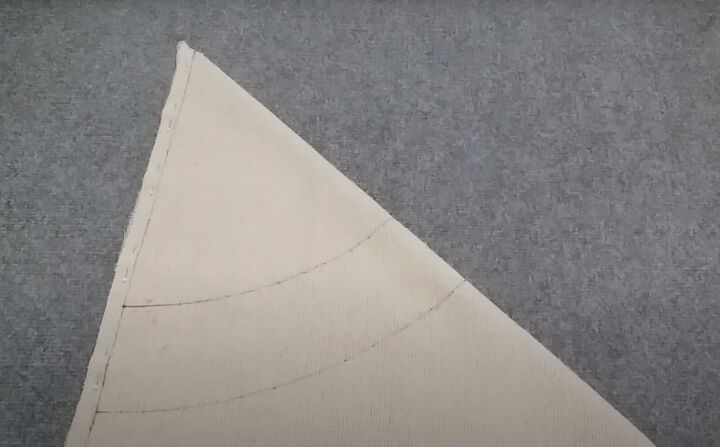
Calculate 4 times your radius and draw the first arc with your result. Add 3 ½ inches to this measurement and draw the second arc. Write down the second measurement to use for the top of the brim.
Double check your measurements with your measuring tape if using the ribbon method to make sure your results are accurate. Cut out the headband with a ½-inch seam allowance.
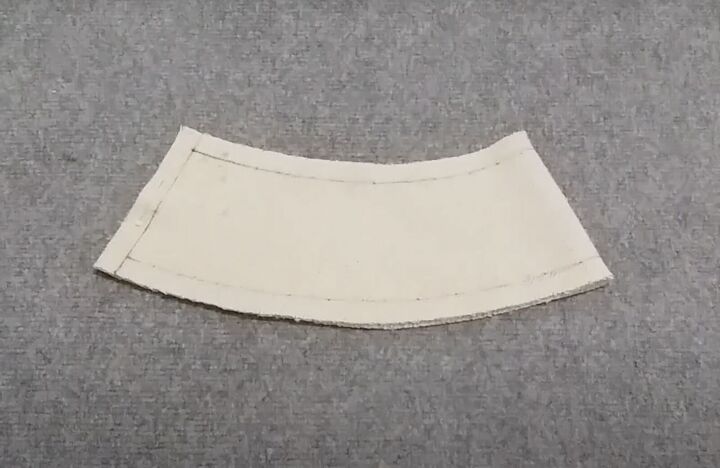
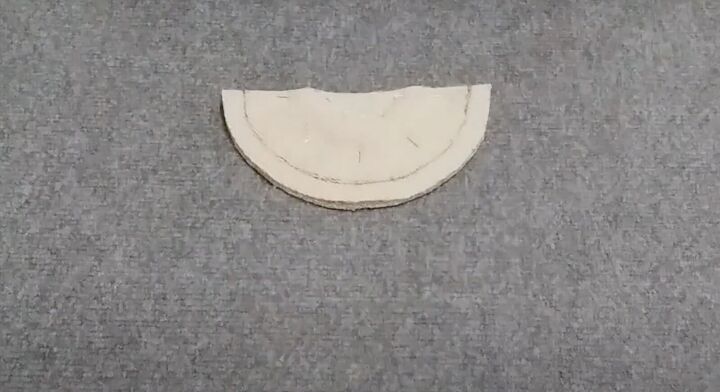
Discard the top part as you’re only going to use the wider bottom part.

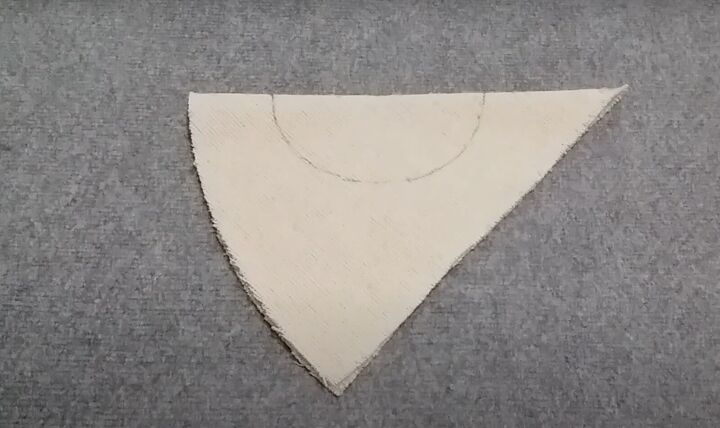
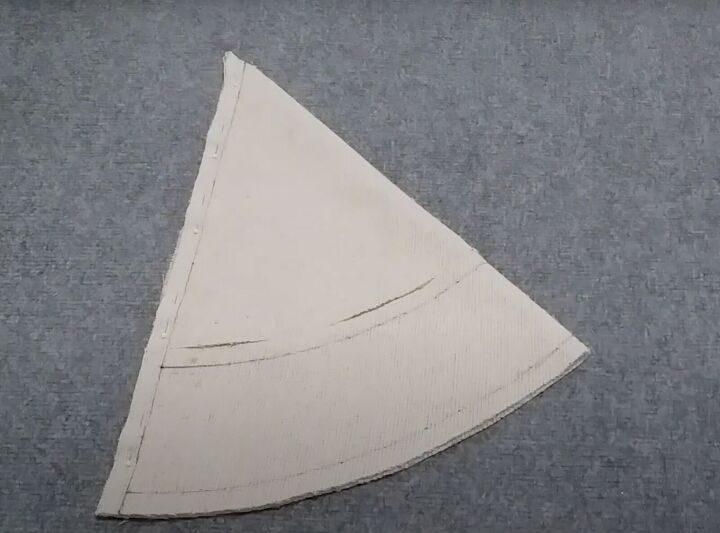
4. Make the brim
Use a piece of fabric that has a right-angle corner. Fold the fabric in half diagonally, right sides together. Mark a ½-inch seam allowance from the raw edge. Use the top point of your triangle as the center.
Draw the first arc using your bottom headband measurement. Add 2 ½ inches to the radius for the brim length. Draw the second arc. Cut out the fabric with a ½-inch seam allowance.
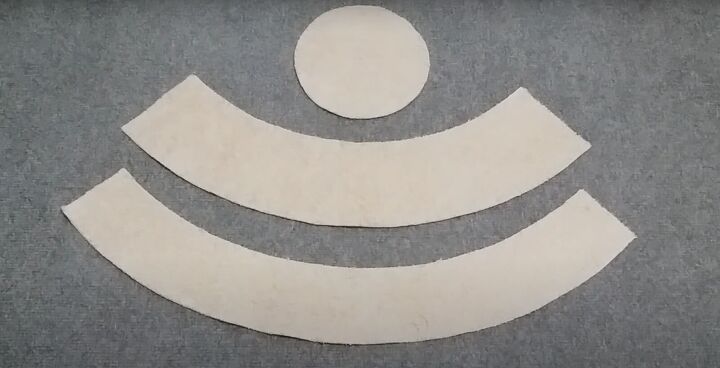
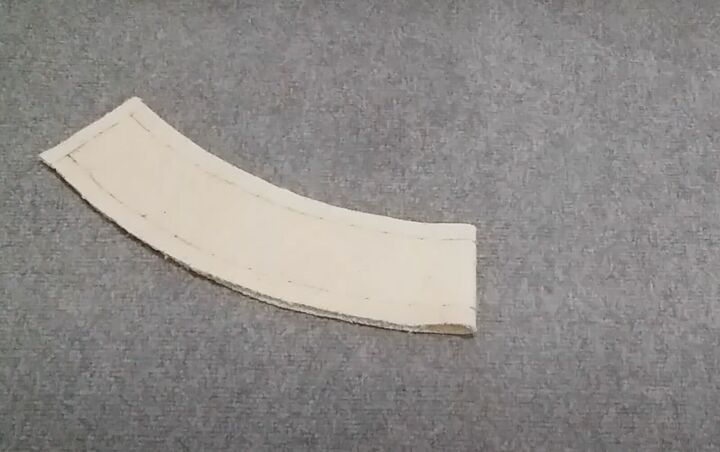
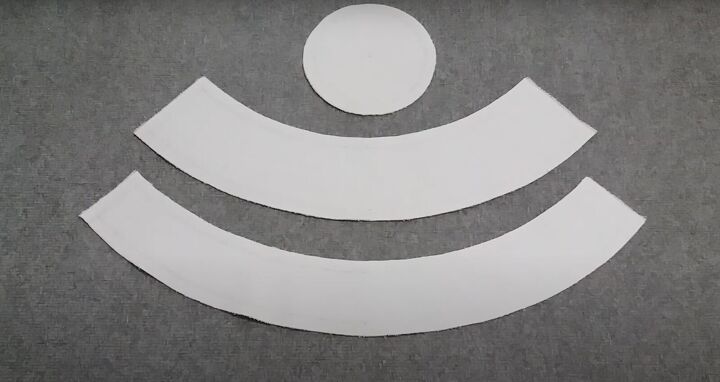
You should have these 3 pieces.
5. Make the fusible interfacing pieces
Cut the fusible interfacing to match the circle, headband, and brim pieces.
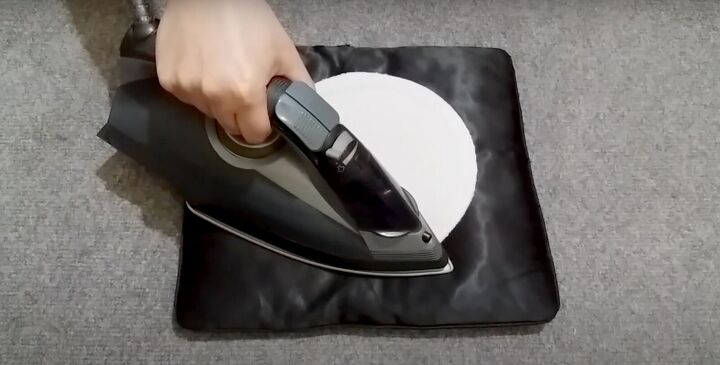
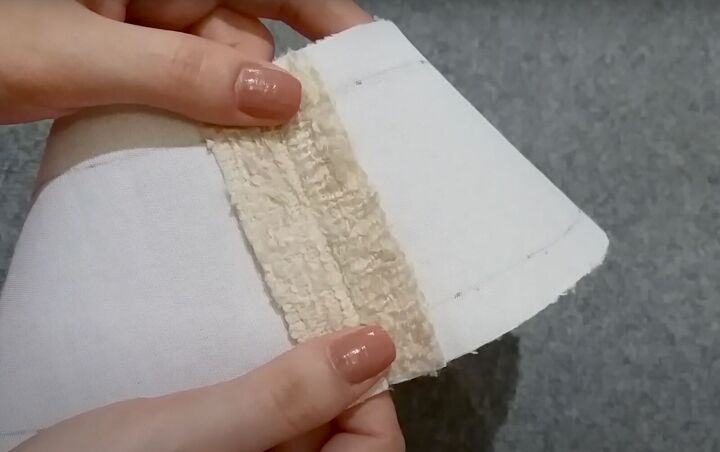
Press the fusible interfacing to their corresponding pieces. Make sure the right side faces outward.
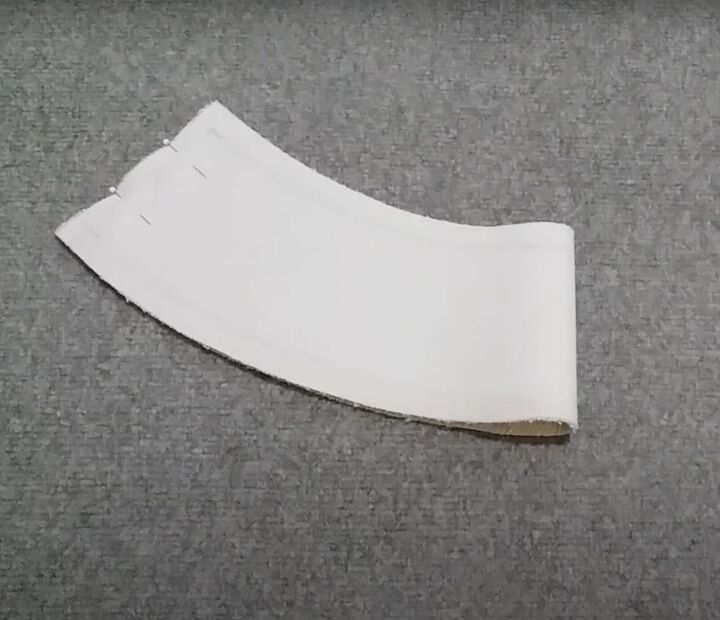
6. Sew the headband
Fold the headband in half right sides together. Pin on the short side.
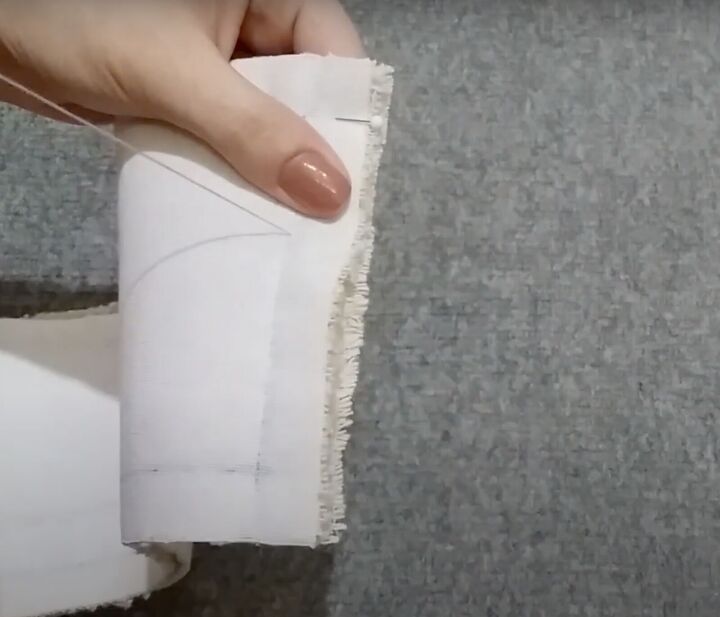
Sew together.
Press the seam open to flatten.
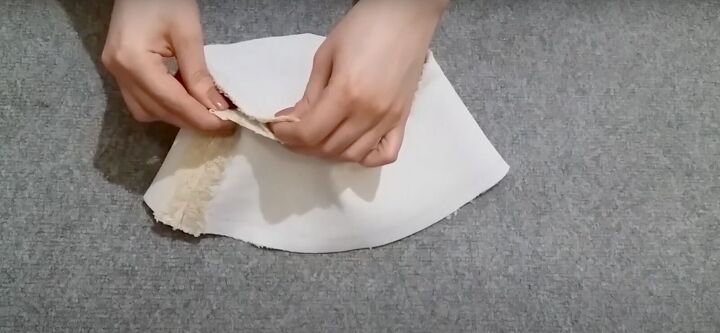
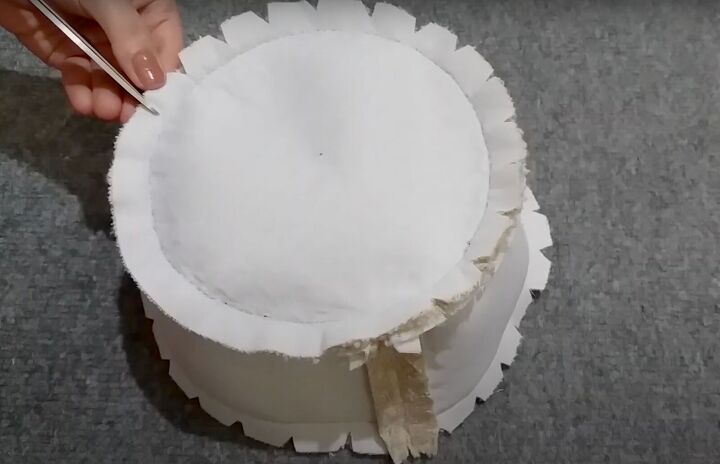
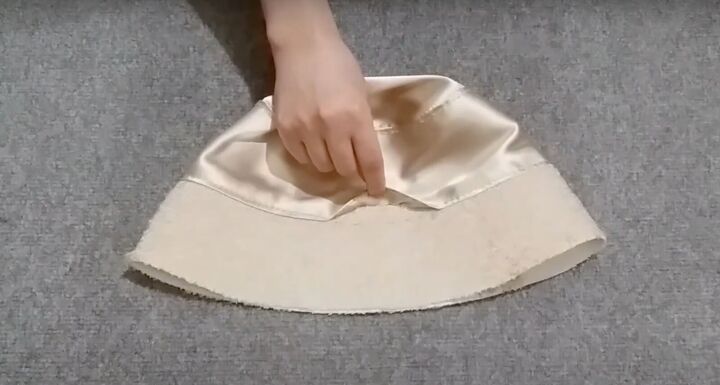
7. Attach the circle to the headband
Place the circle around the inside of the headband right sides together.
Pin in place. Sew along the pinned edge.

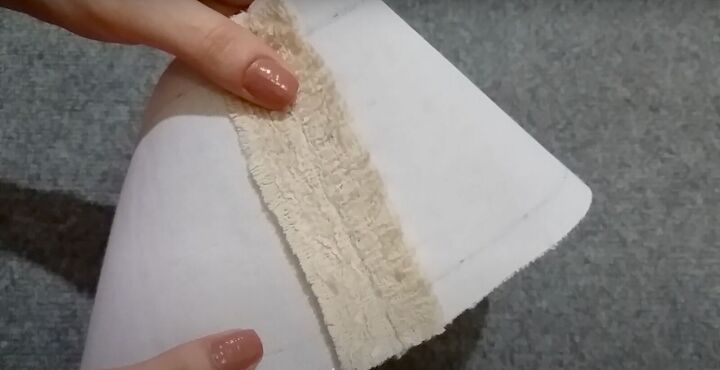
8. Sew the brim
Fold the brim in half, right sides together. Pin on the short side. Sew together.
Press the seam open to flatten.
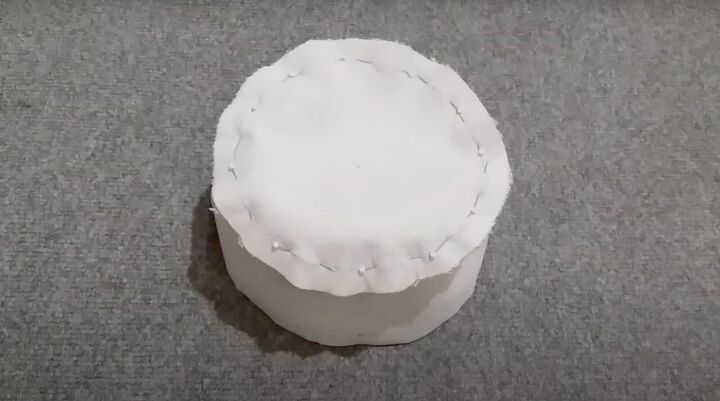
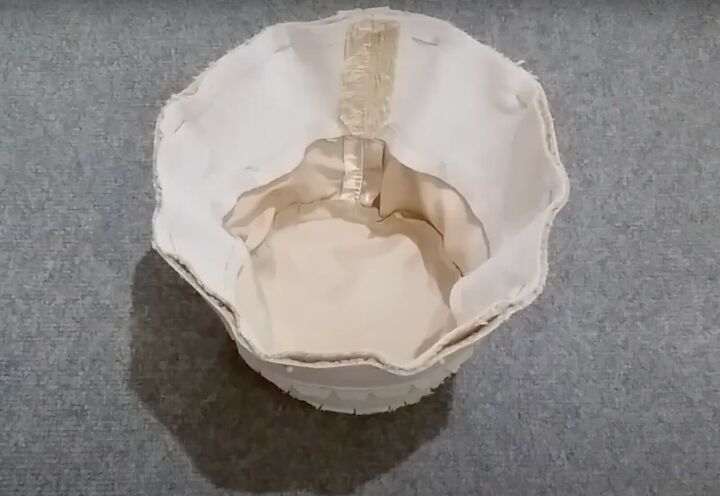
9. Attach the brim to the bucket
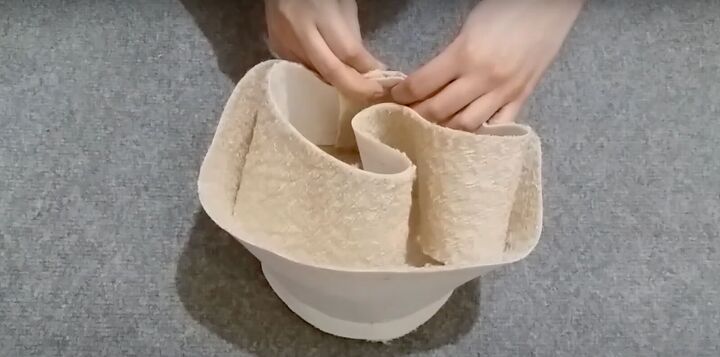
Keep the hat with the right sides inside. Place the brim inside so their right sides are together. Match up the seams. Pin there first.
Pin all around. Sew along the pinned areas.
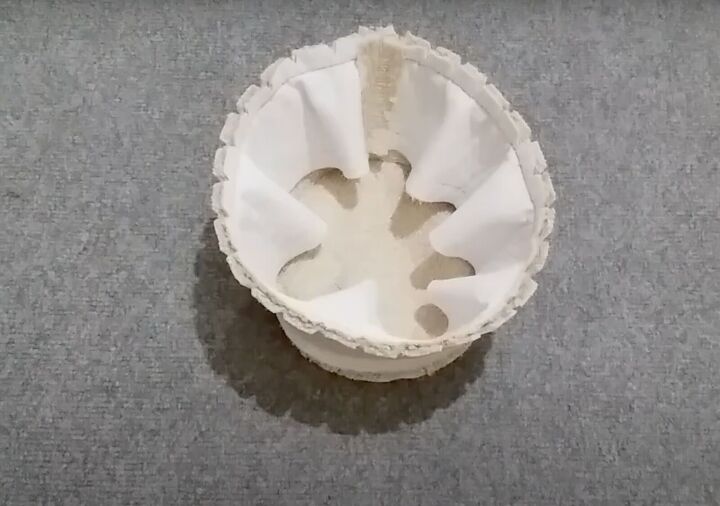
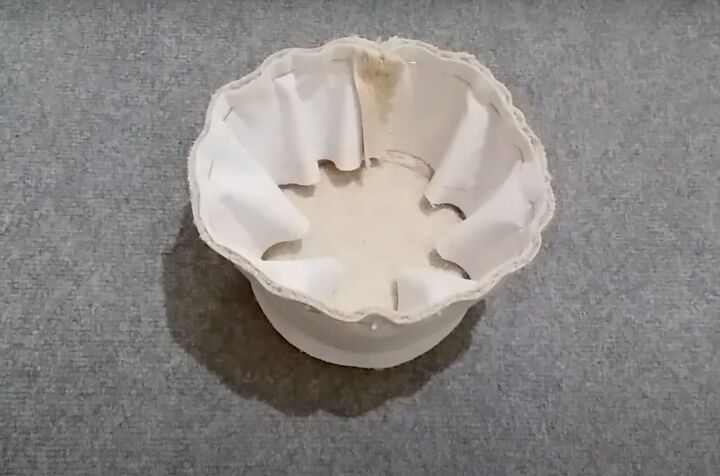
Cut notches all along the seam allowance of the brim.
Cut notches all along the seam allowance of the circle.
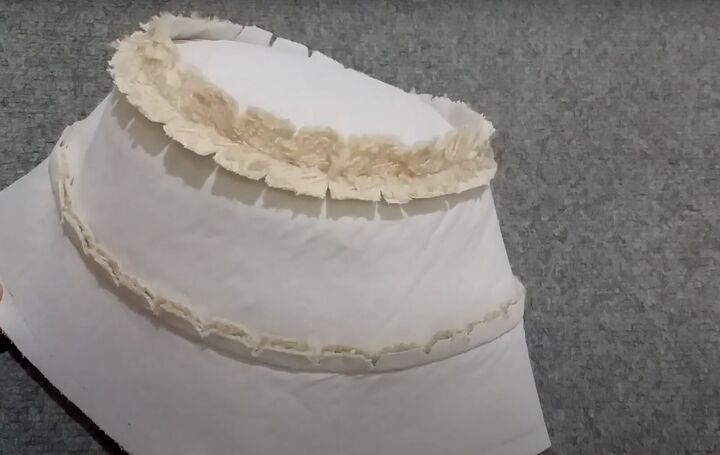
Press the circle seam allowance open and the brim’s seam allowance up towards the headband.
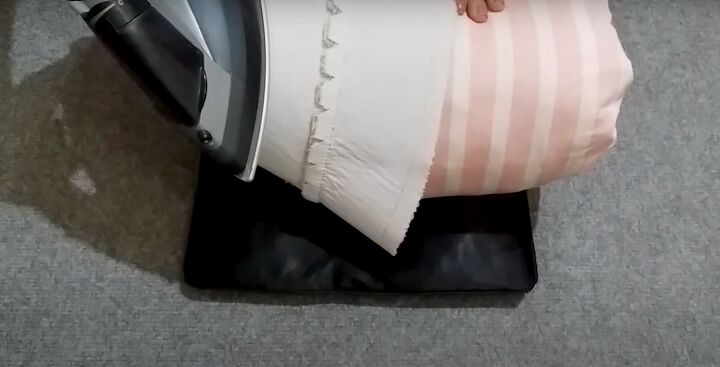
It’s helpful using a pillow for pressing the seam allowances.
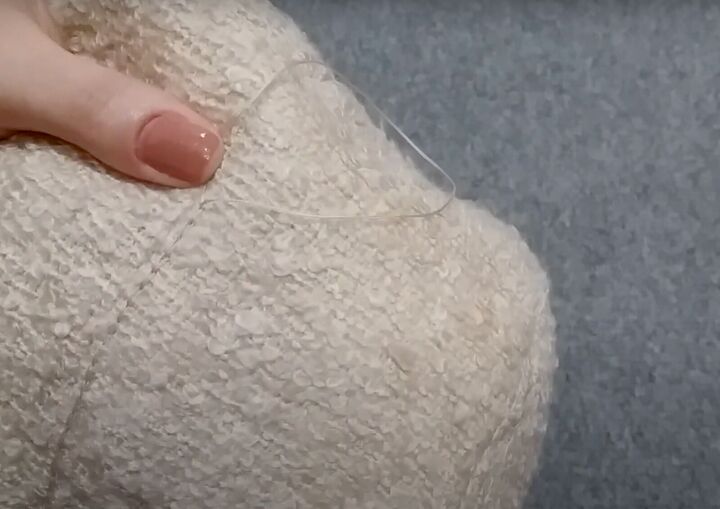
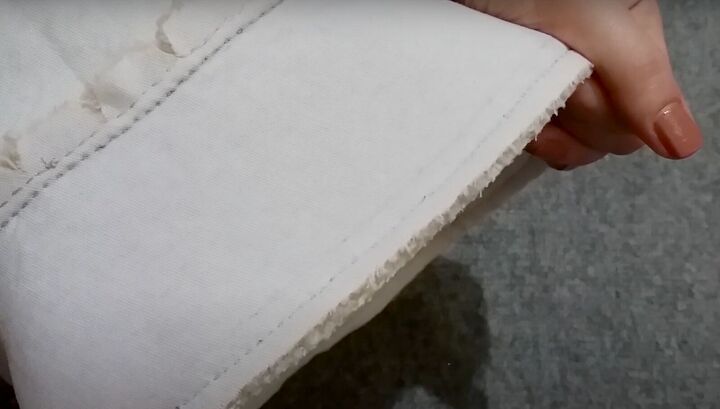
10. Sew the bucket hat
Turn the hat right side facing out. Topstitch either by hand or machine across the circle at both the top and bottom of the circle seam. Topstitch just above the brim and along the center back seam.
You can add decorative details as I did.
11. Make the lining
Cut the fabric pieces to match. If you want to make this a reversible hat, use another fabric. If you want a lining, use satin for the circle and the headband with the same outer fabric for the brim. Repeat the steps for sewing.
Leave a 1 ½ inch space unsewn between the headband and brim.
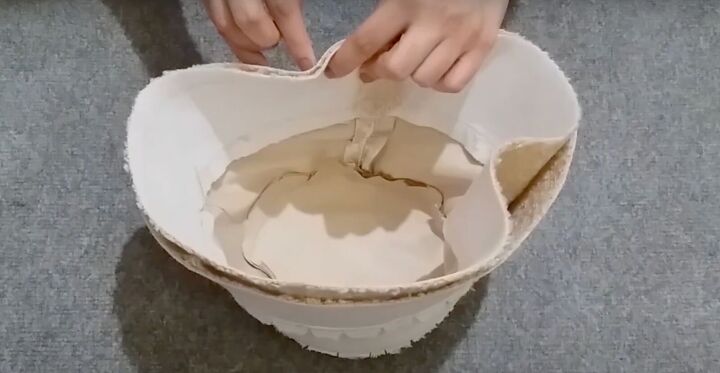
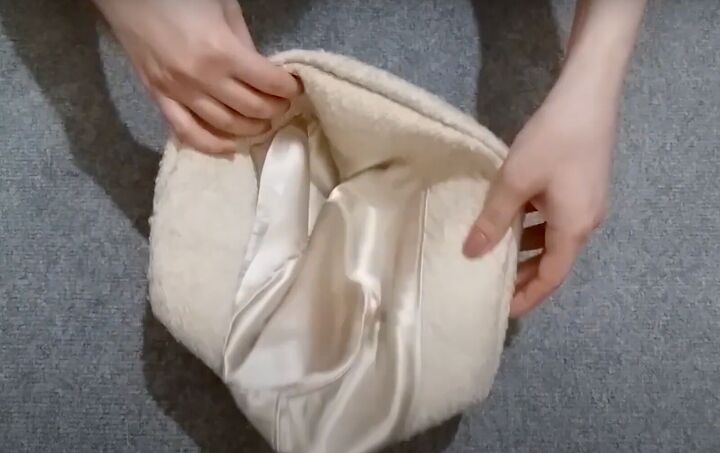
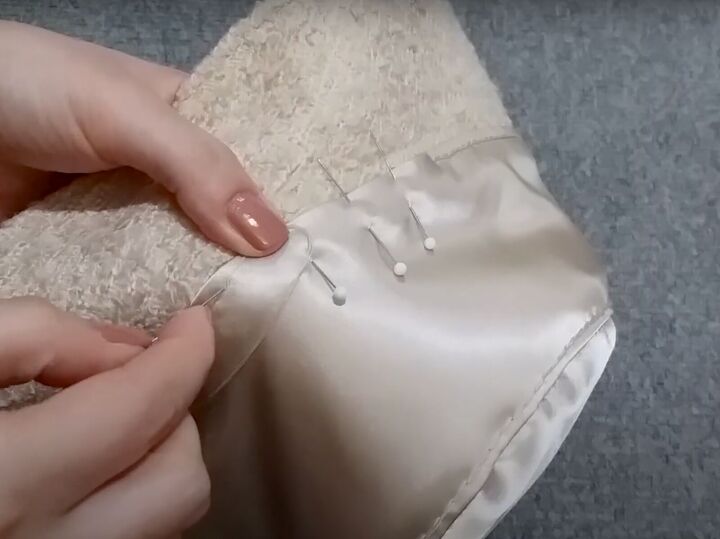
12. Attach the lining
Turn the hat so the right side faces inward. Place the lining inside so their right sides are together. Match up the seams.
Pin along the headband and the brim. Sew across at the brim.
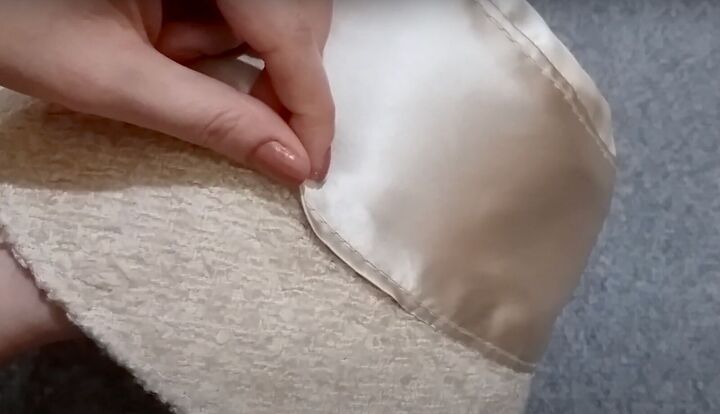
Cut the seam allowance in half after sewing. Use the opening to turn the hat right side out.
Tuck the lining inside. Press the brim.
Topstitch above the brim seam. Topstitch at the brim edge.
Sew the opening closed.
Sew the lining seam allowance down.

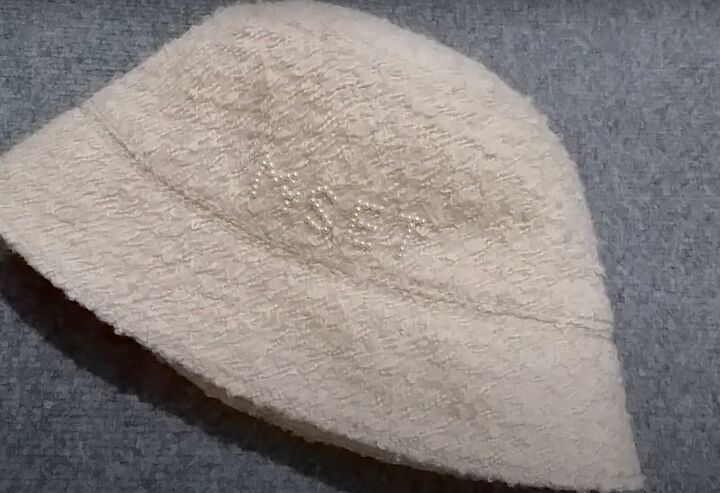
DIY bucket hat without a sewing machine
You’re done making this beautiful DIY bucket hat. Please let me know in the comments if you made this chic topper and where you wore it!
The author may collect a small share of sales from the links on this page.


Comments
Join the conversation