How to Make a DIY Bucket Hat Without a Sewing Machine (Free Pattern)

We are so excited to share this free DIY bucket hat pattern from the Essentials Club! Sewing a bucket hat isn’t hard at all! In fact, we sewed this DIY bucket hat entirely by hand - no sewing machine needed.
If you’ve been wanted to learn how to make a bucket hat - this DIY bucket hat tutorial is for you. Let us show you how to make your own bucket hat in just about an hour.
Tools and materials:
- Bucket hat pattern from the Essentials Club
- ½ yard medium weight fabric (do not use a flimsy fabric)
- Needle and thread: coordinating and/or contrasting
- Pins
- Scissors
- Pen/tailor’s chalk
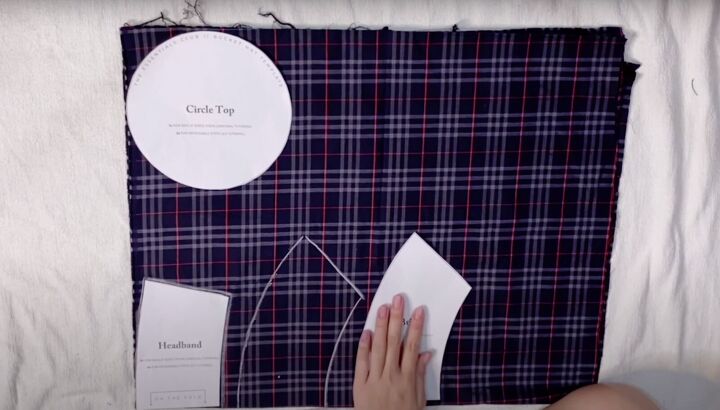
1. Make the pattern
Print out and cut the pattern. Fold the fabric and lay the pattern pieces as directed on the pattern instructions.
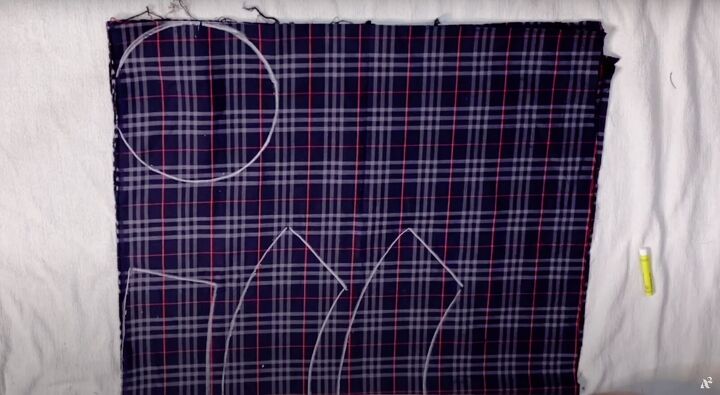
Trace the pattern on to the fabric.
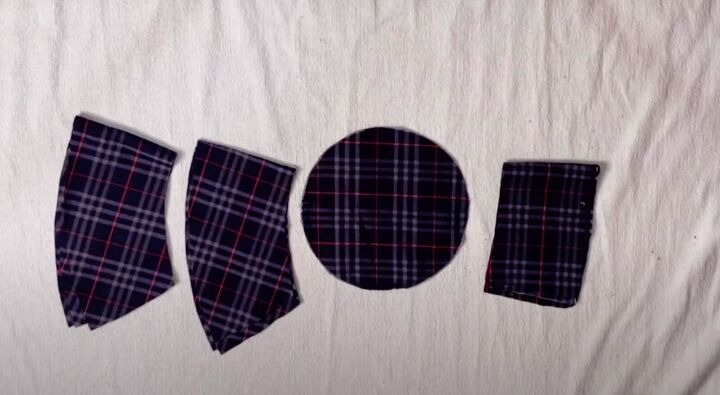
Cut out all the pieces. Unfold your pieces.
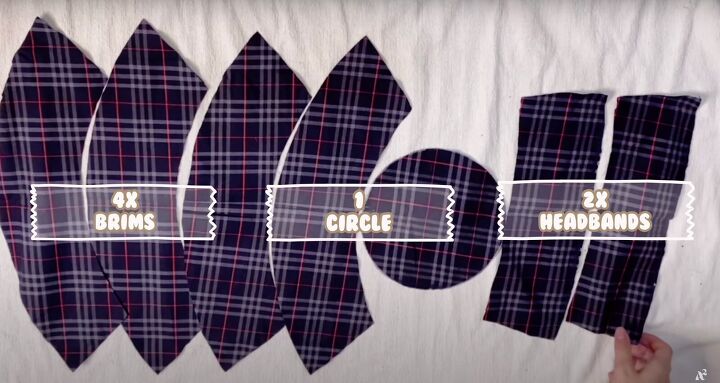
You should have 4 brims, 1 circle, and 2 headbands
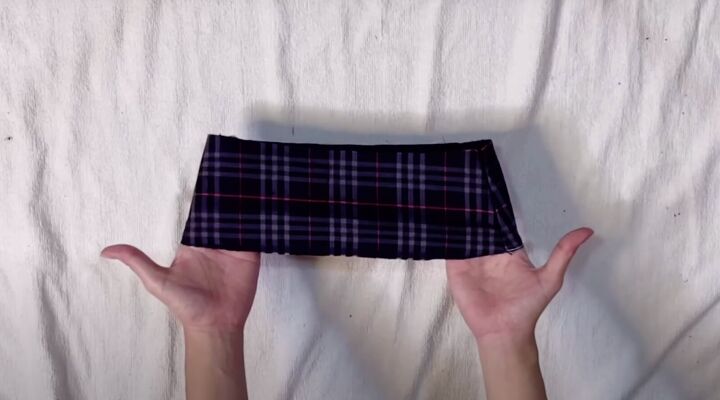
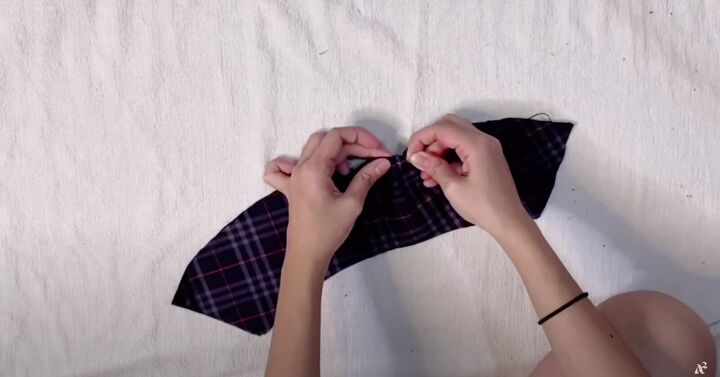
2. Sew the headband
Place your headband pieces right sides together. Sew the two small sides on either side. You’ll have a circle headband.
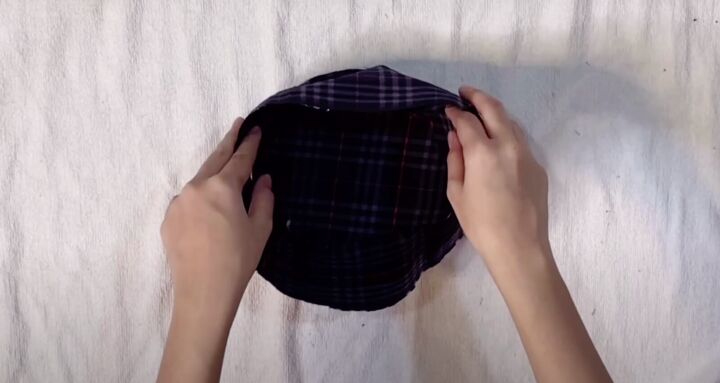
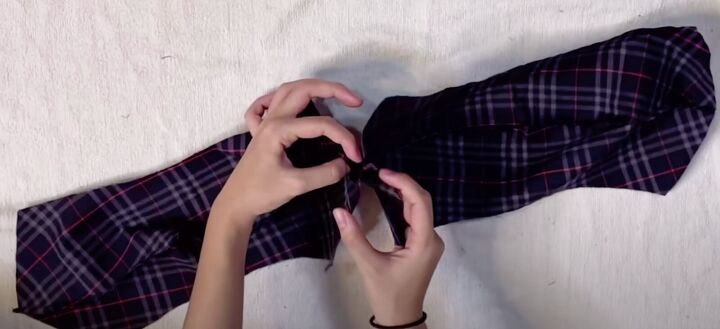
3. Attach the top of the hat
Lay the circle down with the right sides facing up towards you. Lay the headband on top, all around the top of the hat.
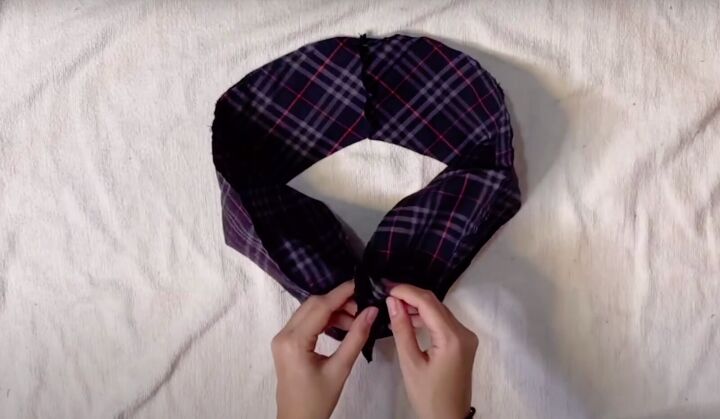
You’ll want to sew the seams on the wrong side so make sure your right sides are facing each other. Pin the edges of the circle to the headband to keep it neat so it doesn’t move around.

Take your time sewing this together as it can be a bit challenging, especially if you are new to sewing.
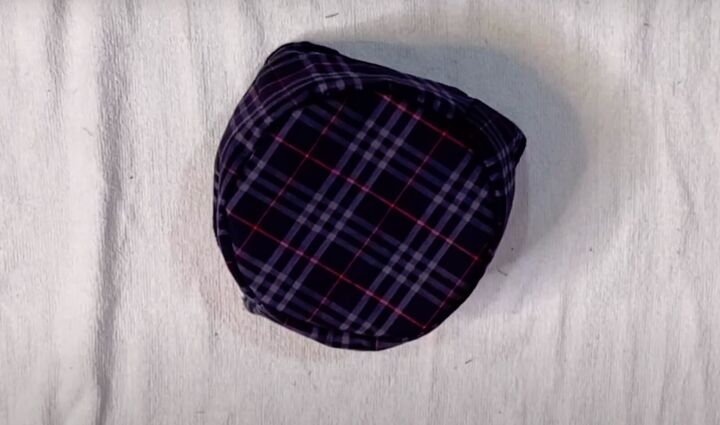
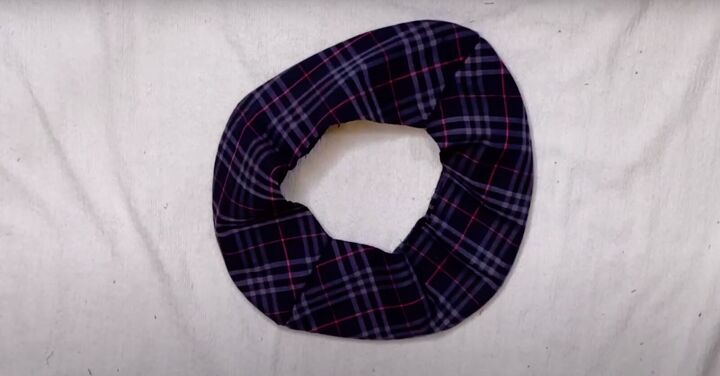
Once it’s sewn, turn it right side out. It will look a lot better because all the seams will be on the inside.
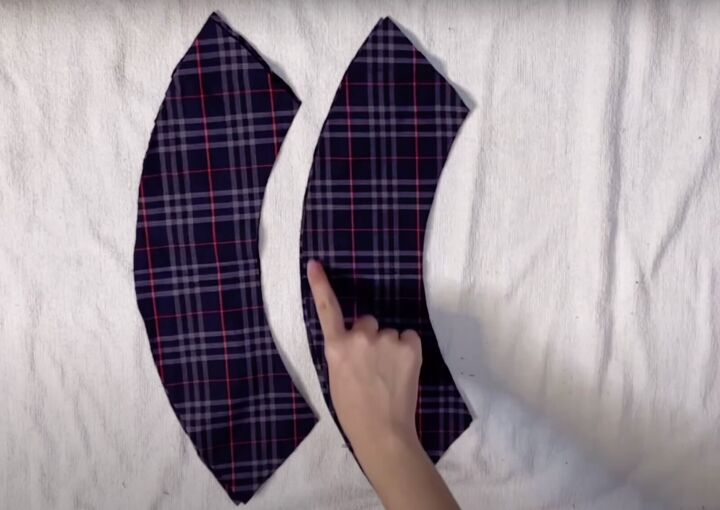
4. Sew the brim
Lay the brim pieces one on top of the other so you have 2 brim pieces with 2 pieces right sides together.
Sew along the long curved side.
Open them up and place them right sides together. Sew along the short ends.
Start with the first side and then do the second side. Turn it right side out and push out all the corners.
Use your hands to make it as sharp as possible.
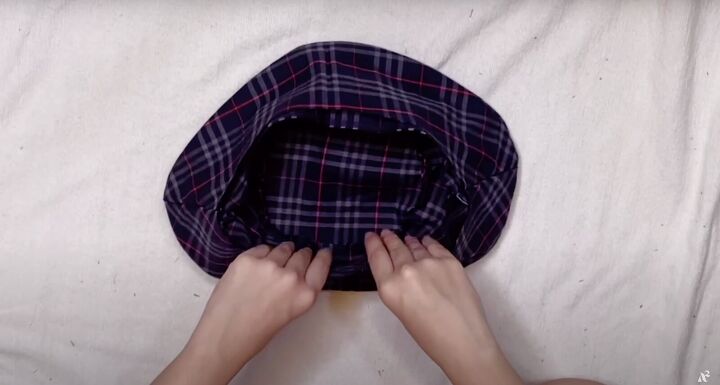
5. Attach the brim to the bucket
Place the hat into the brim. Align the raw edge of the brim to the hat.
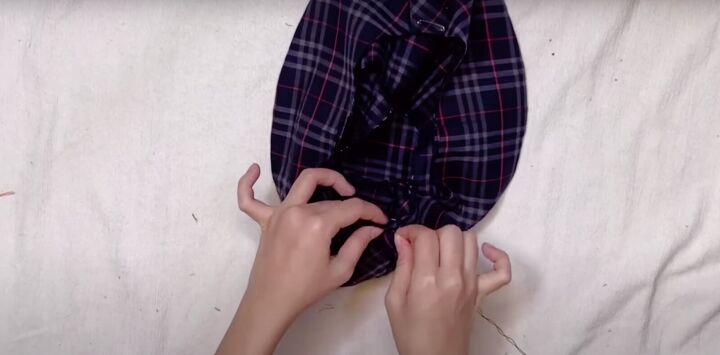
Pin in place and sew together along the edge.
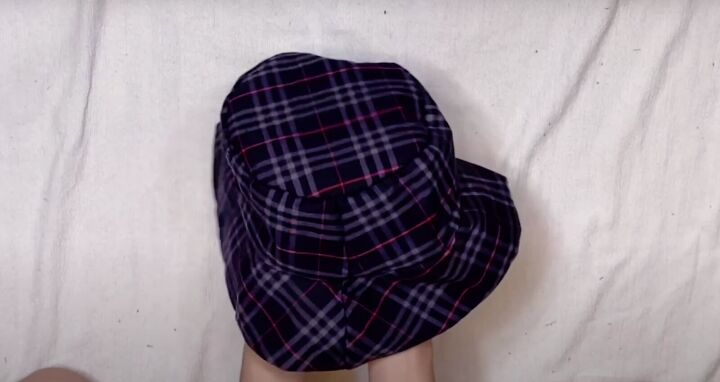
Once you’re done, turn it right side out.
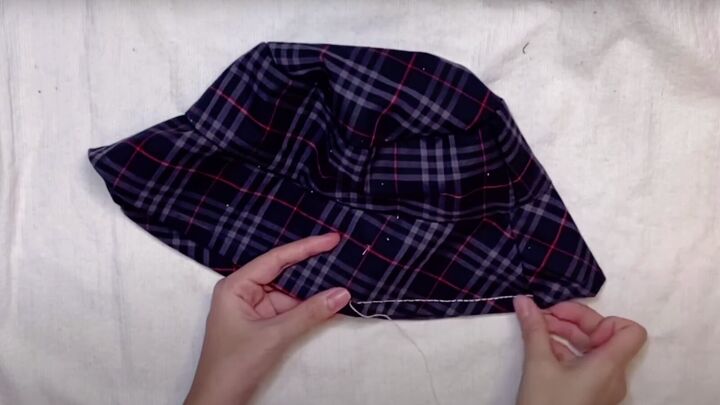
6. Finishing touch
Mark around the brim at ¼ and ½ inches from the brim edge.
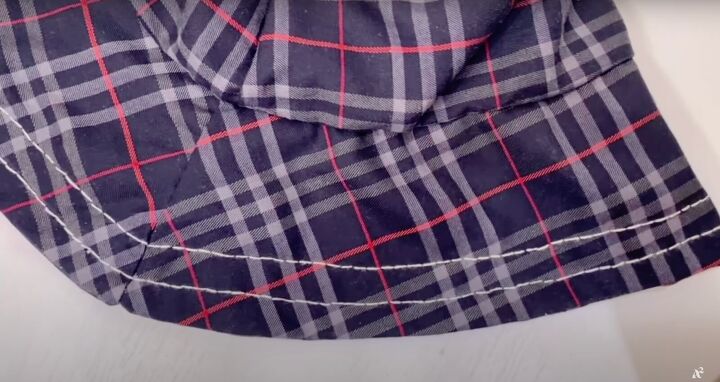
Sew along these guidelines. These stitches help to stabilize the hat and make it even prettier!
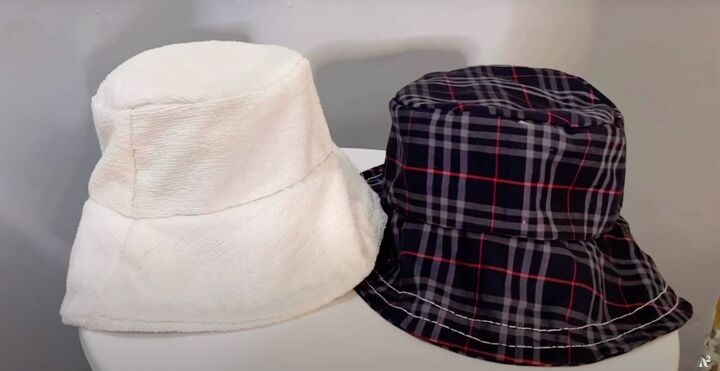
DIY bucket hat tutorials
You can make these diy bucket hats in different fabrics to suit different outfits! We hope we showed you how to sew a bucket hat that’s perfect for spring and summer!

Please let us know in the comments if you made this and even better, share photos of you in your DIY bucket hats!
How to fold hats
The author may collect a small share of sales from the links on this page.


Comments
Join the conversation
A must try project for me...
Great job, thanks for sharing.