How to Make an Adjustable DIY Cami Dress That is Perfect for Summer

Follow my tutorial to learn how to make this adjustable DIY cami dress. The pattern and instructions are easy, and this summer dress will become one of your favorite summer wardrobe items! Let's get started.
Tools and materials:
- 1 yard polyester fabric (80-90 centimeters)
- Ruler
- Scissors
- Sewing pins
- Thread
- Sewing machine
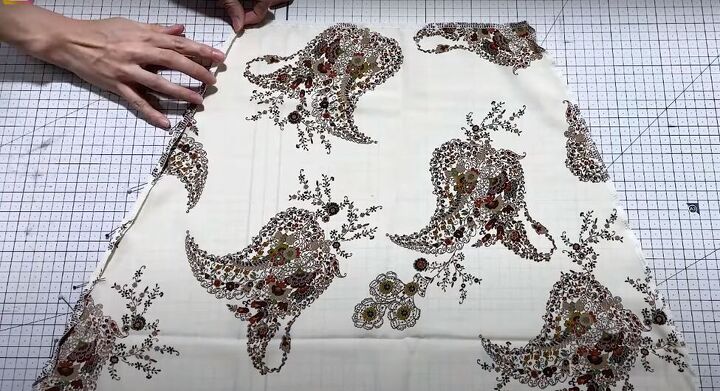
1. Create the cami dress pattern pieces
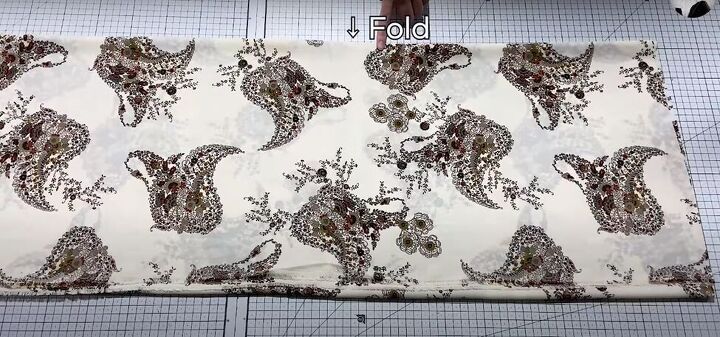
With the right side facing in, fold the fabric in half twice so you have a rectangle.
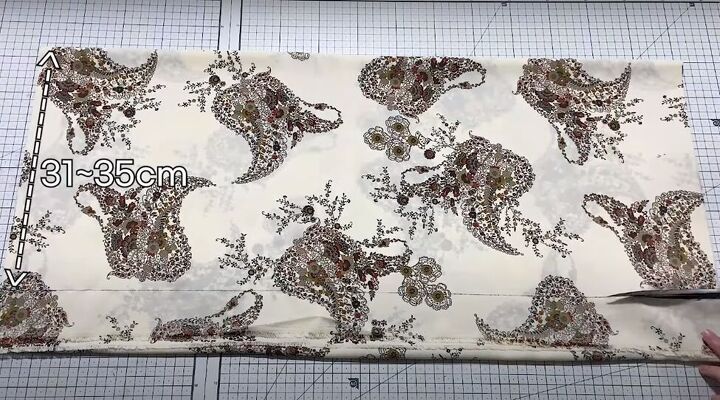
Measure and cut a rectangle 80 centimeters (31.5 inches) by 31 to 35 centimeters (12.2 to 13.8 inches), keeping the fold at the top.
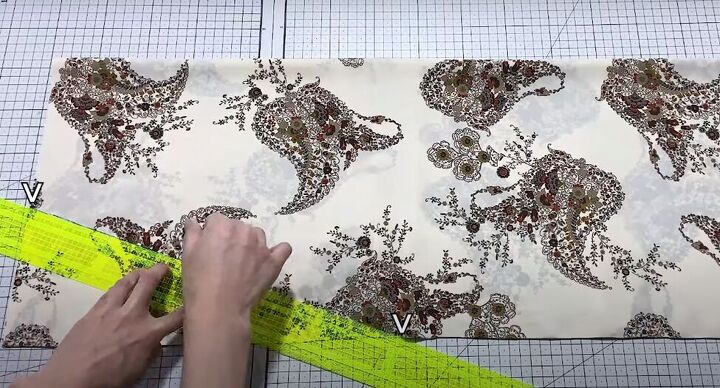
Mark 17 to 20 centimeters (6.69 to 7.87 inches) from the top along the left edge of the rectangle and 34 to 36 centimeters (13.38 to 14.17 inches) along the bottom.
Join those two marks with a diagonal line, then cut along that line.
2. Finish the raw edges
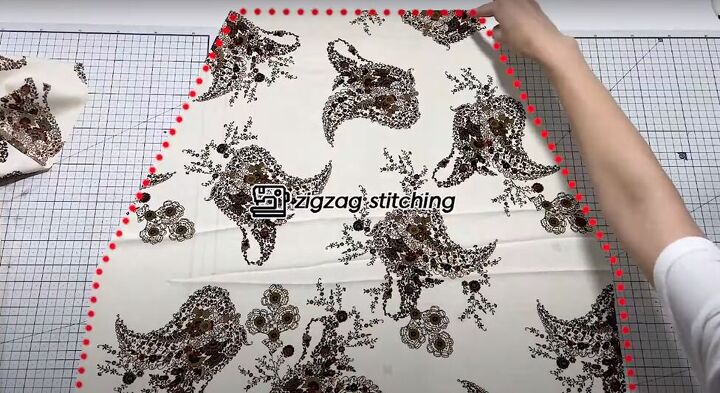
Open up the fabric and you now have 2 identical pieces for the front and back of your dress. Zigzag stitch along all edges of both pieces.
3. Pin and sew the sides
Turn in and pin the sides of both pieces along the inside edge of the zigzag stitching and sew the edges in place.
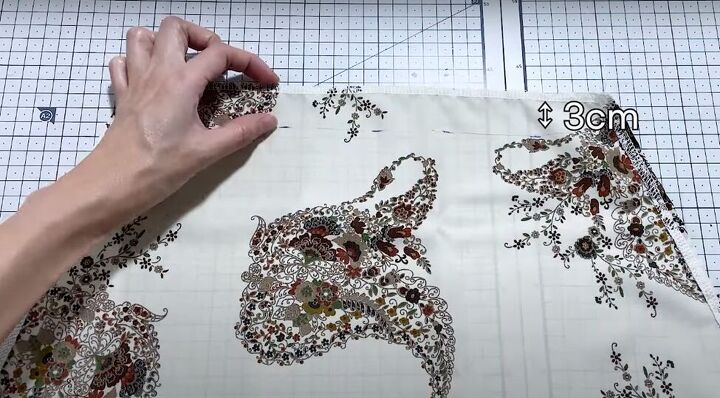
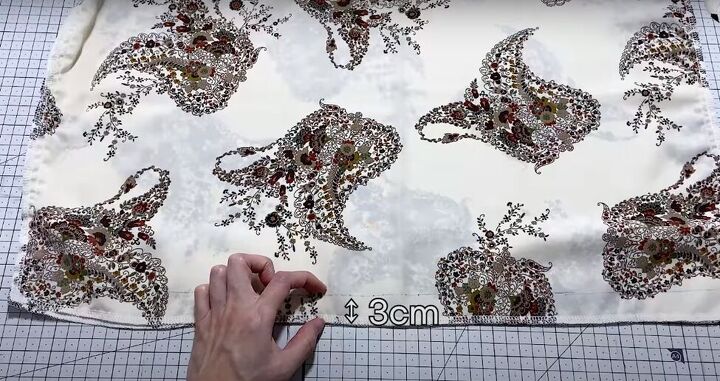
4. Sew channels at the top
Mark a 3-centimeter (1.18-inch) hem at the top of the dress.
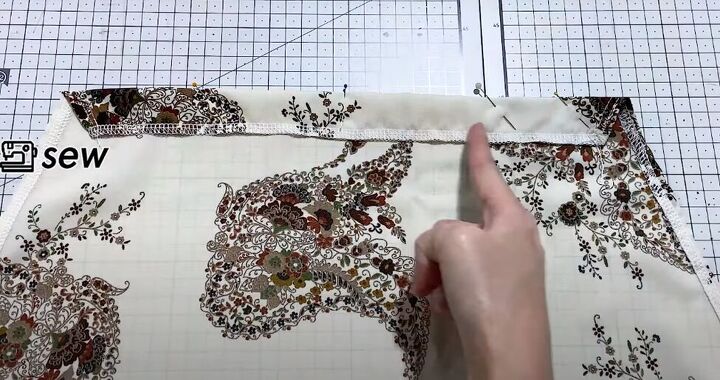
Fold the hem down at that line, pin, and sew along the open long edge. Do not sew the sides of the channel closed. Turn the fabric over and topstitch in the same place. Repeat for the other piece.
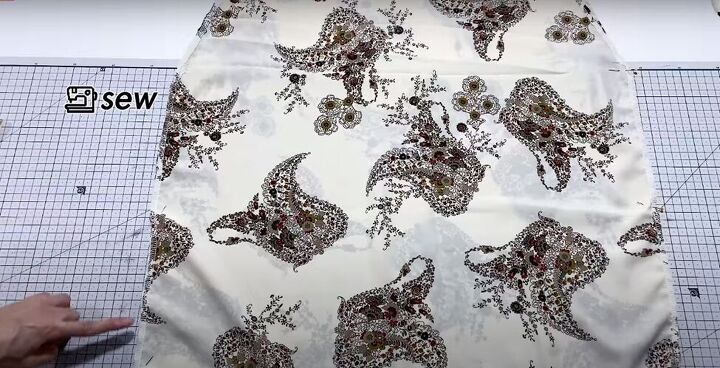
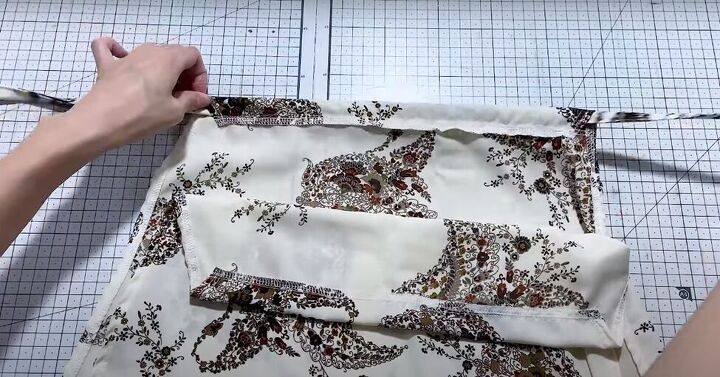
5. Sew the sides seams
Put both pieces together with right sides facing in. Pin and sew the straight edge side seams.
6. Hem the bottom
Make a 3-centimeter (1.18-inch) hem at the bottom of the dress.
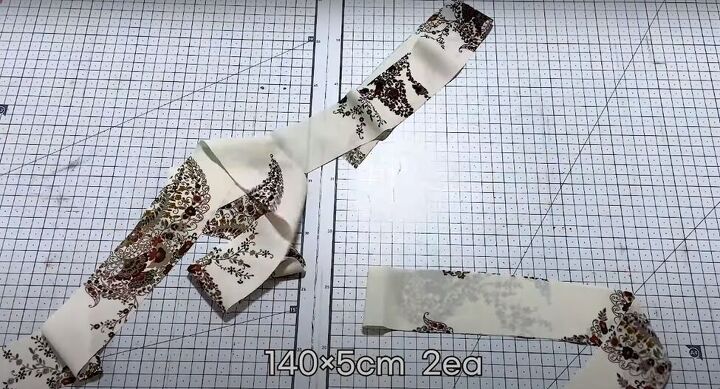
7. Make the straps
Cut two 140 x 5-centimeter (55.1 x 1.9-inch) strips from leftover fabric.
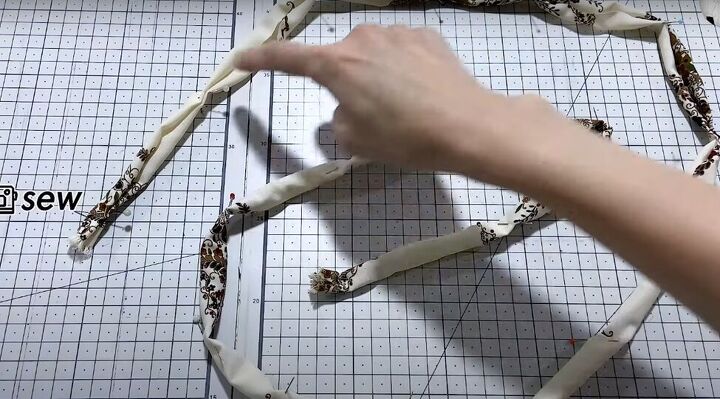
Fold the long edges of the strap into the middle and then fold the strip in half again.
Sew along the long open edge of the strap, then turn the fabric right side out.
8. Threading the strap through the casing
Thread a strap through the channel at the top of the front of the dress. Do the same to the back for the second strap.

Gather the top of the dress evenly on both sides and then tie the loose ends of the straps together
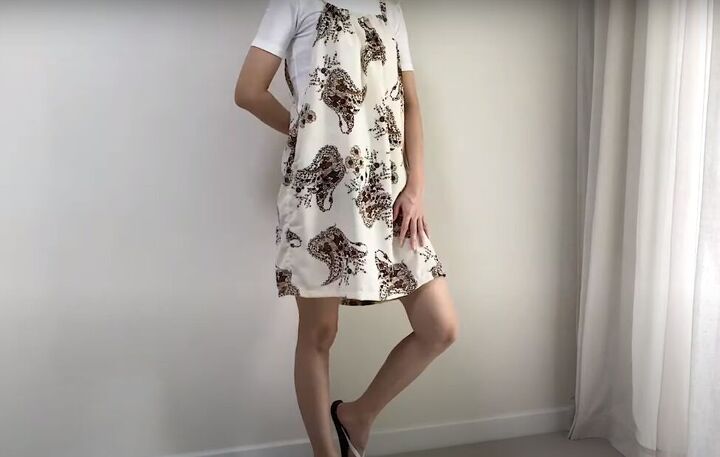
All done! You can wear this cami dress loose...
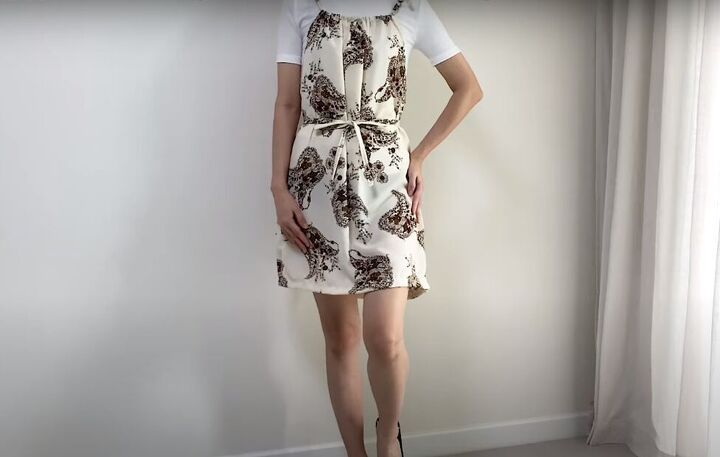
...or make a tie the same way you made the straps. Either way, it’s so cool and comfortable, and was simple to make!
DIY cami dress tutorial
Try out this DIY summer dress and leave a comment to let me know how yours turned out.
The author may collect a small share of sales from the links on this page.


Comments
Join the conversation