How to Make a Cute DIY Off-the-Shoulder Maxi Dress For Summer

This simple off-the-shoulder maxi dress sewing pattern uses your own blouse and your measuring tape to make a beautiful dress. If you’ve got basic sewing skills and know-how to sew gathers, you can make this DIY off-the-shoulder maxi dress today!
Versatile, adorable, and charming, this tiered maxi dress is perfect for summer parties! Let me show you how to sew an off-shoulder dress right now so you can dazzle your friends on your next summery jaunt!
Tools and materials:
- 3 yards of slightly stretchy crepe fabric, 60 inches wide
- Your own loose-fitting blouse
- Measuring tape
- Ruler
- Sewing machine
- Scissors
- Pins
- ½- or ¾-inch elastic
- Safety pin
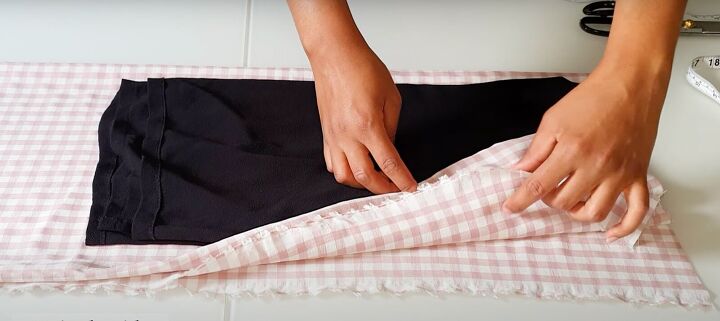
1. Make the top pattern
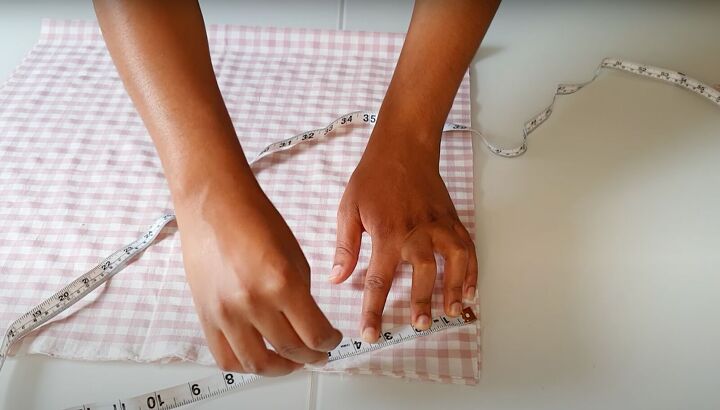
Fold the fabric in half and then in half again. Use your own well-fitting loose blouse to serve as a template. Fold your blouse in half so the armholes line up.
Fold the top part of the blouse at the upper chest area. Place the folded edge of the blouse along the folded edge of the fabric.
Place the blouse 2 inches away from the folded edge and 1 inch away from the top.
Mark these points.
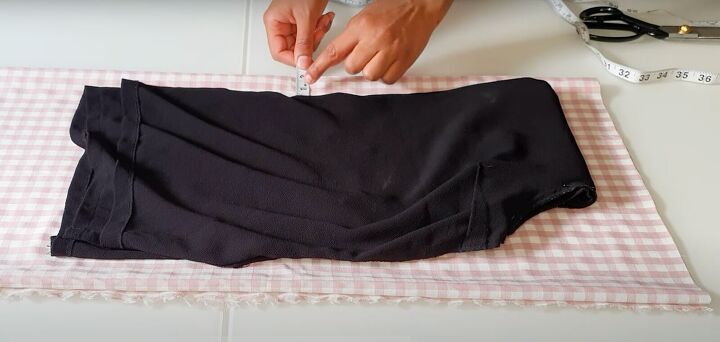
Measure and mark 10 inches from the folded edge along the 1 inch point.
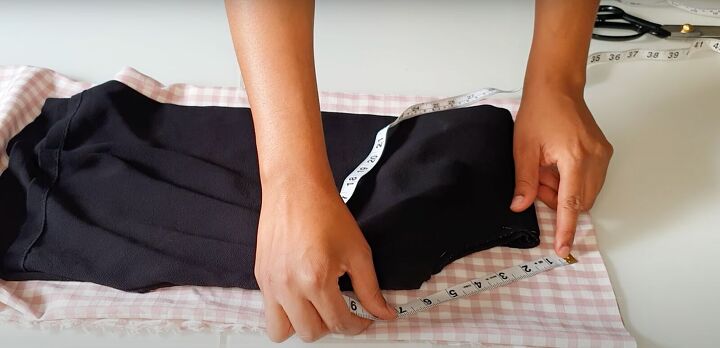
From that 10-inch point, measure 5½ inches across for the armhole in a diagonal line. Connect these two measurements together by marking them.

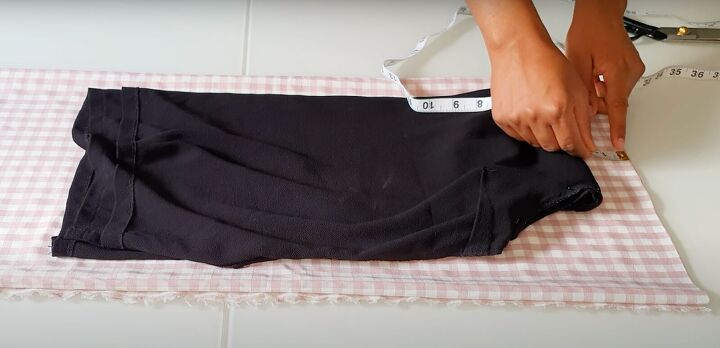
Measure the length of the top half of the dress. I’m 5’9” so I’m making the top length of the dress 29 inches long. This may vary due to your height.
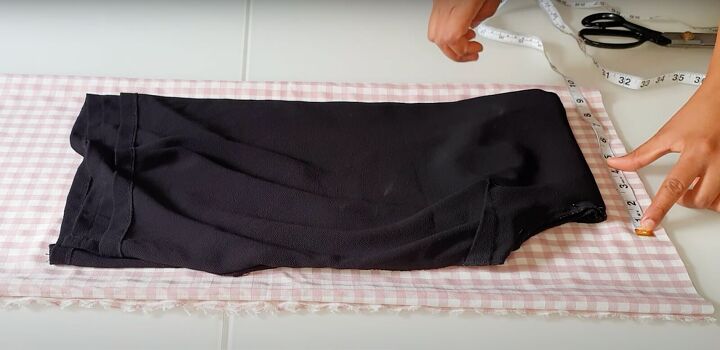
Cut out the top pattern carefully.
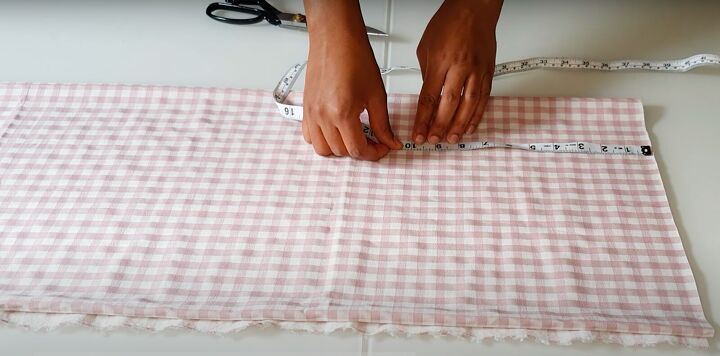
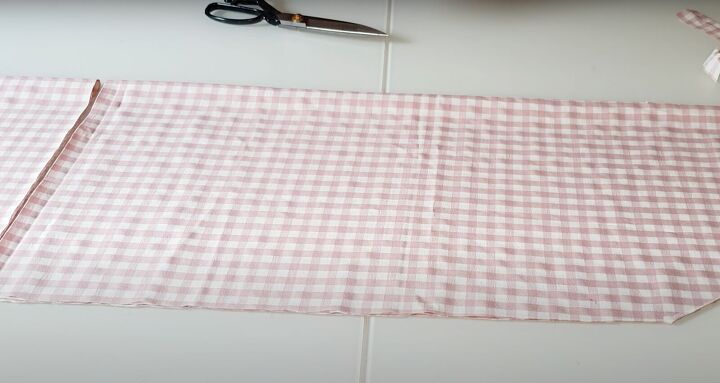
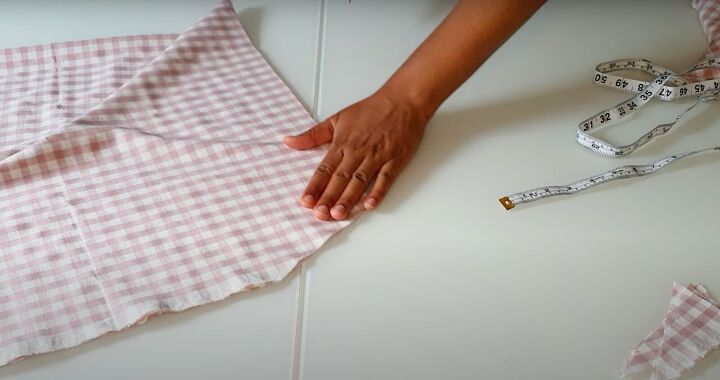
2. Make the bottom pattern
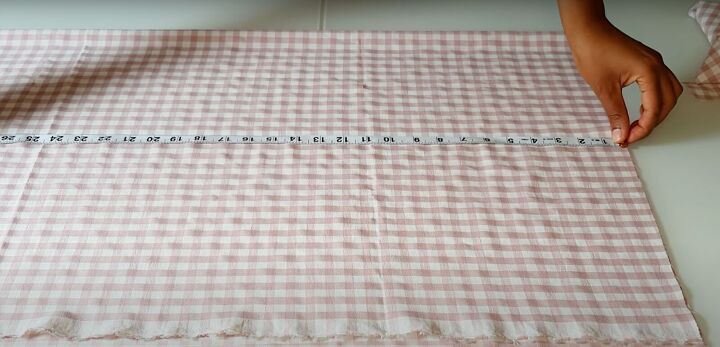
Measure and cut three 10-inch wide pieces across the folded fabric.
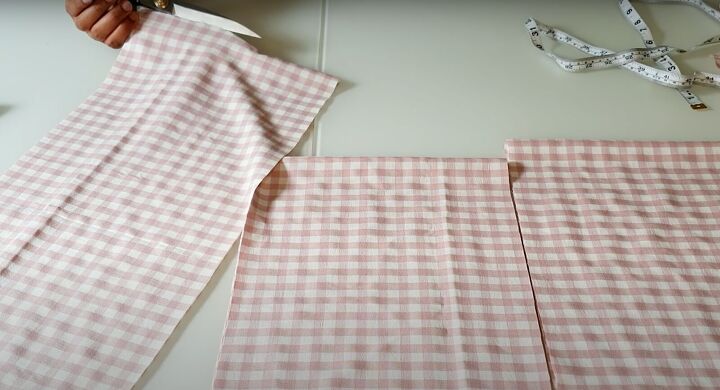
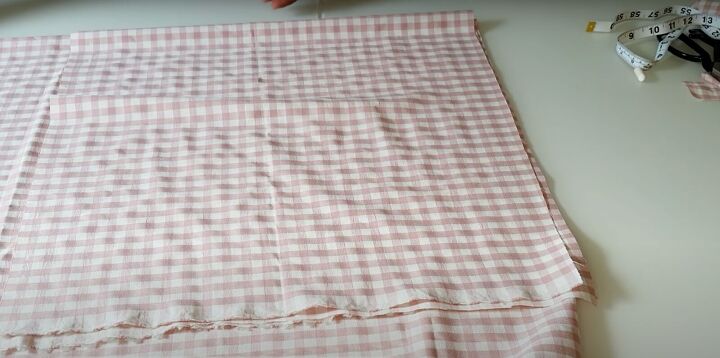
Take the first piece and cut it along the fold.
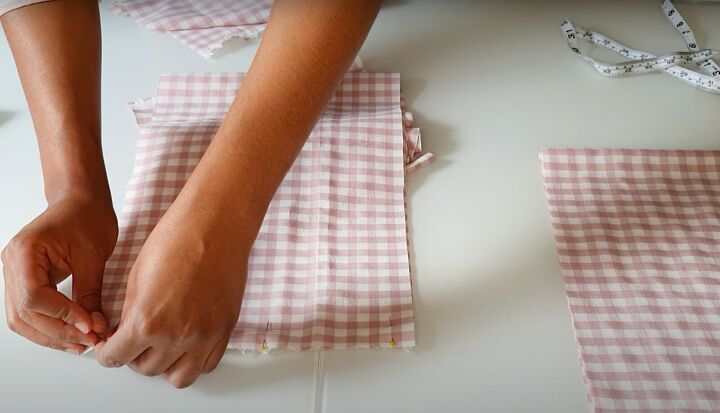
Join one of the half pieces to one of the two larger pieces left to make a larger second tier. Pin in place.
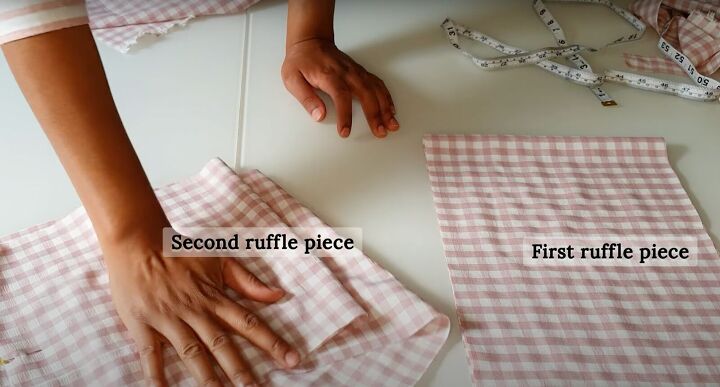
You will have two ruffle pieces.

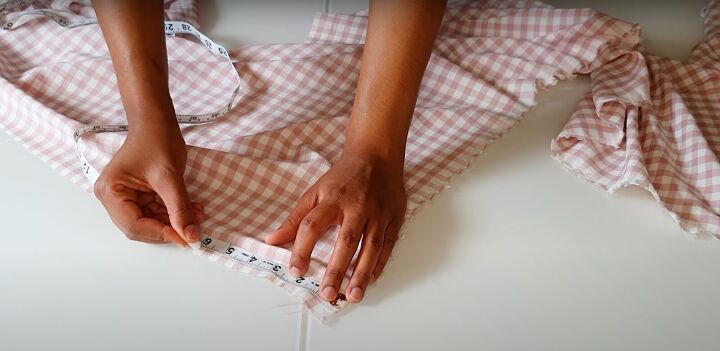
3. Make the sleeve pattern
Fold the fabric in half.
Measure 20 inches down and 19 inches across. Once these are marked, carefully cut out the fabric.
Use this first pattern to cut the second sleeve.
On both sleeves on the unfolded edge, measure 2 inches in and then across 5½ inches. Join them together on a diagonal.
Cut the slanted piece out.
4. Make the belt pattern
Measure 6 inches wide by 60 inches in length. Cut.
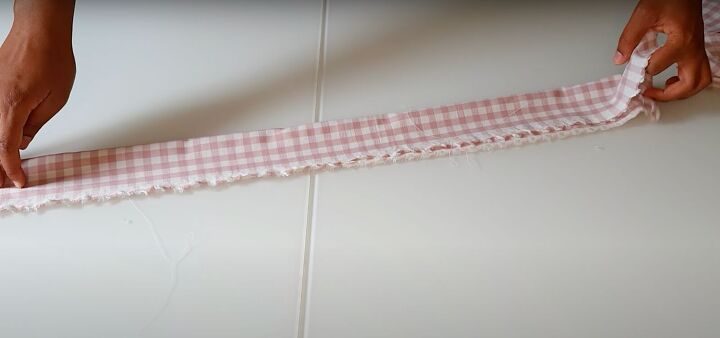
Fold in half, ready to stitch. Set to the side for now.
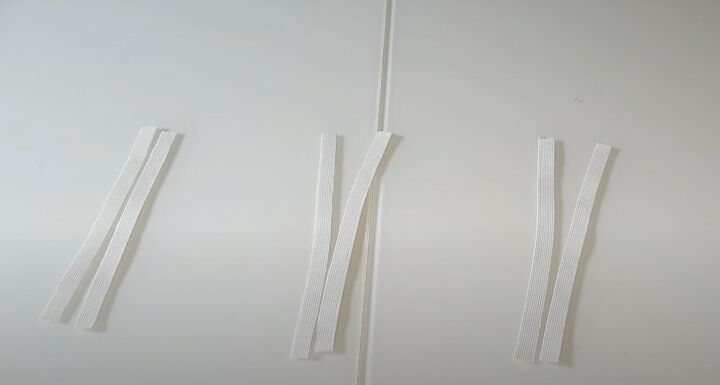
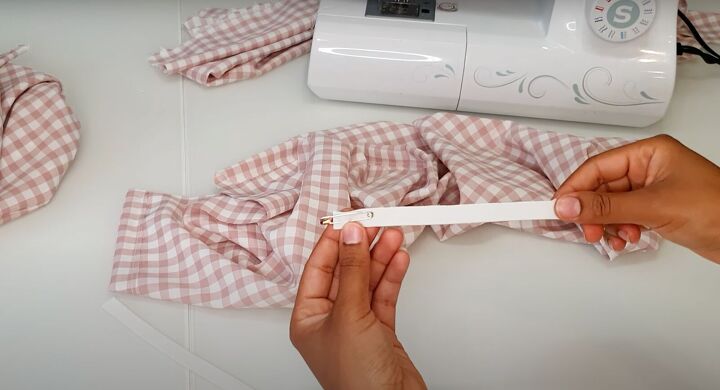
5. Cut the elastic
Cut 6 strips of elastic, each 9 inches long.
6. Sew the bodice
Place right sides together and just sew one side seam. Once that’s sewn, put to the side for now.
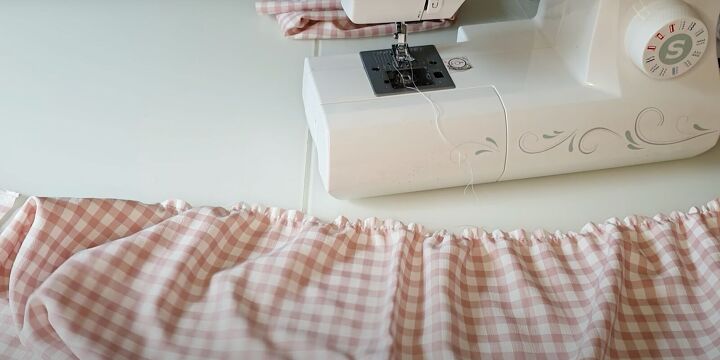
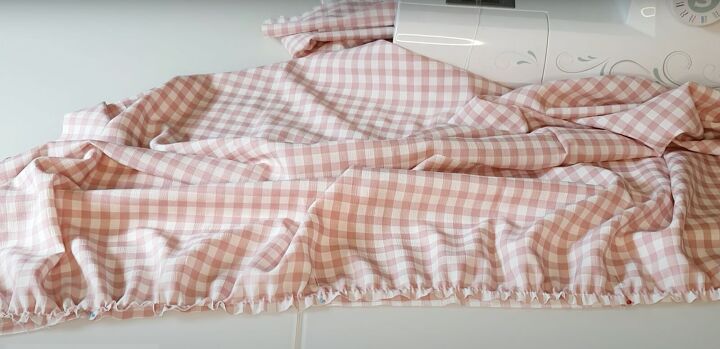
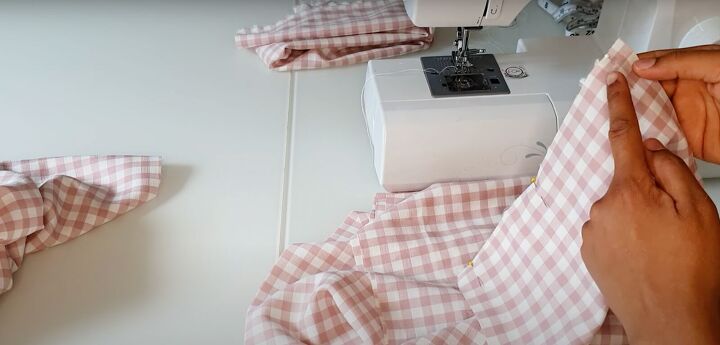
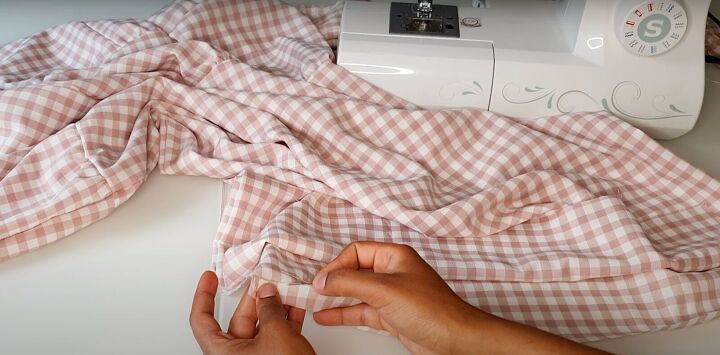
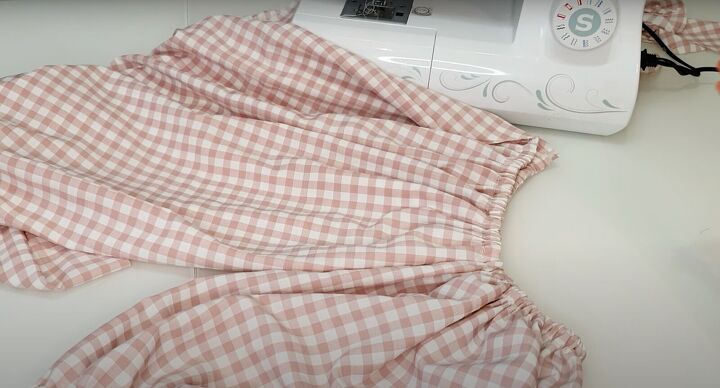
7. Sew the ruffled tiers
Sew gathers in the first ruffle. Pull the gathers to the width of the lower part of the bodice.
Open the bodice and place the gathered ruffle right sides together at the hem. Pin in place.
Stitch to secure.
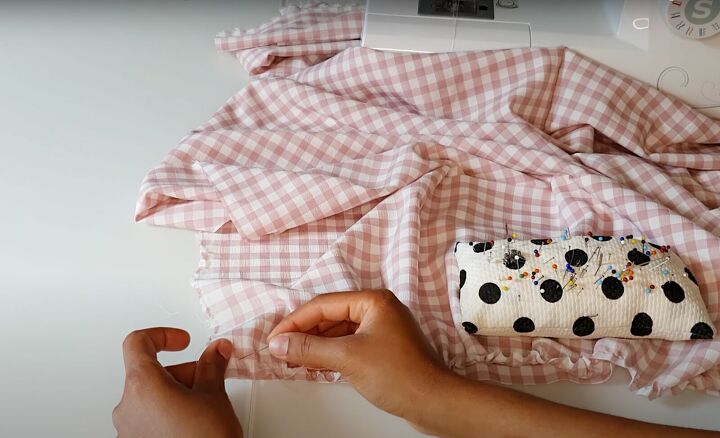
Sew the pinned extra half to make the second tier longer.
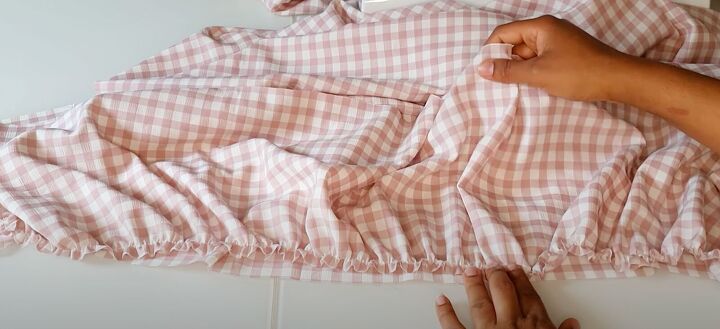
Then sew gathers across the top of the second tier, repeating the process you did for the first tier. Attach the second tier to the first tier. Stitch into position.
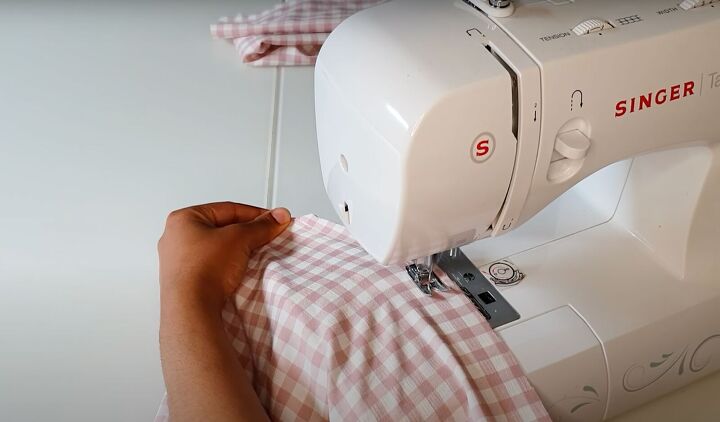
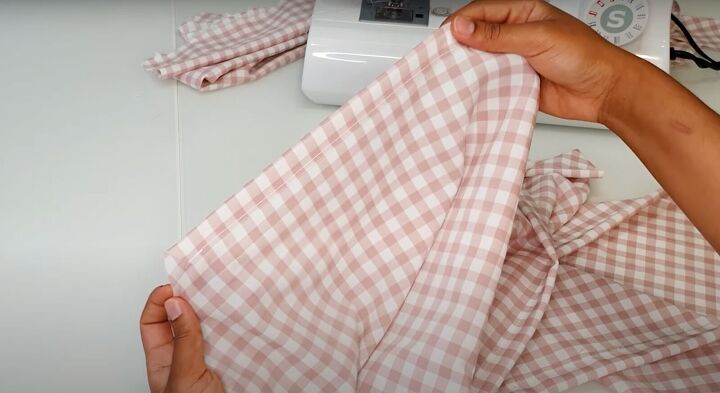
8. Finish sewing the bodice
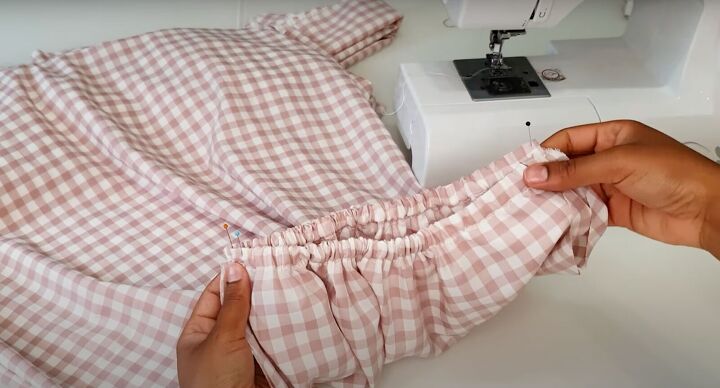
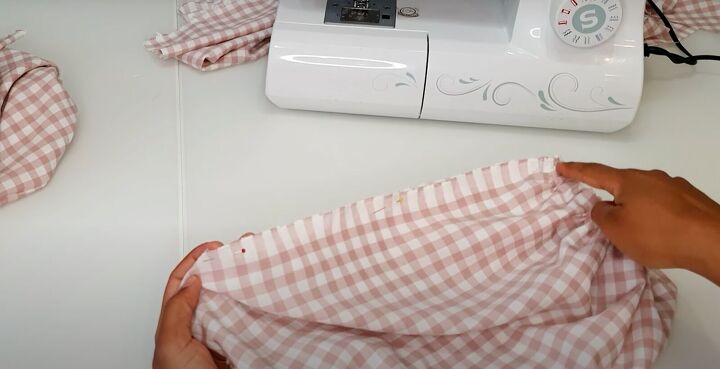
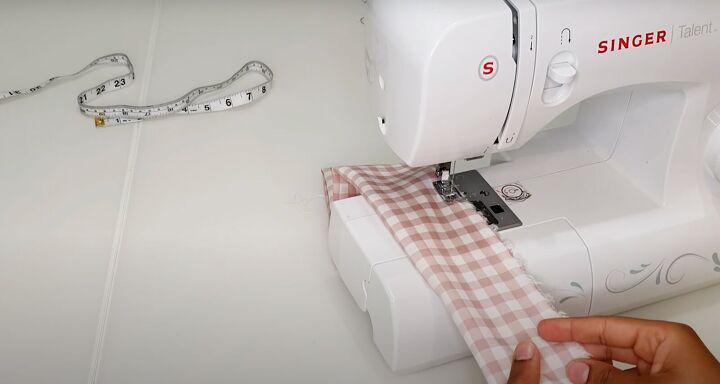
Fold the dress right sides together and stitch the other side seam. Once that’s sewn, fold the top part of the dress to the width of your elastic on the front.
Pin and topstitch the casing in place. Repeat this process for the back of the dress.
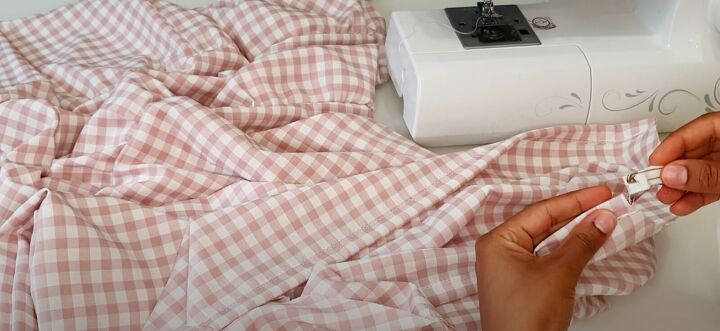
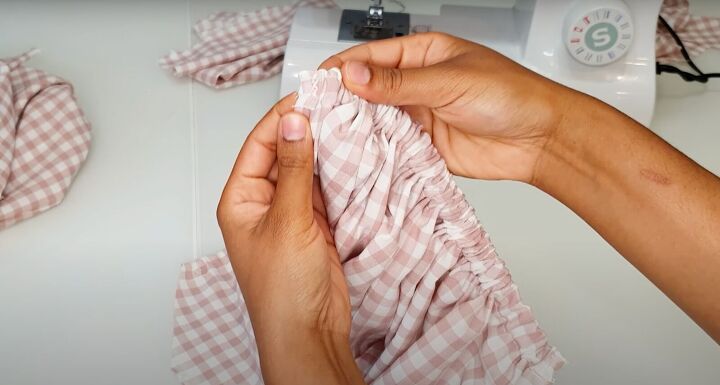
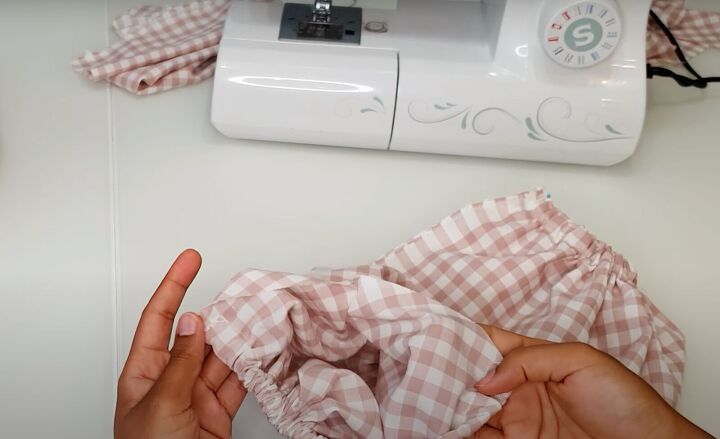
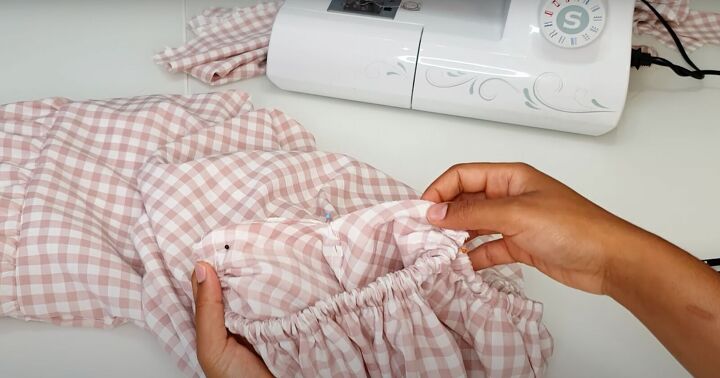
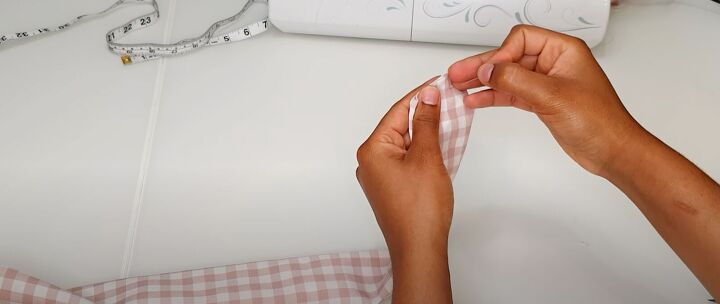
Insert the elastic into the front casing using a safety pin.
Secure the elastic to both sides of the casing using pins. Topstitch using a zigzag stitch to keep the elastic in place. Distribute the gathers evenly. Repeat the process for the back casing.
9. Sew the sleeves
Make a casing on both the top and bottom of the sleeve to match the elastic width.
Insert the elastic using a safety pin,
Just like the neckline, secure both ends of the elastic by first pinning and then sewing, using a zigzag topstitch.
Join the sleeves right sides together and stitch the sleeve seam.
Recall there is a slant by the armhole. Keep that unsewn. Once the sleeve is sewn, turn them right side out.
Join the sleeves to the bodice by placing them right sides together. Pin in place. Stitch into position.
This is what it will look like when done. Repeat the process for the other sleeve.
10. Make the belt
Place the folded belt, right sides together, and stitch across one short end and along the length, leaving one short end unsewn. Use that opening to turn it right side out.
Topstitch the end to complete the dress. Hem the bottom.

Your dress is done!
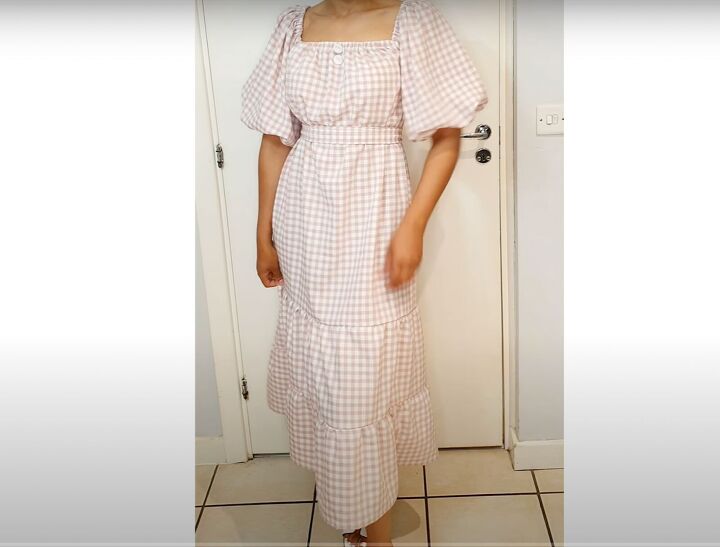
DIY off-the-shoulder maxi dress tutorial
You can wear it off the shoulder or on the shoulder. Either way, this DIY off-the-shoulder maxi dress is perfect for summer.
Please don’t forget to comment if you made this dress or let me know what you think about it!
The author may collect a small share of sales from the links on this page.


Comments
Join the conversation