How to Make a Flattering DIY Off-the-Shoulder Maxi Dress From Scratch

If you’ve been looking how to make an off-the-shoulder maxi dress for an upcoming vacation or the summer, here’s an off-the-shoulder maxi dress sewing pattern you can use.
This dress is ultra-flattering for any size body and you can make it look more fitted with a belt. Let’s get started making your DIY off-the-shoulder maxi dress!
Tools and materials:
- 3 yards fabric
- Scissors
- Measuring tape
- Ruler
- Sewing machine
- Needle and thread
- Tailor’s chalk or marking pen
- Pins/clips
- 1 inch elastic
- ¼ inch elastic
- Safety pin
1. Make the pattern
In this tutorial, I’m using a soft crinkle crepe fabric and it worked really well.
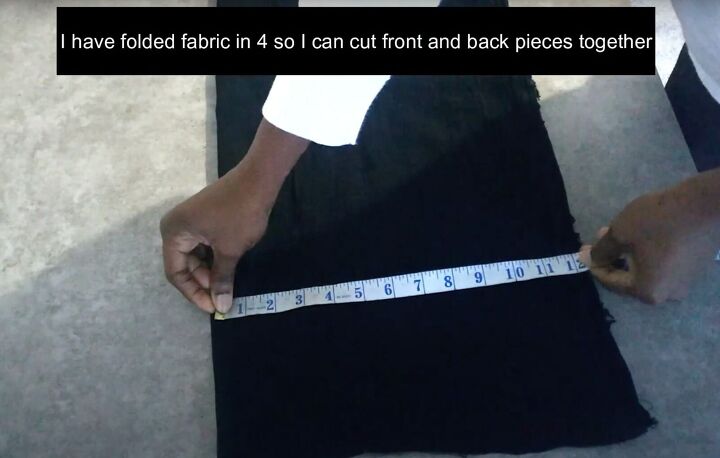
Fold your fabric in 4 so you can cut the front and back pieces together. The folds should be 12 inches across. You may want to clip the fabric in place to hold it together.
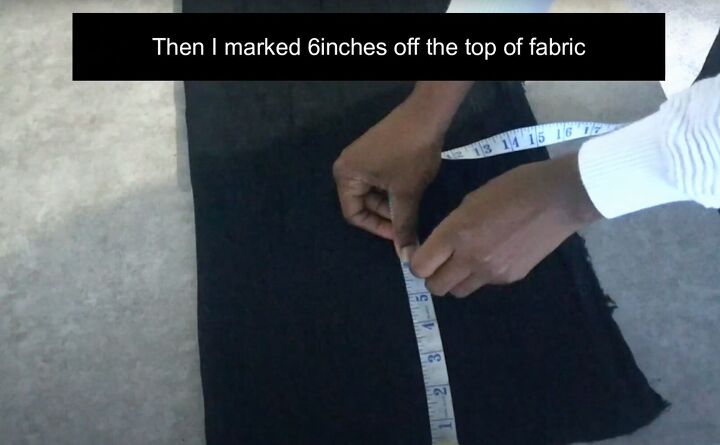
Keep the fabric folded and measure 6 inches down from the top. Mark it across the fabric.
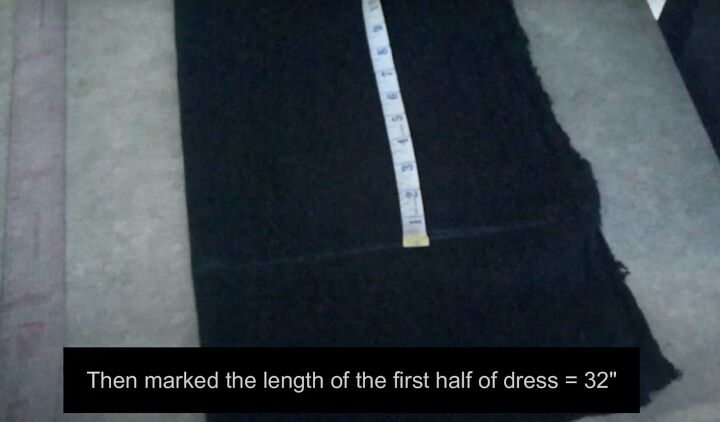
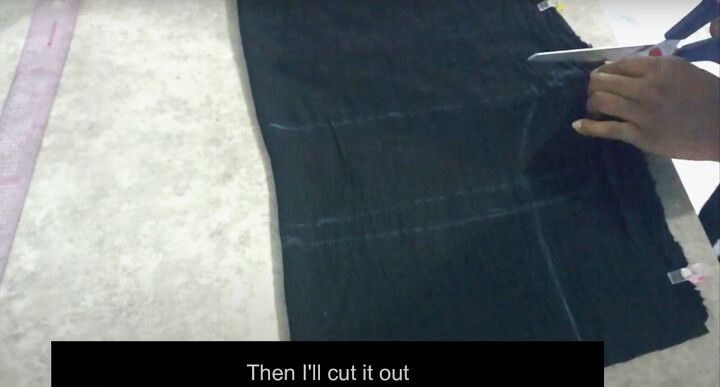
From that point, mark the first half of the length of the dress at 32 inches. Lay your ruler horizontally to mark it across on the fabric.
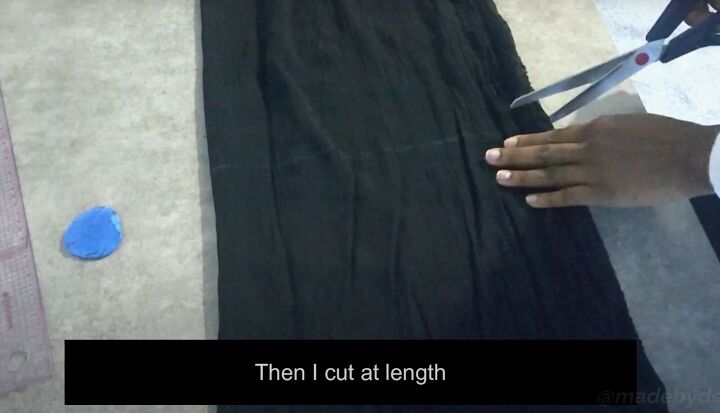
Cut at this marking.
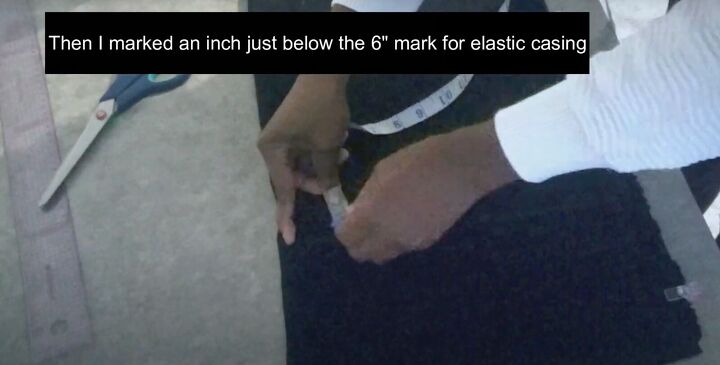
Go back up to the top of the fabric. Measure down 1 inch from the 6-inch mark for the elastic casing. Mark.
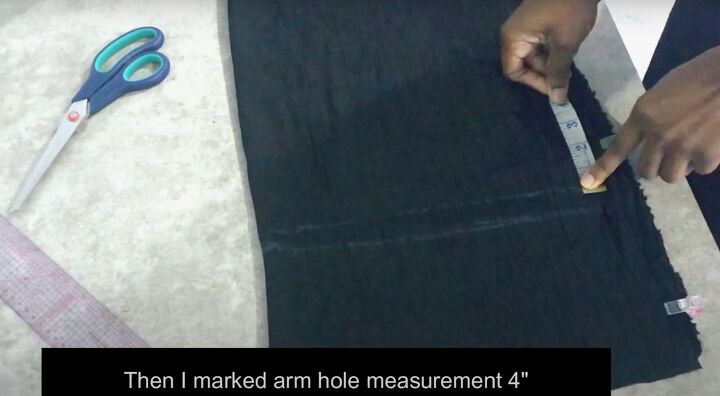
Mark the armhole measurement from that new marking with 4 inches horizontally.

Mark in 2 inches inward on that line.
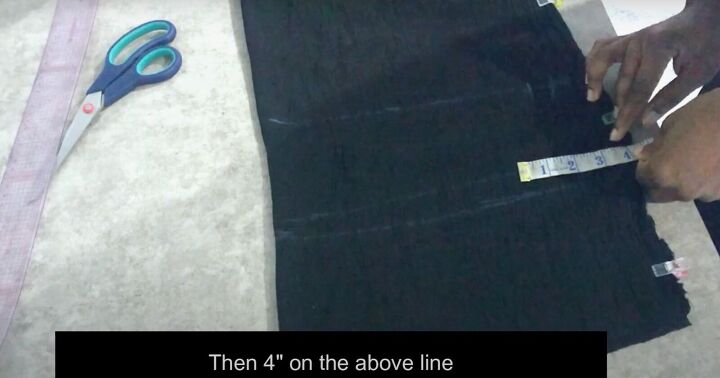
Go back to the casing line and mark 4 inches in.
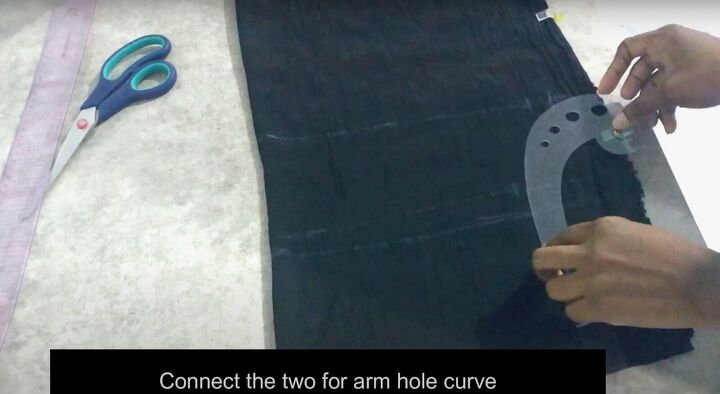
Connect those two measurements for the armhole curve.
Cut out the armhole.
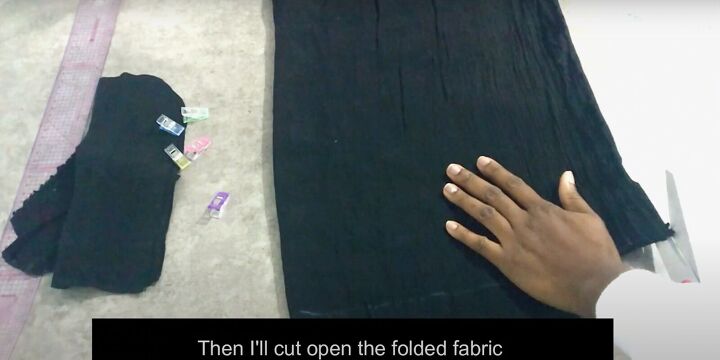
Cut the fabric on the folds. You’ll have the front and back pieces.
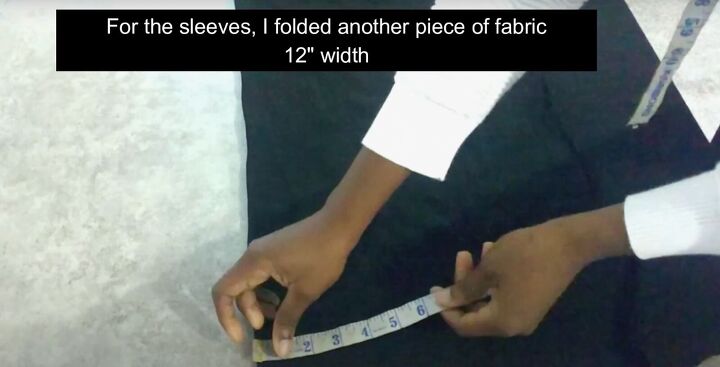
2. Make the sleeves
Fold another piece of fabric in half. Measure it at 12 inches across.
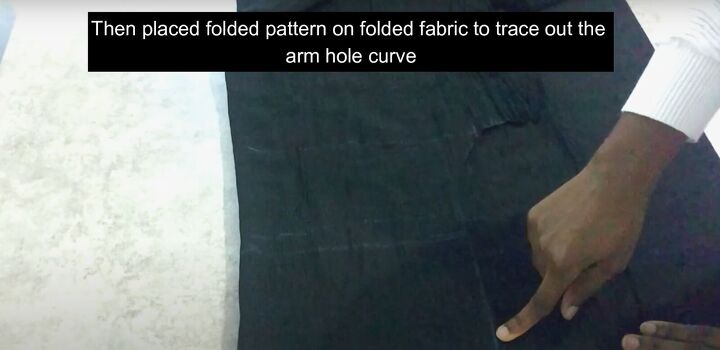
Fold one of the dress patterns so the armhole is lined up. Lay it on top of your sleeve pattern to trace out the armhole curve.
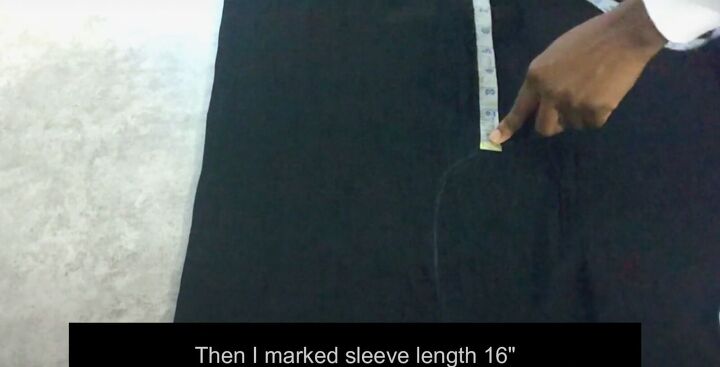
Mark the sleeve length to be 16 inches. Cut out the first sleeve and use it as a pattern to make the second sleeve.
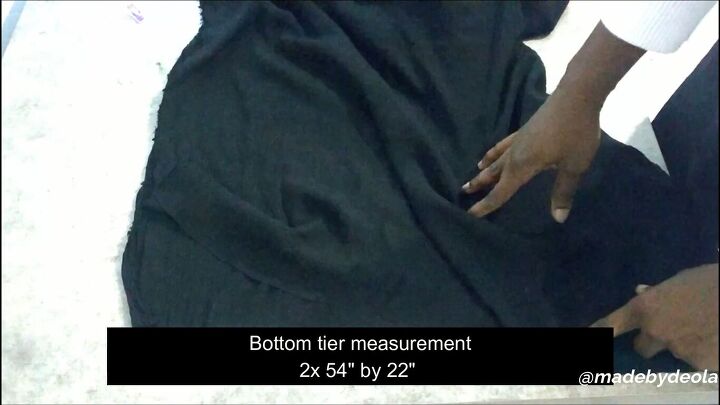
3. Make the bottom tiers of the dress
Cut out 2 pieces of fabric measuring 54 X 22 inches.
4. Make the pockets
Make a standard pocket using your hand measurement as a guide. Fold the fabric in half. Cut out two pockets so you’ll have 4 pieces of pocket fabric.
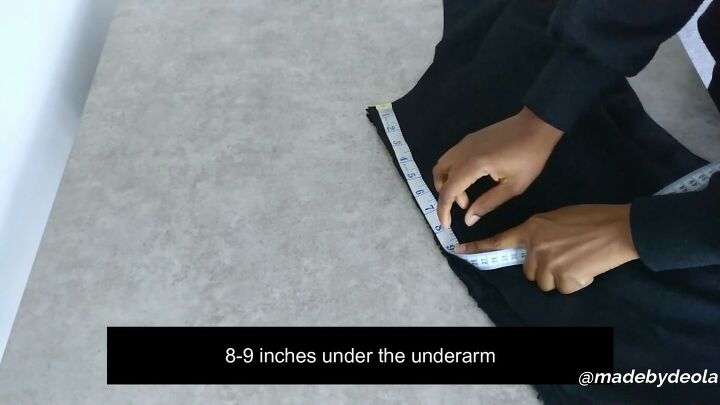
Mark the pocket position on the dress about 8 to 9 inches below the underarm.

Pin the pocket pieces in place right sides touching the dress. Sew all the 4 pocket pieces on the side seams in place.
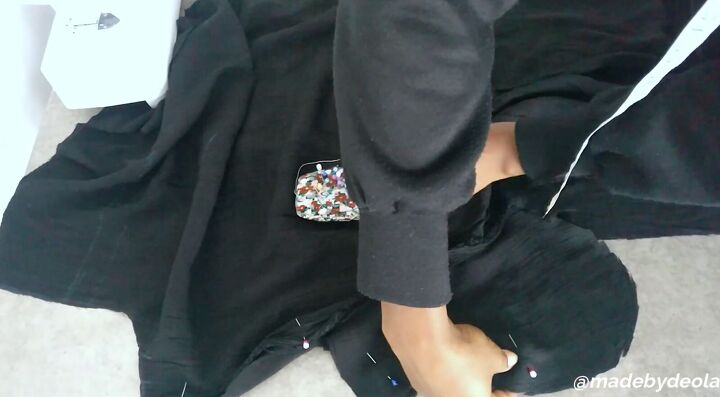
5. Sew the side seams
Once the pockets have been sewn, pin the side seams of the dress. Sew on the wrong side, with the pockets pulled out. Sew the side seams of the pockets.
Also, pin the sleeves and sew up the sleeve side seams.

6. Attach the sleeves
Insert the sleeves right sides up into the wrong side up facing dress. Pin them in place at the side seam, matching up the seams. Sew the sleeve around.
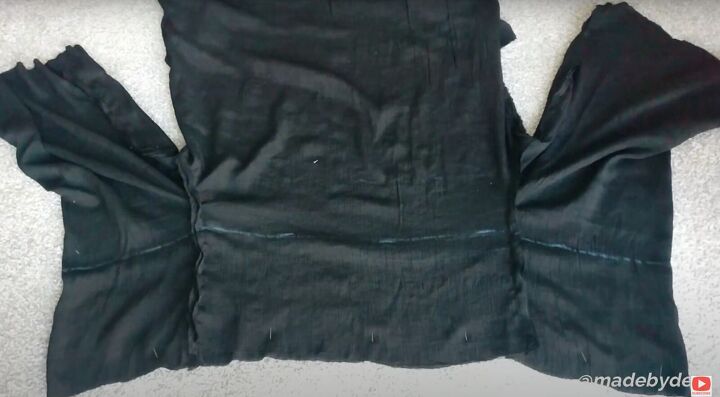
The dress will look like this with the wrong side facing up.
7. Create the elastic casing
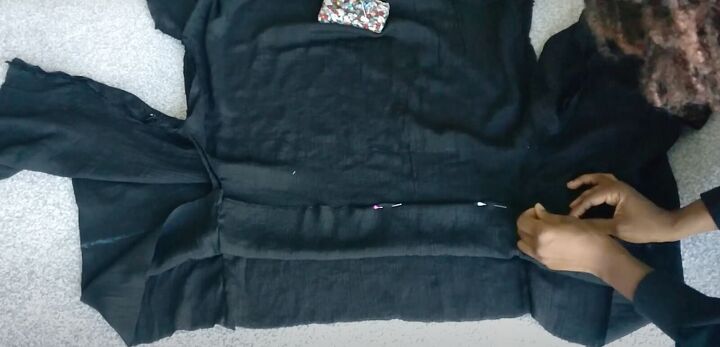
Fold over the shoulder to create the elastic casing and ruffle. Fold down to the line you drew at the beginning and pin it in place.
Make a tiny fold at the edge for a smooth finish. Leave a space to insert the elastic.
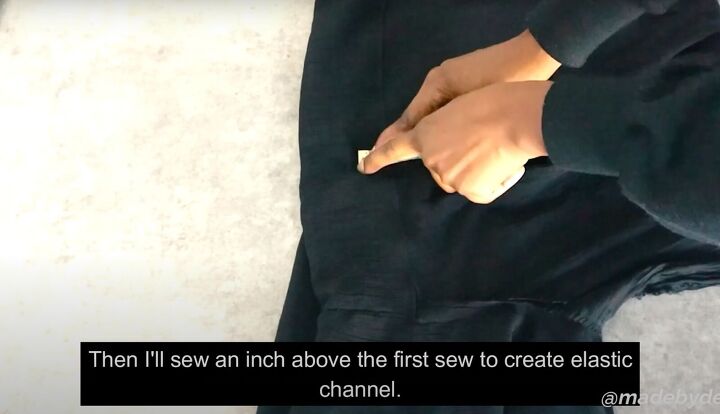
Measure an inch above this seam to finish the casing channel. Sew with a straight stitch.
Hem the sleeves in the same way, leaving a space to feed the elastic through.
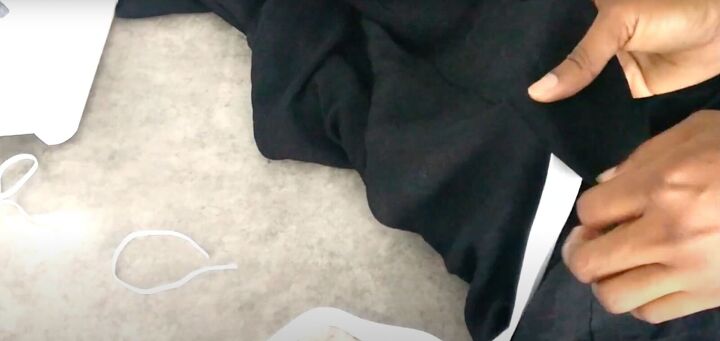
8. Insert the elastic
Feed the 1-inch elastic through the top and ¼-inch elastic at the sleeve cuffs. Use a safety pin to help push the elastic through.
Once the elastics have been tunneled through, match up their ends, secure with stitching, insert back into the casing, and sew the space closed.

9. Attach the bottom tiers
Join the bottom tier pieces together so they form one long piece with a side seam. Hem the bottom and sew a gathering stitch along the top.
Lay the dress wrong side facing with the tier wrong side facing. Gather the bottom tier to match the width of the dress.
Pin the gathered tier to match the seams of the dress, pinning all the way across. Sew with a straight stitch, making sure to backstitch for extra security.
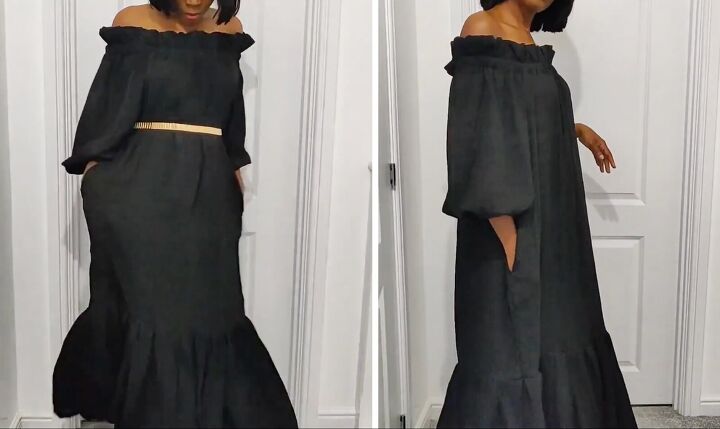
DIY off-the-shoulder maxi dress
The DIY off-the-shoulder maxi dress is done! Let me know what you think in the comments! Do you prefer it with or without the belt?
The author may collect a small share of sales from the links on this page.


Comments
Join the conversation