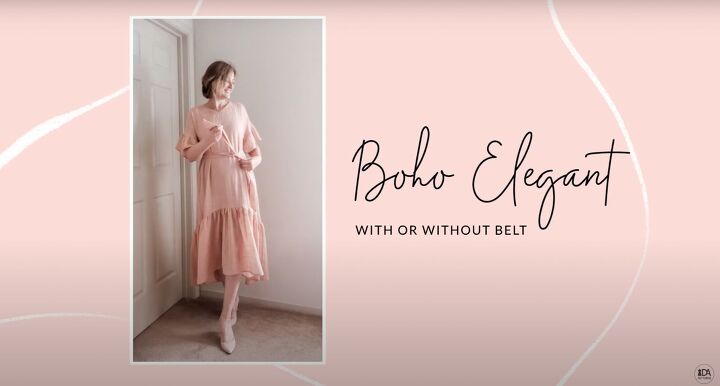
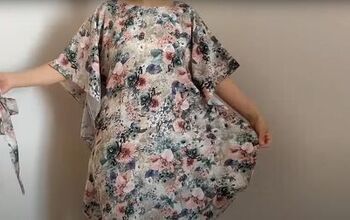
How to Make a Flattering & Flowy DIY Boho Dress From Scratch

Boho dresses are soft, feminine, and ultra-flattering to any body size, shape, and age. In this tutorial, I'll show you how to make a DIY boho dress using a simple sewing pattern.
While this tutorial is for more experienced sewers, I hope you do read on to find out how to make a boho maxi dress so you see how beautiful this dress is!
I’ll show you how to sew a boho dress in a few hours. Let’s get started!
Tools and materials:
- Savannah Boho Dress Sewing Pattern
- Fabric
- Non-stretch 1-inch interfacing
- Fusible lightweight interfacing
- Sewing machine
- Serger
- Ruler
- Scissors
- Pen
- Pins
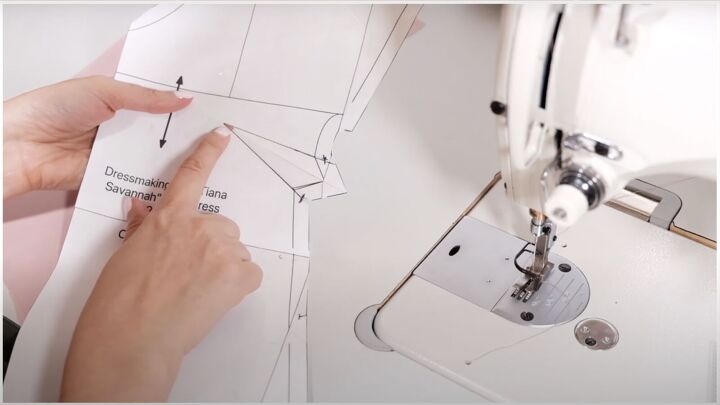
1. Cut the pattern and fabric
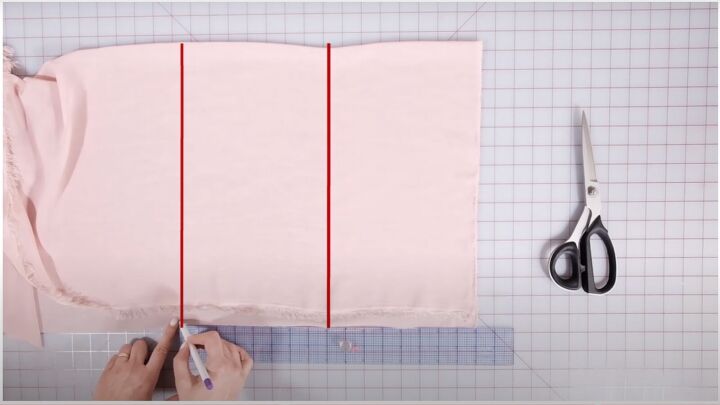
Start with the bottom ruffle. Measure the length of the ruffle, mark, and cut. If your fabric has selvage, cut it off.
Fold one side of the fabric equal to the width of your front and back pattern.
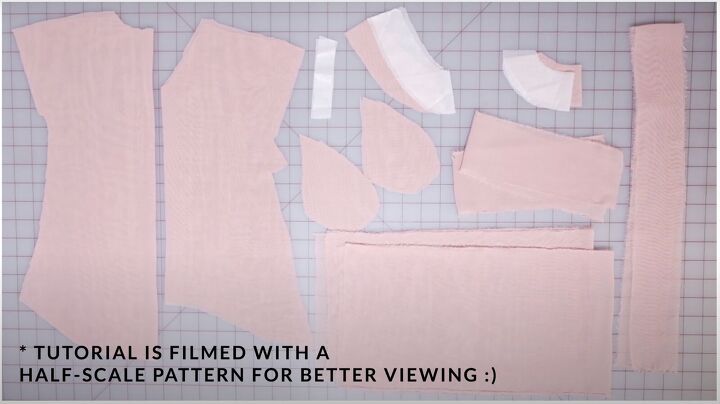
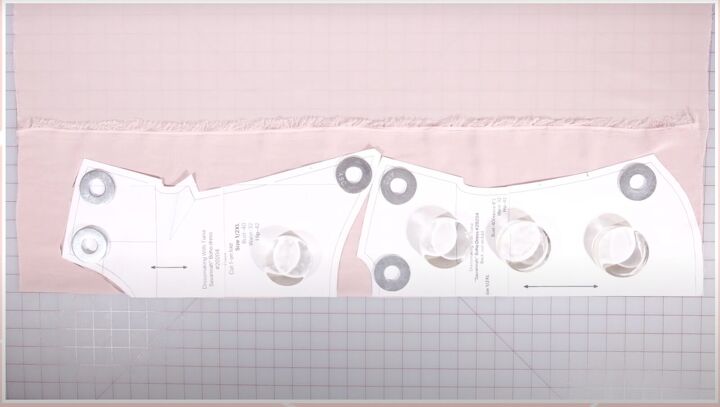
Look at the pattern layouts in the PDF based on your size. Cut out the front and back pieces. Make sure the pocket notches are on the front. Cut out 2 facing pieces and the pockets.
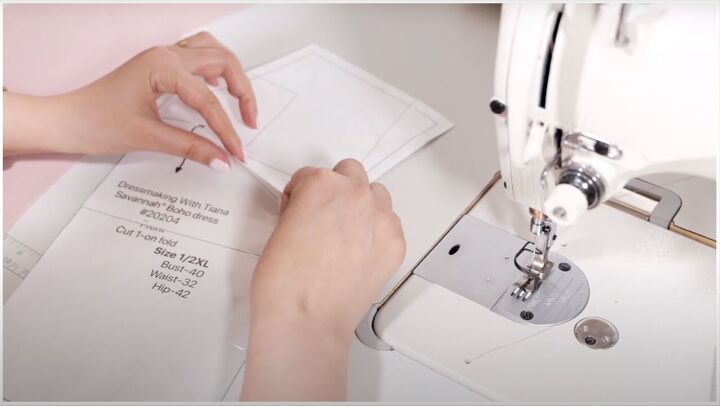
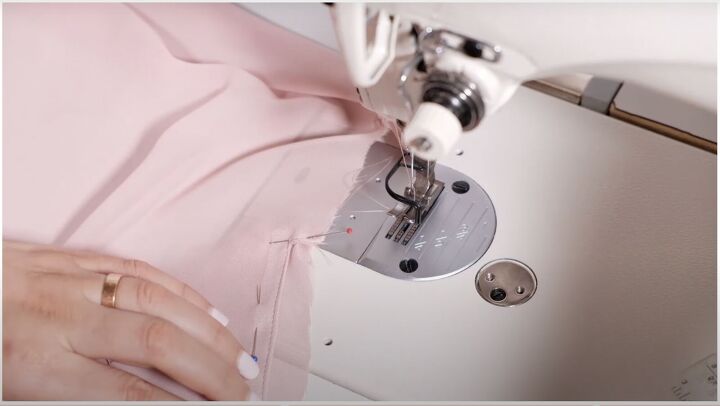
2. Sew the darts
Prepare the darts on the pattern by lengthening the line on the seam allowance. Cut out a small triangle at the notch. Fold the dart at the center. Cut a small slit at a ¼ inch from that point.
From the point to the slit, cut a tiny hole. Lay the pattern on the fabric and place a pin in the hole. Flip the fabric and place a pin in the same spot on the other side.
Open the fabric to show the pins at the dart points!
Place the notches together and mark the dart. Start a little to the left of the slit and sew the dart following the marks.
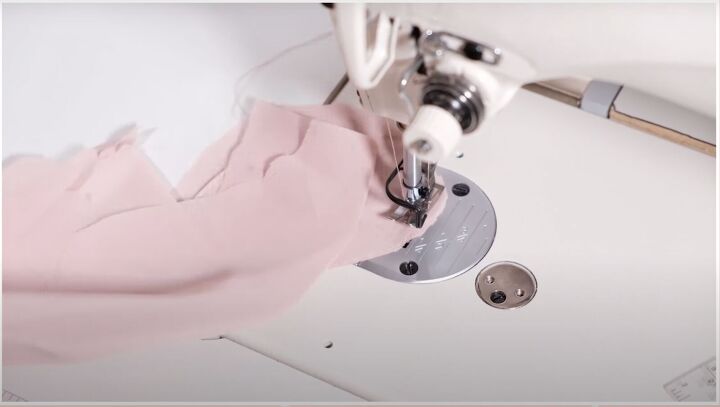
At the end sew an additional 2 to 3 stitches so you have a curve rather than a pointy end.
Press the darts seam allowance down and to give the right form. Do the same technique for the second dart.
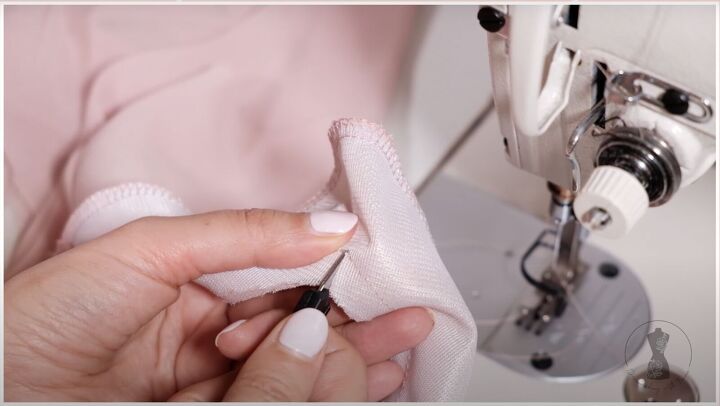
3. Sew the pockets
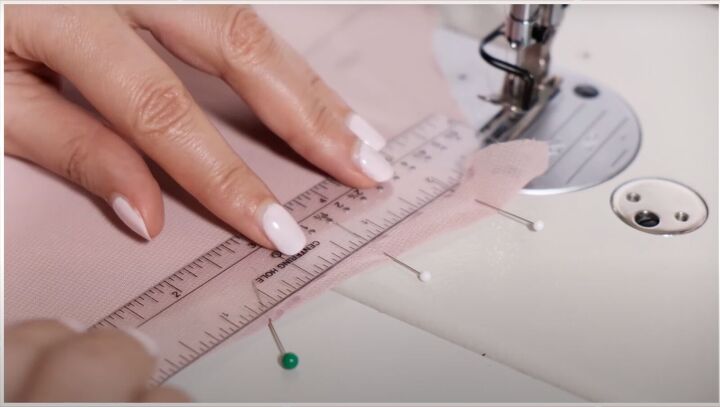
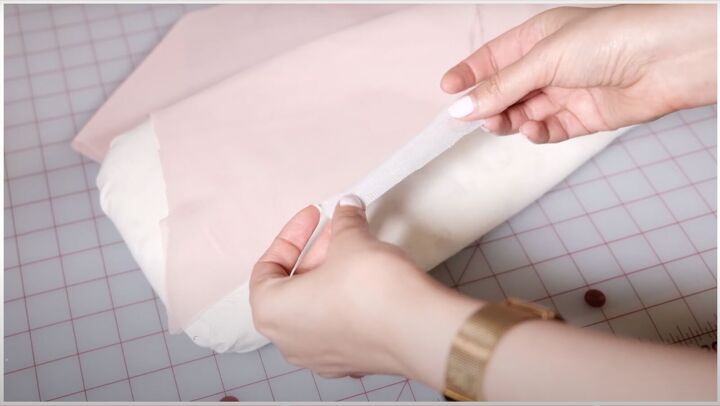
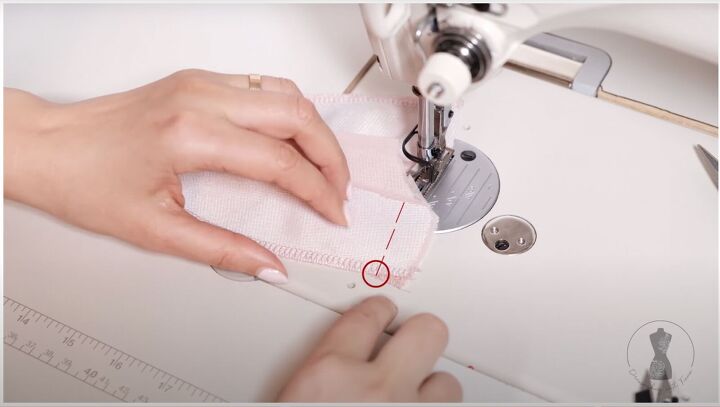
Reinforce the pocket openings by ironing the 1-inch interfacing. The length should be bigger than the notches at the pocket opening - about ½ inch on each side. Press.
Mark the control points for your pockets - about 5 to 6 inches away from each other.
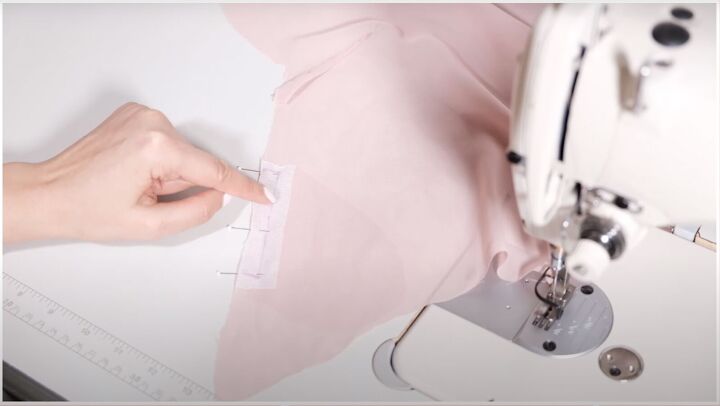
Line up the pocket piece with the interfacing strip edge and pin in place. Turn to the wrong side and draw ⅞ inch up from both control points and connect these 2 lines.
Sew along this line, backstitching on both sides.
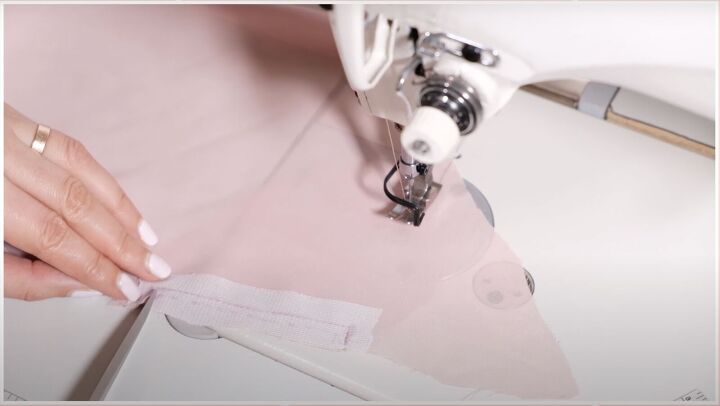
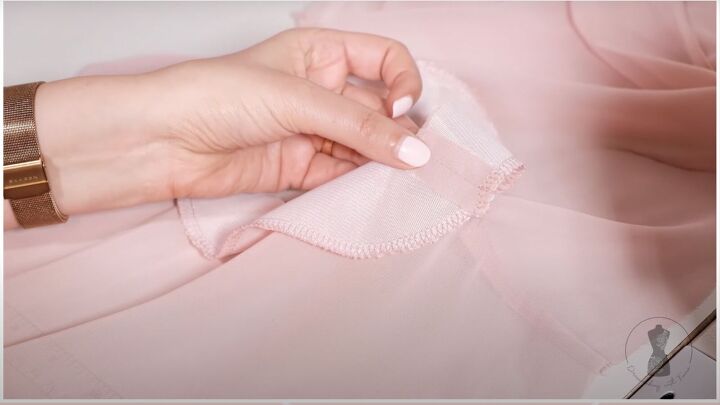
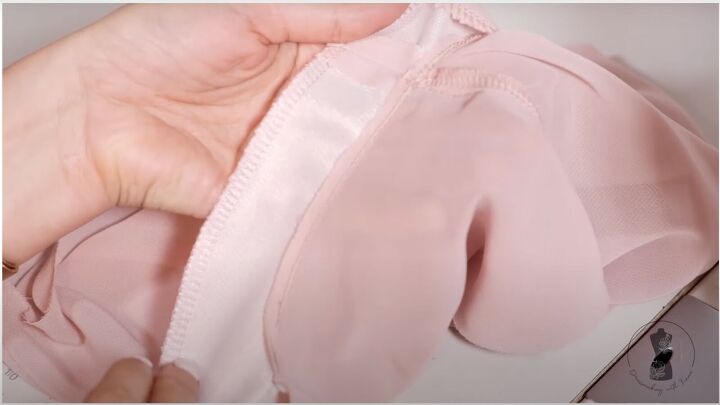
Trim out the area and make little diagonal snips in the corners. Turn the seam allowance to the pocket and understitch from one corner to the other.

You can leave like this or topstitch very close along the pocket opening edge.
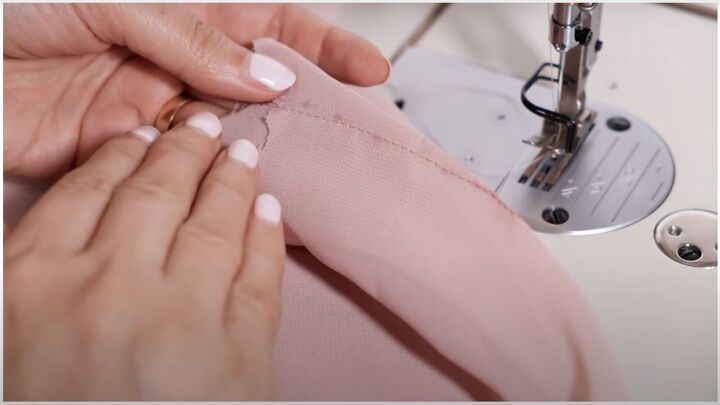
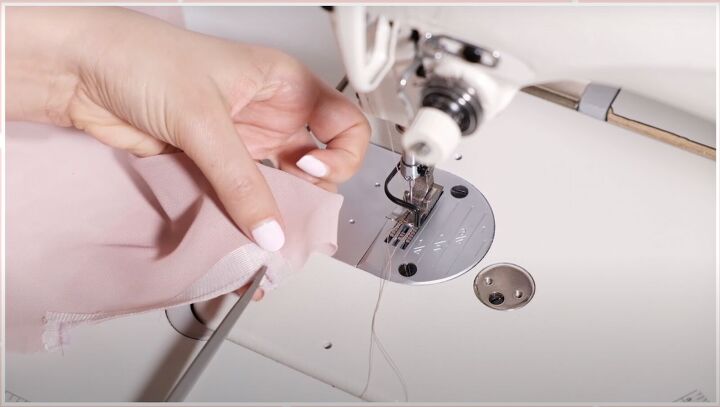
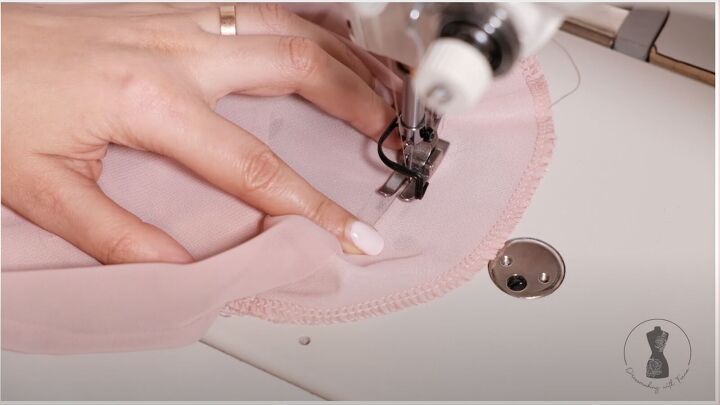
Take the second pocket piece, align, and pin in place.
Sew around the pocket edges. Turn the dress away and follow the curve. Serge the edges. Press. Reinforce the edges of the pockets by sewing the seams and sides of the opening.
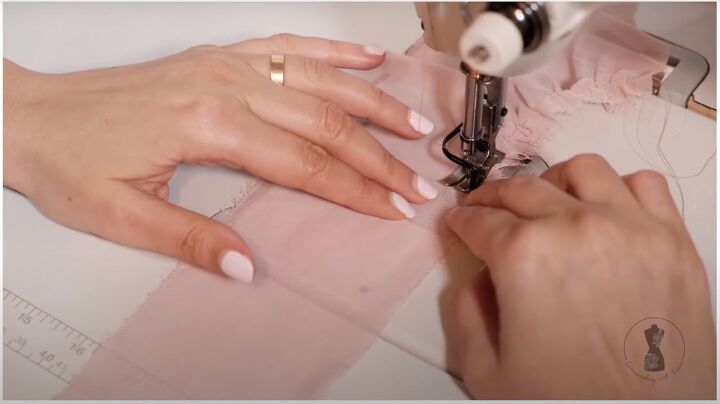
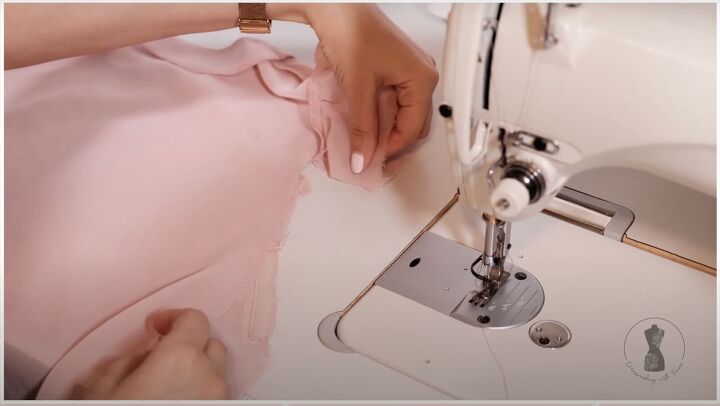
4. Make the sleeve ruffles
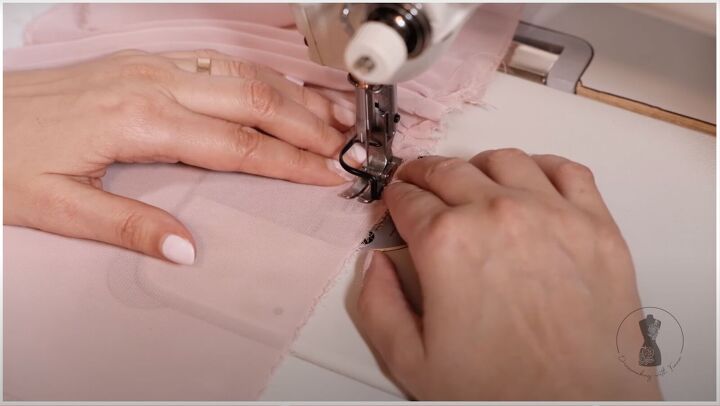
Check that your sleeve ruffles have a center notch. Gather with your fingers with the machine on the widest setting or your preferred method.
Join the center of the sleeve ruffle with the shoulder seam and match up the ends. Pin in between, evenly distributing the gathers. Sew and serge the edges.
5. Sew the sides
Sew the side seams, matching the ends of the ruffle seams with each other. Sew the armpit with a curved line rather than a right angle.
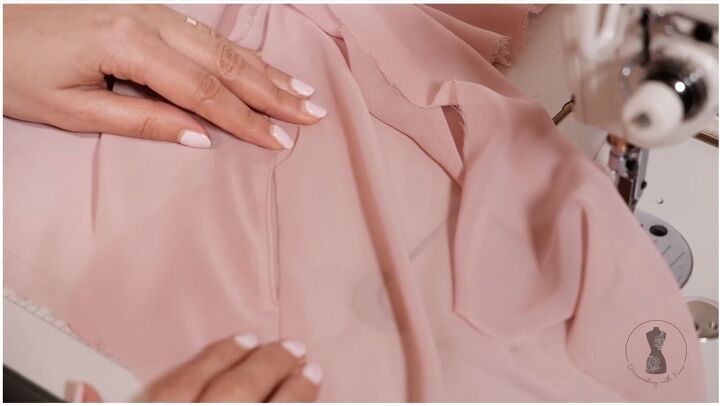
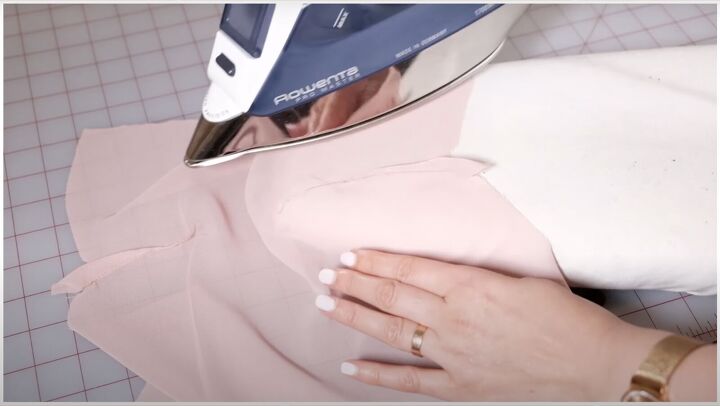
Sew very close to the pocket opening. Serge. Press with the seam allowance facing the back. Do the same to both side seams.

6. Make the facing
Press the fusible interfacing to both back and front facing pieces.
7. Sew the neckline
Sew the shoulder seams. Serge and press with the seam allowance facing the back. Serge the outer edge of the front and back facing.
Sew the facing to the shoulder level. Make sure you place the seam where the facings cross each other at the edge to align them properly.
Check the shoulder seams to make sure they are they same and make any corrections at the neckline if needed.
Mark the center front and back with a quick snip on the facing.
Place the facing right sides together with the neckline, matching the shoulder seams and control points. Sew with a ½ inch seam allowance.
Make a slit through the V neck point being careful to not cut through the seam. Trim the seam allowance leaving ¼ inch.
Make tiny snips in the seam allowance in the back of the neckline only. Sew an understitch on the facing to prevent rolling.
Turn the neckline to the right side with the seam allowance folded under the facing. Start ½ inch from the V neck point and end ½ inch from that point. Place the seam on the facing side of the neckline.
It should look like this.
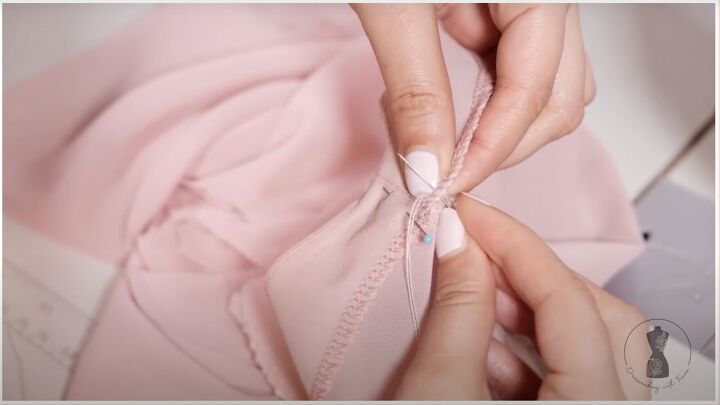
Press the neckline to give it the right shape. At the shoulder point, align the seam allowance of the shoulder and facing. Baste stitch together by hand, catching only the seam allowance.
8. Finish the dress
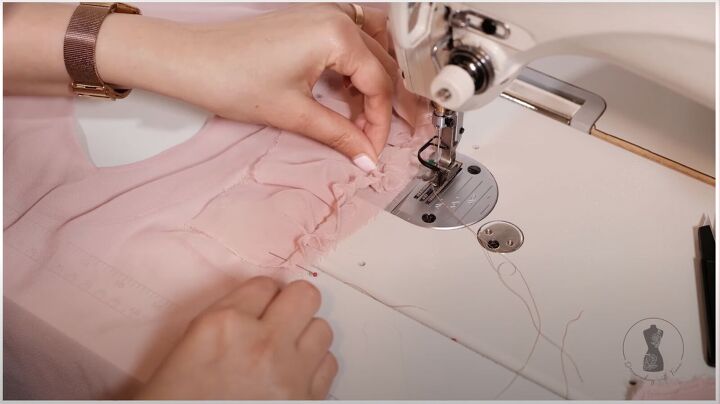
All that’s left is to sew the bottom ruffle, hemming, and the belt. Sew the side seams of the ruffle and serge the edges. Mark the center front and back of the back. Gather the ruffle.
Fold the dress in half, matching the side seams, marking the center front and back at the bottom.
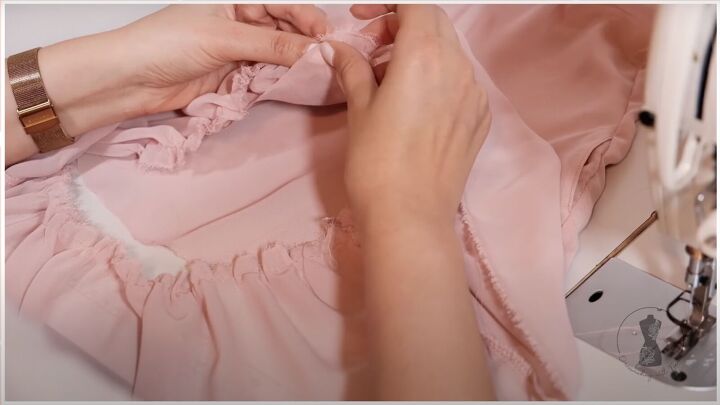
Place the ruffle and dress right sides together, matching the center front and back marks and side seams. Pin these points first and then pin in between. Evenly distribute the ruffle gathers.
Sew together. Finish the edges and press.
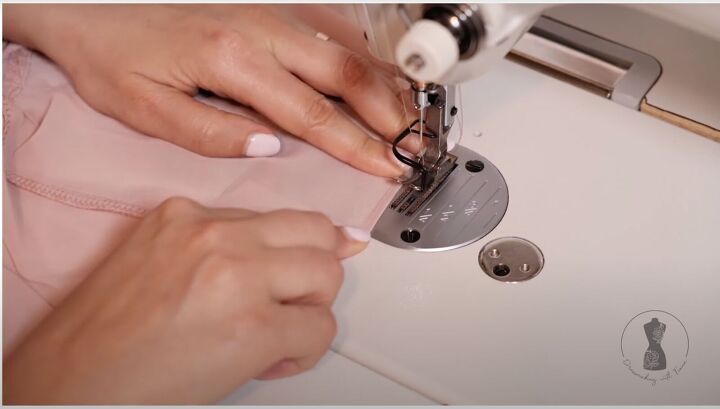
Hem the ruffle bottom and sleeves with a double fold at ⅛ inch.
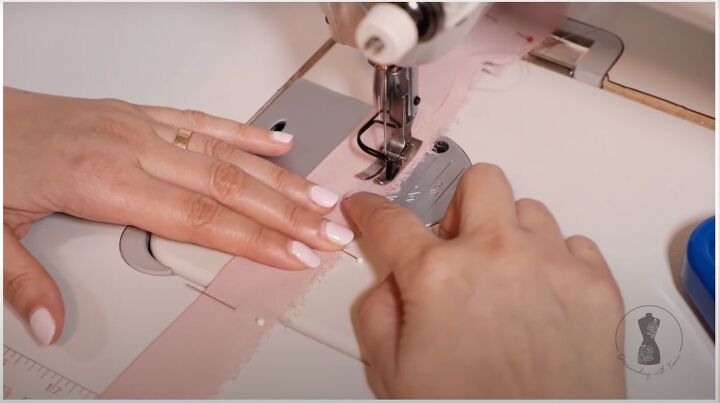
9. Make a belt
Make the belt by folding it in half. Pin perpendicularly. Start sewing in the middle, leaving a 1½-inch gap in the center to easily turn the belt out.
Once the belt is sewn, turn it right side out and press. Handstitch the opening closed.
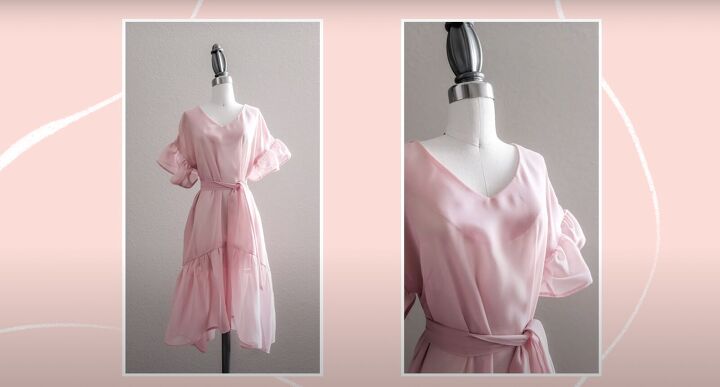
DIY boho dress tutorial.
I hope this DIY boho dress inspires you to make it soon! Please let me know in the comments if you’ve made it or you need additional instructions! Thanks for joining.
The author may collect a small share of sales from the links on this page.


Comments
Join the conversation
Your tutorial for creating a flattering and flowy boho dress from scratch is SUPERB. The way you've combined sewing instructions with the pattern Savannah is incredibly clear. And the sewing patterns itself looks easy-to-understand which I think helps. I'm already imagining the endless possibilities for designing my own unique dresses. Thanks for sharing your expertise!
Your tutorial for creating a flattering and flowy boho dress from scratch is SUPERB. The way you've combined sewing instructions with the pattern Savannah is incredibly clear. And the sewing patterns itself looks easy-to-understand which I think helps. I'm already imagining the endless possibilities for designing my own unique dresses. Thanks for sharing your expertise!