How to Make a Summery DIY Halter Neck Dress From Scratch

Summer is the best time to wear (and show off) your beautiful dresses! If you’re looking for a unique and stylish DIY, you’ve come to the right place! I will show you how to make a beautiful DIY halter neck dress from scratch without going out and buying a pattern. Ready? Let’s start!
Tools and materials:
- Fabric
- Ruler
- Measuring tape
- Marker
- Paper
- Scissors
- Pins
- Thread
- Sewing machine
- Curved ruler
1. Draft the pattern
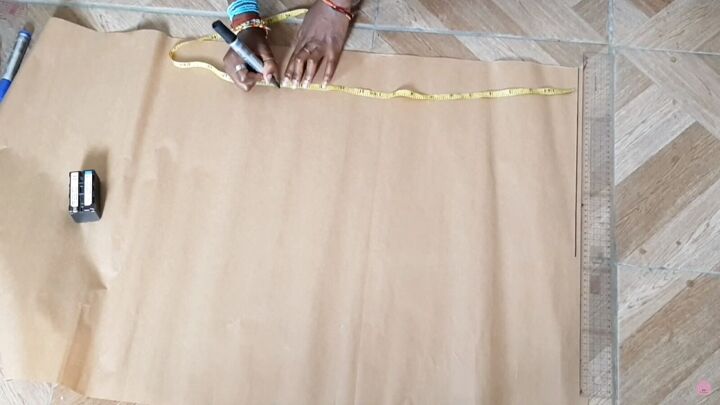
Start by drawing a vertical line on top; this will serve as the shoulder line. Then, from the shoulder line, measure the length between your shoulder and waistline and mark it across.
Then, measure and mark from the shoulder to your bust area.
Measure your bust and waist measurement and divide it by 4. Then, mark this on the respective lines.
Next, connect the lines and create an armhole with a curved ruler.
Mark a ½-inch seam allowance all around the top bodice pattern and cut. Remember, you only need one front piece as the back will be open.
For the bottom part, measure from your waist to your hip and mark.
Measure your hip’s circumference, divide it by 4, and mark this measurement on the hip line.
Then, connect it to your waistline. Also, cut a band for the neckline that will serve as the halter neck part.
2. Make the notches
Cut out your fabric pieces and fold them in half. Then snip the center points.
3. Pleat the neckline
Since my neckline was too big, I made some pleats on either side.
4. Attach the strip
Pin the band to the top edge of the front piece (where the pleats are). Ensure both pieces are right sides facing and notches are aligned.
Then, fold over the band twice onto the wrong side of the front piece and pin.
This is what you should have.
Fold the rest of the strip and sew for a clean finish.
Tip: You will also need two thin straps to attach on each side of the armholes, so measure, cut, and sew these straps, making sure they’re long enough to tie around your back.
5. Assemble the bottom piece
Cut the bottom pattern piece (on fold) and sew the side seams.
6. Attach both pieces
Now, connect both pieces. Align both side seams and pin the edges all around. This way it is easier to pin evenly, and you won’t land up with one side looking smaller than the other.
To pin the front part, fold the bottom piece’s top edge over and pin the top’s bottom edge over it.
For the back piece, simply fold over the dress’ top edge and pin. Since this is a DIY halterneck dress, there’s no back piece to attach it to. Once done, sew a straight stitch all around. I didn’t use a zigzag stitch as it was still easy for me to stretch the fabric when wearing it.
7. Make the ruffles
Measure the circumference of the bottom of the dress and multiply by 2. The length is up to you. Next, sew a straight stitch across one of the edges and create gathers by pulling on the thread. Pull until the circumference equals the circumference of the dress’ bottom edge.
Sew the side seams to create a loop. Attach the ruffled band to the bottom of the halter neck floral dress by first aligning the side seams. Ensure both pieces are right sides facing. Then, sew with a straight stitch.
DIY halter neck dress tutorial
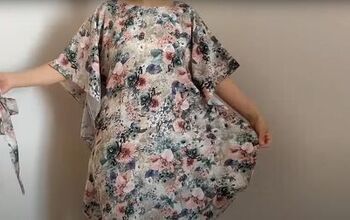
It’s really simple and fun sewing this lovely DIY halterneck dress; it’s actually one of my favorite dresses. The floral prints really give off the perfect summer vibe, and the dress itself is unique thanks to the open back and ruffles that give it a lovely flare. I also made some hair accessories to go with it from the leftover fabric. Thanks for joining me!
Enjoyed the project?
Suggested materials:
- Fabric
- Ruler
- Measuring tape
- Marker
- Paper
- Scissors
- Pins
- Thread
- Sewing machine
- Curved ruler
The author may collect a small share of sales from the links on this page.





Comments
Join the conversation