How to Make a Summery DIY Kimono From Scratch

You can never go wrong with a DIY kimono. A kimono wrap is one of the most versatile clothing you’ll make. It will take you through every season and to any location. You will always look super chic by the pool, in the city, or at the club.
If you wanted to learn how to make a kimono from scratch or how to sew a kimono, this tutorial is for you. Let me show you how to make a kimono so you can wear it today!
Tools and materials:
- 2-3 yards of fabric
- Measuring tape
- Tailor’s chalk
- Pins
- Serger
- Sewing machine
- Scissors
- Your own t-shirt as a template
- Pen & paper to record your measurements
- Iron

1. Make the DIY kimono pattern
Lay your own loose-fitting t-shirt on a flat surface. I'm using my Summer Vibes embroidered t-shirt from a previous tutorial. You’ll measure and mark the following measurements to determine your ideal kimono:
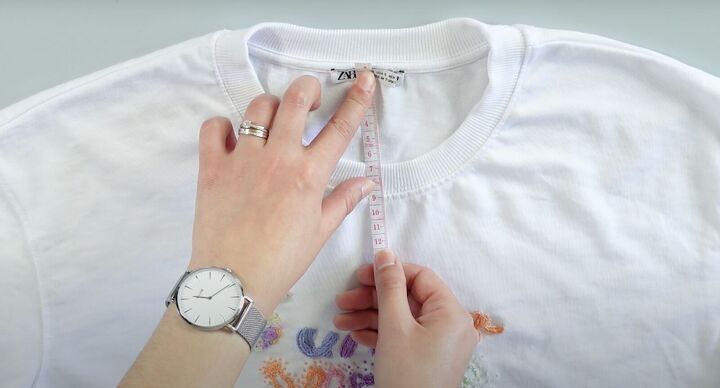
- Measure the neckline horizontally.
- Measure the neckline vertically.
- Measure across below the bustline to determine the waistline.
- Measure the sleeve length from the neck, past your shoulders, down to your preferred sleeve length. In this tutorial, I wanted it to reach my wrist.
- Measure your sleeve width. I wanted about 12 inches (30 cm) but you can make it wider if you choose.
- Measure your preferred length starting from the center of the back of your neck all the way down.
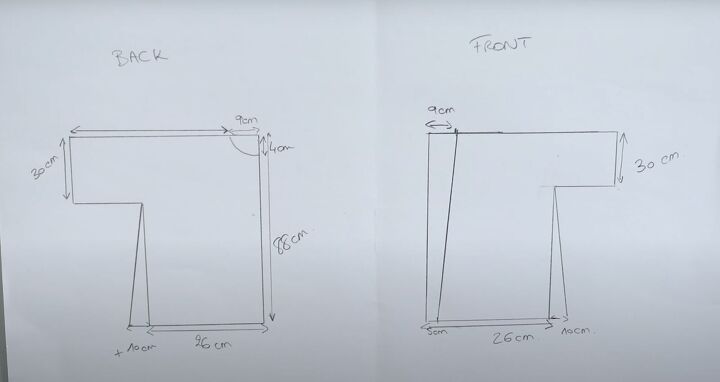
Make the DIY kimono pattern by following the video from 1:35 to 4:30.
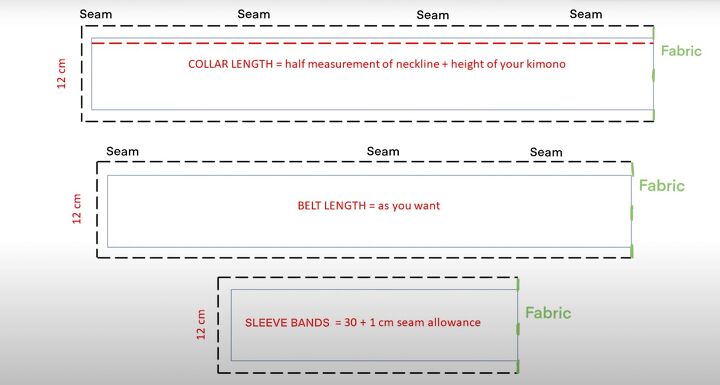
You’ll also make the collar, cuffs, and belt.
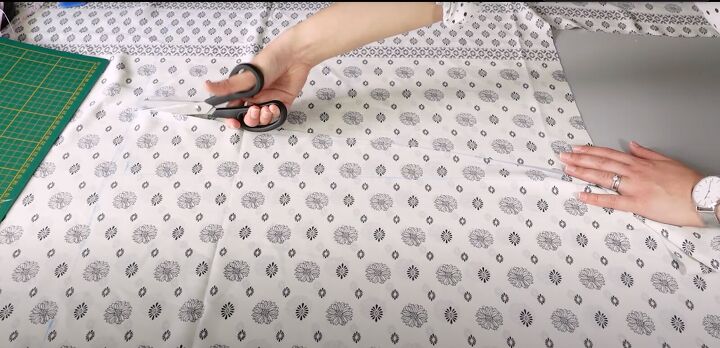
Cut the fabric.
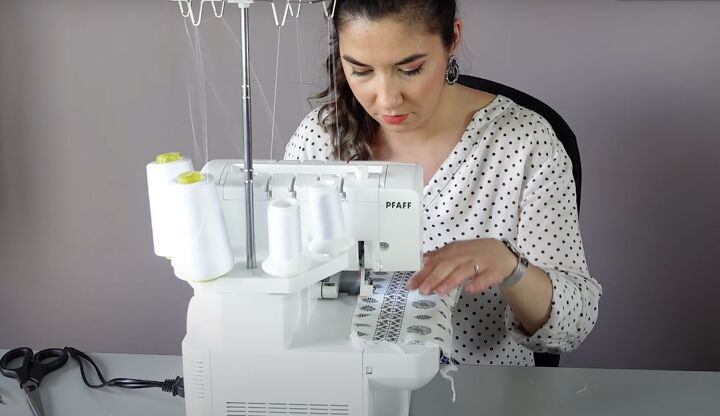
Serge all the raw edges except for the neckline.
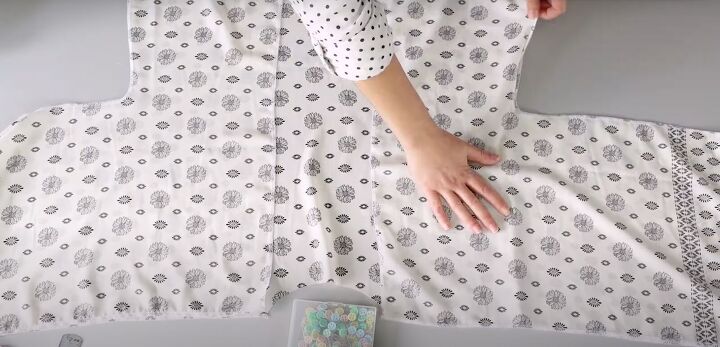
2. Assemble the kimono
Place the back piece of the kimono with the right side facing up. Lay the two front pieces of the kimono right side facing down. Align the shoulders.
Pin the shoulders and side seams together. Sew the pinned areas about ¼ inch from the edge.
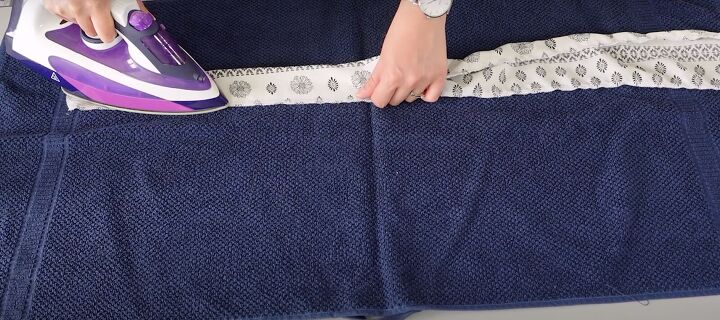
Press the collar, cuffs, and belt pieces. Fold the long collar piece in half, wrong sides together. Press again.
Place the collar piece, starting at the bottom all the way across the neckline and back down again pinning the raw edges together. Sew into position. Topstitch along the seam on the right side of the fabric.
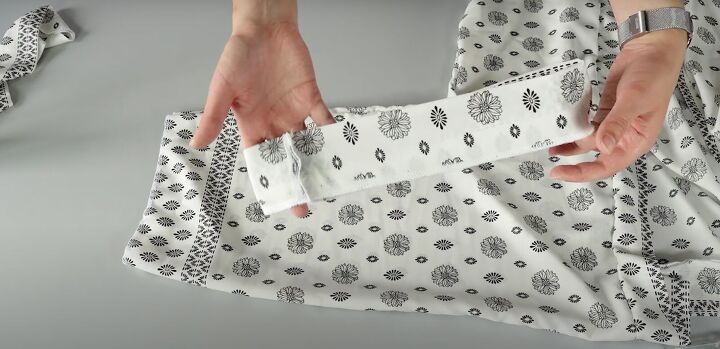
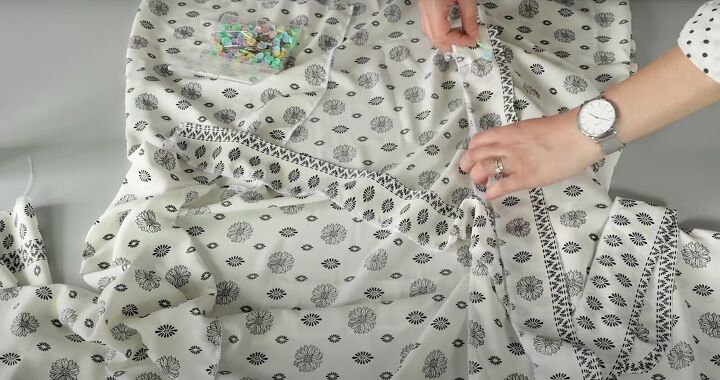
3. Attach the cuffs
Sew the folded cuff pieces into a loop, then tuck the sleeves into the cuff. Line up the cuff and inner sleeve side seams. Line up the raw edges of the sleeve with the raw edge of the cuff. Pin in place.
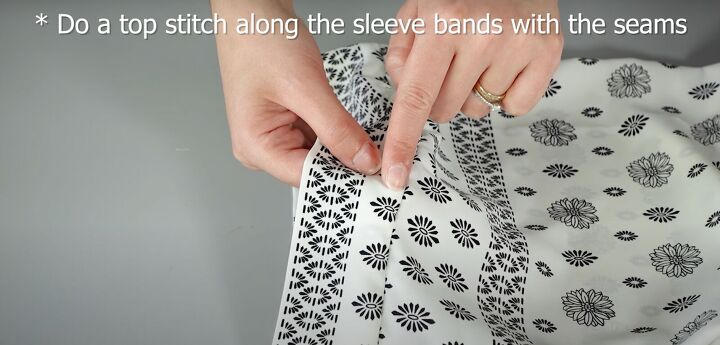
Trim any excess seam allowance. Sew into position. Topstitch along the seam.
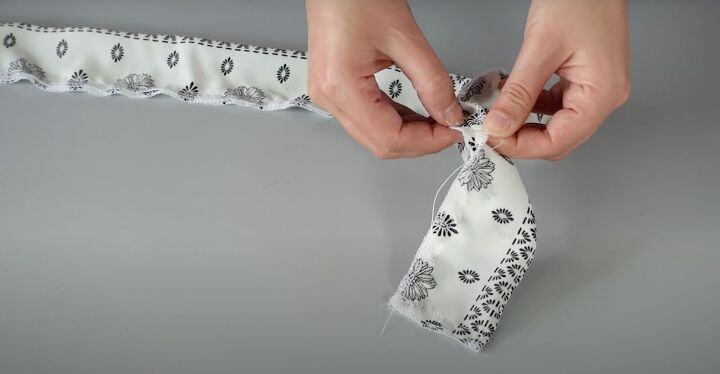
4. Make the belt
Place the folded belt right sides together. Sew along the length and the width, leaving a 1½-inch hole along one seam. Insert your fingers or a long thin object into the hole to turn the belt inside out. Press to flatten. Topstitch.
5. Final touches
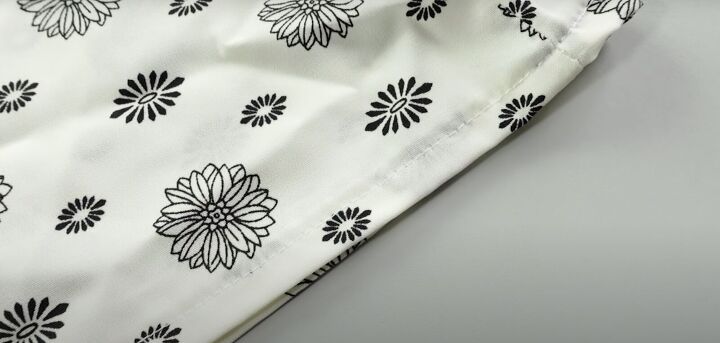
Double fold the bottom of the kimono to hem. Press to flatten. Topstitch across the entire bottom.

DIY kimono tutorial
Voila! You’re done making a DIY kimono. I love hearing from you so please let me know in the comments if you made this kimono. Tag me in your photos @gul_davies.
The author may collect a small share of sales from the links on this page.


Comments
Join the conversation
I love it! I have been wanting to make my daughter, grand-daughter and daughter-in-law a beach cover up! This would be perfect! Thanks so much!
Great tutorial thank you for sharing. Just to add to Shans' comments. If you do not have a serger you can cut your material with a pinking shear. The zig zag of the cut will help to stop fraying, OR you can sew a straight line a bit less than a 1/4 inch from the edges before you sew your seams. That sewn line will also help to stop fraying. Another seam you can do is called a Flat Feld Seam and you can see how that works by accessing You Tube.