How to Make a Trendy DIY Kimono Jacket From Scratch

I’m so excited to show you my DIY kimono jacket tutorial! It’s such a beautiful item to wear and really takes your style up a notch. This easy DIY kimono cardigan is great for both beginner and advanced folks.
So, without further ado, let’s get straight into this step-by-step guide so I can show you how to make a kimono of your own! Watch the first video for the pattern, then the second for the sewing steps, which are also written out underneath.
Tools and materials:
- Fabric for the trim
- Interfacing (optional)
- Scissors or rotary cutter
- Ruler
- Sewing machine
- Pins
- Matching thread

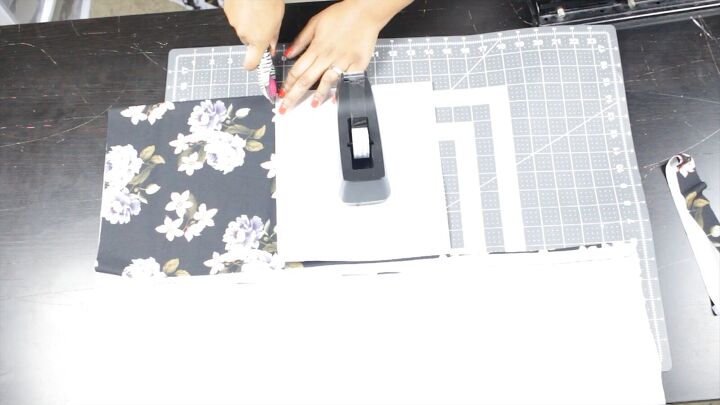
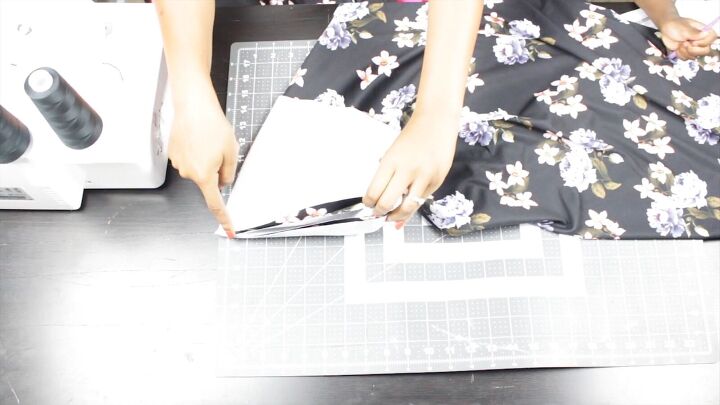
1. Cut the fabric
Fold your silk fabric (not the trim but the main fabric for the DIY kimono). Then, place your front and back pattern on top.
Make sure your back pattern is lined up to the fold of the fabric. Your front pattern should be right beside it.

Place the center of the sleeve’s pattern along the fold to cut the sleeves.
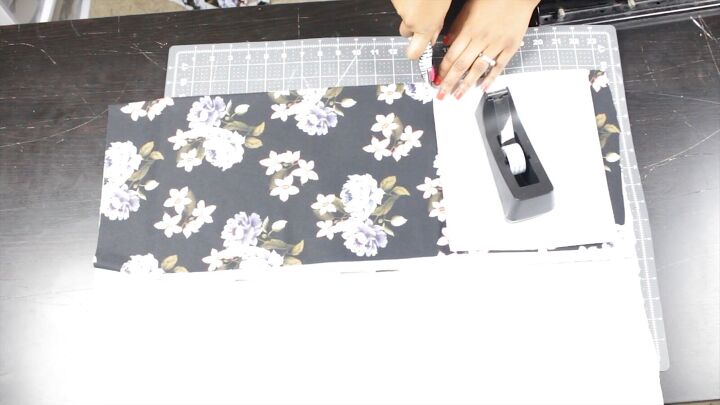
Make sure your fabric is folded in half, and cut right along the pattern.
Cut another piece for the second sleeve.
2. Assemble the pieces
Alright! Let’s assemble the front and back pieces of this DIY kimono jacket. Lay your back piece, right sides facing up, and then place the two front sides right sides facing down.
Align the shoulder and armhole areas of both pieces and pin.
Sew the shoulder seams, armhole curve (not the opening) and the sides. Repeat on both sides.
Fold the sleeves in half and sew along the raw edge opposite the fold. There should be two open sides, still.
Turn the sleeves inside out, and insert the DIY kimono’s armhole through the sleeve so both raw edges touch. Line up the seams and sew around to secure.
Remember, the kimono base is right sides out while the sleeve is inside out.
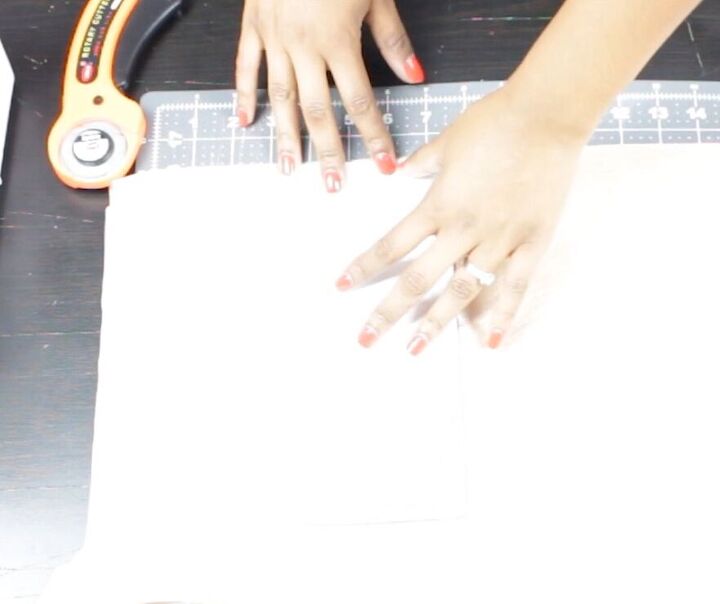
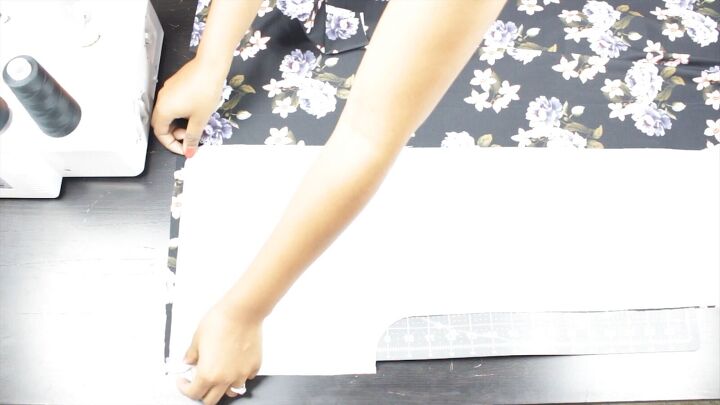
3. Cut the trim
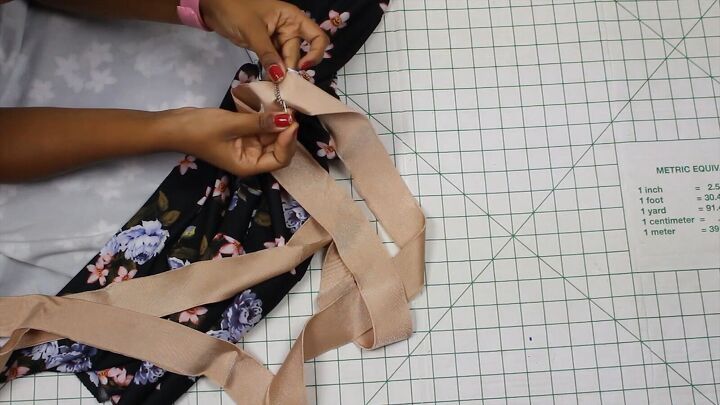
Your easy DIY kimono cardigan is almost ready. We just need to attach the trim for a lovely finish. Cut two sleeve trim pieces from your folded fabric. Line the center of the trim pattern to the fold of the fabric.

Cut out two pieces with fabric on the fold for the neckline trim. Make sure the center of the pattern aligns with the fold of the fabric.
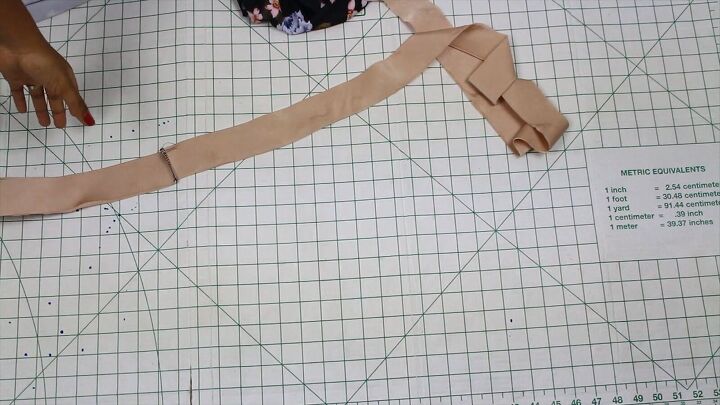
The next step is optional; cutting off a ¼ inch of the pattern afterward. I will use that as a guide to cut out interfacing (see following steps).
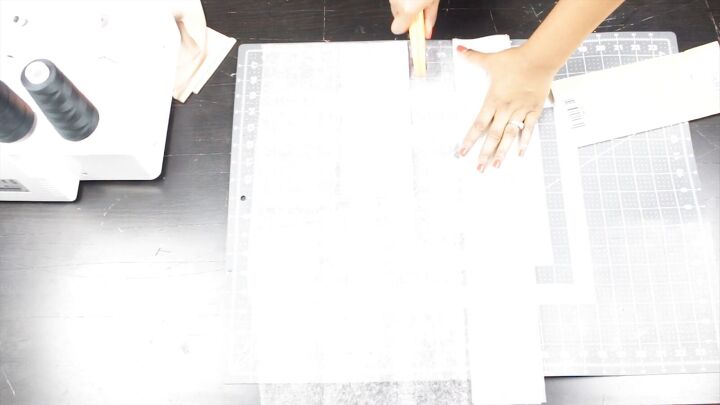
My fabric for the trim is very soft, and I want something more sturdy. That’s why I’m adding interfacing to the trim. Again, this is optional.
Simply cut out some interfacing (same width as the fabric pieces and half the length.)
Tip: Make sure this is iron-on interfacing.

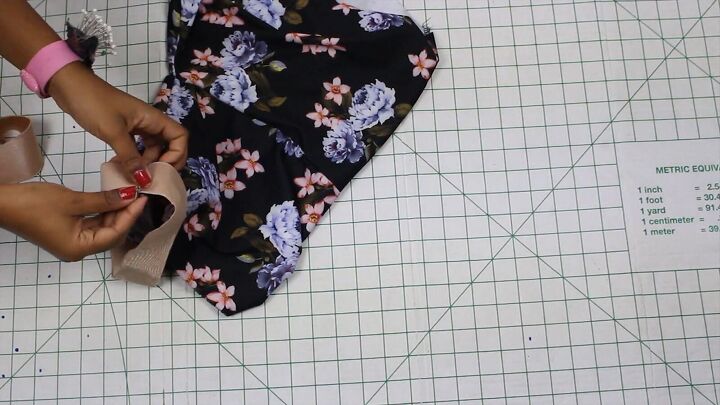
Open your fabric, so it’s right sides down, and lay the interfacing on top. Then fold the top part of the fabric trim over the interfacing and iron over that.
Tip: I suggest putting scrap fabric on top when ironing. I didn’t, but it’s better to do so to protect the trim.
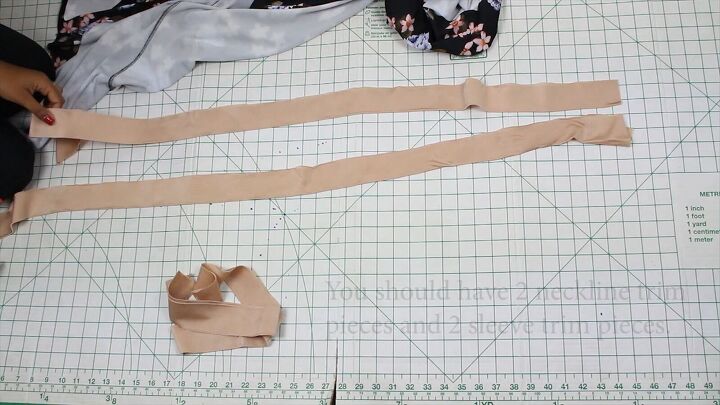
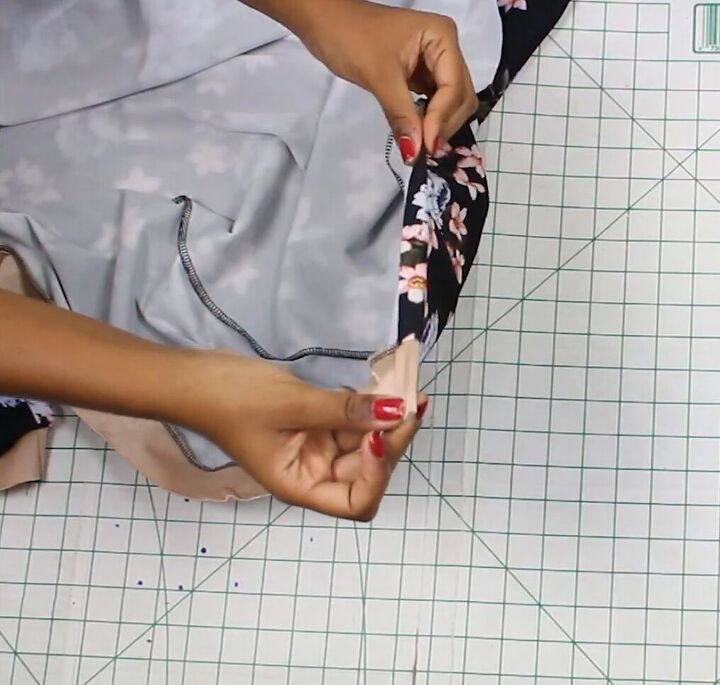
You should have two neckline pieces and two sleeve trim pieces.
Sew the short ends of the neckpieces to create one long piece.

Then, connect the short ends of each sleeve piece.
Pin each sleeve trim to your kimono’s sleeve. The raw edge of the trim should be facing up. Ensure that you align the seams, too.
To pin the neckline trim evenly, take the two shoulder seams of your kimono and line them up together to find the center point.
Now take the neckline’s trim and line up the center seam to the center point of the kimono you just marked. Start pinning the trim from there, downward.
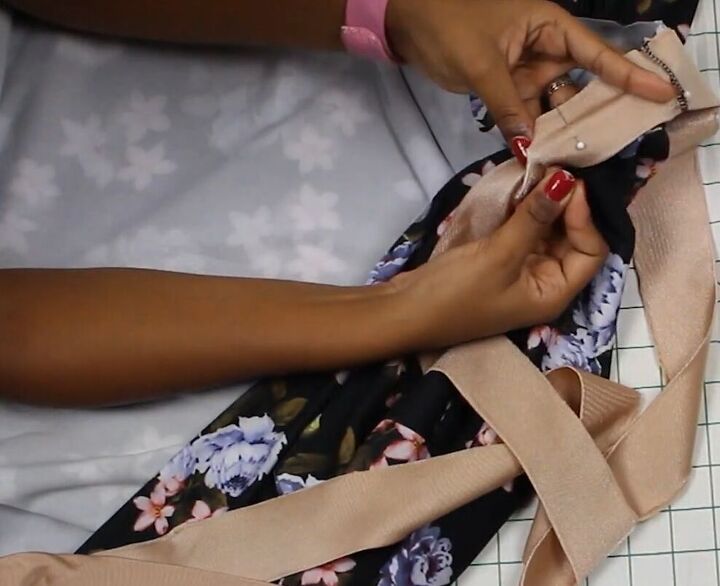
Remember, as with the sleeve, the trim’s wrong side should face upward, and the kimono itself should be right sides out. Pin both pieces at the raw edge and align accordingly.
4. Hem your DIY kimono
For a clean edge, go ahead and fold the bottom of your kimono inward (once). Pin all around, and sew to secure.

DIY kimono jacket tutorial
We’re done! I hope you enjoyed this guide on how to make a kimono jacket. What do you think of this beautiful and chic DIY kimono jacket? It was so easy and fun to do.
Also, let me know in the comments below what you think of the whole look!
The author may collect a small share of sales from the links on this page.


Comments
Join the conversation