How to Make a Trendy DIY Mandarin Collar Top From a Plain Shirt

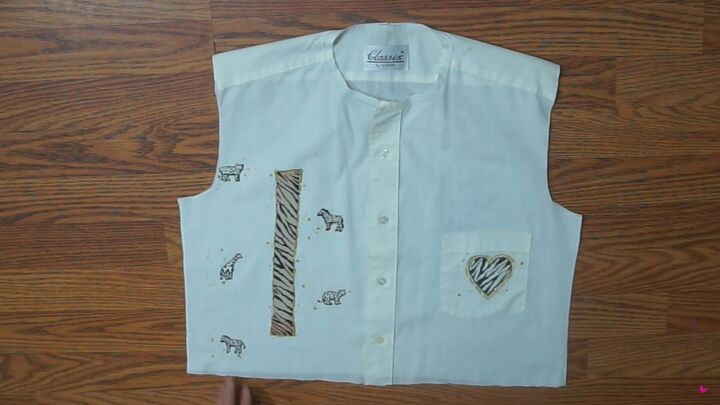
Have a large, unused blouse that could surely undergo a little revamp? Well, if so, then this DIY mandarin collar sewing tutorial is perfect. You’ll learn how to sew a mandarin collar and make something old into a fashionable, timeless piece. Want to make your own DIY mandarin collar crop top? Keep reading!
Tools and materials:
- Blouse
- Pen
- Paper
- Fitted blouse as a guide
- Seam ripper
- Sewing machine
- Thread
- Chalk
- Pins
- Ruler

1. Modify the blouse
As you can see, the blouse I’ll be modifying is pretty large. To take in the sleeve area, I took a fitted blouse and traced out the armhole, side seam, and sleeve area onto paper. Add ½ an inch seam allowance.
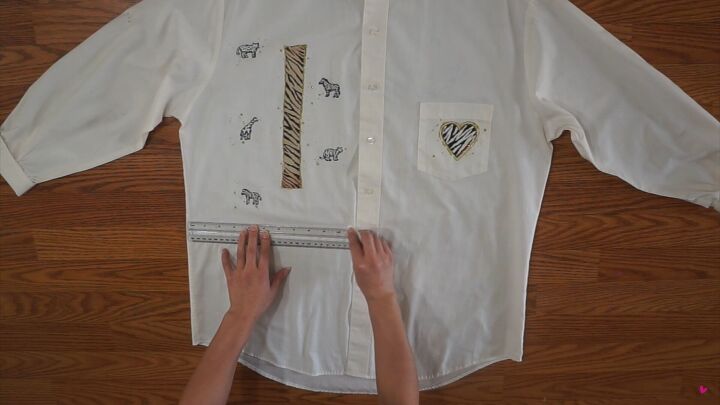
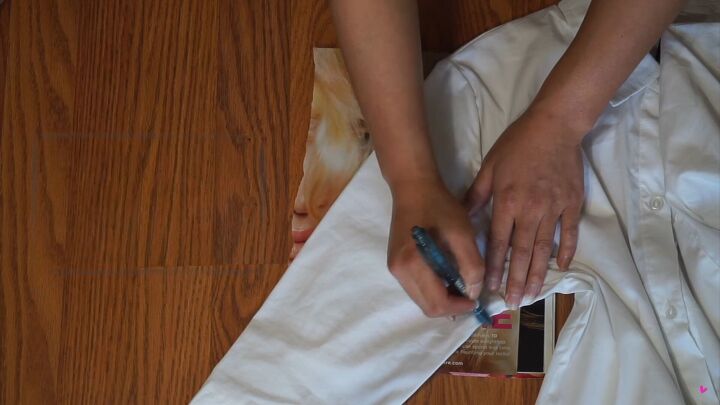
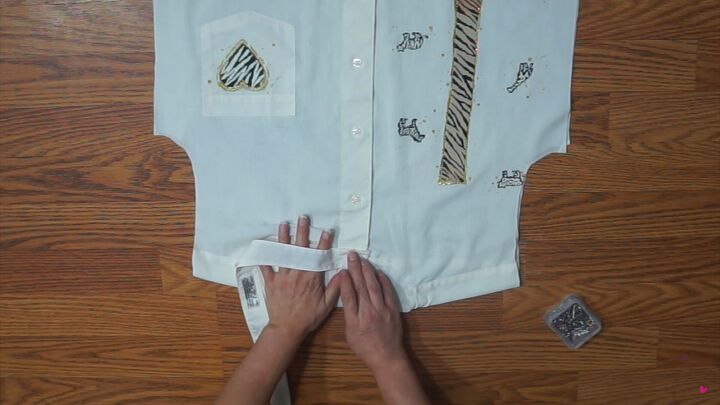
Lay your shirt flat on a hard surface, and with a ruler, draw a line at the bottom, so that you have your desired length. I decided to go for a cropped look, but again, this is up to your discretion.
Now, trace the new armhole pattern onto the blouse. (Side note: you’ll notice the collar is missing from the shirt, don’t worry, I will walk you through the mandarin collar step separately!)
Continue the side seam of the pattern straight down the blouse, as shown.
Now, cut out the pattern accordingly.
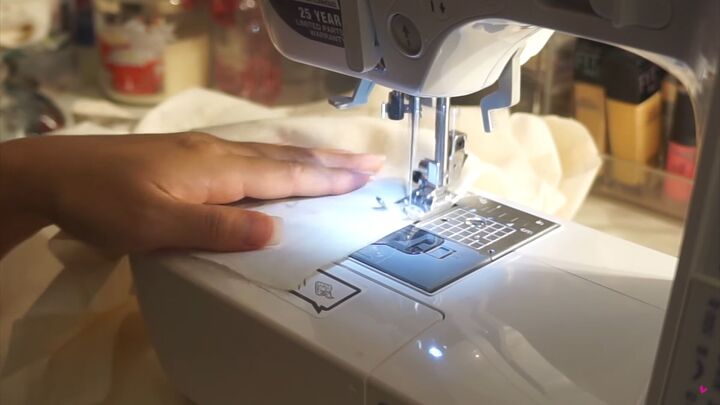
Then, sew the side seams.
2. Modify the sleeves
I wanted to keep the top of my sleeves, so I lined them up against the finish line of the pattern and traced it accordingly (disregarding the seam allowance).
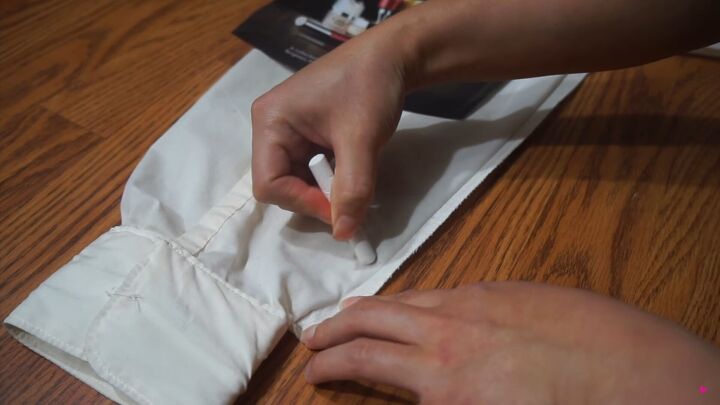
To prevent having to redo the gathering at the wrist, taper out the bottom and draw a line up toward the original seam, as shown.
Now cut along the lines with sharp scissors.
Sew the side seam of the sleeve, starting from the wrist toward the armhole.
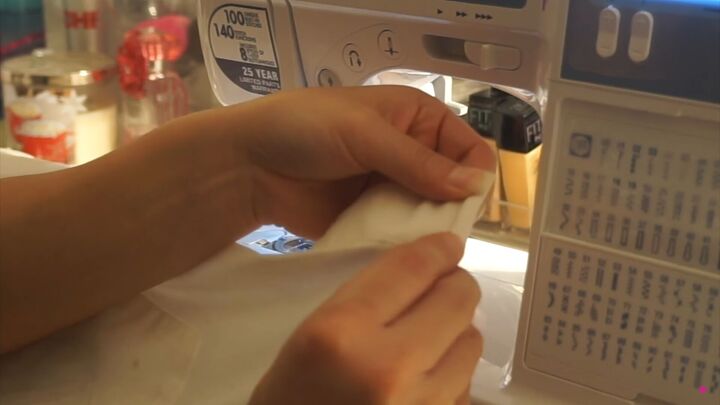
3. How to sew a mandarin collar
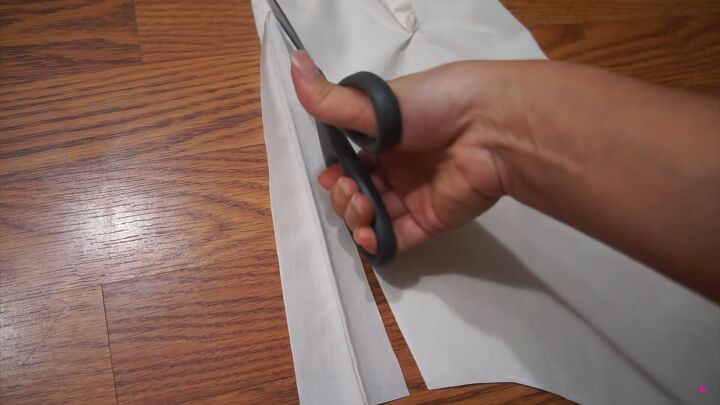
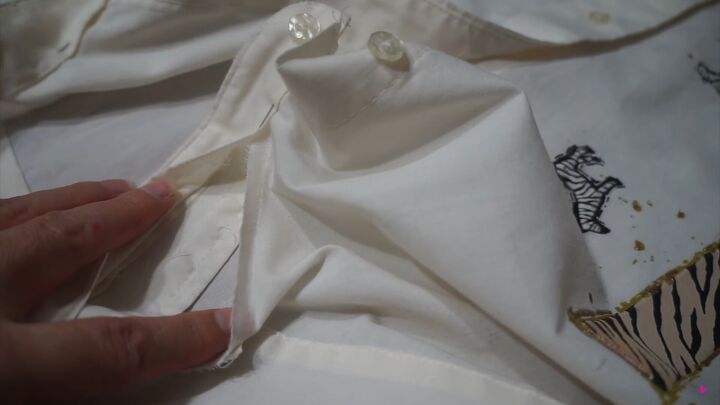
Detach the collar from the shirt by carefully cutting around the lower seam area.
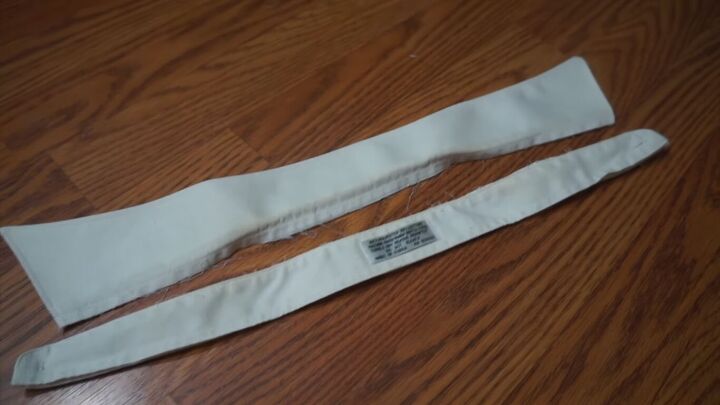
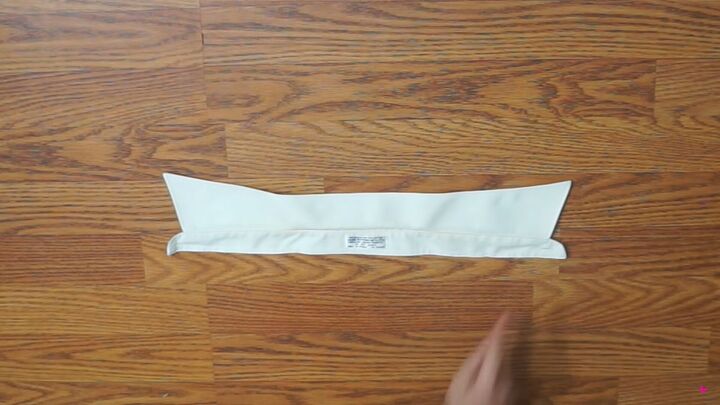
Then, seam rip the band carefully, detaching the collar part from the band. The band will become the mandarin collar.
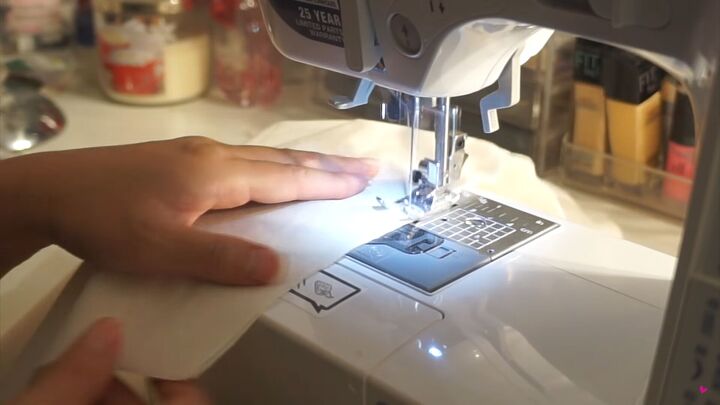
Now, it's time to reattach it to the bodice.
Sandwich the neckline of the shirt in between the two layers of the mandarin collar.
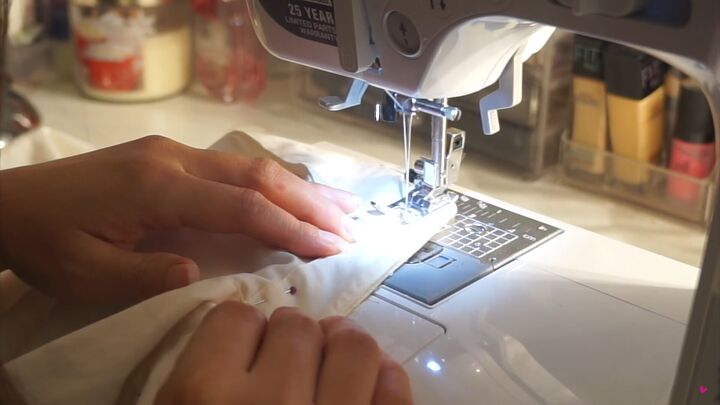
Slowly, sew all the way around and try to keep the two outer layers aligned with one another. Capture both layers when sewing.
Tip: Manually walk the needle right before the edge of the DIY mandarin collar, this is to ensure precision and avoid hitting the button.
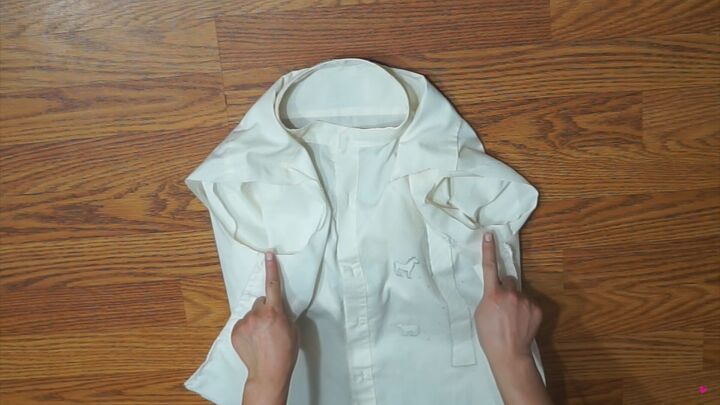
4. Attach the sleeves
Making sure the fabric is on the right side, go ahead and attach the sleeves to the armhole. Make sure the front of the sleeve is facing the front of the shirt. Align the seams accordingly.
5. Hem the shirt
Lastly, hem the bottom of the shirt twice, by ⅛ of an inch and your project is complete!

DIY mandarin collar crop top tutorial
A few simple modifications and you have yourself a stunning DIY mandarin collar shirt! I hope you enjoyed this mandarin collar sewing tutorial, and you can now modify shirts into something sophisticated!
Also, check out my three top DIY mandarin collar looks below for some fashion inspiration!

How to style your DIY mandarin collar crop top
You can wear this lovely top with jeans that have distressed details. This look gives off a laid-back vibe and the heels give it a classic touch!

This is more of a preppy look, I love the layers and the pop of pink that goes really well with the shirt!

If you’re looking for a rebellious makeover, then this DIY mandarin collar shirt is the perfect fit for this kind of vibe. I love the tights and the pleated skirt.
The author may collect a small share of sales from the links on this page.


Comments
Join the conversation