How to Make Cute & Comfy DIY High-waisted Pants From Scratch

High-waisted pants make everyone look good! Besides their flattering silhouette, they just feel more comfortable. In this DIY high-waisted pants tutorial, I’ll show you how to make a high-waisted pants pattern based on your measurements.
Even if you’re new to sewing, you can learn how to make high-waisted pants from scratch. Let’s get started!
Tools and materials:
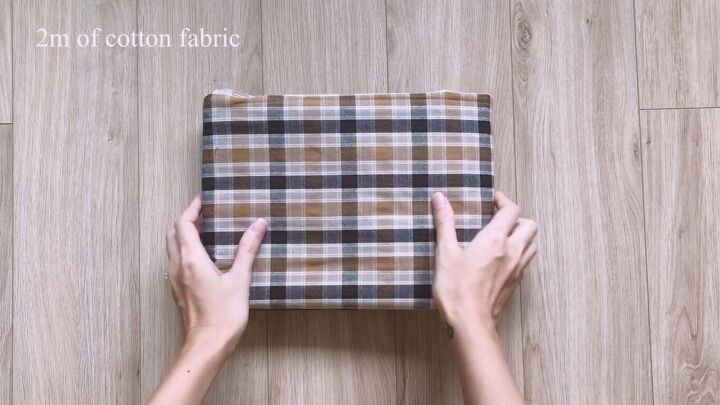
- 3 Yards of fabric
- Sewing machine
- 1 to 1½ inch elastic
- Pattern paper
- Pen
- Measuring tape
- Ruler
- Scissors
- Pins
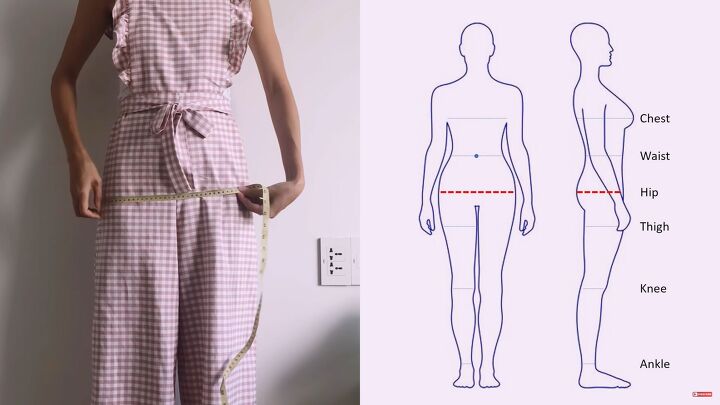
1. Take your measurements
You’ll need to measure your hips, waist, thigh, knee, and the length of your legs from one inch above your belly button to your ankle.
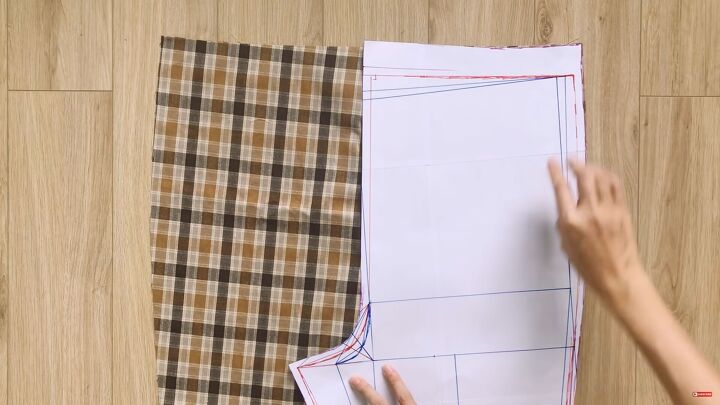
2. Draw the high-waisted pants sewing pattern
Watch the video from 0:58 seconds to 8:02 minutes for full instructions on how to make a high-waisted pants pattern, or follow the written instructions below. The pattern is the most complicated part - the sewing is pretty easy.
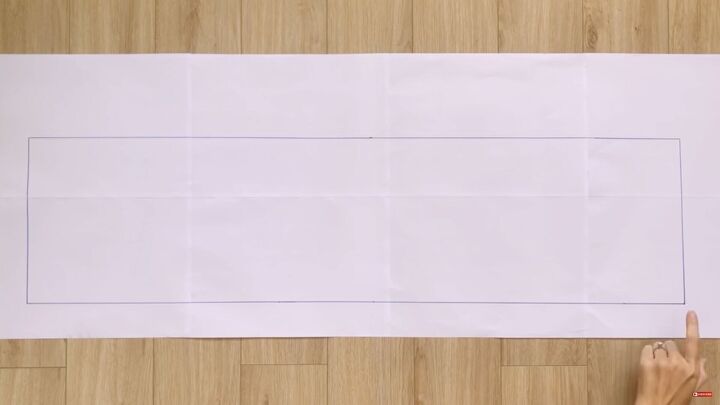
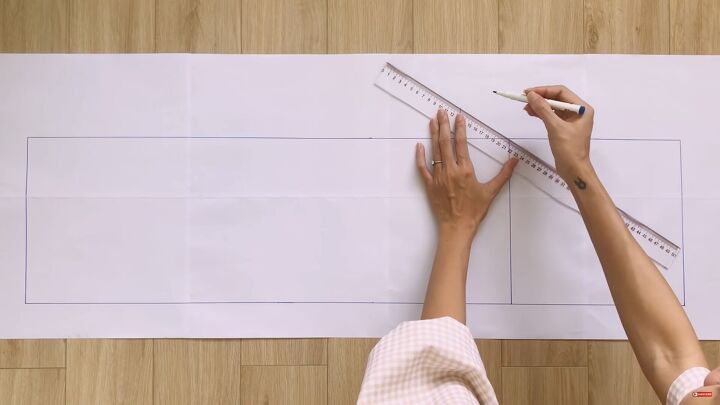
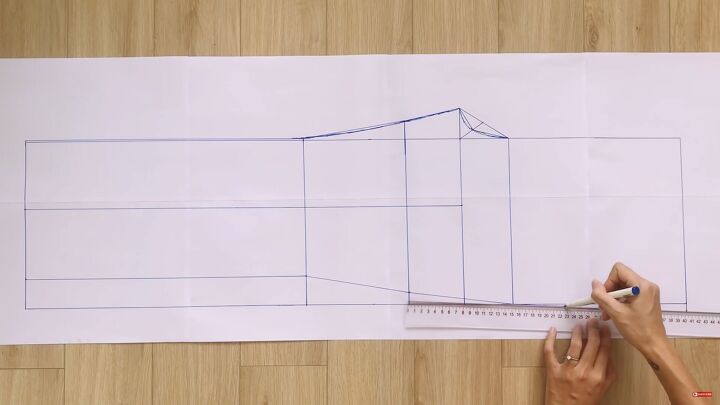
Draw a rectangle. The width of the rectangle is ¼ of your hip measurement plus ½ inch.
The length of the rectangle is the length of your leg from 1½ inches above your belly button to your ankle.
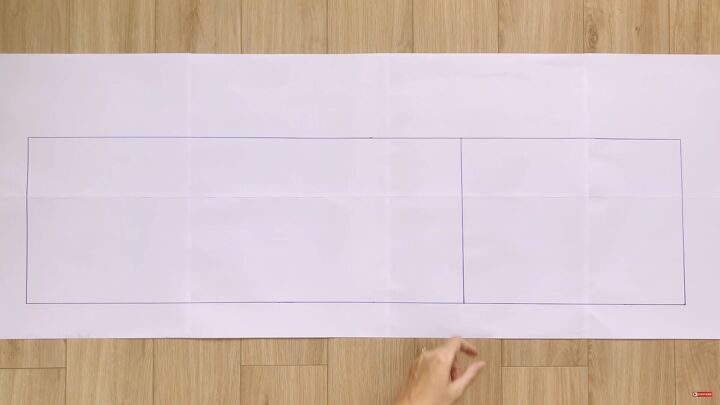
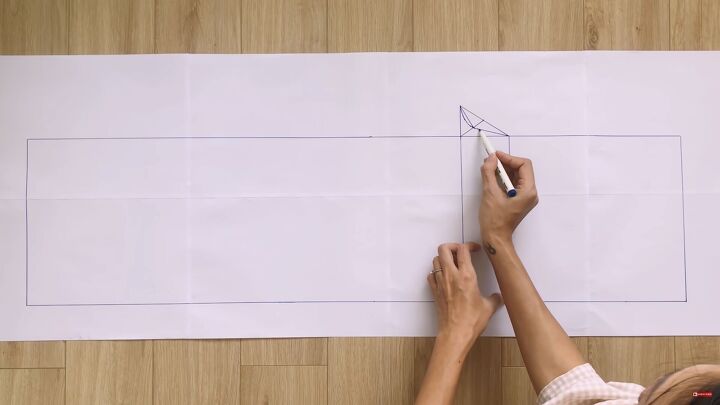
From the top, mark ¼ of the hip size + 1/10 of the hip size.
From that line, add an additional 1/20th of the hip size. Extend it out towards what will be the crotch area of the pant - about 2 ½ inches for the thickest part of the butt.
Connect these lines.
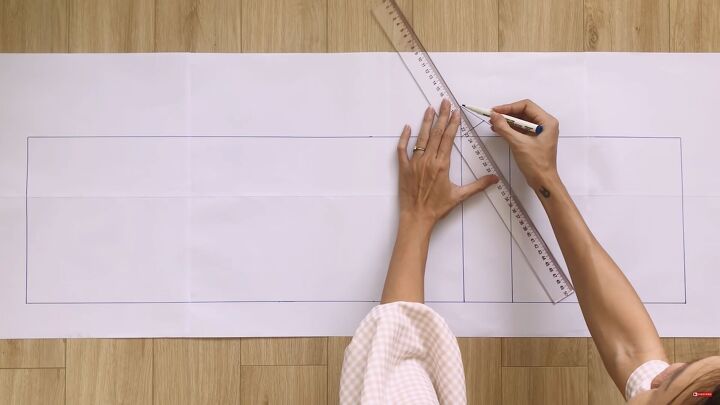
In the center of the triangle, mark a diagonal line.
Then mark 2 straight lines in each triangle. You can curve the line.
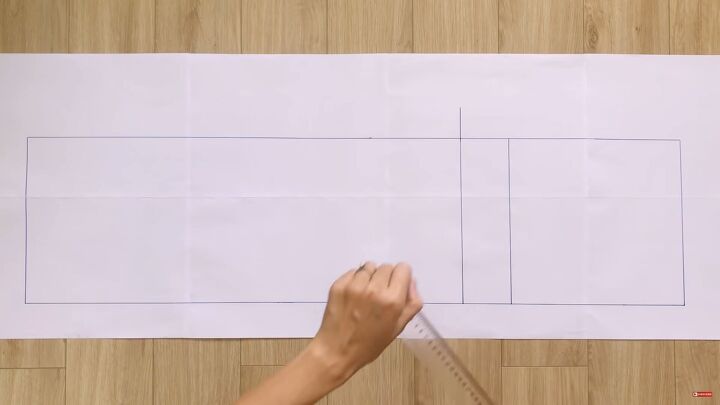
Now measure the knee length 1 inch above your belly button to the knee itself. Mark on both sides of the rectangle.
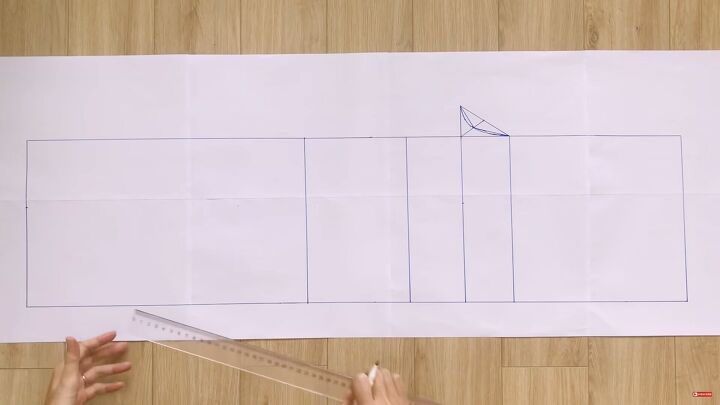
Between the crotch line and the knee line, measure about 3 inches down from the crotch for the thickest part of the thigh.
Mark the middle of the crotch line. Connect it horizontally to the ankle on each side to equal ¼ of the width of the leg -½ an inch. This is the width for the leg around the knee. Draw 2 horizontal lines to cut the knee line. At the thigh line, mark 1¼ of your thigh measurement.
Connect the knee to the thigh to the crotch line at the top (the inside). Then, connect the ends of the knee line to the thigh line, and to the butt line on the bottom (the outside).
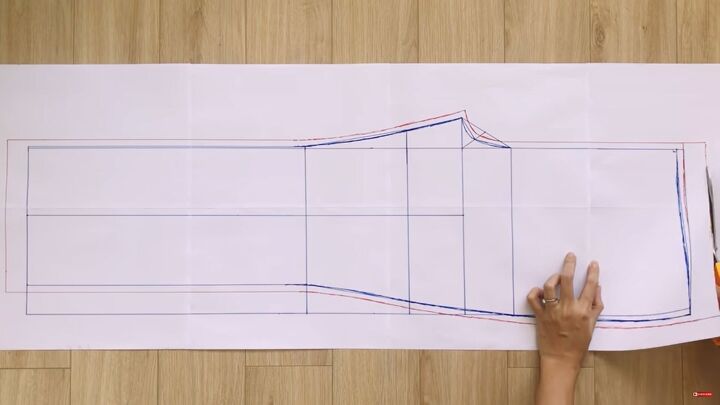
At the outside top, mark ½ an inch and connect it to the end of the butt line. On the inside top, mark ½ an inch inside and connect it to the outside top.
Add ½ an inch seam allowance on both the inside and outside line. Add 1½-inch seam allowance to the top and bottom.
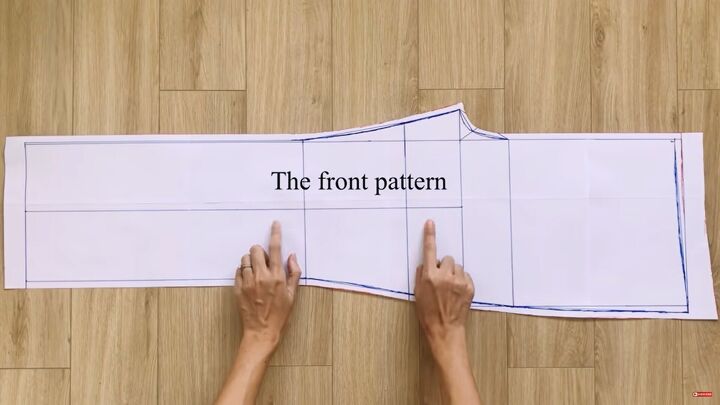
Cut out the front pattern. For the back pattern, use the front pattern as a guide. Increase the crotch area 1/10 of your hip size. Mark at the middle of that line.
On the inside line add 1 inch. At the top of the thigh line, add 1½ inches at the crotch side.
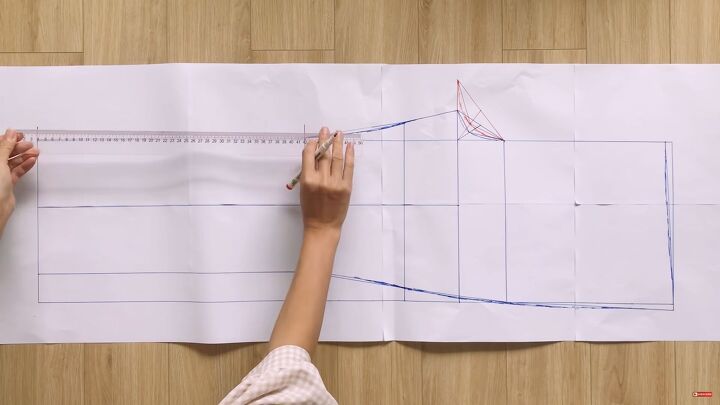
Match the front and back crotch curves.
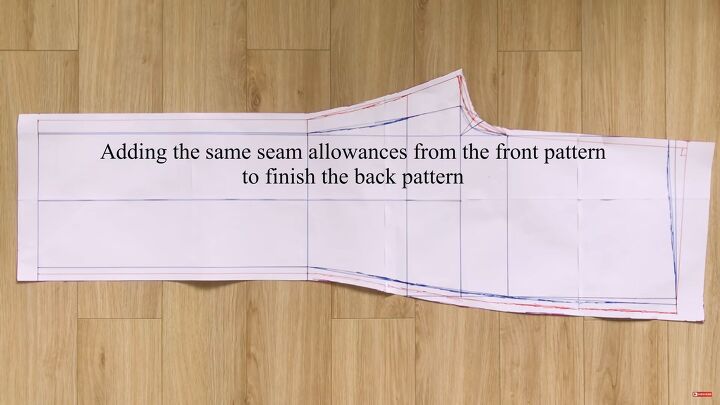
Add 1 inch from the crotch line to the outside line. Add a ½-inch seam allowance to the inside line, outside line, and crotch line. Keep the top and bottom seam allowances as the front.
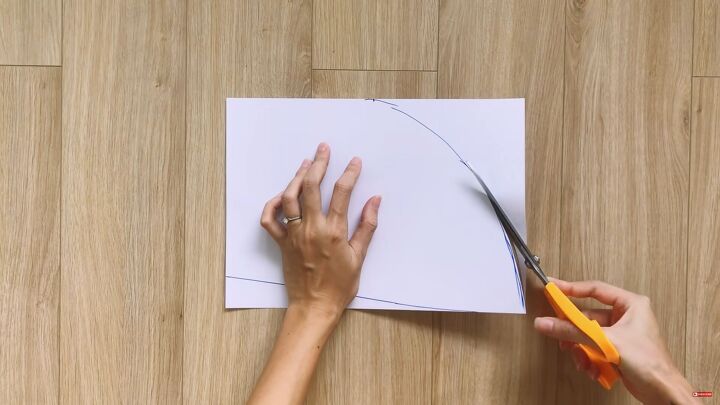
The pocket pattern is 8 x 12 inches. On a piece of paper, mark the middle. Draw a curved line.
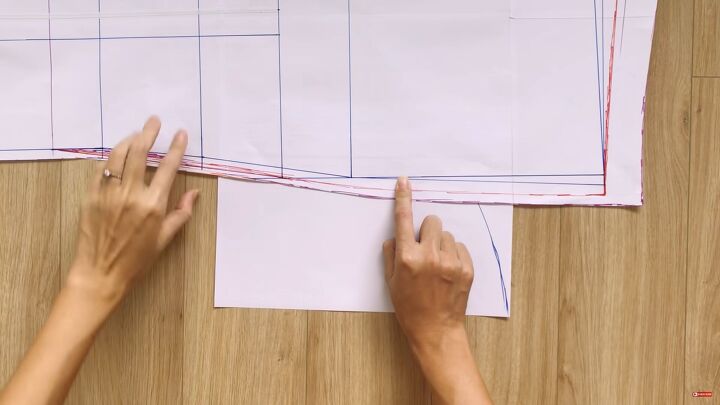
Match the pocket pattern with the pants pattern so it lays properly by the top to the thigh. Once it’s matched properly, cut the pocket pattern out.
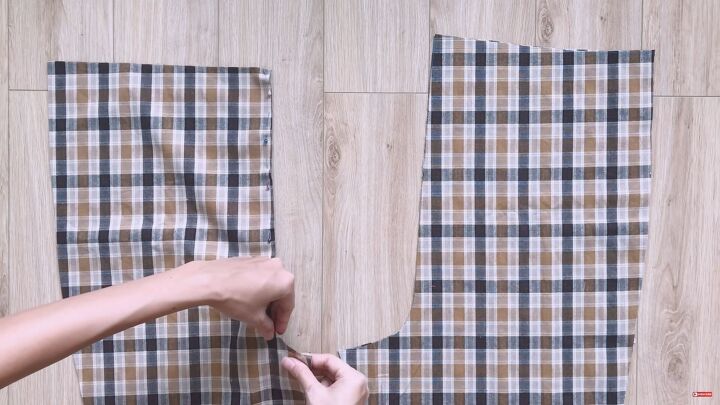
3. Cut out the pattern pieces
You’ll need 2 pieces of the front pattern, 2 pieces of the back pattern, and 4 pieces of the pocket pattern. Lay the pattern on the fabric and pin it in place. Cut the fabric out.
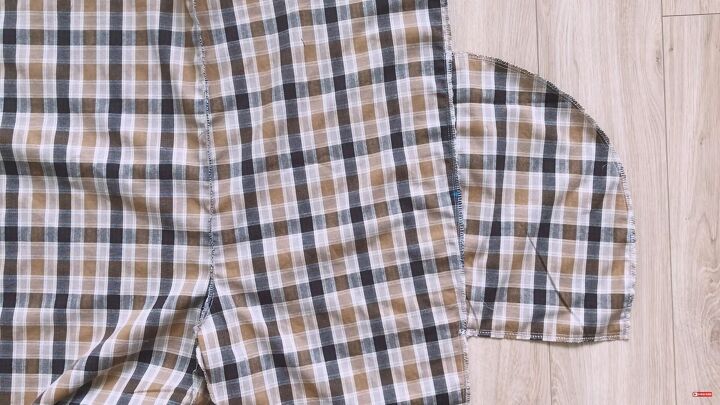
4. Sew the pieces together
Connect 2 pieces of front and the 2 pieces of the back at the crotch line. Pin and then sew with a straight stitch.
5. Sew the pockets
Lay the pattern on top to determine the best pocket placement.
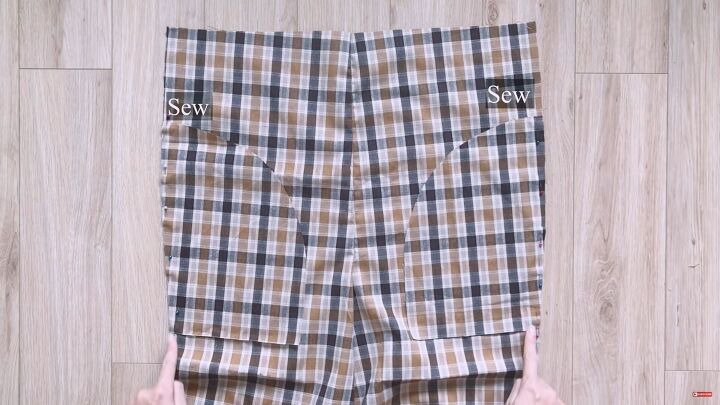
Pin the pockets in place. Sew the pocket on the curved end for both sides of the pants.
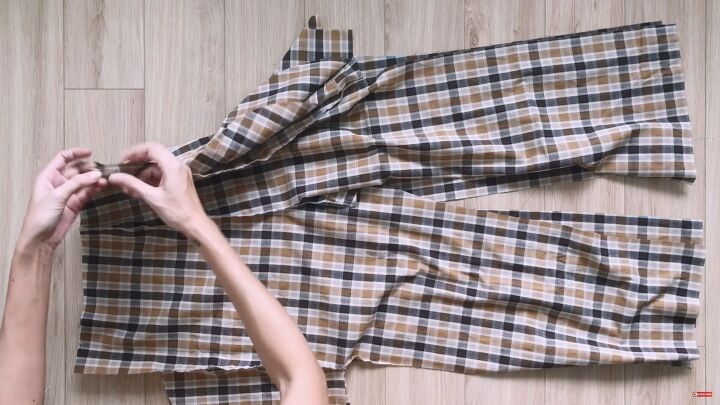
Now connect the front and back pants together. Start at the top, pinning the side seams. Have the pockets on the outside and pin those too. Sew all the open seams.
Make sure not to sew the opening in the pockets. I marked about 5½ inches for the pocket opening and sewed down the rest in the pants. Sew the pocket edge. Serge the edges if you have a serger; otherwise do a zigzag stitch.
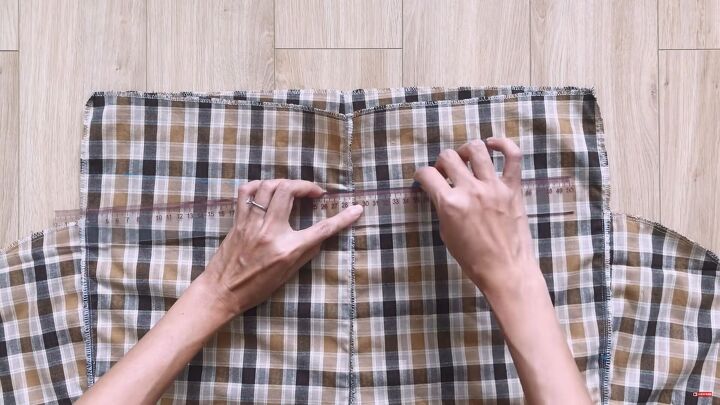
6. Make the waistband
For the elastic waistband, measure down 3 inches or about twice the size of the elastic band.
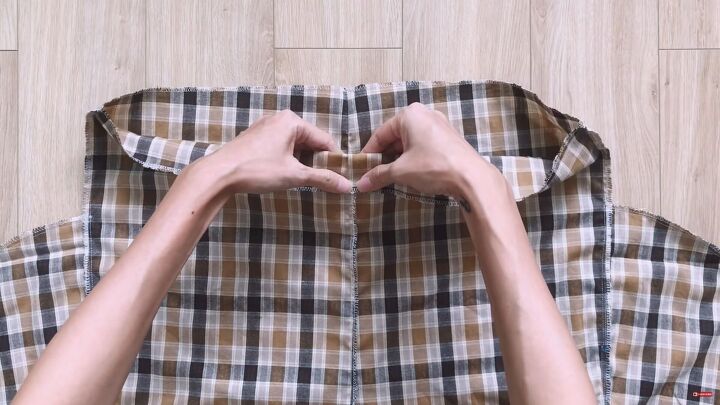
Fold the waistband down to that line. Sew at the very edge to create a tunnel for the elastic.
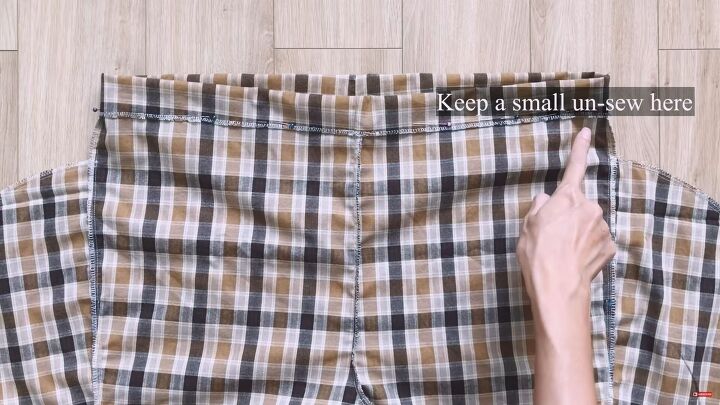
Leave a space to feed the elastic through.
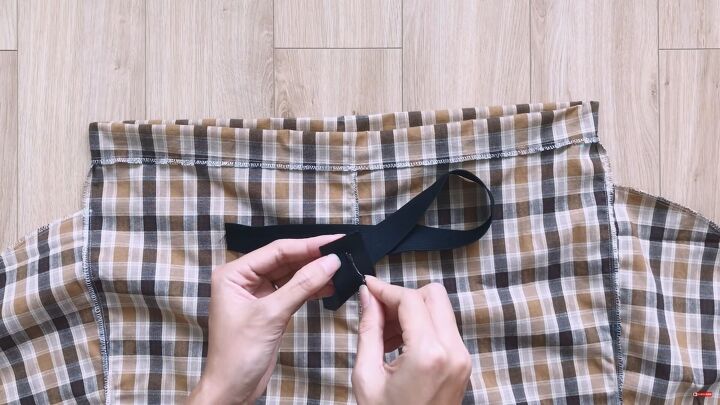
Thread the elastic through to meet at the opening. When they meet, sew them together. Then sew the opening closed.
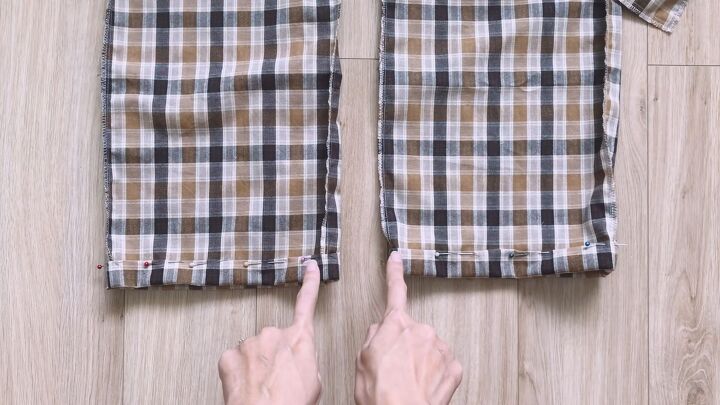
7. Hem the pants
Fold the hems over twice the seam allowance or 2 inches. Pin and sew.

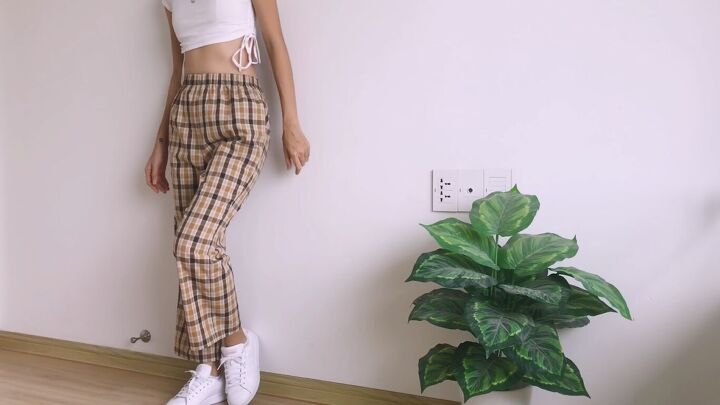
DIY high-waisted pants tutorial
High-waisted pants make you look taller! Elastic makes the pants easy-on and easy-off, and oh so comfortable! Let me know what you think about this DIY high-waisted pants tutorial in the comments!
The author may collect a small share of sales from the links on this page.


Comments
Join the conversation
My "waist" is pudge 1" above my naval; so I would measure there. I would also only put elastic in the back. Otherwise, great pattern. I'm saving it.
Elastic all around makes it easier for me. Love them and the checks are fab.