How to Make Cute DIY High-Waisted Shorts From Scratch

Today I’m going to be showing you how to make DIY high-waisted shorts from scratch. I will show you how to draft, cut, and sew the pattern, as well as how to make a zipper fly, and attach pockets.
I chose a bright print for the fabric of these shorts, but you can choose whatever fabric you like to get the look that suits you best. So without further ado, let’s get sewing!
Tools and materials:
- 1.5 yards of fabric
- Zipper
- Button
- Fabric chalk
- Measuring tape
- Pins
- Iron
- Sewing machine
1. Draw the pattern
For step-by-step instructions on how to measure, draft, and cut the pattern, see the video from 0:49-3:54.
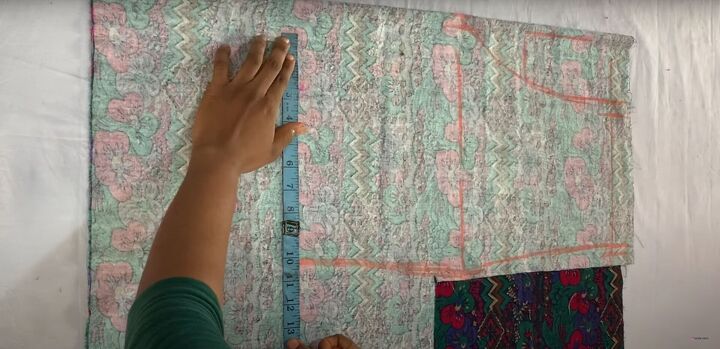
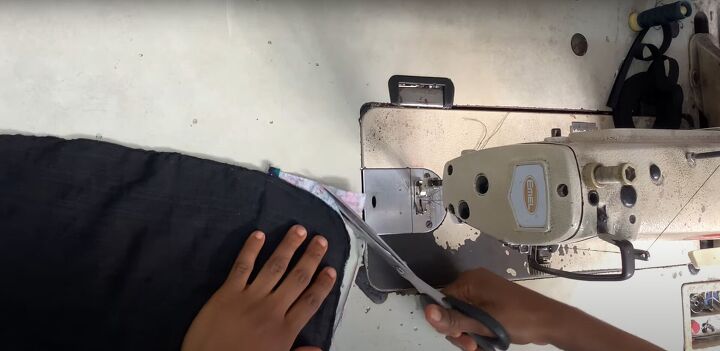
2. Notch
Once all the pieces are cut out, measure 4 inches along the top edge, and 8 inches along the side edge of the front pieces, and make a notch in each of those spots.
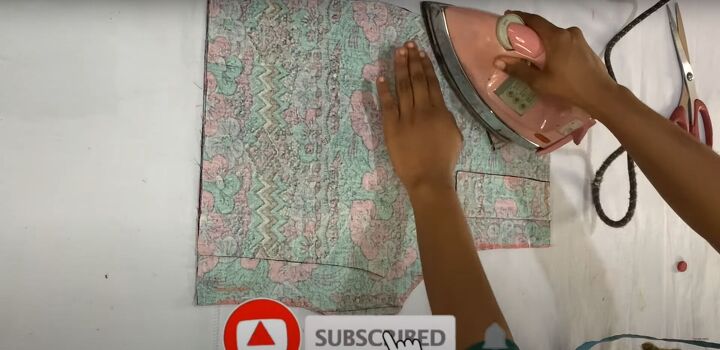
3. Iron
Fold the fabric between the notches and iron the fold in place.
4. Mark the darts
On the back pieces, find the middle of the top edges, and cut a small notch to mark where to place the darts.
5. Cut the fabric
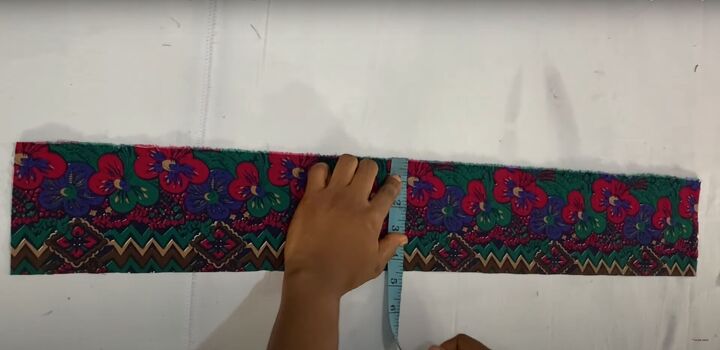
Cut a strip of fabric for the waistband that is 4-5 inches wide, and at least as long as the circumference of your waist, plus 2 inches for seam allowance.
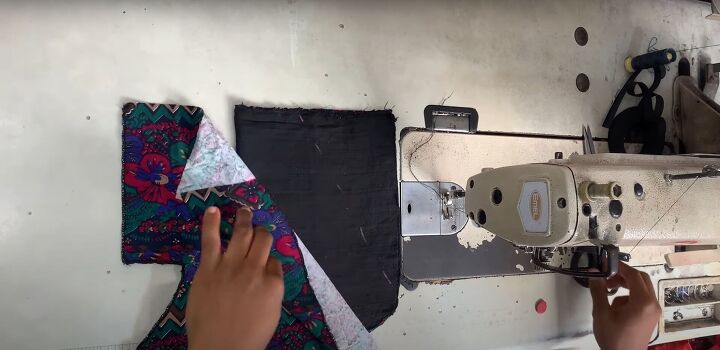
6. Make pockets
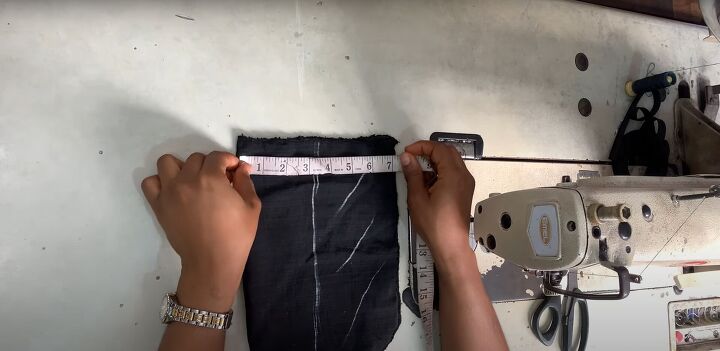
Cut two pieces of fabric, each 14 inches wide and 19 inches long. Finish the edges, and fold them in half lengthwise. These will be your pockets. Mark off a 4-inch wide area where you will attach the outer fabric of the shorts to the pockets.
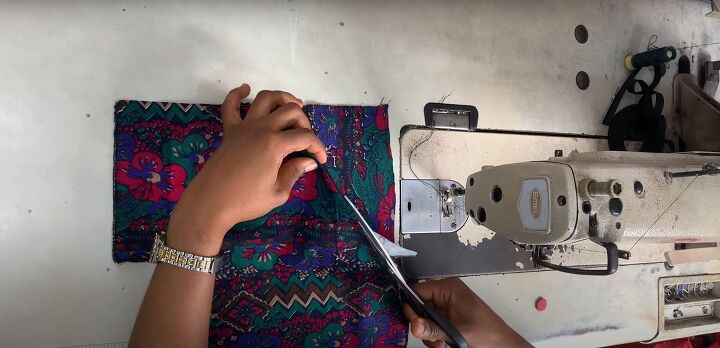
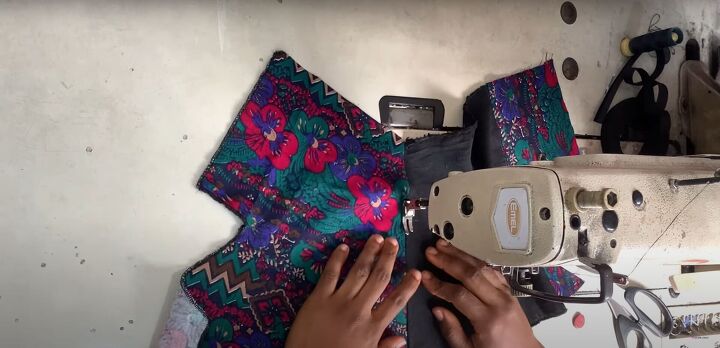
7. Cut and sew the pockets
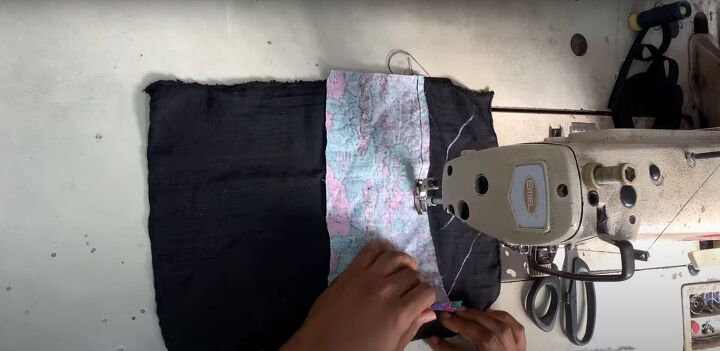
Cut a piece of the outer fabric that is 4.5 inches wide and 10 inches long. Unfold the pocket, and lay the outer fabric on top of it, right sides facing, with the edge of the outer fabric aligned with the marking, and sew it down along the marked line.
Then flip the fabric over, so the second edge is aligned with the side edge of the pocket, and sew it down.
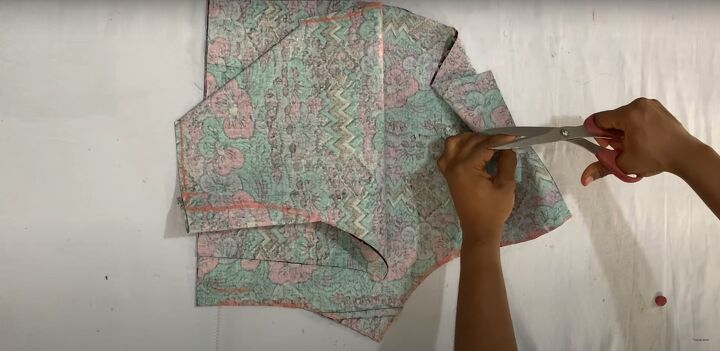
8. Trim
Trim any excess fabric from around the pocket.
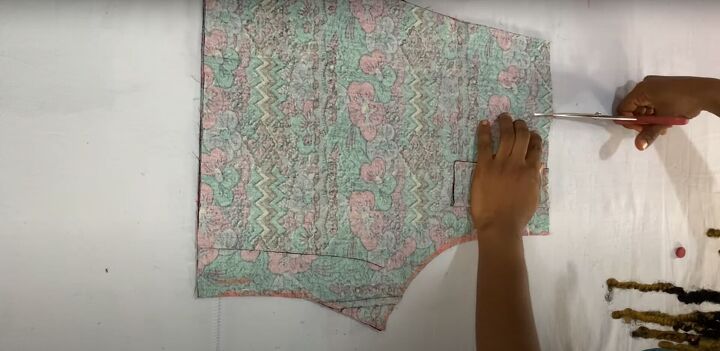
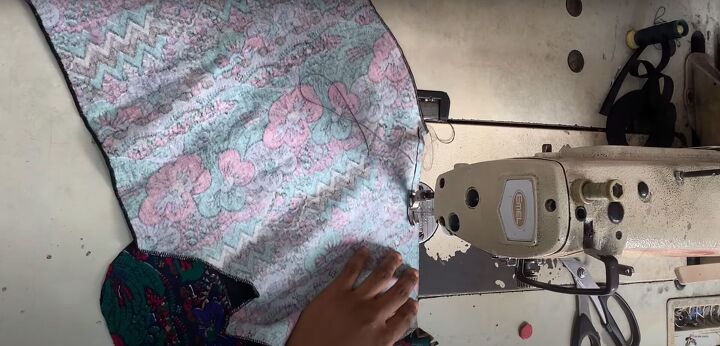
9. Mark and cut
Fold the pocket in half again, and lay it so the side with the outer fabric is facing down. Take one of the front shorts pieces and lay the notched and folded area over the pocket. Trace the line of the fold onto the fabric of the pocket and cut one layer of the pocket along that line.
Then, cut the same triangle from the front shorts piece, along the fold.
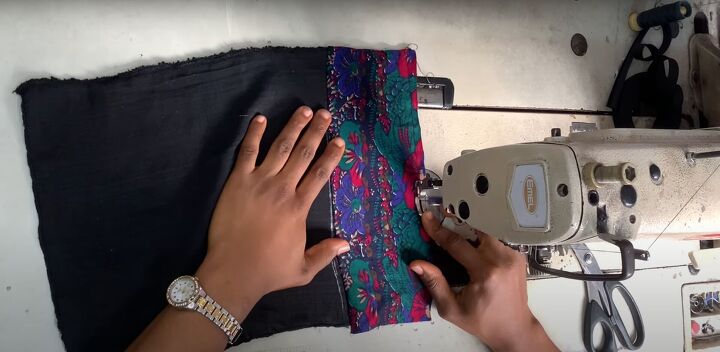
10. Sew the edges
Align the diagonal edges of the front shorts piece and the pocket, right sides facing, and sew them together.
11. Topstitch
Lay everything flat, making sure the seam allowance is facing the pocket, and topstitch along the seam.
12. Sew the pocket in place
Fold the front shorts piece over the pocket so the pocket is placed properly in the shorts, and then put a few stitches in the corners to hold the pocket in place.
Sew the edges of the pockets closed, as well.
13. Sew darts
On the back shorts pieces, fold the fabric at the notch. Measure 5 inches along the folded edge, and mark it with fabric chalk. Then, starting at the top edge, about ¼ inch in from the fold, sew a tapered line, ending in a point at the 5-inch mark.

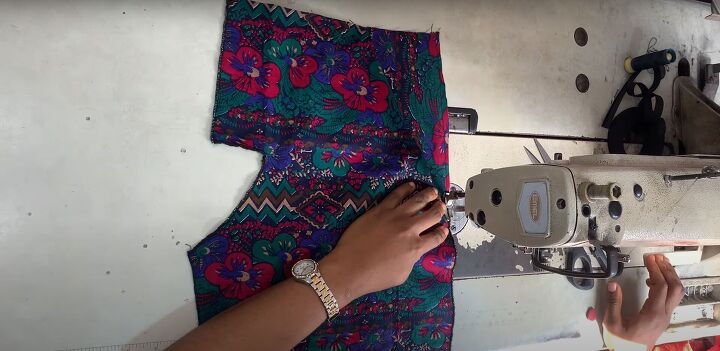
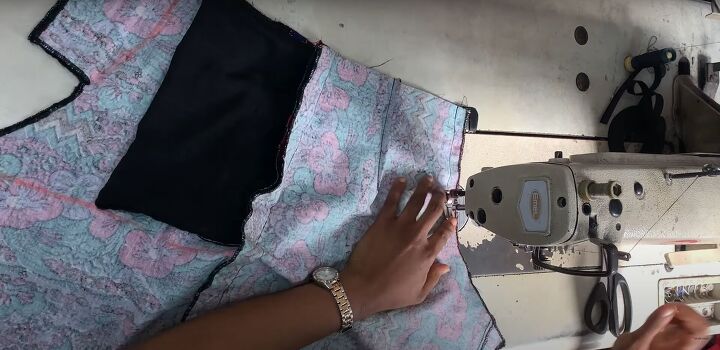
14. Sew the side seams
Lay one front piece and one back piece together, right sides facing, and sew down the side seam. Repeat for the second set of front and back pieces.
15. Sew the crotch
Next, lay the two attached front and back pieces together, right sides facing, and sew along the crotch seam on the back of the shorts.
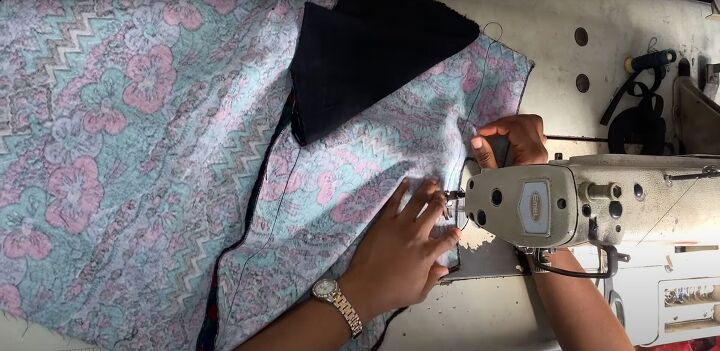
Then flip it over, and sew down the crotch seam on the front of the shorts, starting behind the fly flaps, which should be left open and unsewn.
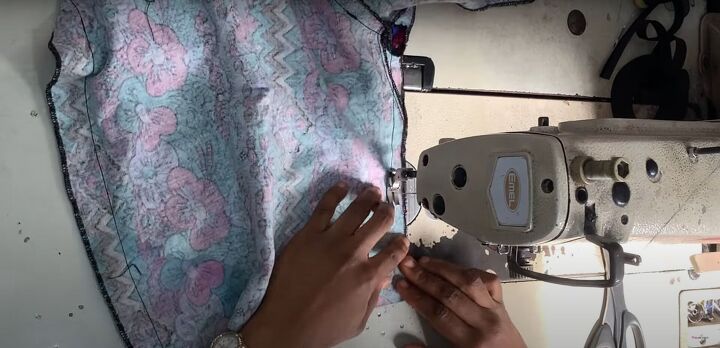
16. Sew the inseams
Turn the fabric so the crotch seams are in the center. Align the ends of the crotch seams, and then sew down the inseams on each side, starting at the crotch.
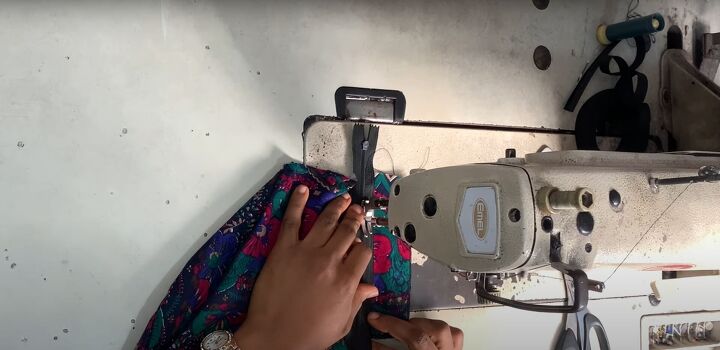
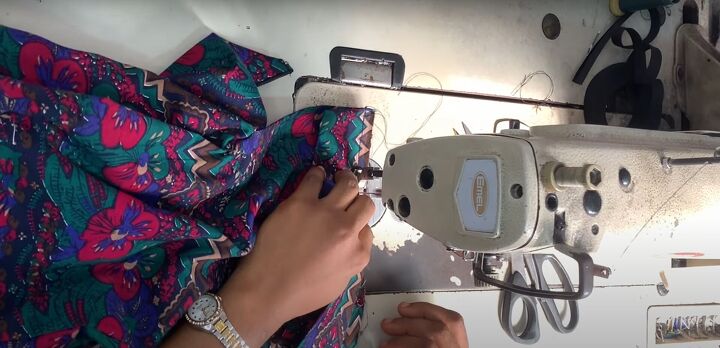
17. Attach the zipper
Attach the zipper as shown in the video from 9:50-10:48.
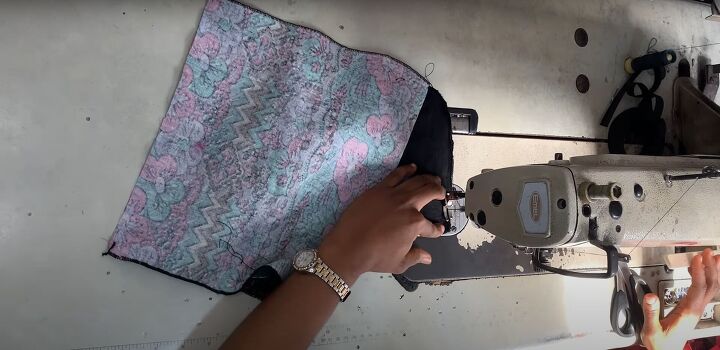
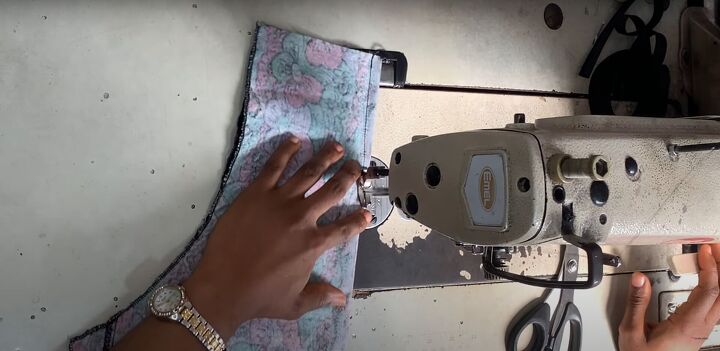
18. Sew the waistband
Fold the waistband in half lengthwise, and sew one end closed. Then, align the raw edge of the waistband with the top edge of the shorts, and sew it down. Once it’s completely sewn down, cut off any excess fabric, tuck in the edges, and sew the end closed.
19. Finishing touches
Finally, hem the bottom, and add a button and buttonhole to the fly. And then your shorts are done!

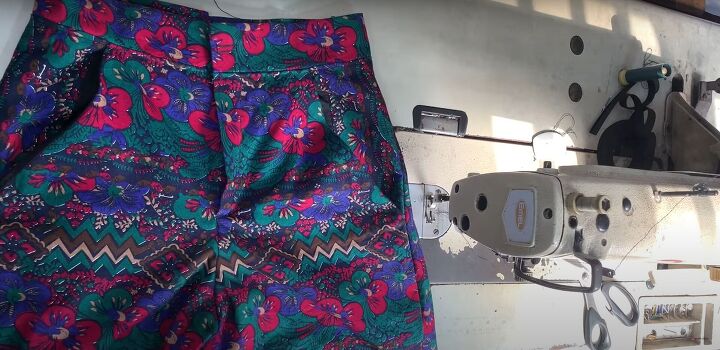
DIY high-waisted shorts from scratch
What do you think of this DIY high-waisted shorts sewing tutorial? What fabric will you use for this pattern? If you use this tutorial to make a pair of shorts like these, please post your results. I’d love to see how they turn out.
The author may collect a small share of sales from the links on this page.


Comments
Join the conversation