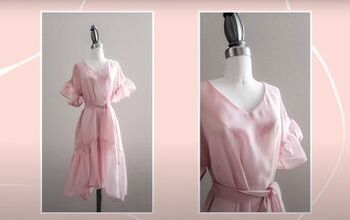
How to Make a Cute Halter Dress From Scratch

I needed a cool summer dress so I made this easy halter dress from my own pattern. I got the fabric at 40% off, so my DIY halter dress didn’t cost me very much.
To see how to make the halter dress sewing pattern, check out my pattern videos linked in Step 1. Then pick your own fabric and let’s get started!
Tools and materials:
- Fabric
- Pattern paper
- Zipper (optional)
- Ruler
- Fabric chalk
- Cutting tool
- Sewing pins
- Thread
- Sewing machine
1. Make your halter dress pattern
For this DIY halter dress pattern, you will need to check out my shirt pattern video and my skirt pattern video, because I will use both to make the halter dress pattern.
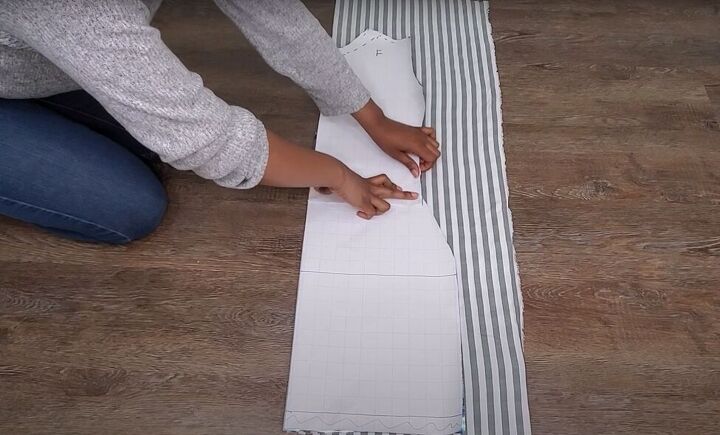
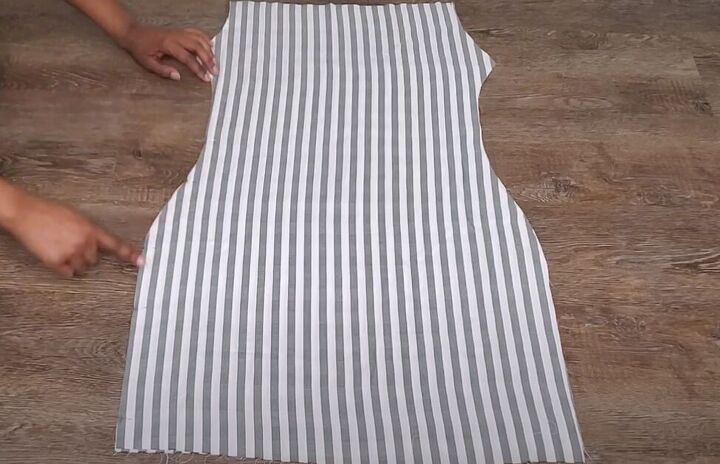
Fold your fabric in half and lay both the skirt and shirt patterns on the fold of the fabric, overlapping as necessary to give you a full halter dress pattern.
Pin the pattern pieces together and pin the whole pattern to your fabric.
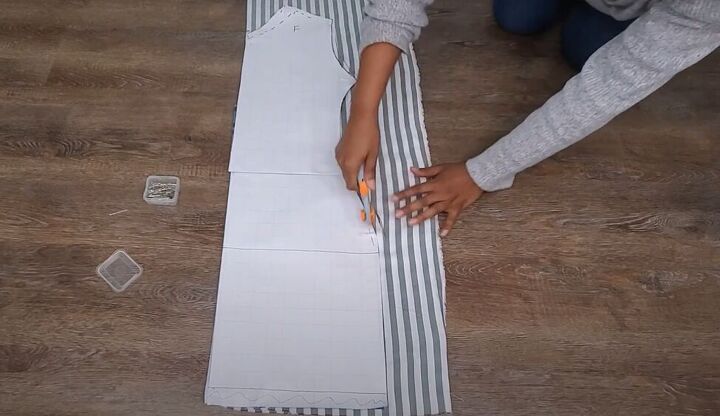
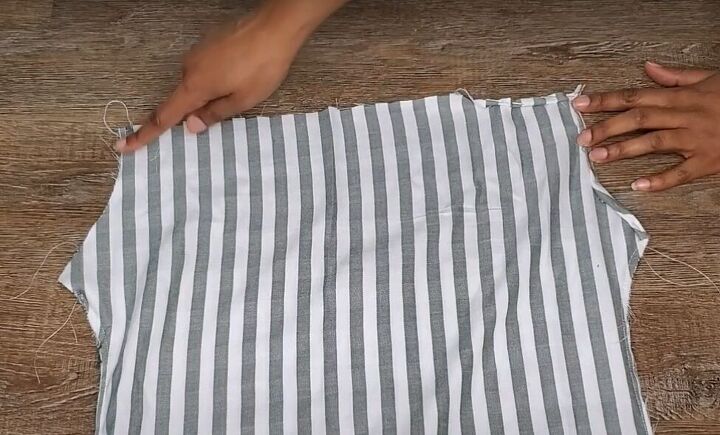
2. Cut your fabric
Cut the pattern out of your fabric adding a little extra seam allowance, especially if your fabric isn’t stretchy.
Note that this pattern has shoulders but since you will be making a halter dress, just mark the fabric where the top of the dress will be.
Then cut straight across the top of the dress fabric where you marked the halter top position.
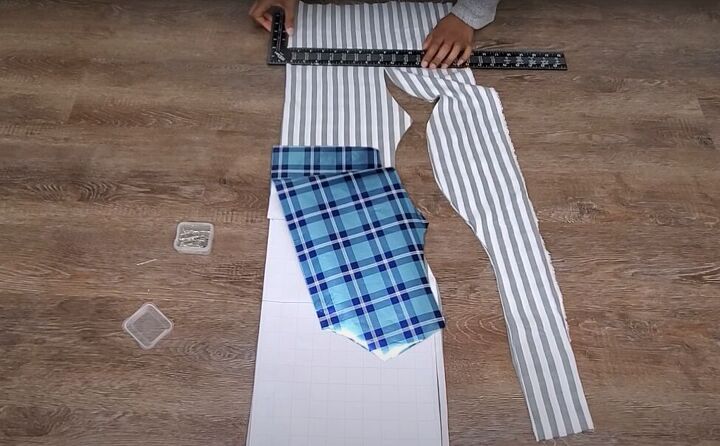
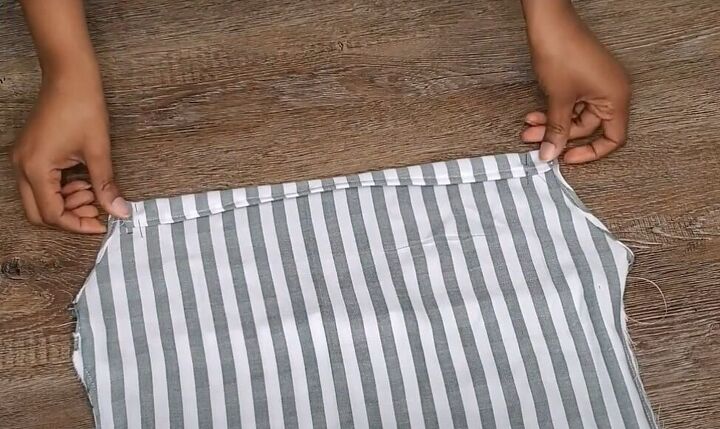
3. Cut the back of the dress
Since you cut both front and back pieces together, you now need to customize the back of the dress. Simply cut off the top of the back at the bottom of the armholes to make the halter back.
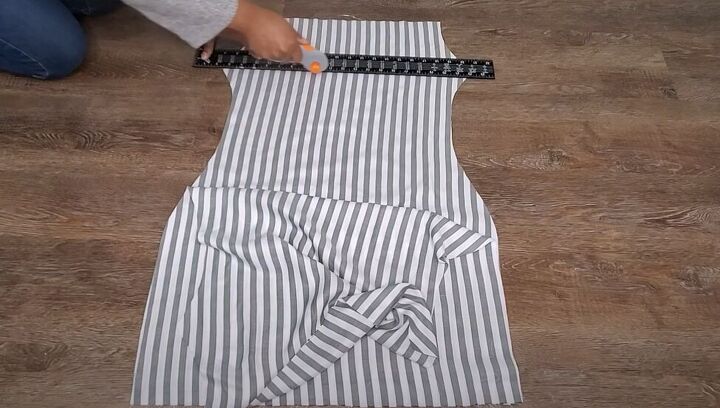
4. Sew side seams
With right sides facing, pin the front and back of the halter dress together at the side seams, from the bottom of the armhole to the hem. Sew both side seams.
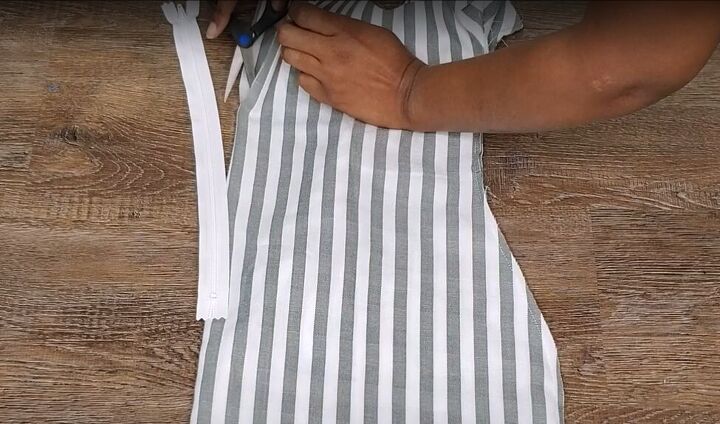
5. Add a back zipper
Since my fabric isn’t stretchy, I need to add a zipper. Fold the back of the dress in half lengthwise, with the right side facing in. Lay your zipper along the fold and use it as your guide to cut a slit in the center back, starting at the top of the dress.
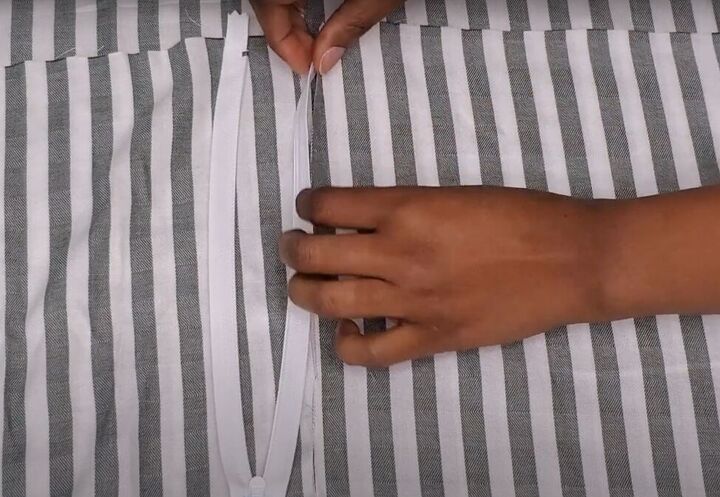
Fold back the edge of the fabric on each side of the slit and pin one side of the zipper to each edge.
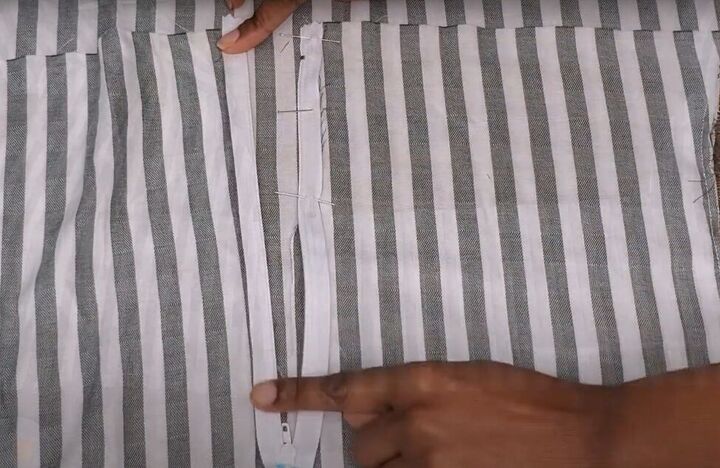
Use your zipper foot to sew the zipper in place.

6. Make the neck strap
From your leftover fabric, cut a 1-inch strip from the longest edge of fabric you have.

Fold the strap in half, with the right side facing in, and sew a straight stitch along the long open edge.
7. Finish the edges
Double fold, pin and sew the top edges of the front and back of your dress and the armholes.
8. Make a strap casing
Fold in, pin, and sew a casing for your halter strap at the top of the front of your dress.

9. Hem your halter dress
Double-fold and pin the hem of your halter dress. Make your folds about ¼ of an inch each. If you prefer a wider hem, then make the first fold ¼-inch and the second one ½-inch. Sew the hem in place with a straight stitch.

10. Attach your halter strap
Turn your halter strap right-side out and use a safety pin to thread it through your halter casing.

How to make a halter dress
I love how this summer dress fits and how light and airy it feels.
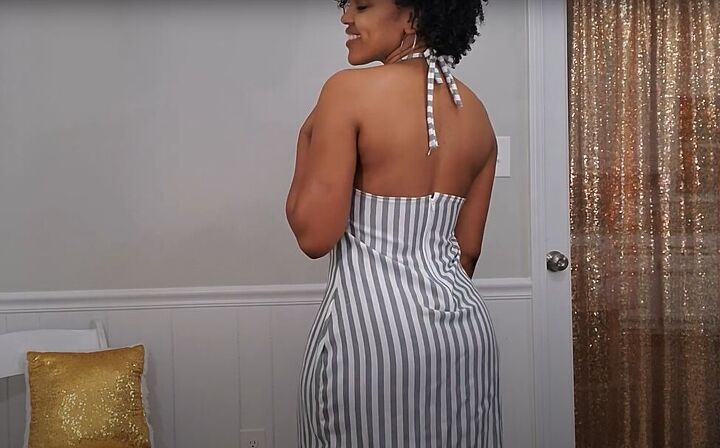
The back looks gorgeous, too, and I know I’ll be wearing this halter-neck summer dress a lot!
I hope you enjoyed this tutorial and make your own DIY halter-neck dress. Leave a comment to let me know how yours turned out.
The author may collect a small share of sales from the links on this page.


Comments
Join the conversation
I love this halter dress, expecially the back. I will try this. It's so nice airy, it has style.