How to Make a Flattering DIY Blouse From Scratch in 4 Simple Steps

This simple DIY blouse tutorial shows you how to sew a blouse step by step. I’ll show you a quick DIY blouse pattern that just uses 4 panels, so you will be wearing this comfortable, flattering blouse in about an hour or so!
Although you may not have a serger, it does help to finish the fabric in high-stress areas. Let’s get started with how to sew a blouse!
The measurements shown in this tutorial are for size 6-10 USA or 38-42 European. You can modify your fabric to your measurements.
Tools and materials:
- 2 yards crepe jersey (you’ll have fabric left over)
- Scissors
- Pins
- Tailor’s chalk
- Ruler/measuring tape
- Sewing machine
- Serger (optional but highly recommended)
- Safety pin
- Pencil
1. Make the pattern
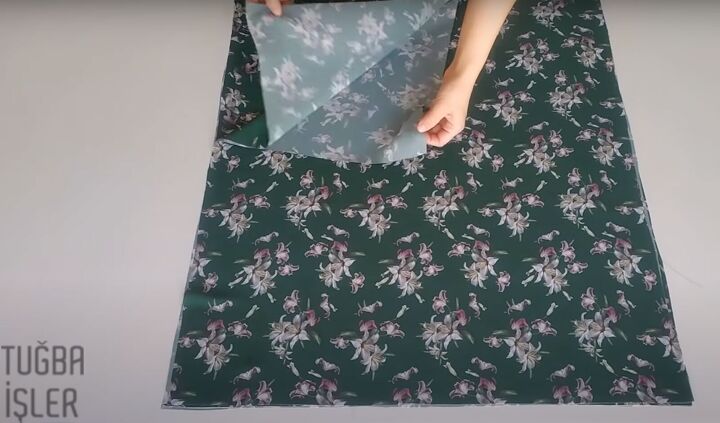
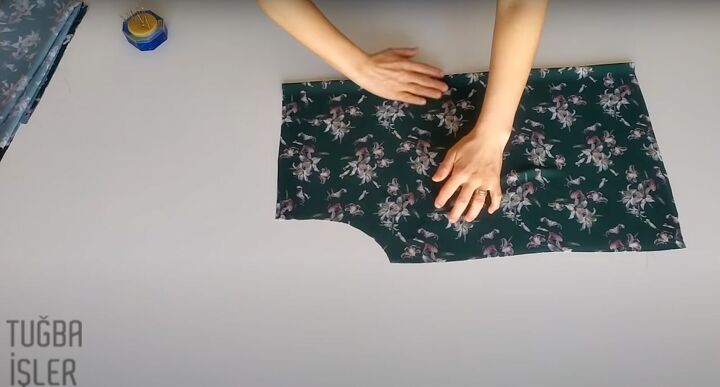
You’ll need 2 separate pieces of fabric that are 24 X 28 inches or 61 X 70 cm. You’ll need one more piece of fabric that is 24 X 28 inches or 61 X 70 cm when folded.
You’ll have four layers: one folded piece, and two cut pieces. They should all be equal in size and laid so that their right sides are facing each other and directly stacked one on top of the other.
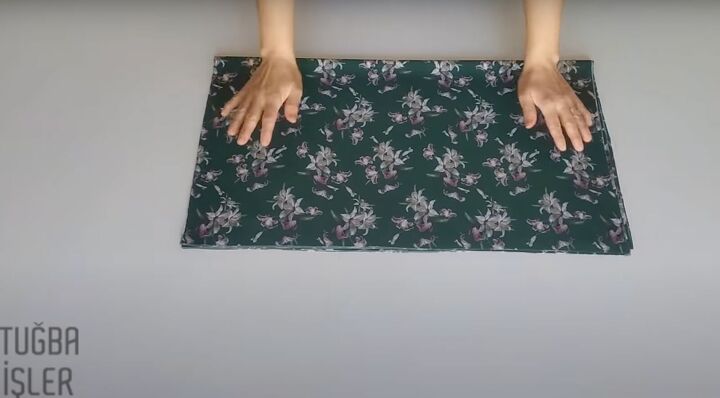
Fold these pieces in half along the 28-inch length so the new measurement is 24 X 14 inches. Pin the fabric in place so that the pieces don’t move.
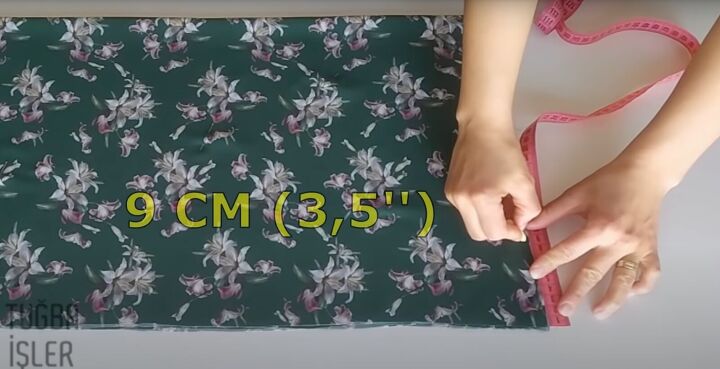
On the side that is open without any folds, measure down and mark 2.5 inches (9 cm) from the top down on the 14 inch or shorter side.
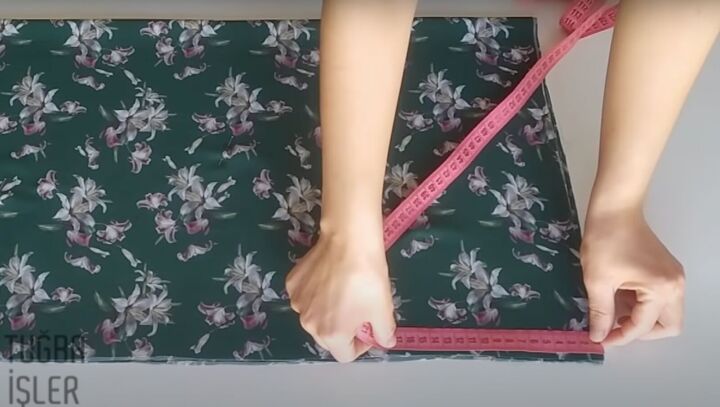
Then lay the measuring tape across the width and measure 7 inches (18 cm) along the width.
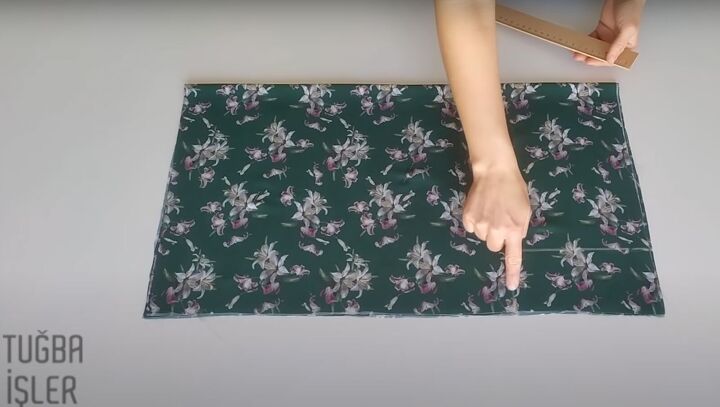
Join the two marks together to form a rectangle.
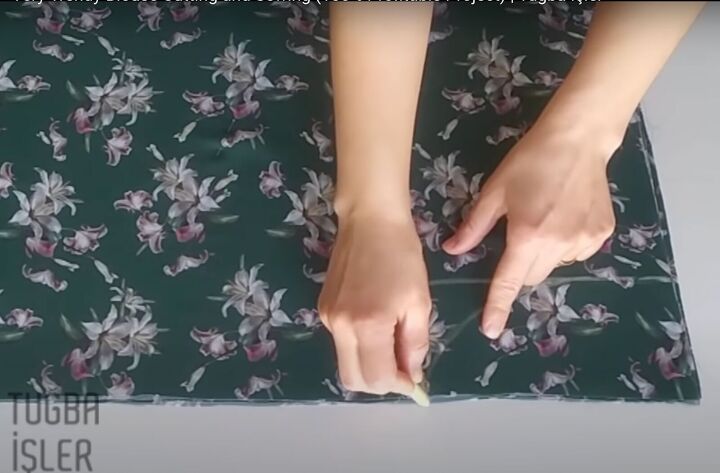
Draw a small freehand curve along the corner of the rectangle.
Cut the curve out.
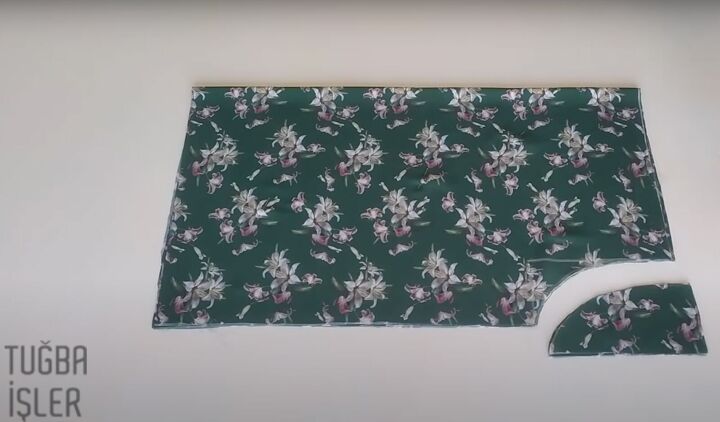
Remove the pins. Unfold the pieces. Congratulations! You have 4 pattern pieces with curved ends on either side. Remove the top layer and set aside.
Join the next two layers together with pins just along on one of the curves. Set aside.
You should have one layer left. Fold in half so the curves lie directly on top of each other.
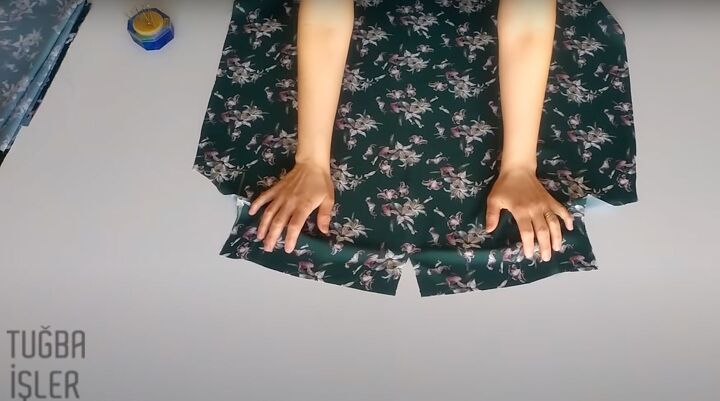
Snip 2 inches (5 cm) down the center at the top to create a small V-neck.
Open the snipped piece flat. Take the other unpinned piece and pin these two pieces together along on one of their matching curves, just like you did before.
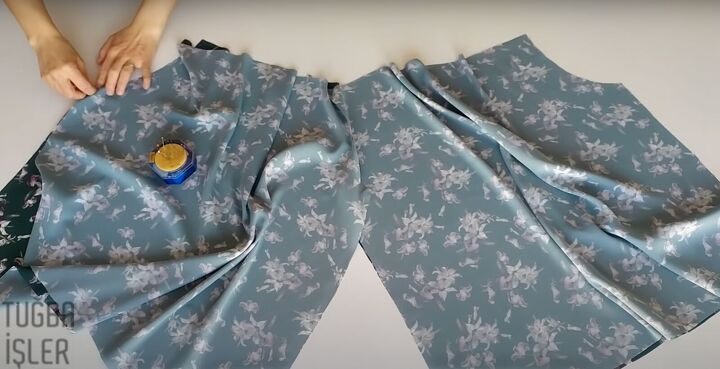
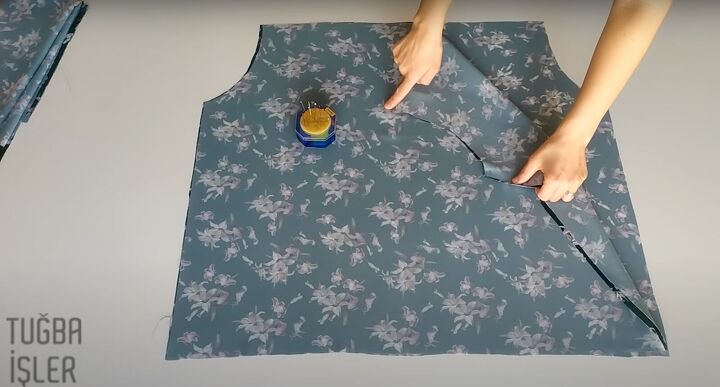
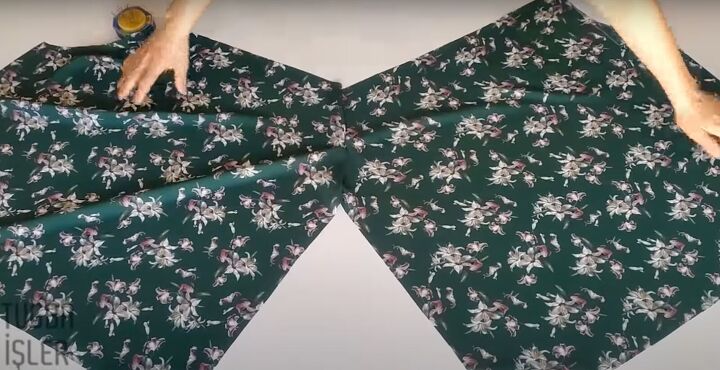
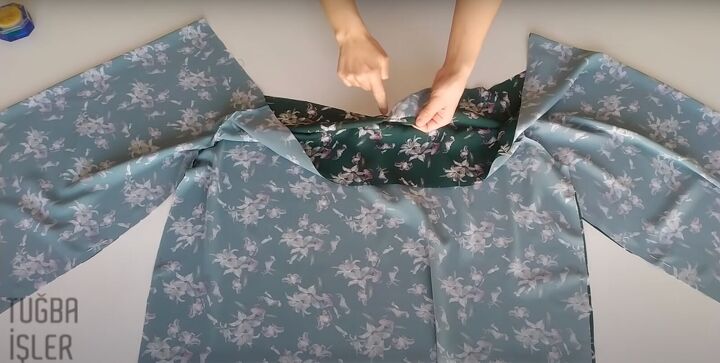
Lay the two pinned pieces on top of each other right sides together. Pin them together just along the curve lines on both sides.

Lift up the top layer and match the first pinned curve to the center pinned curve, and the other outer pinned curve to the second pinned curve. Move them into position. You’ll see the blouse coming together!
2. Sew the blouse
Pin the inner sleeve and the side seams. Sew.
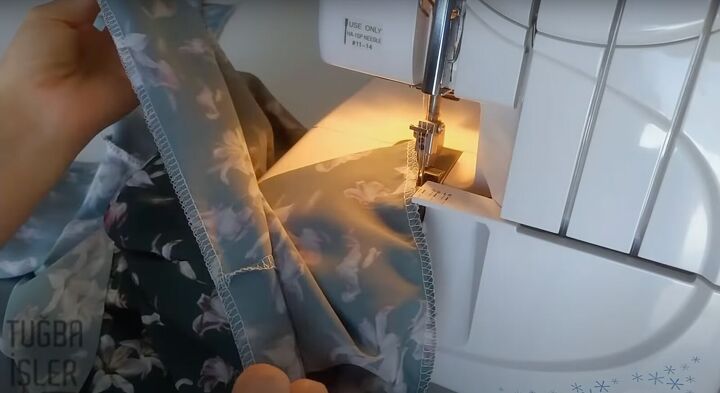
Serge the ends of the neckline. If you don’t have a serger, sew the next steps with a zigzag stitch.
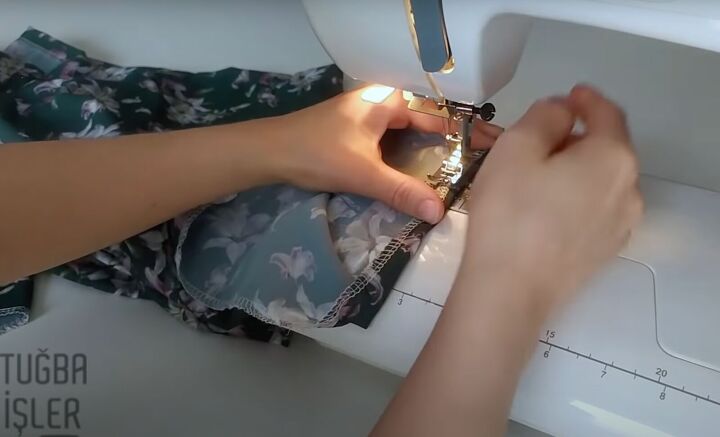
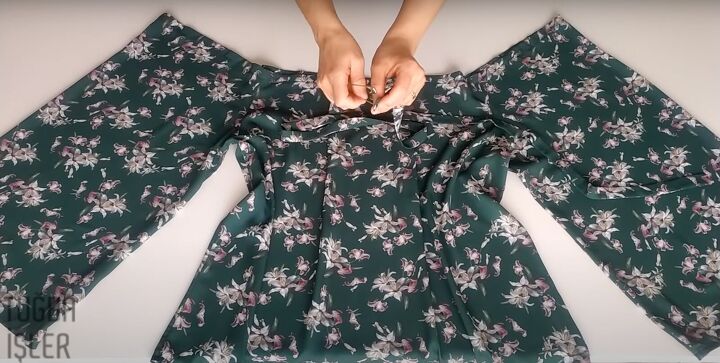
Fold over the neckline about 2 inches to the wrong side and stitch to create a casing.
Fold over the small V-neck and hem, leaving a small space for the casing on either side of the V.
Hem the bottom of the DIY blouse. Hem the cuffs.
3. Make the neck drawstring
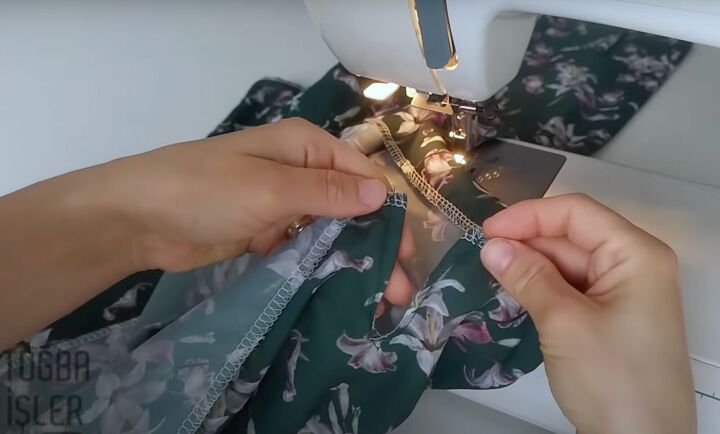
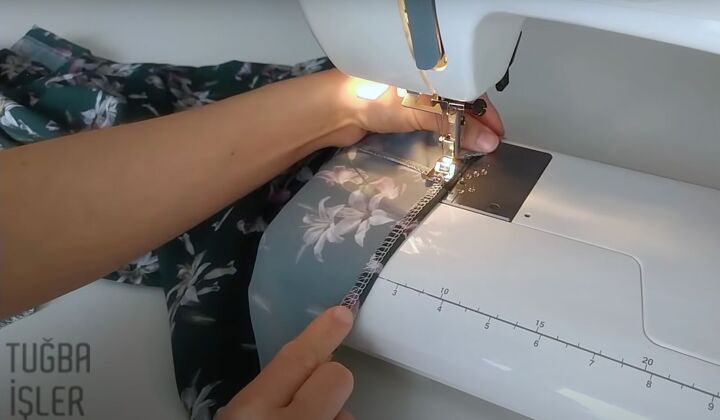
Cut a piece of fabric that is 55 X 2 inches or 140 X 5 cm. Fold the fabric in half, right sides together. Start sewing with the first short end and continue down the length.
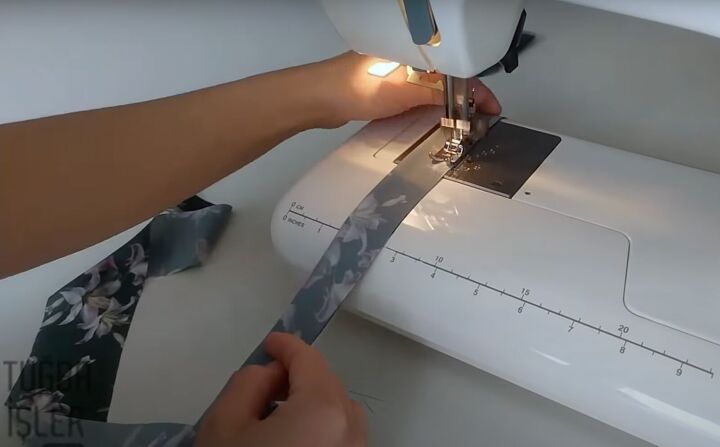
Stop in the middle to create a 2-inch space, making sure to backstitch right at the space on either side. Start sewing just past the space, sewing the along the other short end.
Once you’re done sewing, trim a bit off of the seam allowance on the short side, and trim the corner.
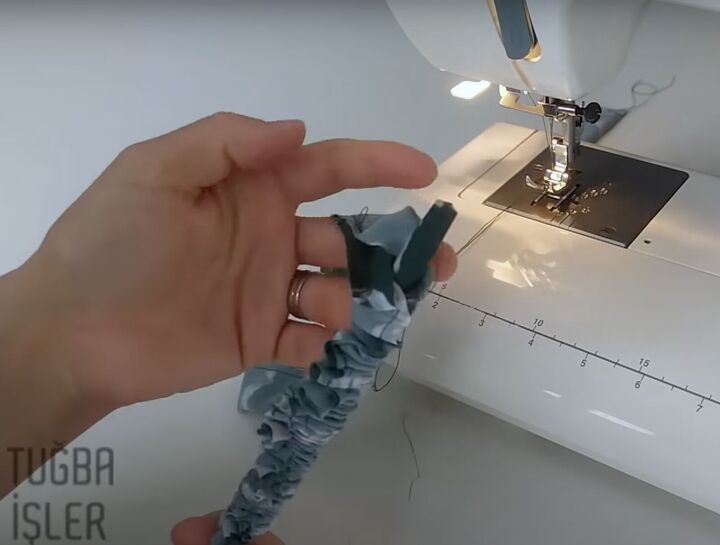
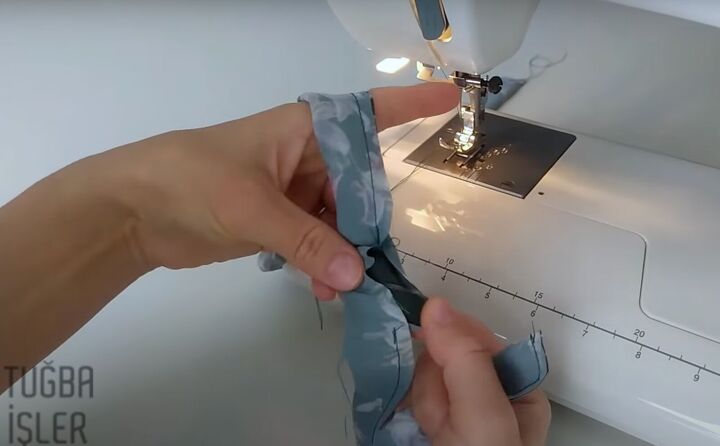
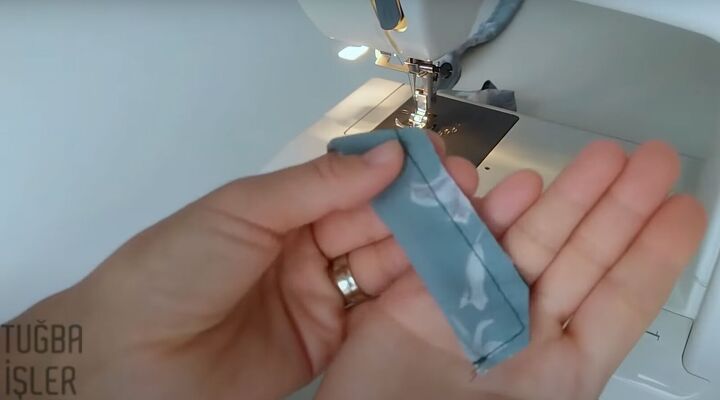
Use a pencil to turn the drawstring inside out. When you reach the space, flip the pencil to the other side and turn the other part of the drawstring inside out. Sew the small space together.
4. Finish the blouse
Place a safety pin at the end of the drawstring. Insert it through the small space at the V-neck and tunnel it through the casing.
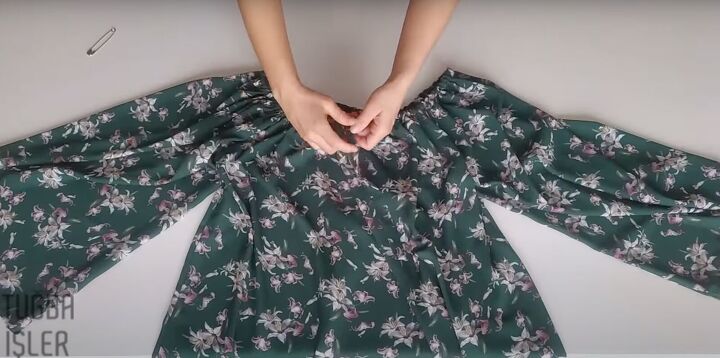
Once you reach the other side, pull the drawstring through and tie into a bow.
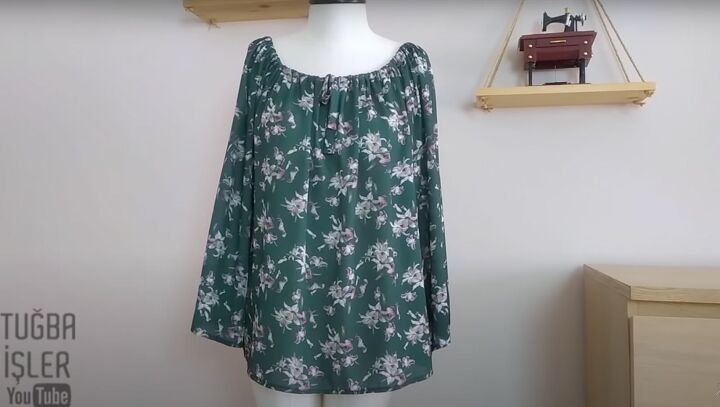
DIY blouse tutorial
You’ve just made a beautiful DIY blouse! I love this loose, smock-style top as it’s perfect to wear with jeans or a pencil skirt. Let me know in the comments if you made this or share photos of your creations. Thanks for joining.
To see more of my DIY sewing tutorials, follow me on TikTok @tugbaisler.
The author may collect a small share of sales from the links on this page.


Comments
Join the conversation
that is a great shirt. so, how would i make on for a larger person? how many inches of material per size difference.