How to Make a Bardot Dress With a Cute Off-the-Shoulder Ruffle

Want to learn how to make a Bardot dress? I have an easy DIY off-shoulder dress tutorial for you, and I’m pretty sure you’re going to enjoy it (and the results, too).
So, grab your measuring tape, fabric, and sewing machine, and let’s get this DIY project started!
Tools and materials:
- Fabric
- Sewing machine
- Marker
- Measuring tape
- Scissors
- Pins
- Matching thread
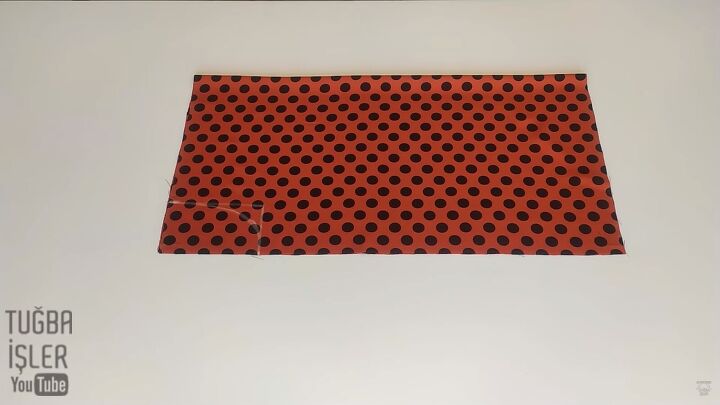
1. Make the DIY off-shoulder dress pattern
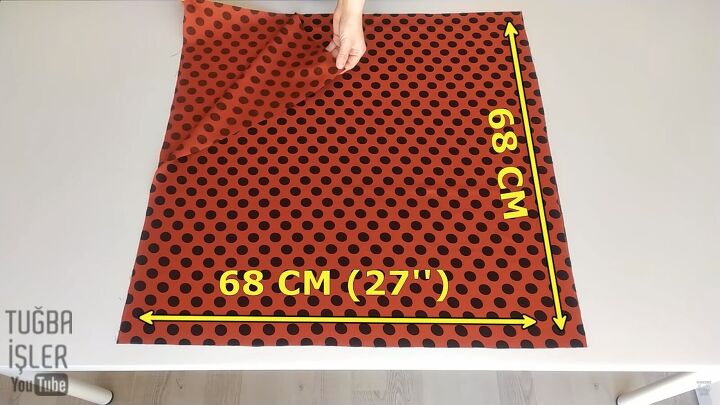
Start with a piece of folded fabric measuring 27” x 27”.
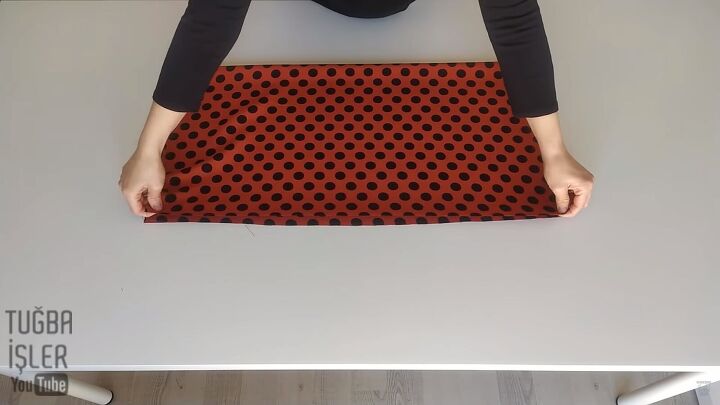
Next, fold it in half (13” x 27 “).
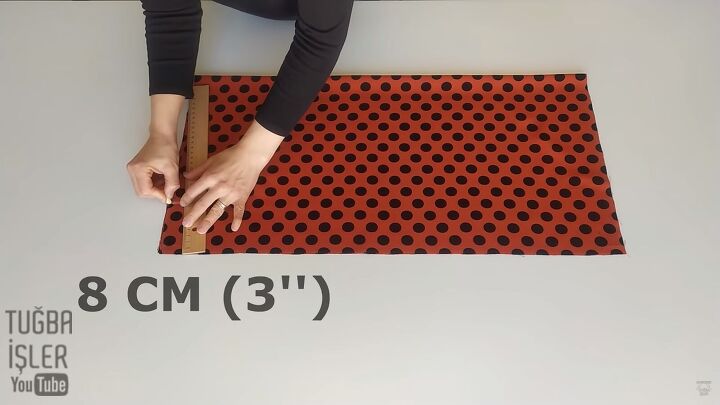
Measure 3” down from the corner with no folds.
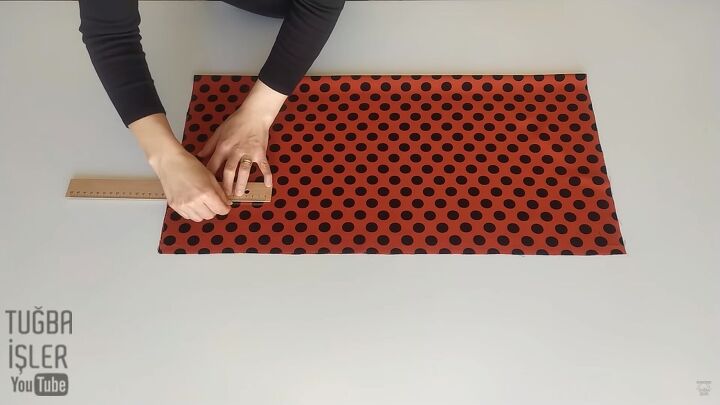
Then measure 5 inches across from the 3" mark.
Draw lines from these marks to create a rectangle, then curve out the corner.
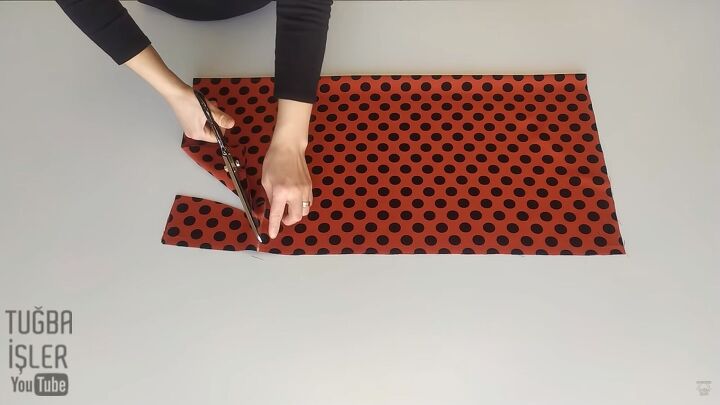
Cut this out.
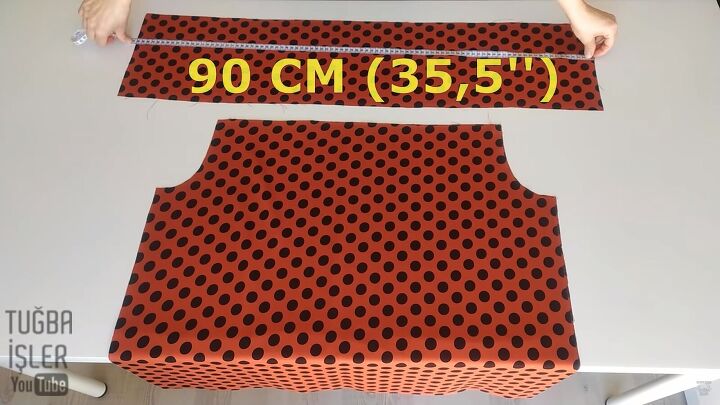
Open the fabric, as shown above.
Next, cut out a separate piece of fabric 35,5” x 8”. This is for the ruffle
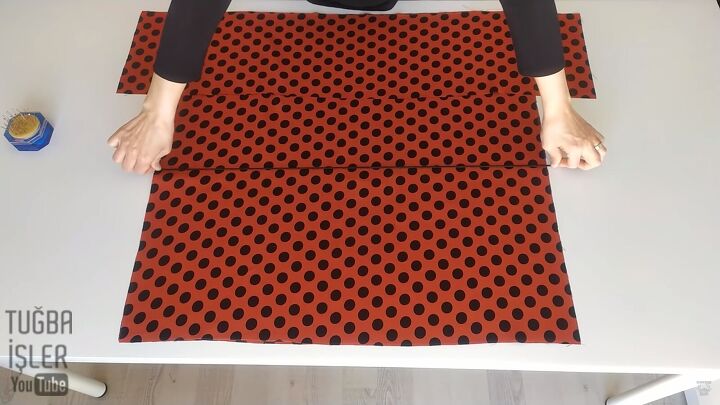
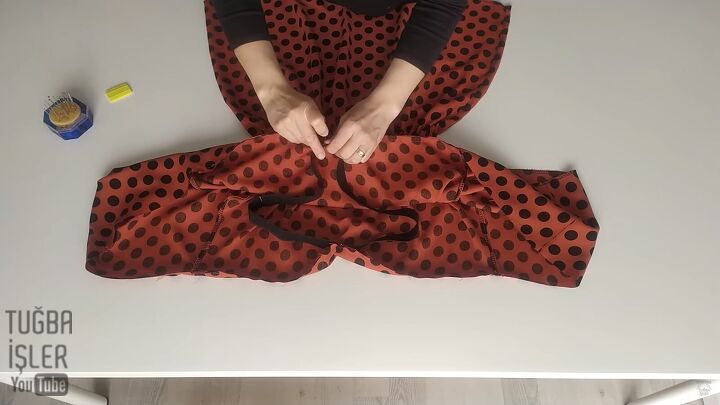
2. Assemble the front top piece
Place the ruffle on top of the top piece.
Then, measure a 12” piece of elastic; this will go in the middle of the top piece, where the waist will sit.
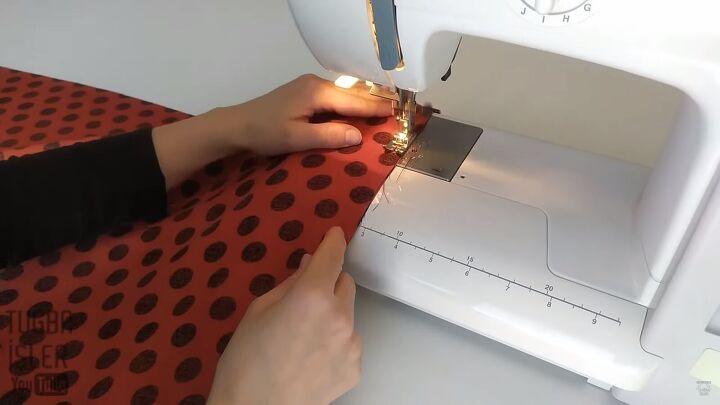
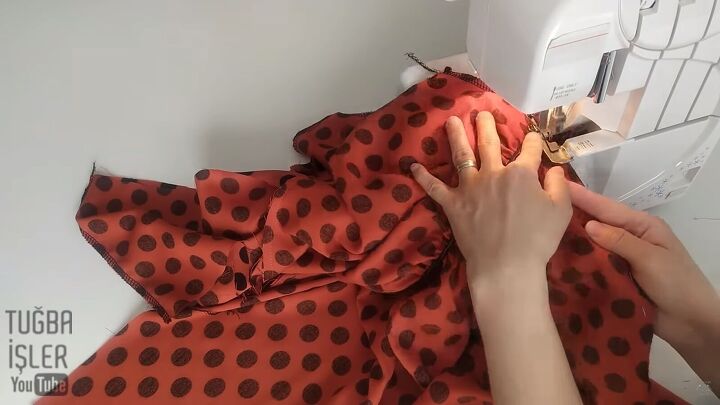
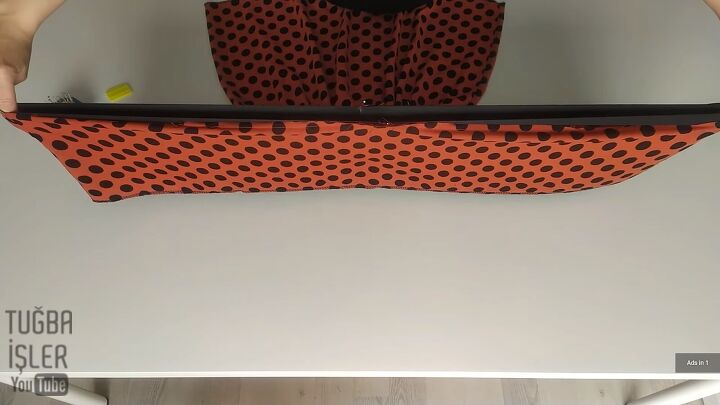
Sew the long rectangular piece to the top edge of the top. Make sure it’s evenly centered before doing so.
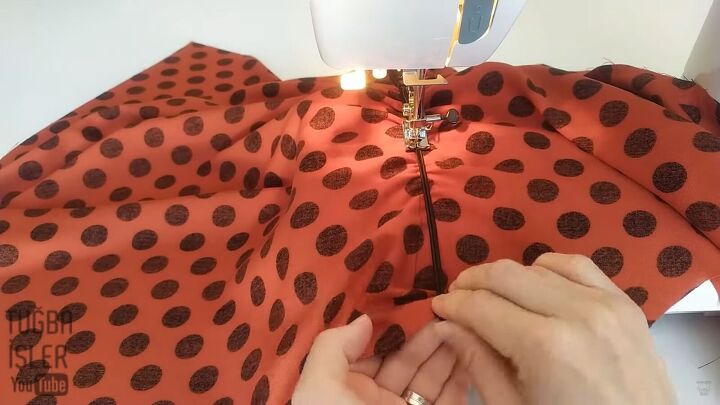
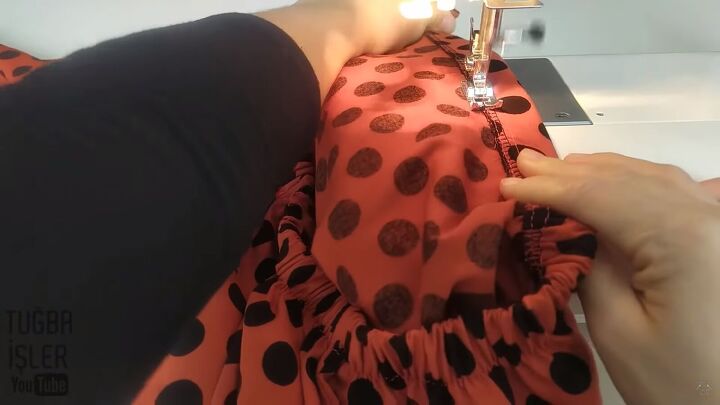
Sew the elastic to the top piece, around the same area where your waist is. Draw a line across this area as a guide. Stretch the elastic as you sew.
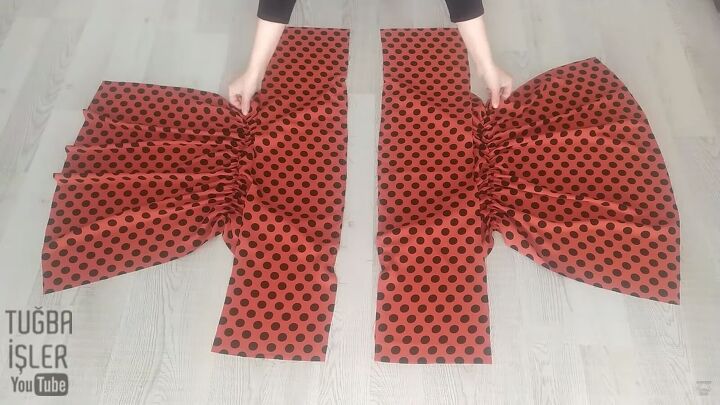
Make a second piece following the same steps above.
3. Sew the sides
Place the front and back pieces right sides together. Pin the short ends of the ruffled section, as well as the side seams from the armholes to the bottom.
Overlock the pinned areas, as well as the bottom of the ruffle.
4. Attach elastic
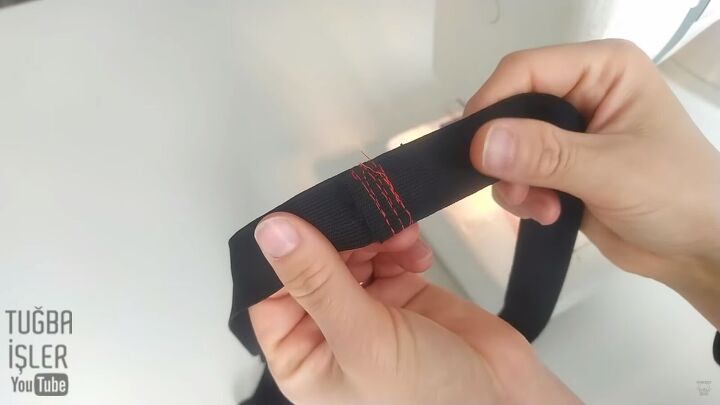
Cut a 31” long thick elastic and sew the ends together, as shown.
Fold the elastic and mark it in equal quarters with tailor's chalk.
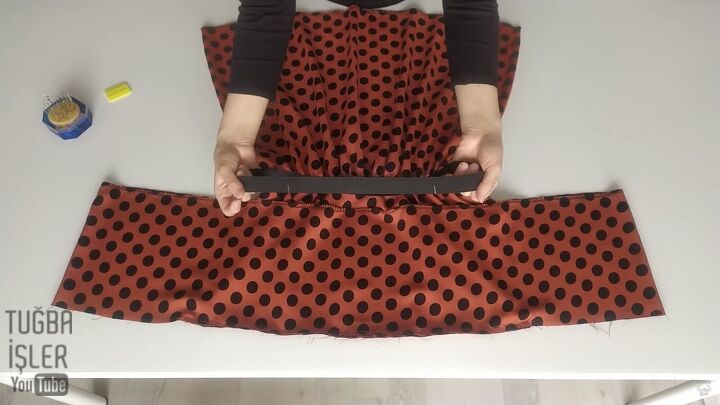
Fold the top to mark the center front and back with pins.
Align the quarter marks on the elastic with the sides, center front, and center back of the top.
This way, the elastic should be distributed evenly and should look even when you stretch it.
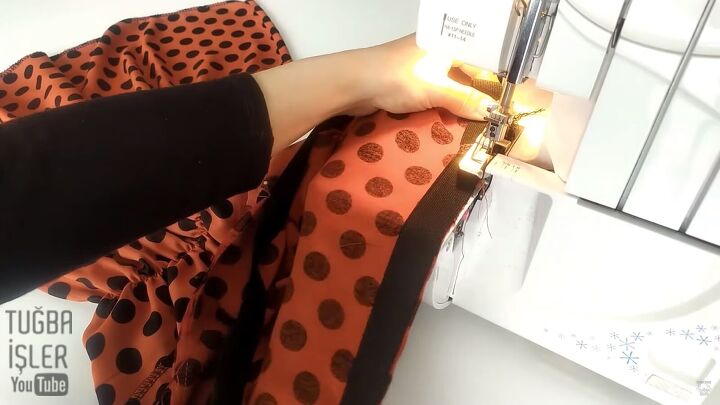
Sew the elastic to the top edge. Stretch it as you sew.
Next, fold the elastic inward and sew down, as shown. Again, stretch the elastic as you sew.
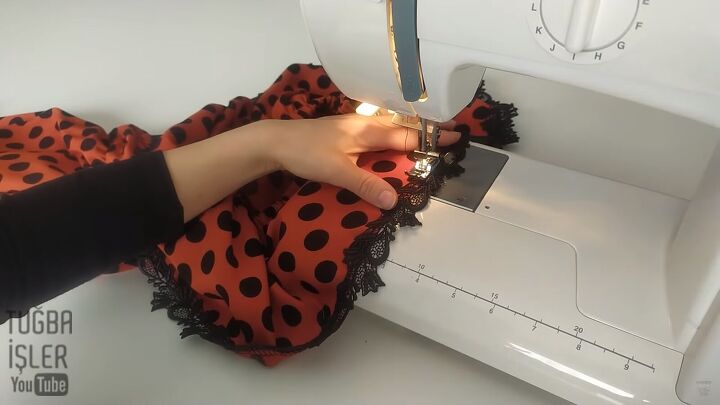
5. Attach lace trim
Choose a beautiful lace trim, cut it to the length of the ruffle (35.5"), and sew it along the bottom edge.
When you get to the end, pivot your needle and sew the trim vertically to ensure it secures properly.
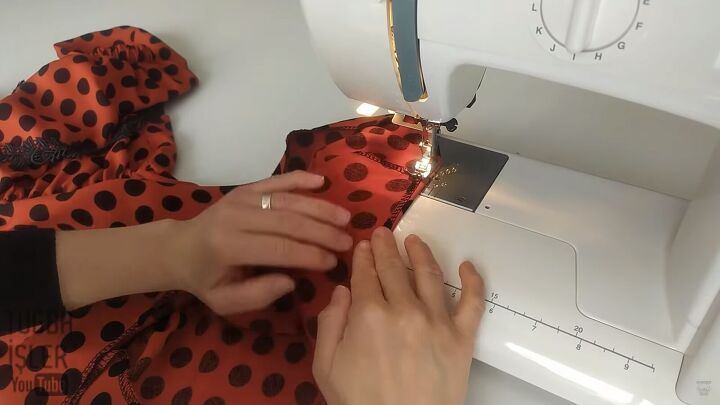
6. Hem the DIY off-shoulder dress
Hem the bottom of the dress with a single neat fold.
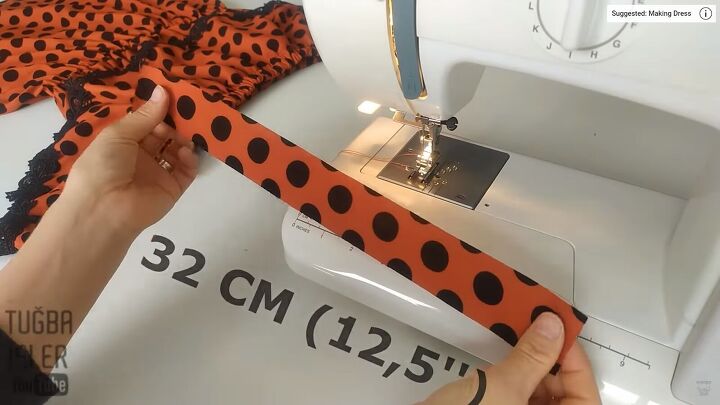
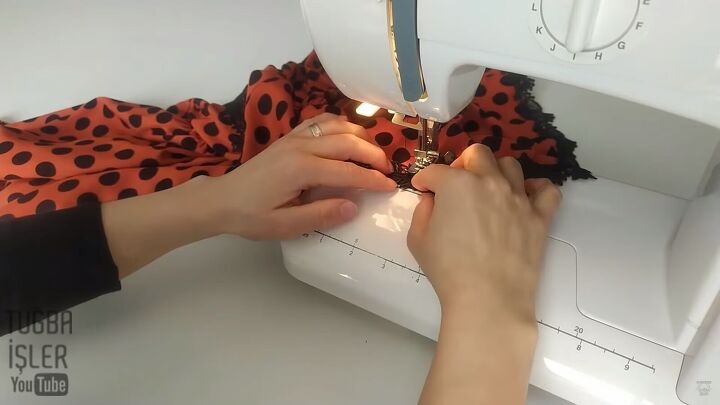
7. Make the straps
Cut two strips of fabric measuring 1.5 “ x 12.5”.
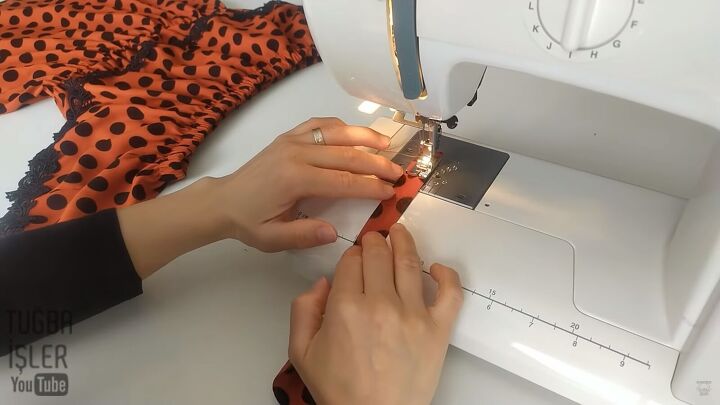
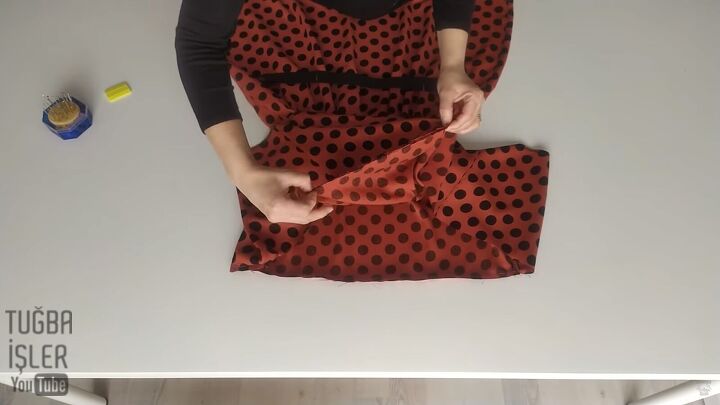
Fold them right sides facing, sew one end closed, then sew along the long raw edge.
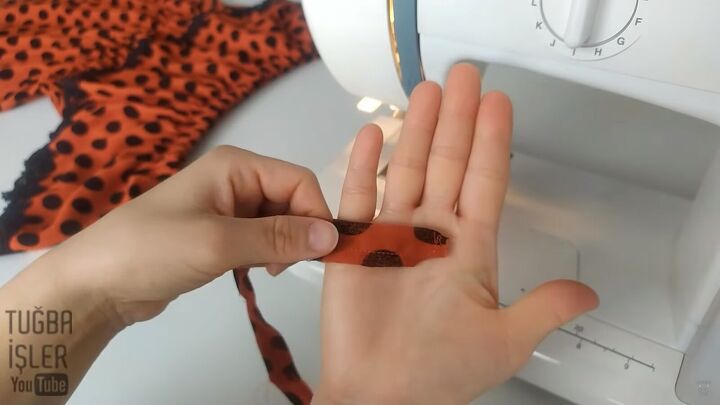
Snip the corner off the sewn end, as shown.
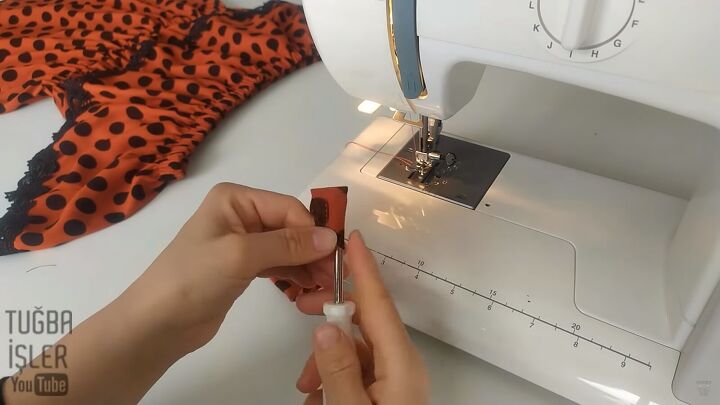
Turn the straps right sides out.
8. Attach the straps
For the final step, fold each strap in half and place them where you’d like on the Bardot dress. Then, sew each end to the top secure.
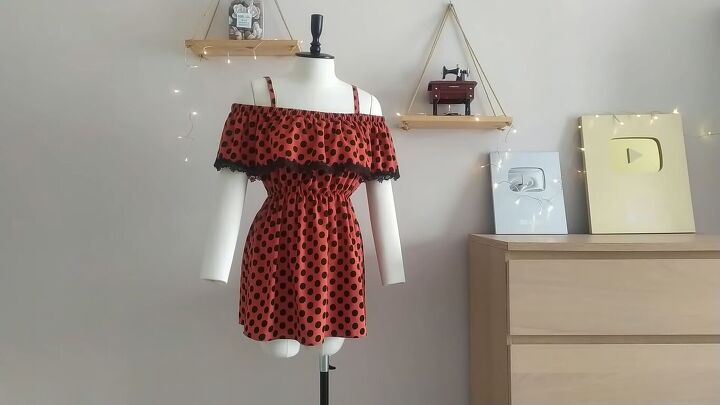
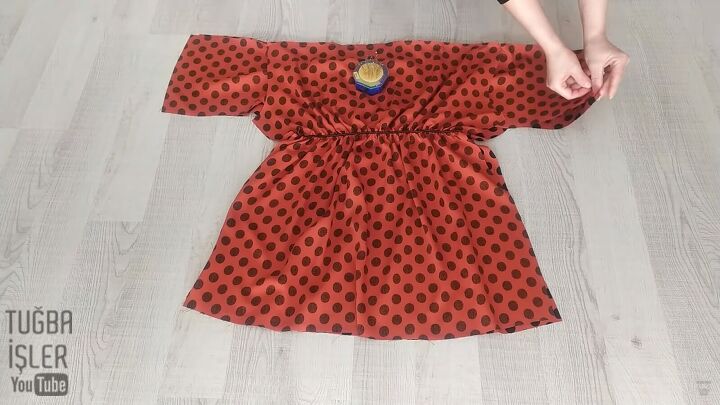
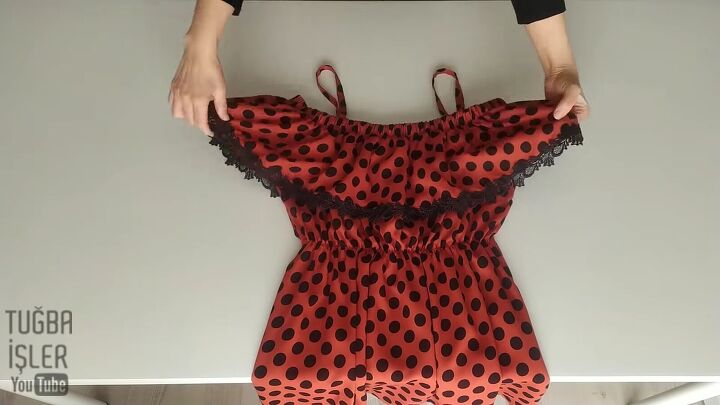
How to make a Bardot dress
Here’s the final look! This tutorial on how to make a Bardot dress is really straightforward, and the results are just beautiful. The off-shoulder dress is flowy and bold and makes for a great outfit for most occasions.
I hope you do this on your next DIY. Let me know how you get on in the comments below.
To see more of my dress sewing tutorials, follow me on TikTok @tugbaisler.
The author may collect a small share of sales from the links on this page.


Comments
Join the conversation