How to Make a Bodysuit With Cute Off-the-Shoulder Ruffles

Hey fellow DIYers! I have the perfect tutorial on how to make a bodysuit, and I’m so excited to share this with you. Sewing a bodysuit is pretty easy, especially when you have an excellent pattern that goes with it. Let's get started.
Tools and materials:
- Any woven fabric with a 2 or 4-way stretch
- Bodysuit sewing pattern
- Scissors
- Pins
- Sewing machine
- Matching thread
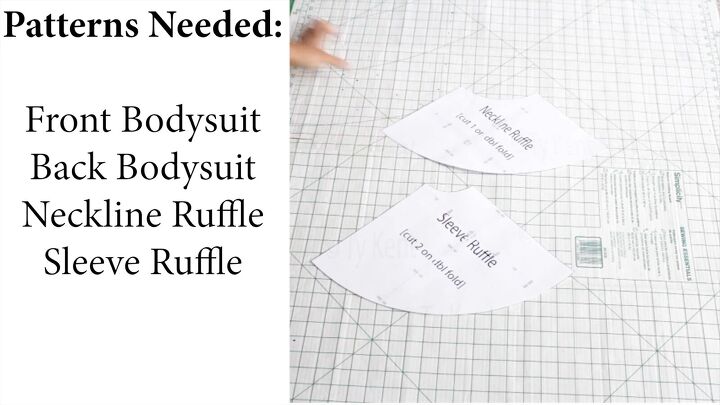
1. Get the bodysuit sewing pattern
First, follow the bodysuit sewing pattern. You should have a front piece, back piece, neckline ruffle, and sleeve ruffle.
When you have your pattern drafted and cut, then come back here so I can show you how to assemble all the pieces.
2. Cut the pattern
Make sure the fabric you’re using has a good amount of stretch; 2-way or 4-way stretch will do. ITY jersey knit fabric, double knit, ponte knit, or any woven fabric is great.
Next, ensure that the stretchy side is along the vertical grainline, while the side that’s least stretchy goes along the horizontal grainline.
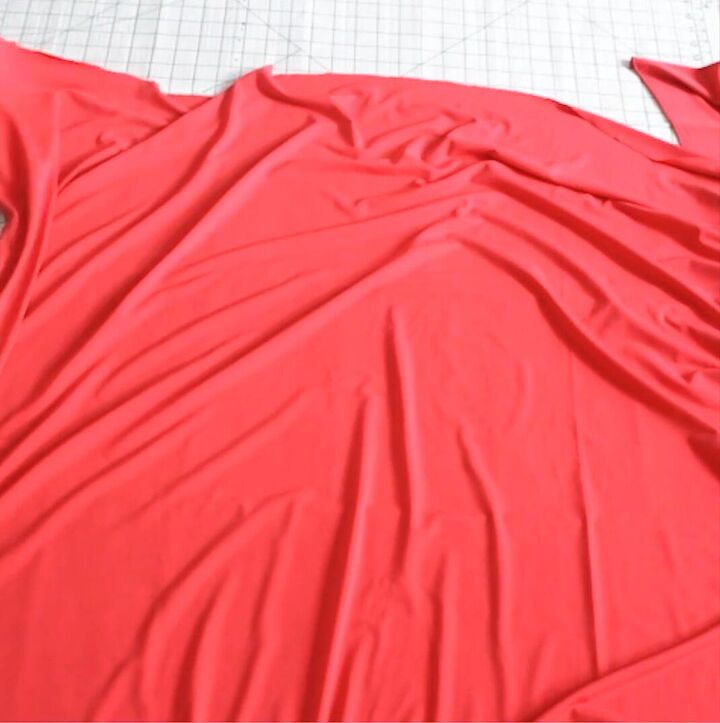
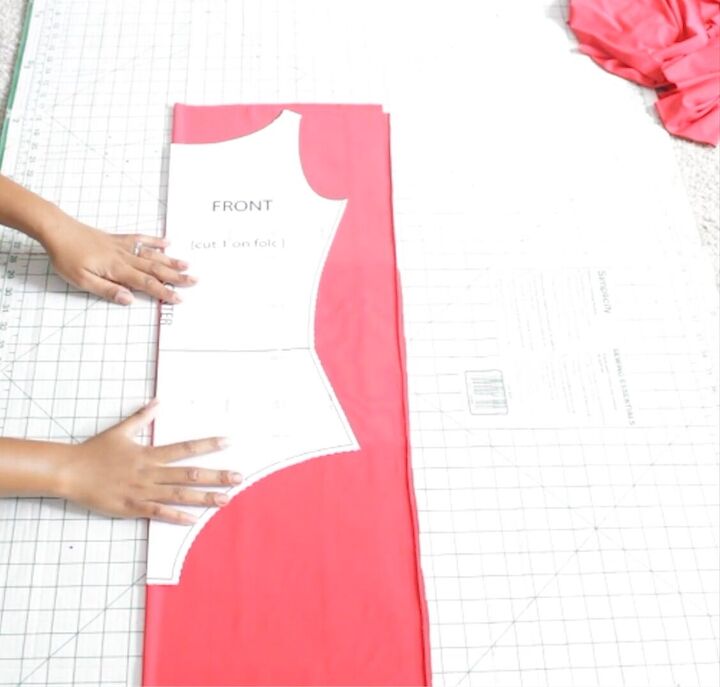
Fold your fabric in half, around ⅓. Align the edges and smoothen them out. This is also known as a “hotdog” style.
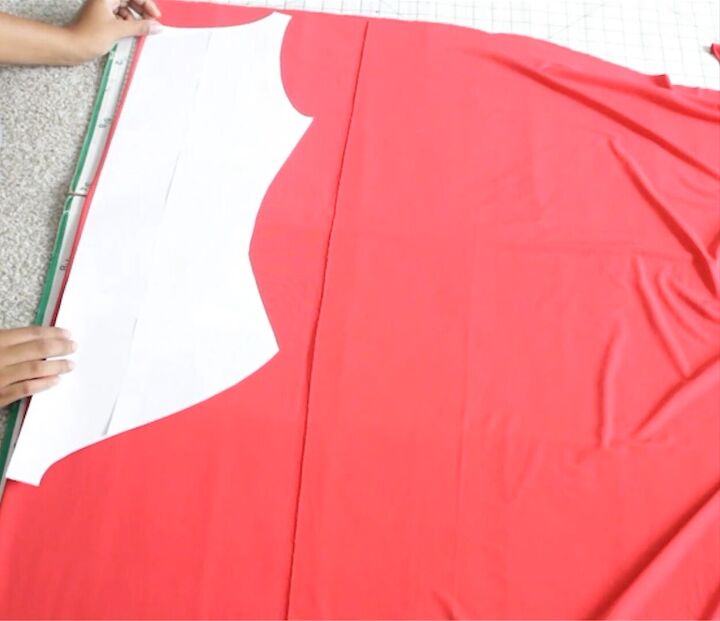
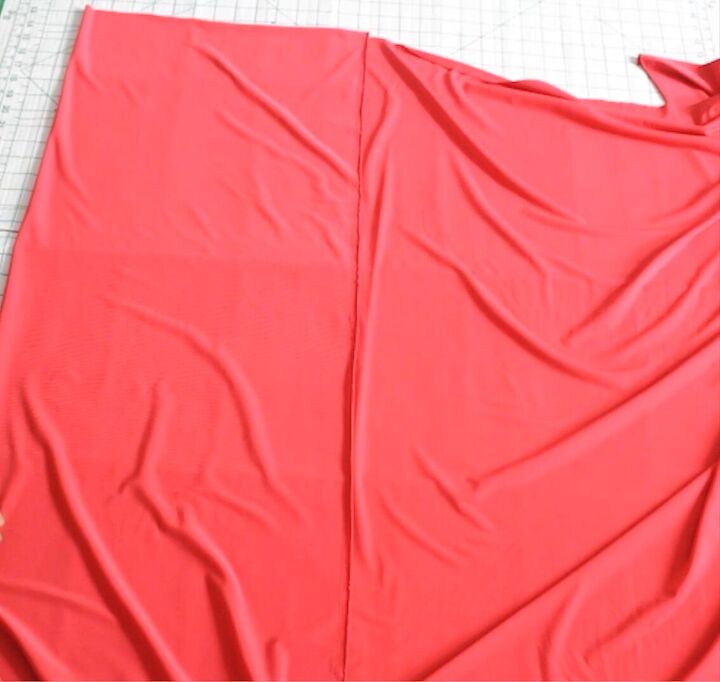
Next, place the center front or back bodysuit sewing pattern along the fabric’s fold.
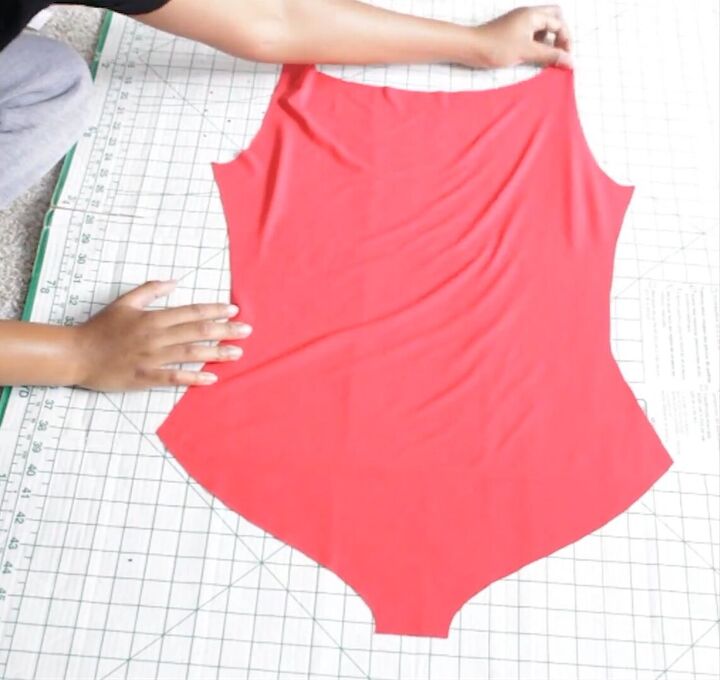
Cut around the pattern while keeping the center aligned to the fold. This is what you should end up with.
Now do the same to the other main bodice piece.
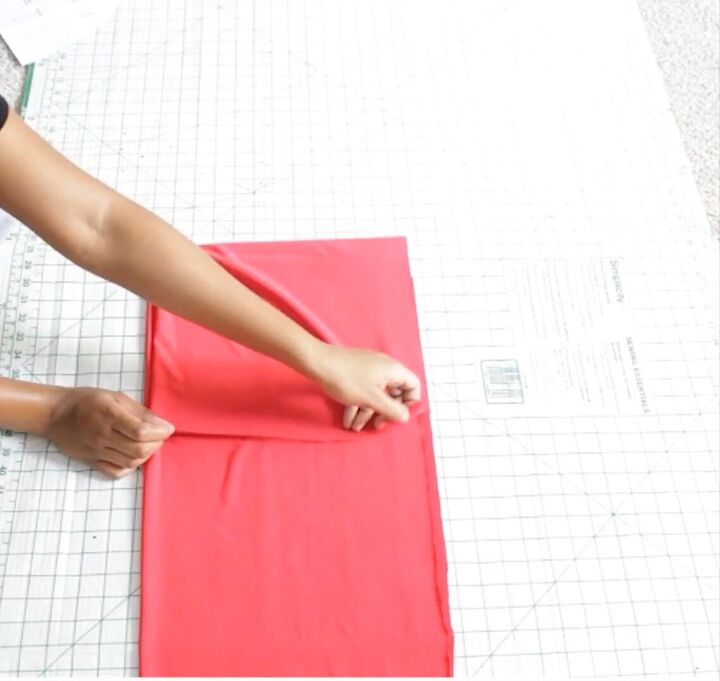
To cut the ruffles, fold your fabric ⅓ inch widthways, then fold the fabric down (“hamburger style”). So, you should be cutting off a square of 4 layers.
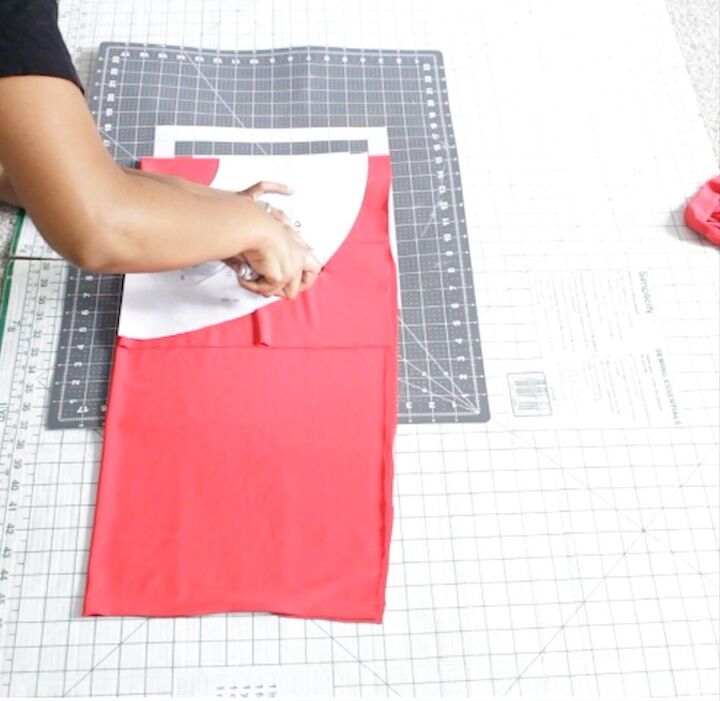
Smooth out the fabric and place the sleeve ruffle pattern over the top. Line up the straight edge of the ruffle pattern with the folded edges of the fabric.
Then, cut along the top and bottom curves. You should have a double folded edge and a single folded edge.
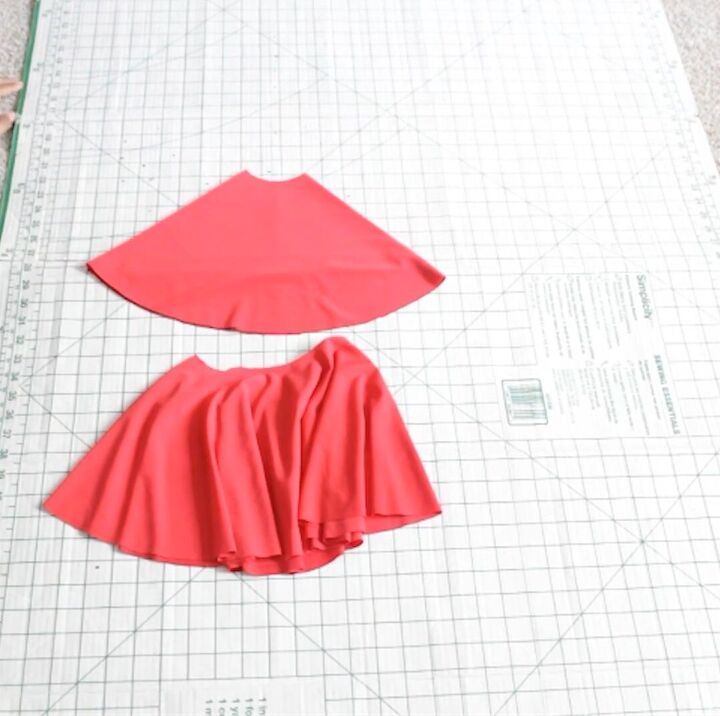
This is what your sleeve and neckline ruffles should look like after cutting.
Tip: Be sure to cut out two sleeve ruffle pieces.
3. Sew the DIY bodysuit
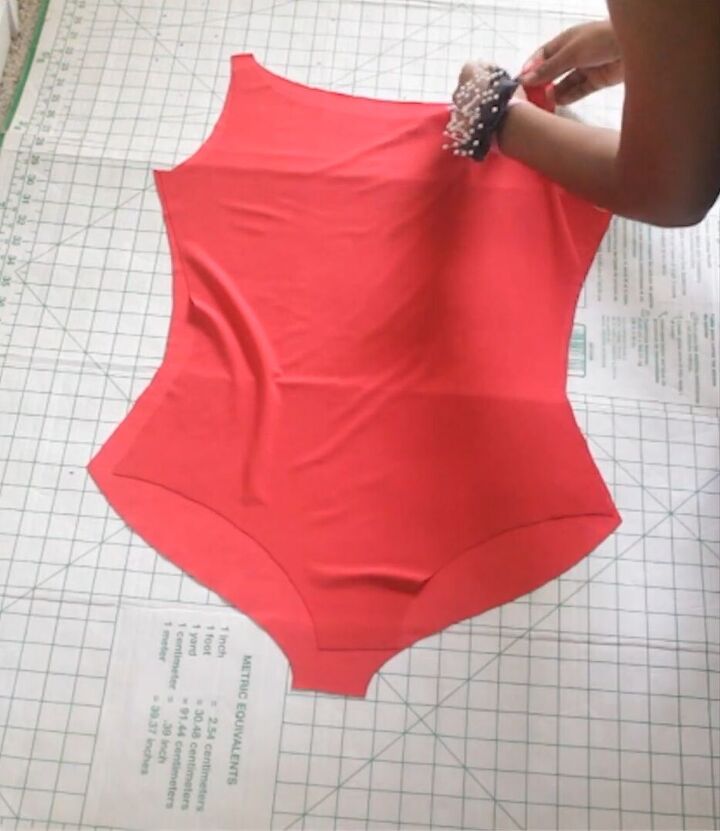
Now it’s time to sew! Place the front and back main pieces on top of each other, right sides facing.
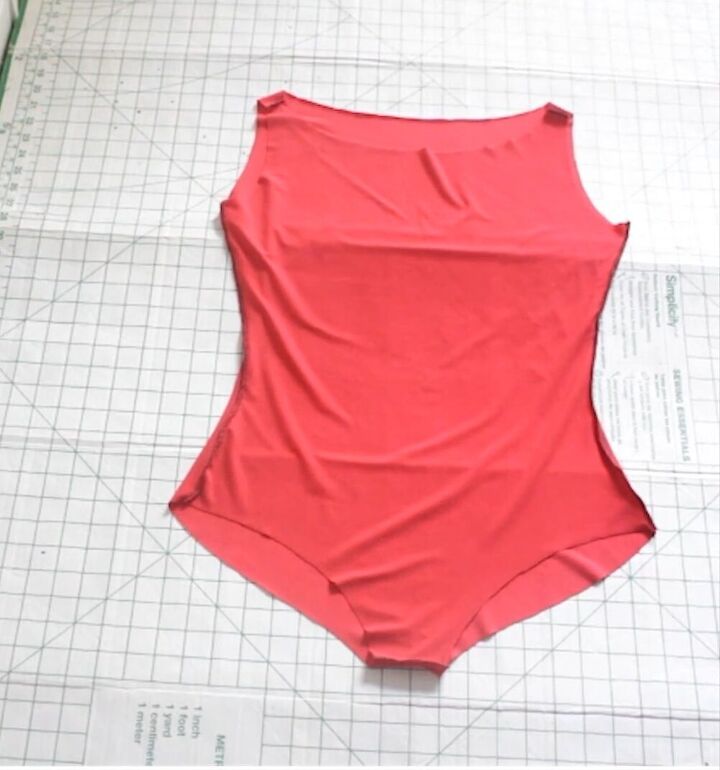
Then, sew the sides, crotch, and shoulder seams.
Tip: Sew the sides first, then sew the shoulders and crotch.
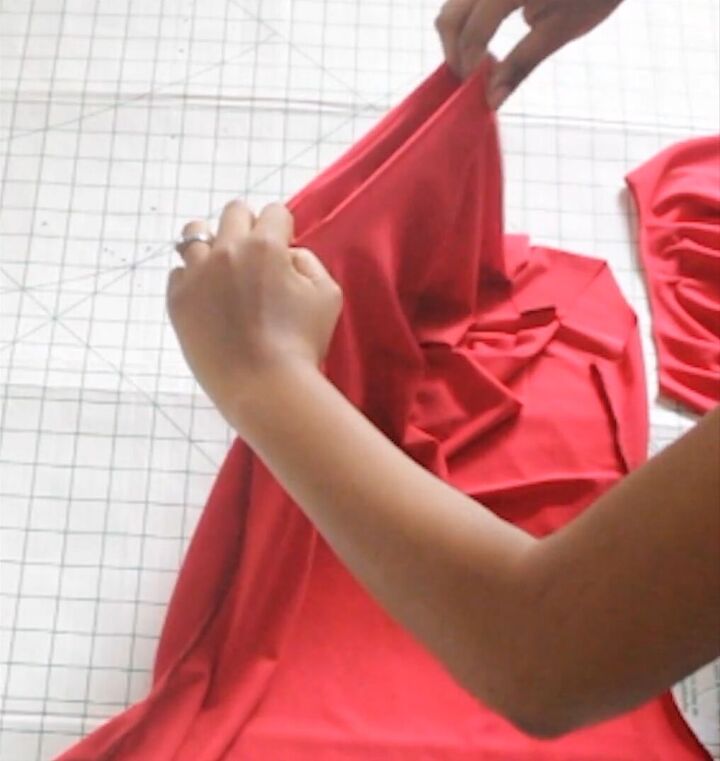
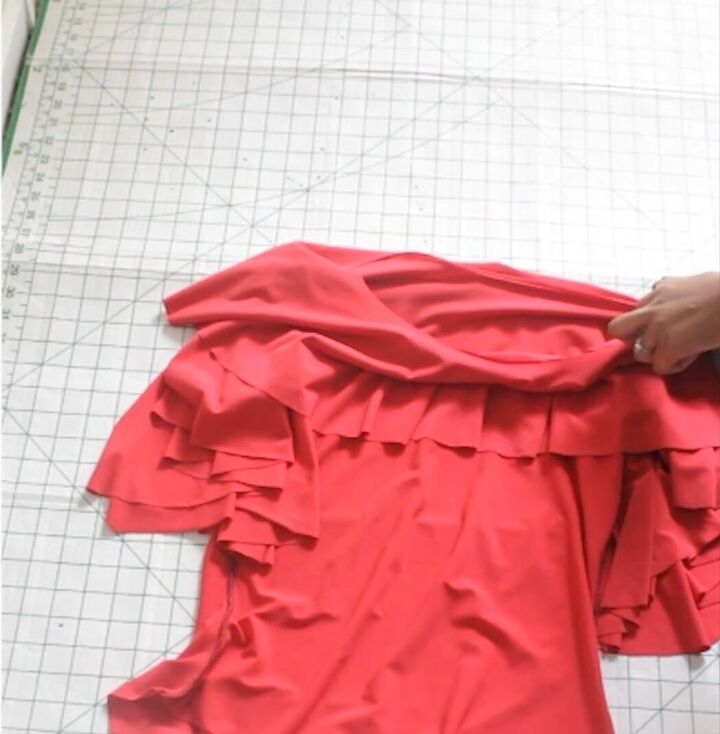
4. Attach the ruffle sleeves
To attach the ruffles to the DIY bodysuit, ensure the main body piece is right sides in.
Place the sleeve inside the bodysuit with the ruffle sleeves right sides out and line the top curve with the armhole. Then, pin all around and sew.
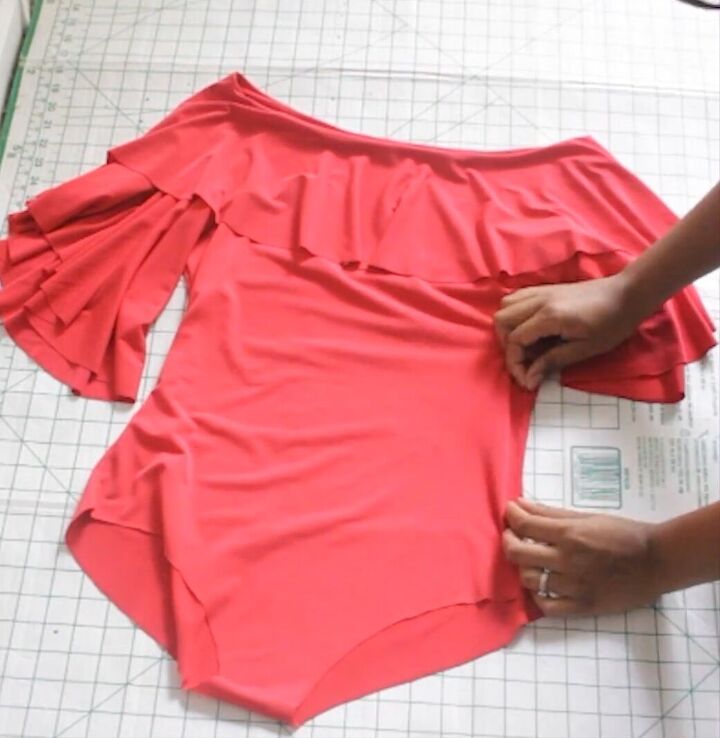
5. Attach the neckline ruffle
With the whole DIY bodysuit’s right sides facing in, place the bodysuit inside the neckline’s hole and line up the raw edges. The neckline ruffle should also be right sides facing in. Then, pin and sew.
6. Hem the raw edges
This is the last step in sewing a bodysuit; hemming the raw edges for a clean finish. Be sure to hem the neckline ruffle, sleeve ruffles, and leg holes of the bodysuit.
Tip: Use a zigzag stitch on the leg holes to ensure the fabric still has room to stretch.
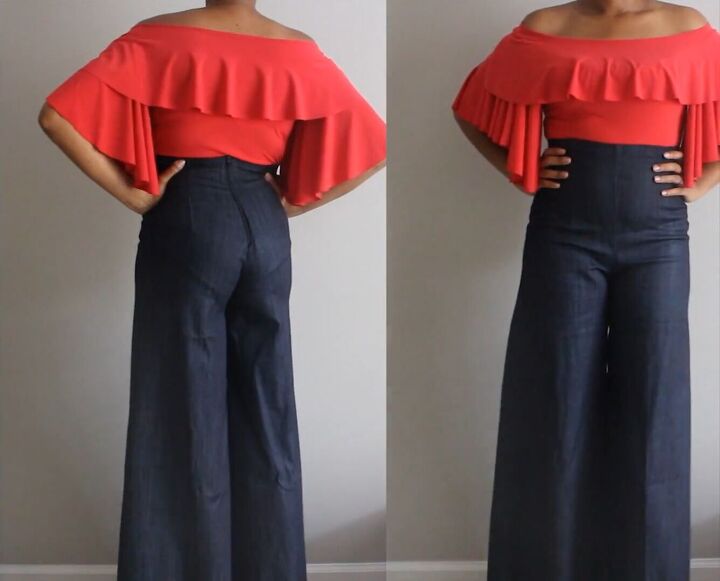

How to make a bodysuit
How striking is this DIY bodysuit? As you can see, making your own bodysuit is pretty easy! I really hope you found this tutorial on how to make a bodysuit useful and that you give it a try!
The author may collect a small share of sales from the links on this page.


Comments
Join the conversation