Make This Fabulous & Flowy Off-The-Shoulder Dress in Just 2 Hours

Let’s make a super cute off-the-shoulder dress today. It’s so simple and easy, and a fantastic project for all the wonderful and aspiring beginners as well. In this off-the-shoulder dress tutorial, I’m going to walk you through the process of making a simple off-the-shoulder dress; perfect for almost any occasion, spending on you how to accessorize your look. Let’s get started so you can add this stunning and flowy item to your closets!
Tools and materials:
- Cotton fabric
- Measuring tape
- Sewing machine
- Thread
- Elastic
- Scissors
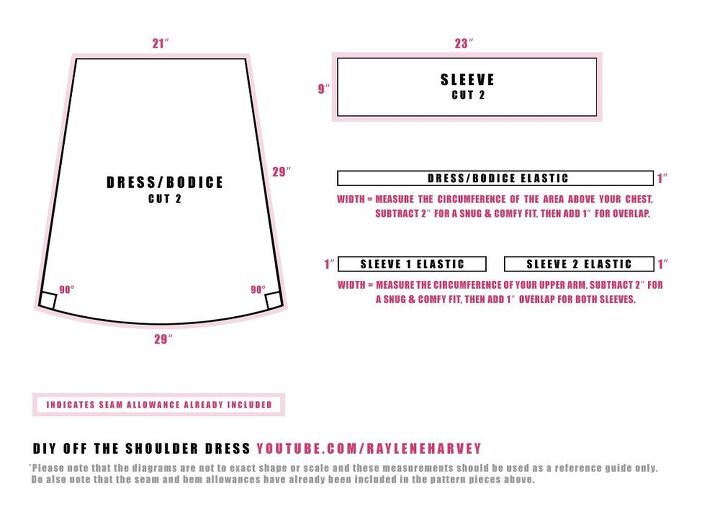
Get the pattern
Here is a straightforward pattern to use, so you have a guideline on how to sew an off-the-shoulder dress. This image is not to scale and should be solely used as a reference. The seam and hem allowances are already included in this guideline. I am a size medium, but you’ll need to measure yourself and adjust the sizes accordingly if you are smaller or larger.
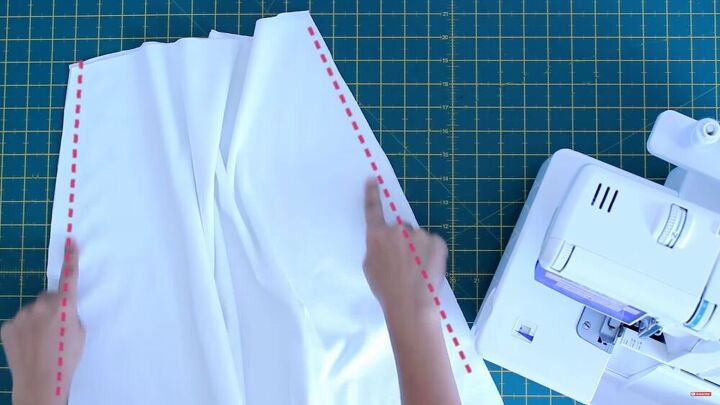
Assemble the dress
Once the pieces are cut to size, it’s time to assemble this fabulous off-the-shoulder dress. Let’s begin with the main dress pieces. Place them on top of each other, right sides facing, and sew the side seams.
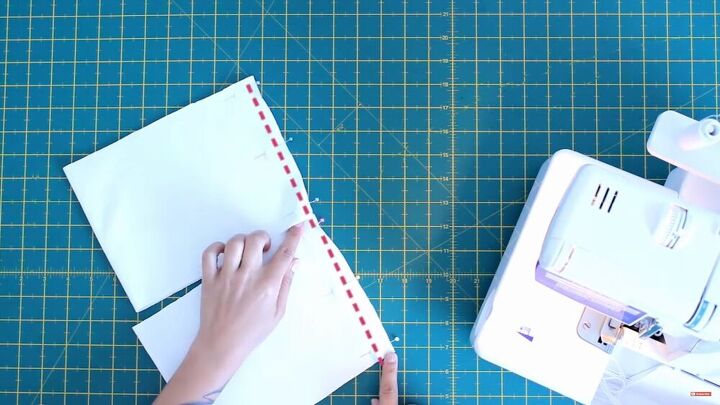
Sew the sleeves
Fold each of the sleeve pieces in half, pin, and sew the side seams.
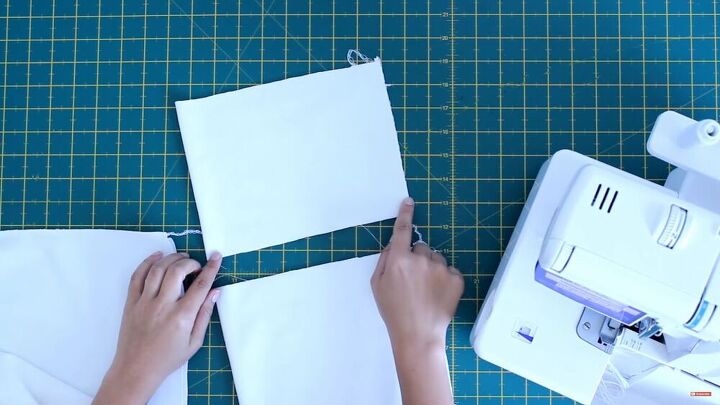
Stitch the raw edges
Either using an overlocker or a zigzag stitch, stitch the raw edges to prevent fraying and ensure you have a cleaner finish.
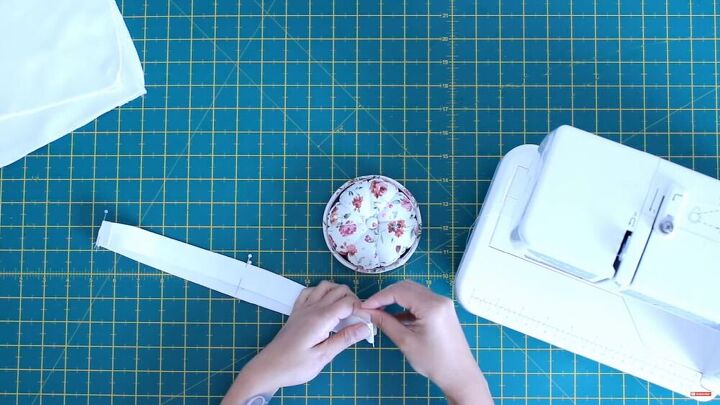
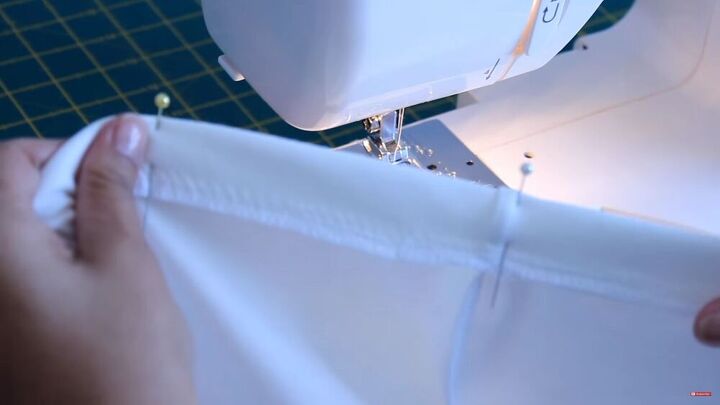
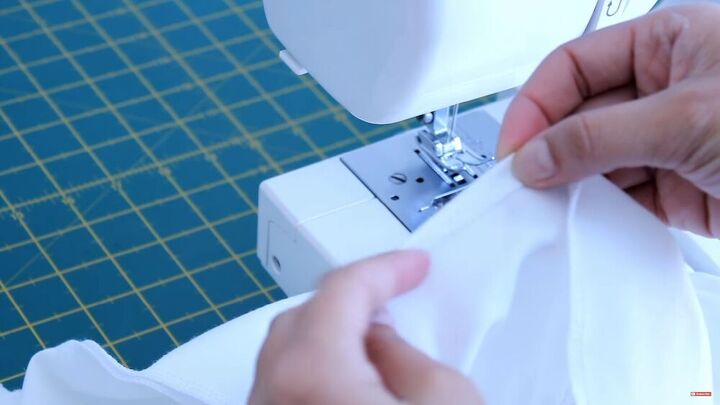
Create the elastic loop
Cut an elastic to size and stitch the short ends. Then, quarter the looped elastic with pins.
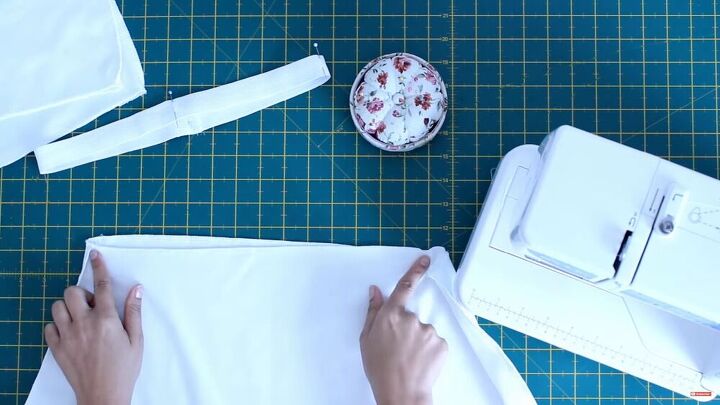
Next, quarter the top of the bodice pieces with pins, too.
Match the pins on the elastic to the pins on the bodice, placing the elastic on the wrong side of the fabric. This means you will repin all the layers together.
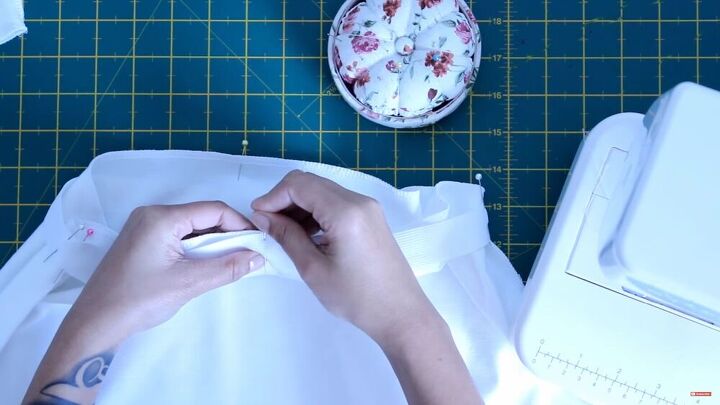
Now, sew the elastic onto the bodice with a zigzag stitch. Make sure to stretch the elastic ( not the fabric) while you sew along the edge of the elastic.
TIP-
Ensure that everything lays flat and evenly distributed as you make your way through each quartered piece.
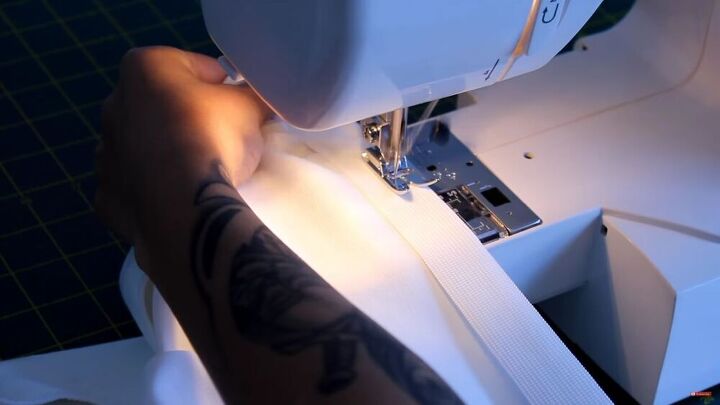
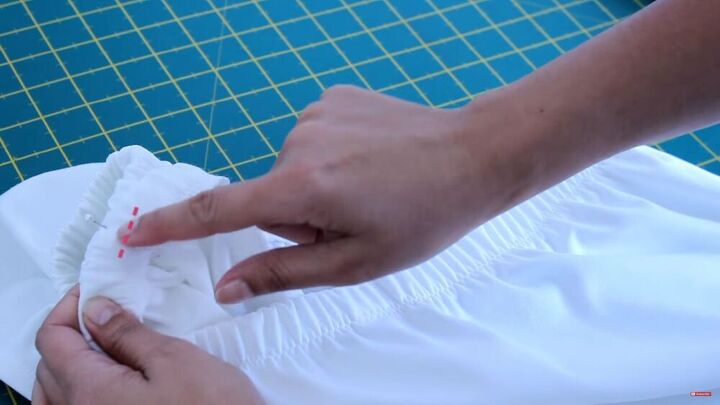
Fold the elastic over once, towards the wrong side of the fabric, and pin in place. Make sure the whole circumference of the dress is folded and pinned.
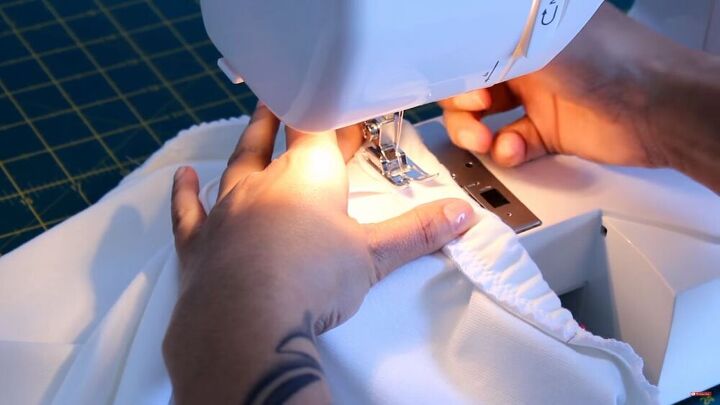
Stitch the edge of the fold with a zigzag stitch. You now have created the perfect casing for your DIY off-the-shoulder dress!
TIP-
Just like the step before, remember to stretch the elastic evenly as you sew.
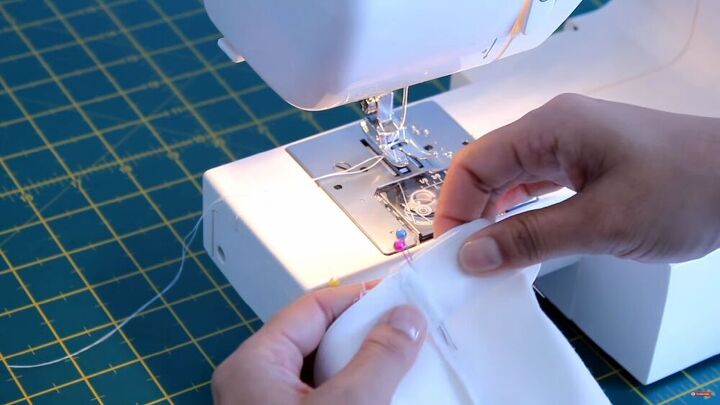
Create an encasing for the sleeves
Repeat the whole step above for the sleeve parts, too. To see how I do this, check out my video from 3:53 minutes. Remember, you will be adding the elastic to one side of the top sleeve.
Hem the bottom of the dress and sleeves
Remember not to slip this step! Hem the bottom of your dress, as well as your sleeves for a cleaner finish. Fold your fabric over once and stitch all round to secure.
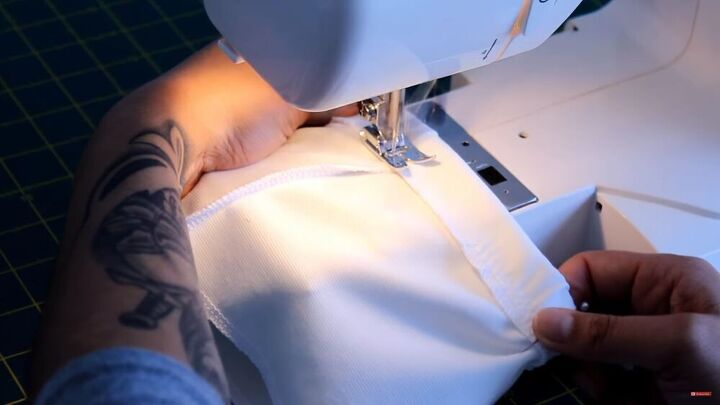
Attach the sleeves to the bodice
Now that your sleeves are out the way, it’s time to attach these babies to your dress. Can you already see your simple off-the-shoulder dress coming together nicely? This step is easy and quick; sew the side seams of the sleeve to the top side seams of the dress. Sew the elastic layers horizontally, as shown.

And…, that’s it. Your stunning off-the-shoulder dress is complete and ready to be flaunted! I love how flowy this dress is; it’s super comfortable and is super feminine. I hope you enjoyed this off-the-shoulder dress tutorial. Thanks for tuning in!
The author may collect a small share of sales from the links on this page.


Comments
Join the conversation