How to Make a Cute DIY Shirred Maxi Dress For the Summer

In this DIY, I’ll show you an easy way to make a shirred maxi dress with no pattern required. This shirred dress with sleeves looks flattering on anyone! So grab your lightweight cotton fabric or linen, and let’s make something beautiful!
Tools and materials:
- Measuring tape
- Ruler
- Marker
- Pins
- Sewing machine
- Thread
- Elastic thread
- Cotton, linen, or rayon fabric
- Elastic
- Scissors
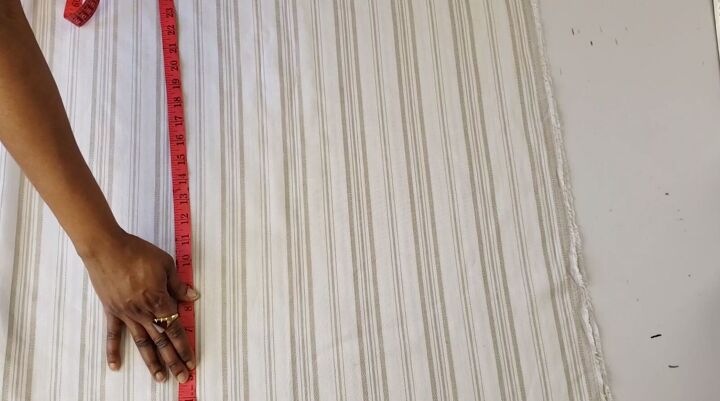
1. Make the shirred top dress pattern
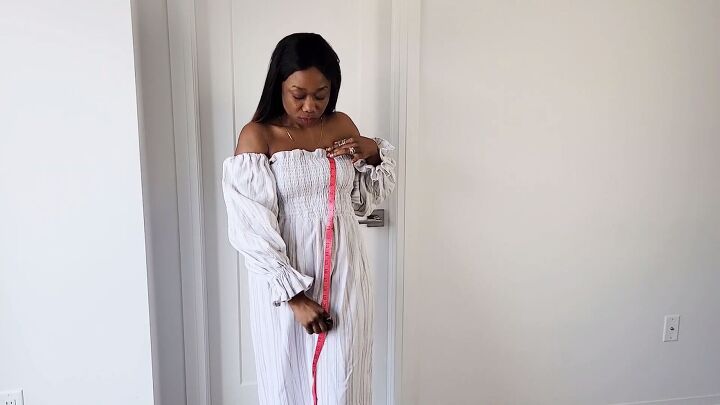
Determine the length of your dress by measuring your chest line to wherever you want it to be.
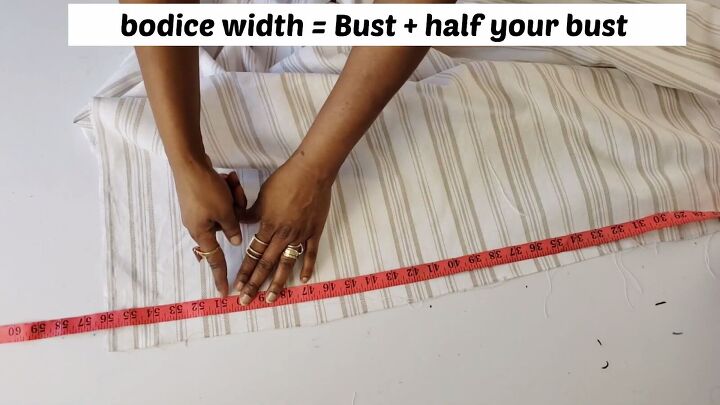
For the width, measure 1.5 times your bust circumference. My bust circumference is 34”, and 1.5 times 34” is 51”. In the end, you should have a big rectangular fabric piece to work with.
Tip: I’m using a mix of rayon and linen fabric; you can use cotton, too.
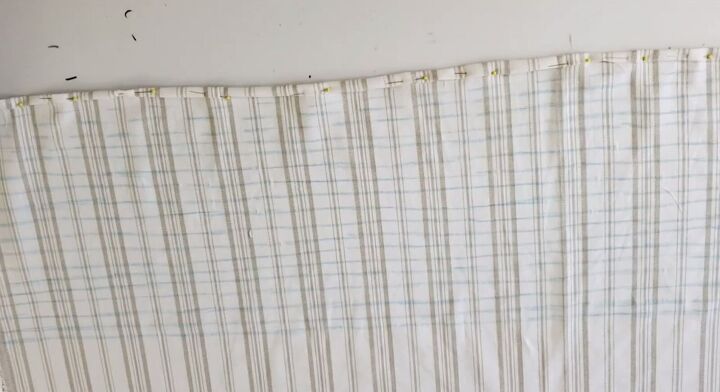
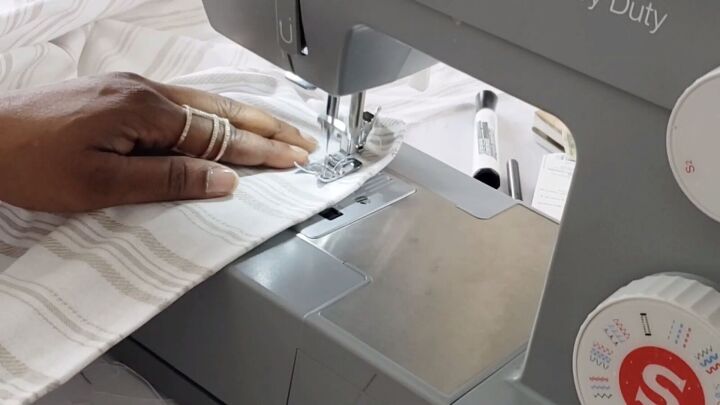
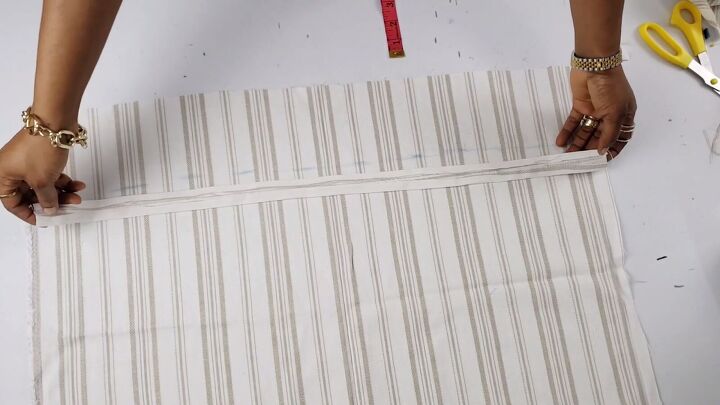
2. Hem the top edge
Hem the upper part of the rectangle by folding the top edge twice. Pin it down and run a straight stitch.
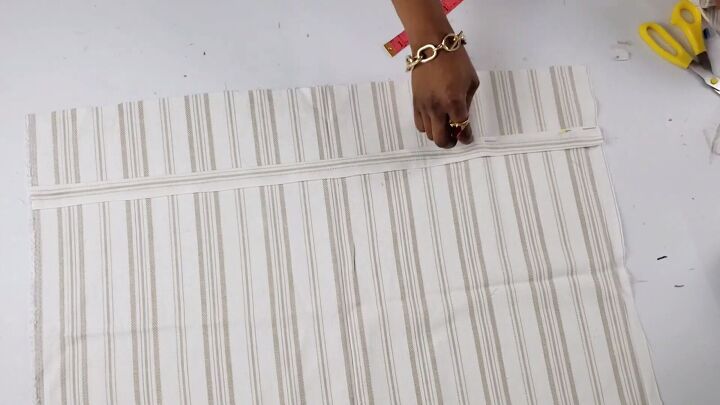
3. Draw the shirring lines
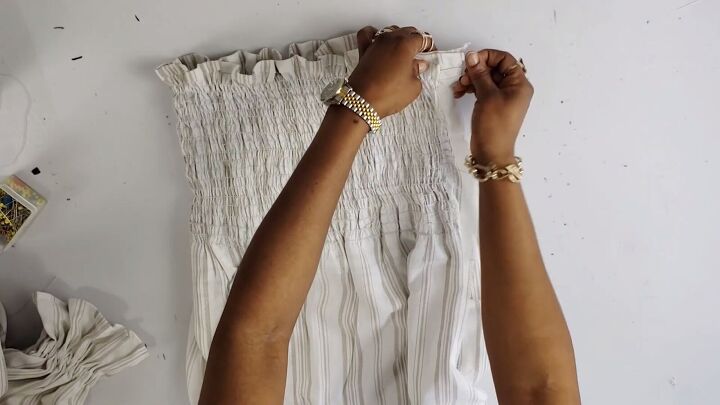
Next, mark 1cm (0.39”) increments from the top down. These will be your shirring lines. Also, mark across the fabric and draw straight lines. These lines should normally be on the right side of the fabric. However, mine is on the wrong side because of the type of fabric I’m using.
Keep creating the lines until you get to your desired shirring length. Mine was a little bit below the bust and this is what is looks like.
4. Make the sleeve pattern
The next step is to cut out the sleeves. Mine measured 27” x 24”.
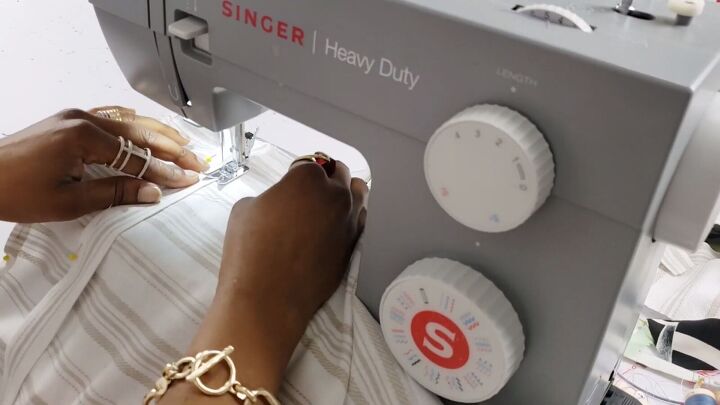
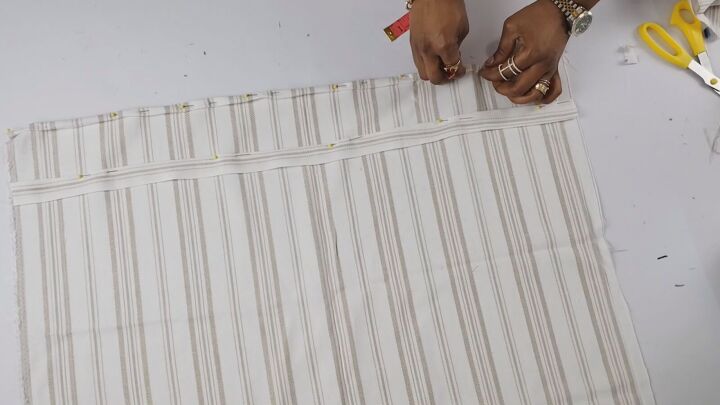
5. Make the shirring
Wind the bobbin with your elastic thread. Then, sew along the lines you created, from side to side. You should set your stitch length to the longest on your sewing machine.

6. Assemble the sleeves
Pin the top edge of the sleeve down based on the allowance you have for the elastic.
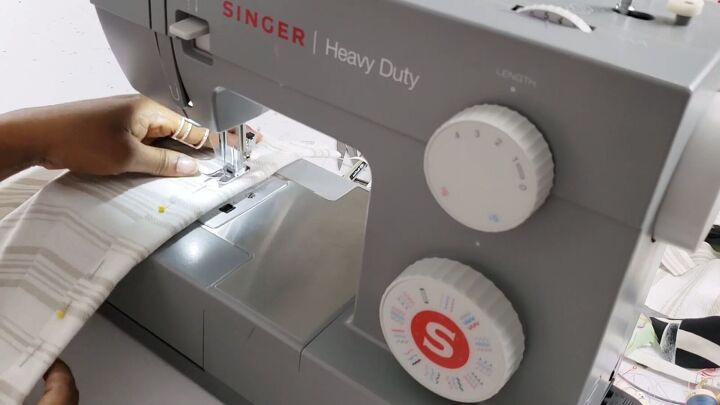
Then, sew with a straight stitch.
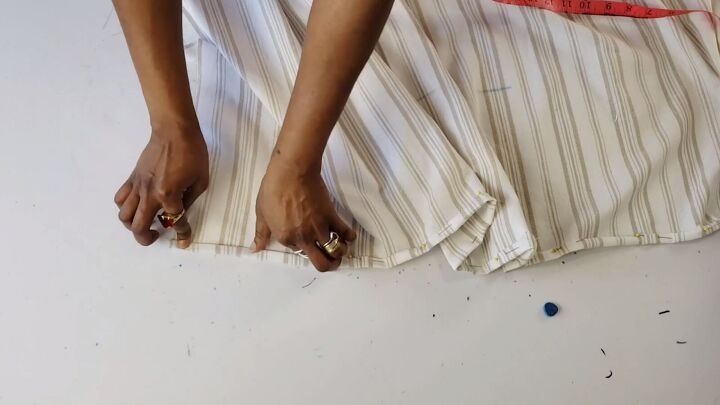
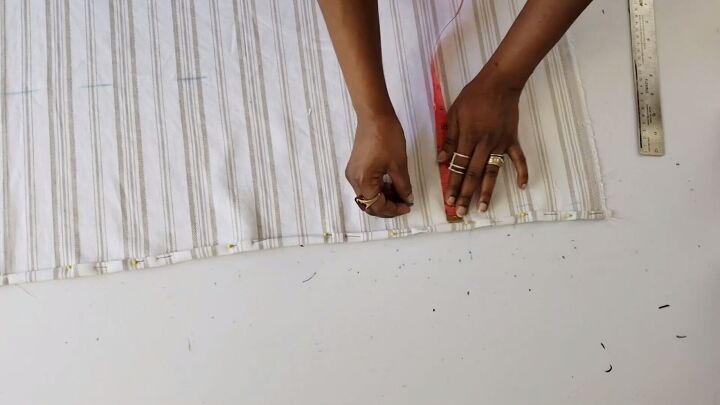
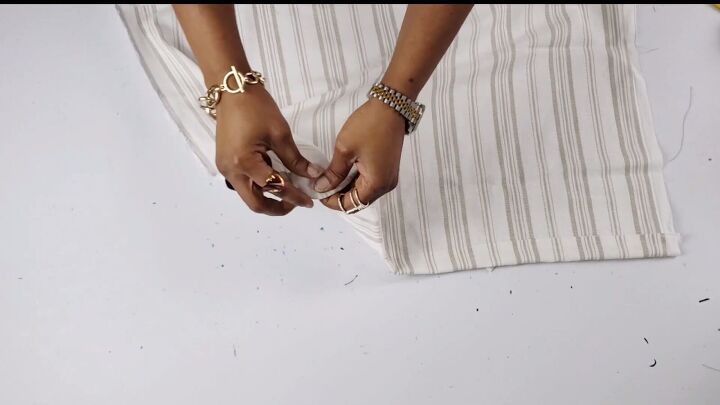
For the bottom edge, mark 4” from the end. Then, cut a piece of fabric with the same width of the sleeve plus 2” long. Fold both ends inward, as shown.
Pin the strip on the 4-inch mark and run a straight stitch on both ends.
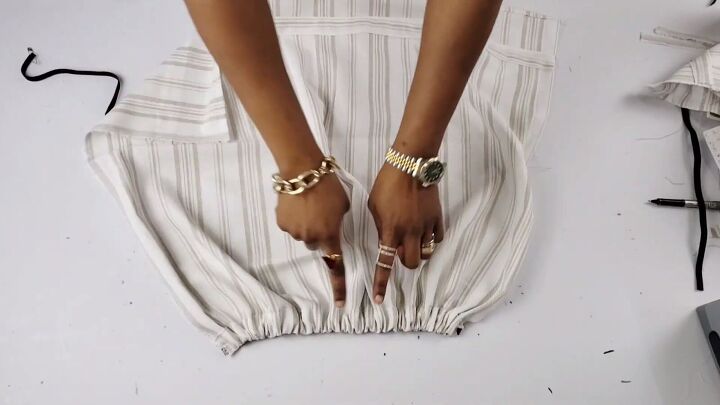
Also, fold the bottom hem over and pin.
Tip: You can iron the bottom fold for a neater finish.
Feed the elastic band through the top casing using a safety pin. The elastic should be the same size as your arm’s circumference.
Stitch both ends with a zigzag stitch.
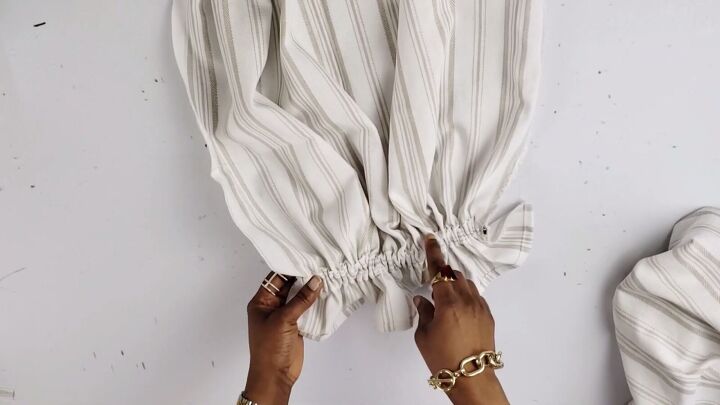
Do the same for the lower part of the sleeve.

Fold the sleeve and pin the sides. Then, run a straight stitch.
7. Sew the dress’ sides
Your shirred bodice dress is almost complete. Just pin the sides (right sides facing), and sew with a straight stitch.
Tip: I did not attach my sleeves, but if you want them attached, now is the time.

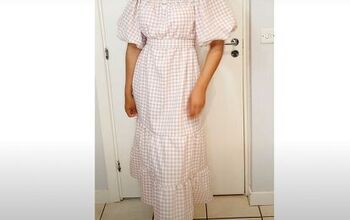
DIY shirred maxi dress
The shirred maxi dress is complete, and here’s the final result! I love how easy and quick this DIY is! Thanks for joining me, and let me know in the comments below what you think of this beautiful shirred dress with sleeves in the comments below!
The author may collect a small share of sales from the links on this page.


Comments
Join the conversation