How to Make a Cute DIY Backless Dress That's Perfect for Summer

Want to know how to make a breathtaking DIY backless dress? Well, I’m here to show you how the easy way! Follow me through this tutorial and get a step-by-step guide on how to sew a backless dress that’s perfect for those summer vibes!
Tools and materials:
- 3m polycotton fabric (3.28 yards)
- Scissors
- Pins
- Thread
- Sewing machine
- Marker or chalk
- Measuring tape
- Elastic
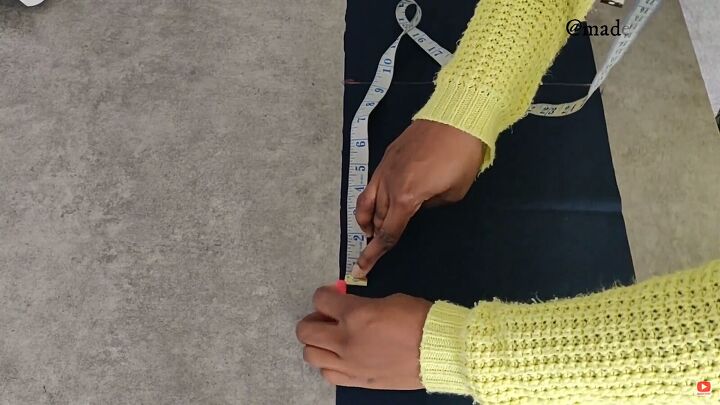
1. Make the bodice pattern
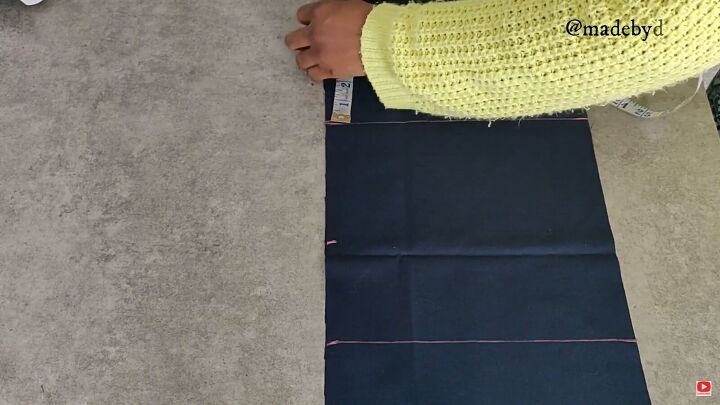
You’ll need two rectangular pieces measuring your bust size x 10”. In this case, my bust is 36”. Lay the rectangles on top of each other, find the center point, and draw a line across.
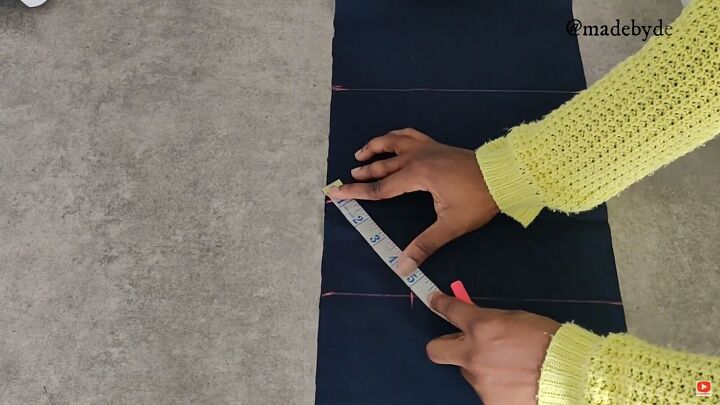
Next, find the quarter-point. This is the bust size divided by 4. Mine was 9”. Draw lines across again.
Transfer the measurement from the center-front to the nipple and mark this on either side.
Mark 3 inches down the outer (quarter-bust) lines and connect it to the top center mark (the mark you did before).
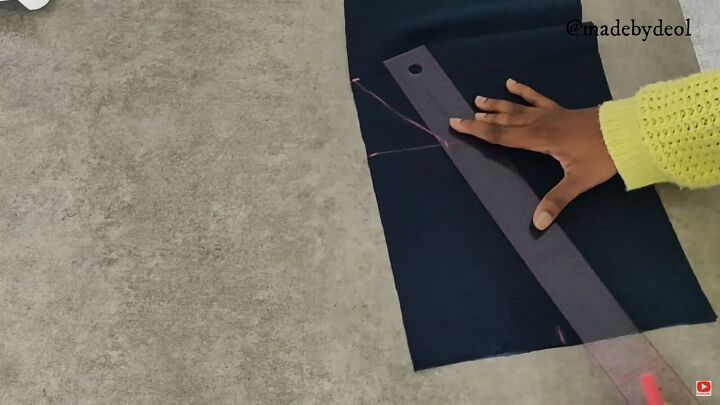
Find the midpoint on both edges and connect this to the underarm mark you just made.
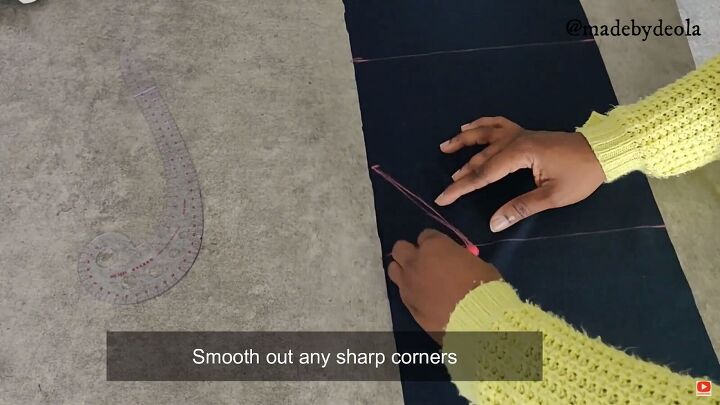
Smooth out any sharp corners.
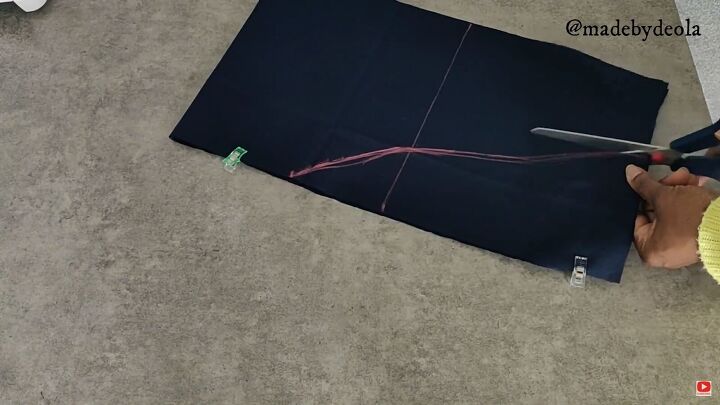
Fold both layers in half, pin, and cut along the line.
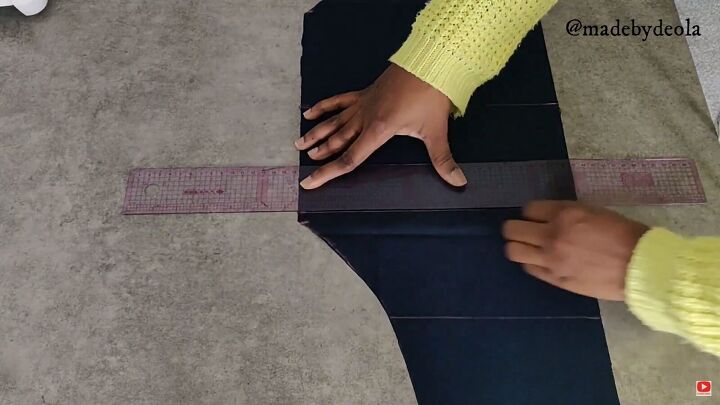
Mark 1cm (0.39”) from the top edge and mark. Then, draw a line.
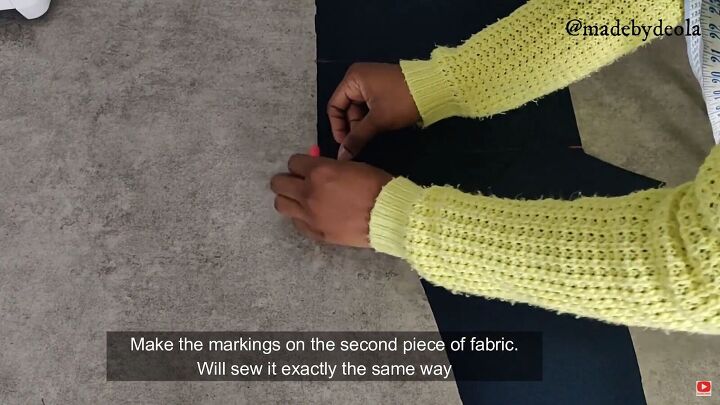
Make the same markings on the second layer.
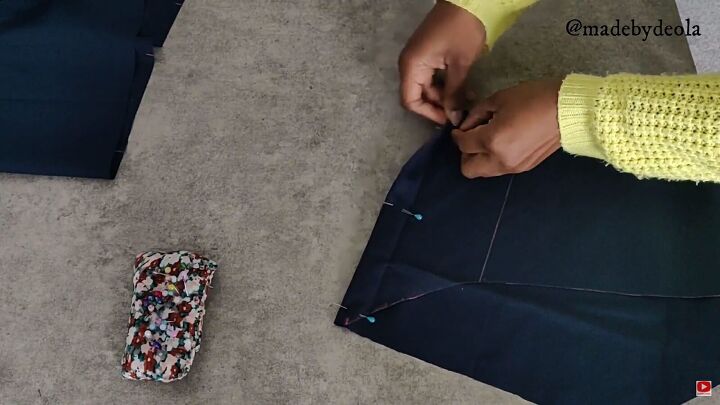
Fold the side panel inward and pin.
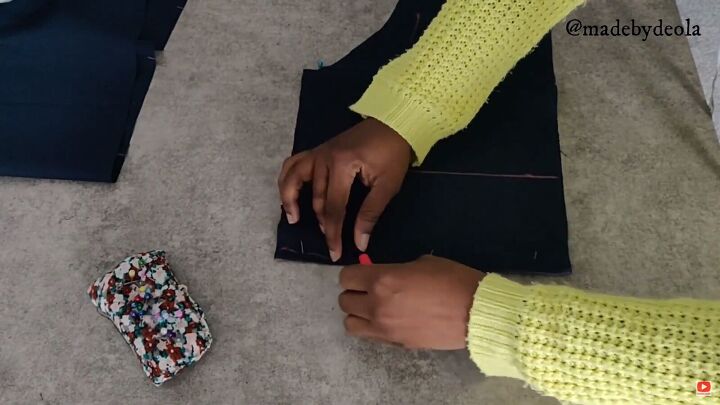
Draw a slightly curved line along this fold. This is to shape out the bust area. Repeat on the other side, and on the other layer of fabric.
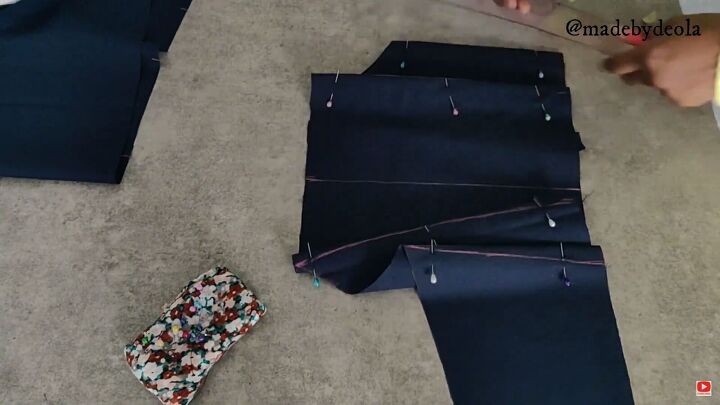
Fold the quarter bust line inwards and pin to make a dart. Repeat on the other side, and on the other layer of fabric.
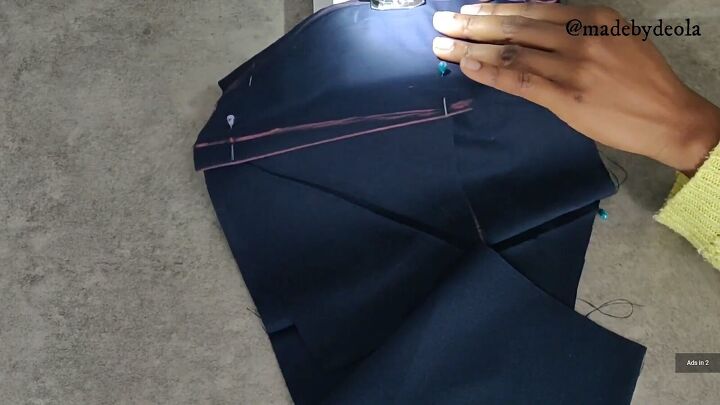
2. Sew along the pins
Now, sew all the pinned areas on both bodice pieces.
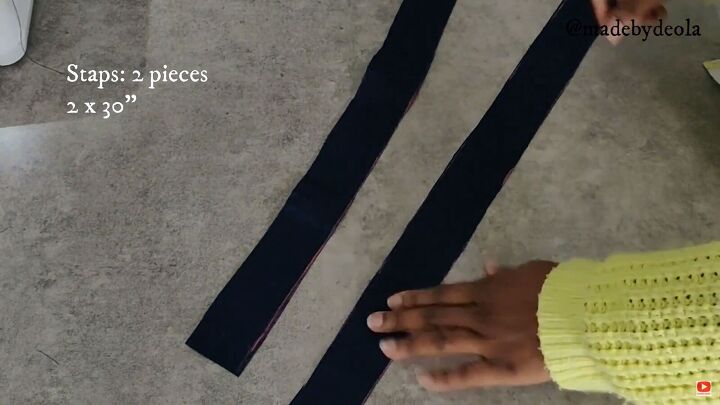
3. Make the straps
Cut two strips measuring 2 x 30”.
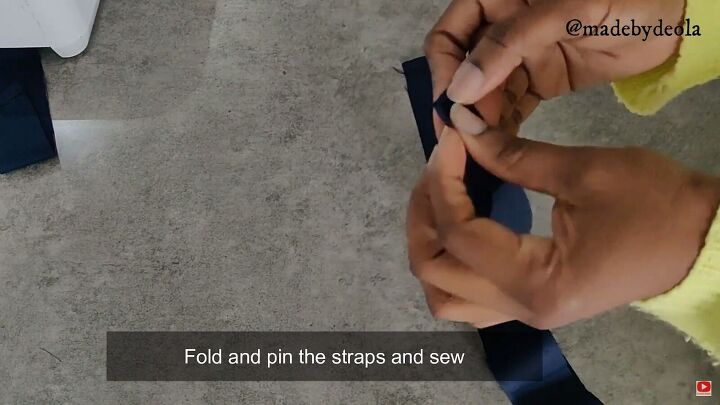
Fold the edges inward, and then fold the whole strap in half. Then, sew along the edges. Turn the straps right side out after,
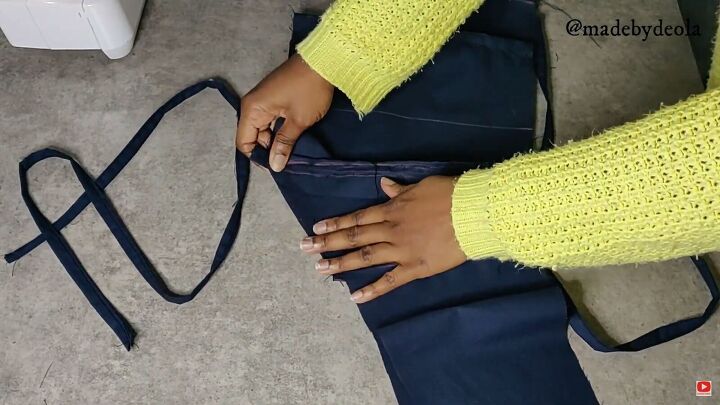
4. Assemble the bodice
Place both bodice pieces together, right sides facing.
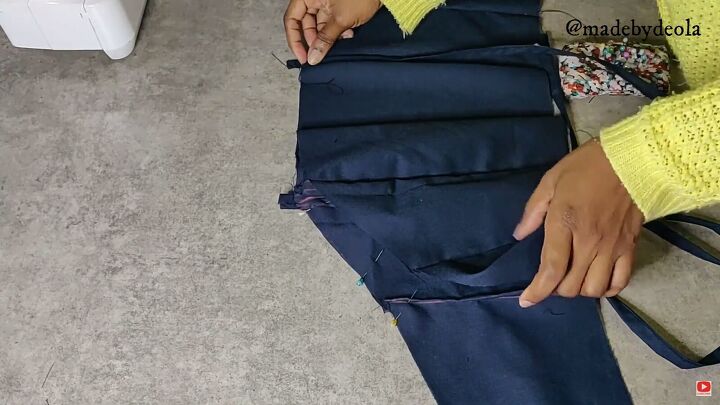
Sandwich the straps on either edge and sew along the top edge and short ends. Don’t sew the bottom edge yet.
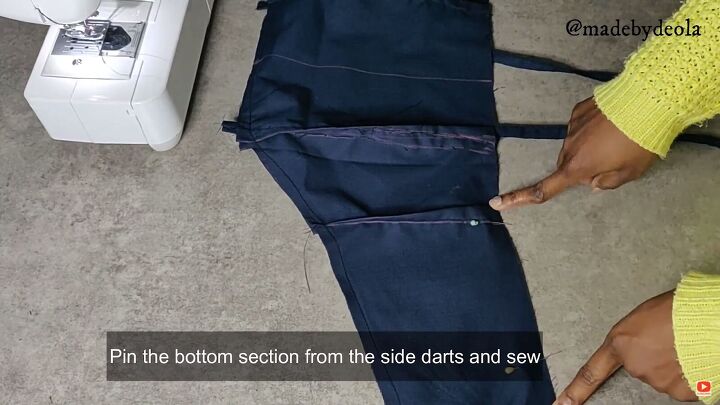
Pin the bottom section from the side darts and sew. Leave the center open.
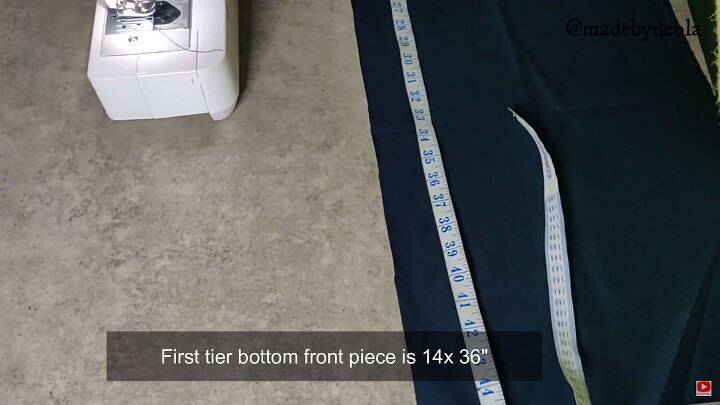
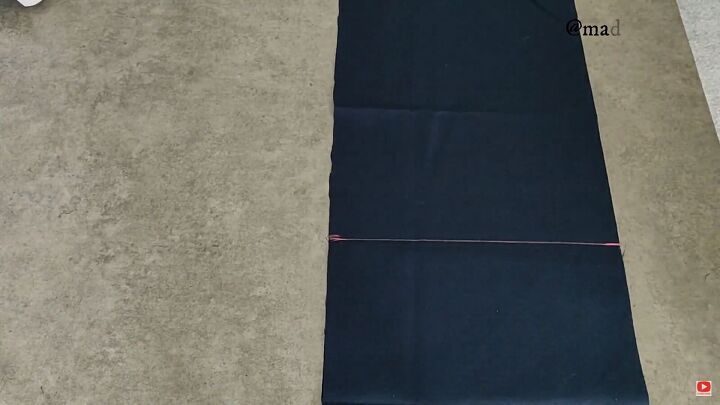
5. Make the skirt
Measure a piece of fabric that’s 14 x 36”. This is for the front of the first skirt tier.
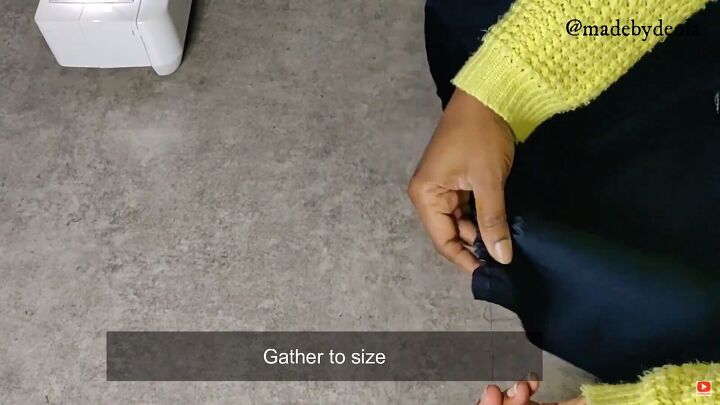
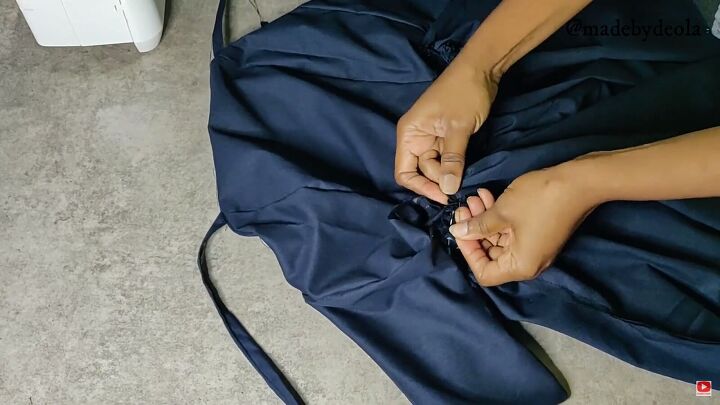
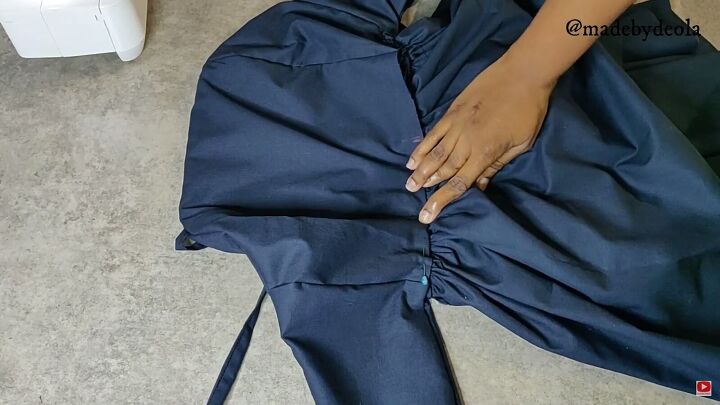
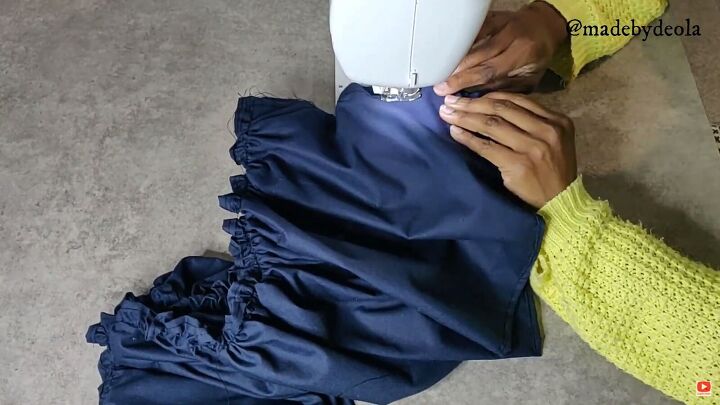
Sew a gathering stitch on one side, then gather the fabric to fit the open bottom of the bodice.
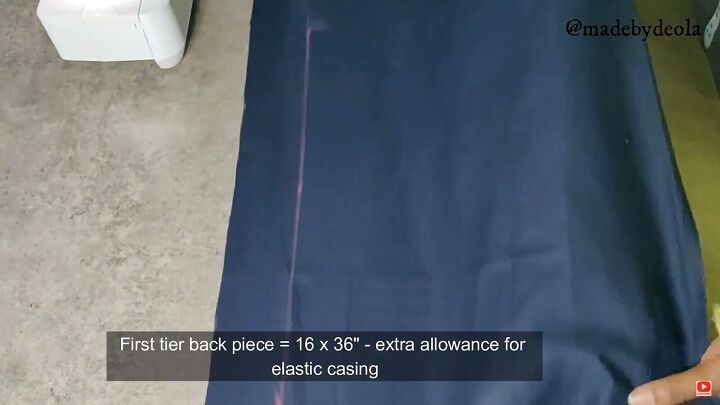
For the first tier back piece, measure 16x36”. You need the extra allowance for the elastic casing. Draw a line with extra allowance, as shown.

Fold the top edge in by ½ an inch and fold again so that the edge touches the line. Pin all around and sew. This will be the tunnel for the elastic.
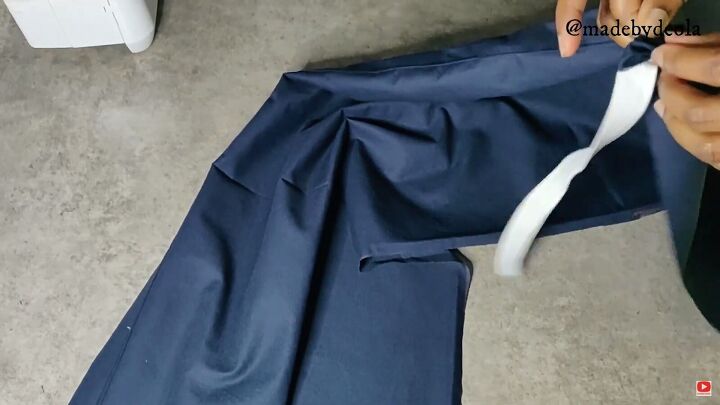
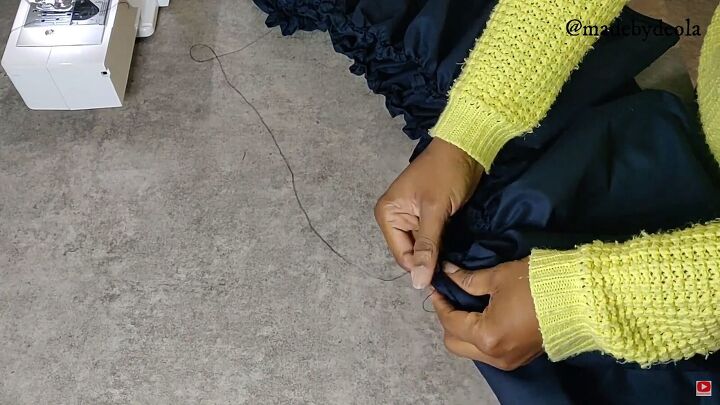
Next, feed in the elastic through the casing.
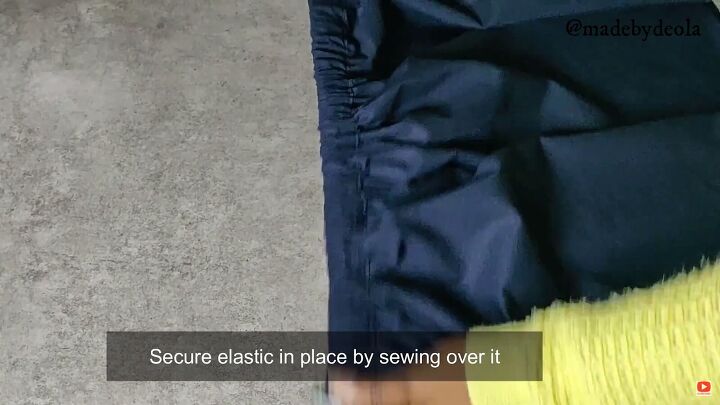
Secure the elastic in place by sewing over it.
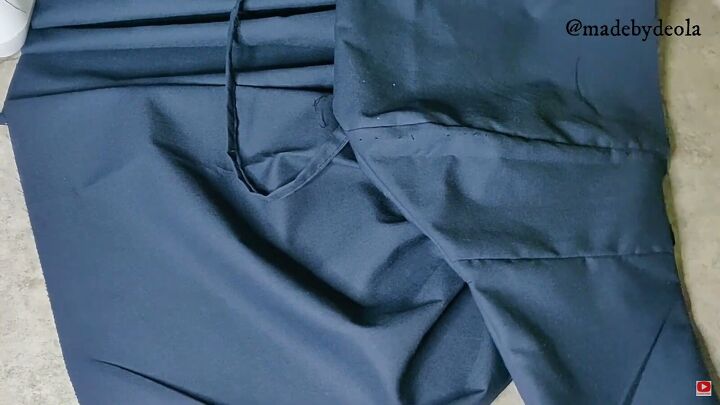
Measure the unsewn gap at the bottom of the bodice and ensure the gathered front tier piece is the same size.
Now, place both skirt pieces, right sides facing. Pin and sew the side seams.
6. Assemble the DIY backless dress
Pin the front tier piece (the gathered one) to the back layer of the bodice, not the front. Then, sew to secure.
Next, cover the sewn area with the front layer of the bodice, so the skirt edge is sandwiched between the two bodice layers. When doing so, fold the raw edge of the bodice in by around ½ an inch. Pin and sew.
7. Make and attach the second skirt tier
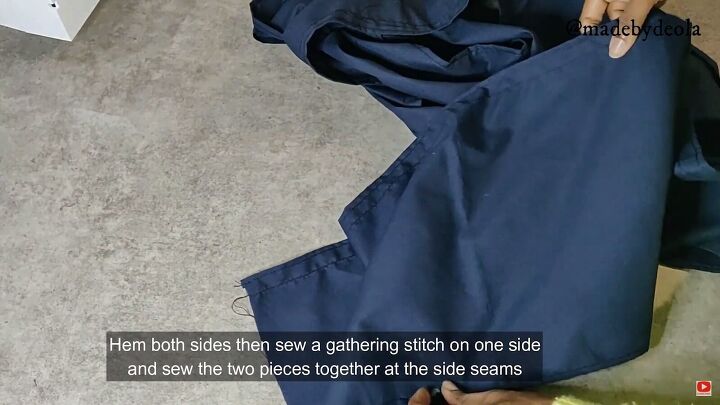
Cut two fabric pieces measuring 10 x 59”. Hem both top and bottom edges and sew a gathering stitch on the top edge. Next, sew one of the side seams to create one long piece.
Gather the top edge to the size of the first tier.
Then, sew the second side seam together.
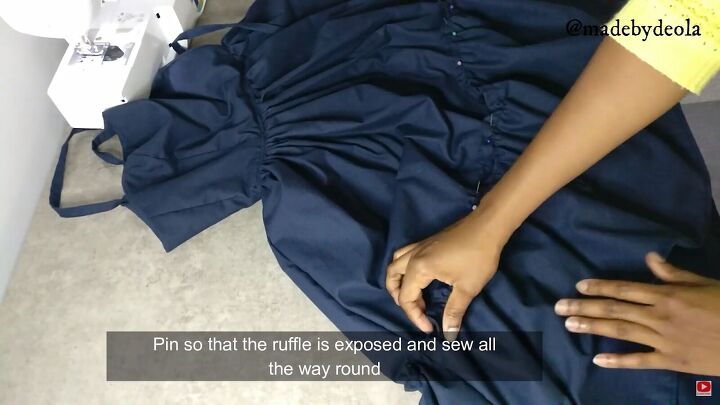
Pin the second tier to the first, with the ruffle exposed. Sew to secure

I didn't show this in the video, but the final step is to fold the short ends of the bodice inwards by an inch or so and sew down to make casings for the straps to go through. You could also seam rip holes at the top and bottom.
To wear, cross the straps at the back, feed them through the casings you just made, then tie them together underneath, as seen above.
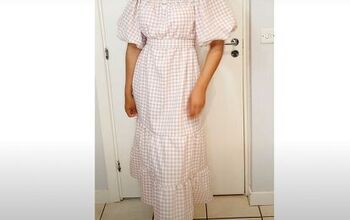
DIY backless dress
The DIY backless dress is all done! Here’s the final result. What do you think of it? Sewing a backless dress has never been so simple, and you don’t even have to purchase a backless dress sewing pattern. Good luck!
The author may collect a small share of sales from the links on this page.


Comments
Join the conversation
You are quite the seamstress! I'm not sure I could ever do this but it is really cute! Thanks for sharing!