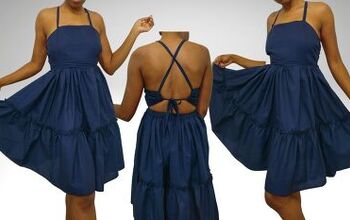
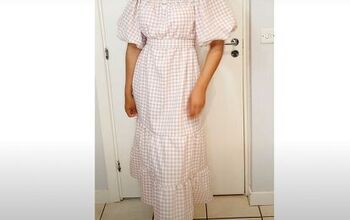
This Cute DIY Milkmaid Dress Might Be the No.1 Dress of the Summer

Here is a tutorial for a cute puffy-sleeved DIY milkmaid dress. It’s perfect for hot summer days when you want to feel light and airy. I was excited to use my new serger for this milkmaid dress, but if you don’t have one, straight stitching will be fine.
Tools and materials:
- Fabric
- Scissors
- Thread
- Sewing chalk
- Pins
- Sewing elastic
- Brown paper
- Hand sewing needle
- Sewing machine
- Measuring tape
Tip: My fabric came pre-washed. If your fabric isn’t pre-washed, you should do this before sewing. Otherwise, your dress could shrink during the first wash.
1. Make the milkmaid dress pattern
Take your bust, waist, and hip circumference measurements, as well as bodice and dress lengths. Multiply your bust circumference by 1.5.
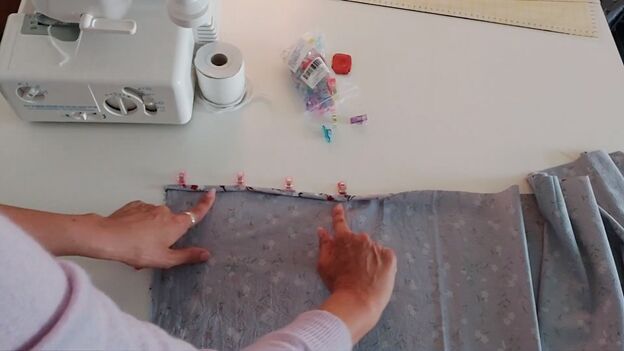
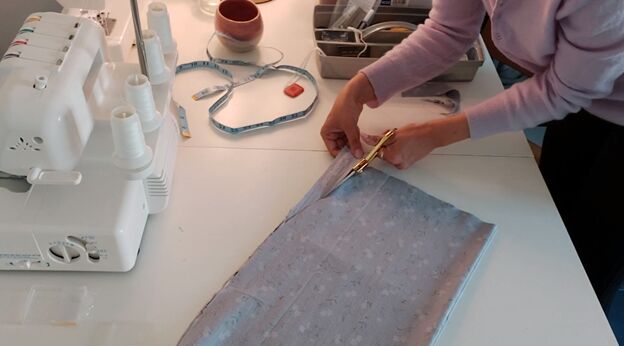
Fold your fabric in half and mark the bodice length on the fabric along the fold. Then, mark the mid-point of your bust measurement along the top, starting the measurement from the fold. Cut the fabric to your bodice measurement, unfold it, and sew a hem along the top edge.
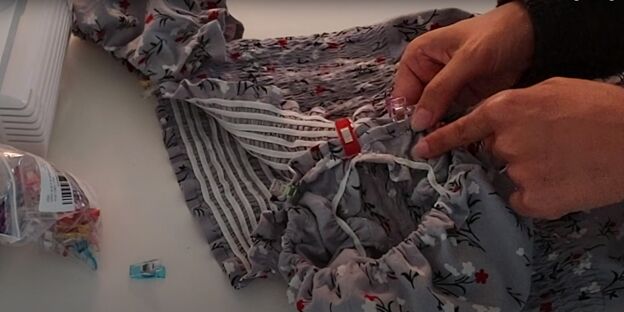
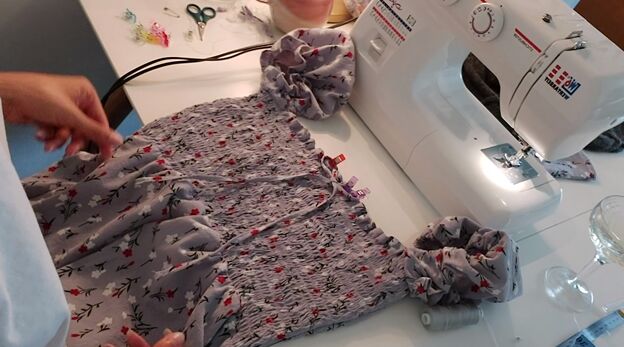
2. Add elastic to the bodice
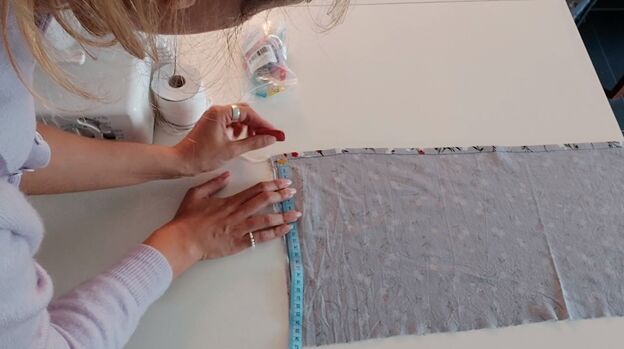
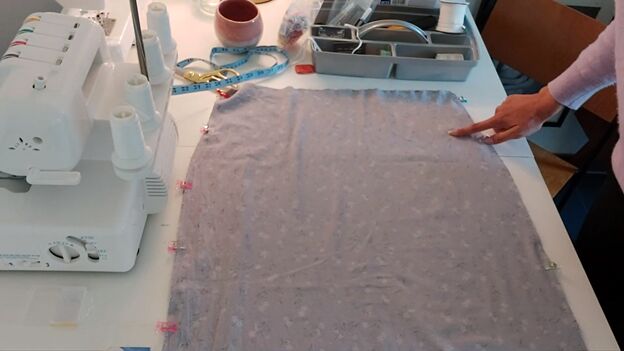
With the fabric unfolded and the wrong side facing up, mark every 1cm (0.4 inches) along both short edges and down the center of your bodice piece.
Cut thin sewing elastic pieces to the actual circumference of your bust (not the measurement x1.5). Starting from the top of the body piece, pin the elastic to the center point, then stretch each end to the edges of the bodice and pin the ends down.
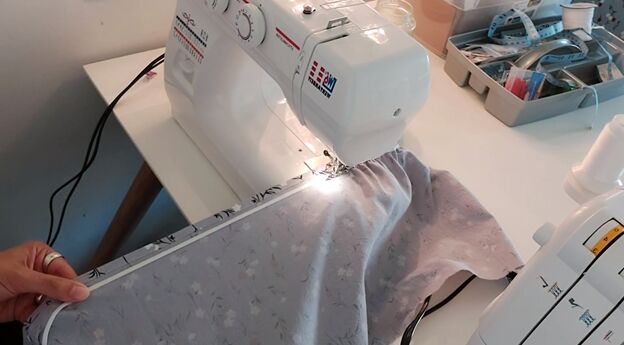
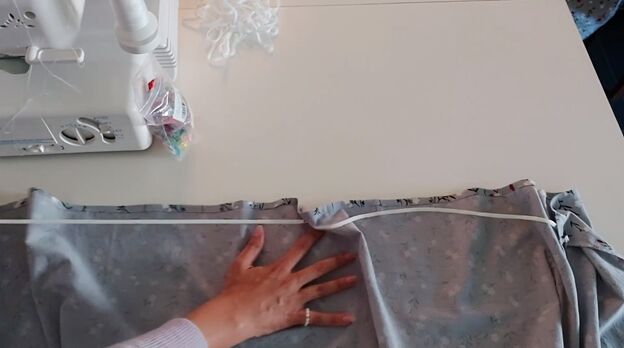
Secure one end of elastic to the fabric by sewing back and forth a couple of times, being careful not to stretch the elastic.
Once secured at one end, stretch the elastic to fit the fabric and sew it in place going slowly to ensure the elastic is sufficiently stretched and the fabric is flat as you go. When you reach the end, secure it by sewing back and forth a couple of times again.
Tip: The elastic should fit you snugly; don’t make it too loose. Also, if your waist is significantly smaller than your bust, I’d recommend cutting elastics of two different lengths.

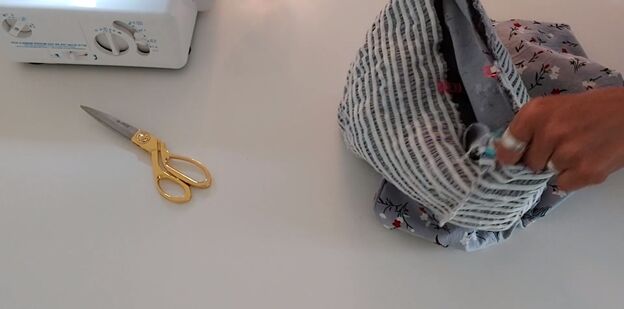
Repeat, adding elastic at each 1cm (0.4 inches) mark. This will create a shirring effect on the bodice.
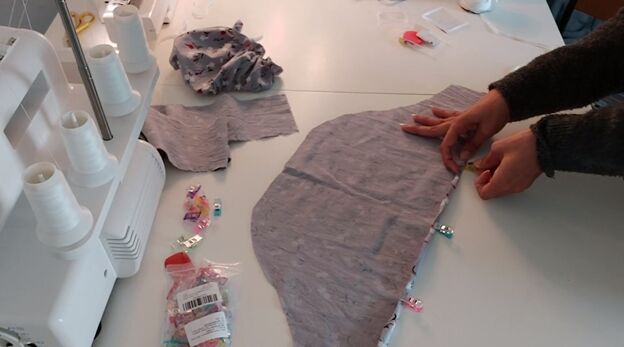
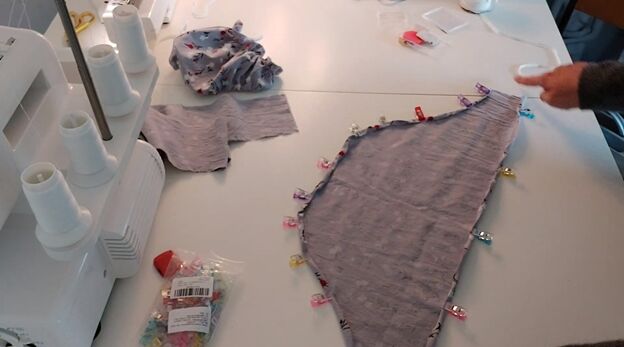
3. Make the milkmaid dress skirt
Fold your fabric in half for the bottom of the milkmaid dress. Mark half of your waist measurement at the top, starting from the fold. Then, mark half your hip measurement in place on the fabric, adding a little extra so the milkmaid dress hangs nicely.
Cut that bottom piece and use it as a template for a second piece. These are the two pieces that will form the front and back of the milkmaid dress skirt.
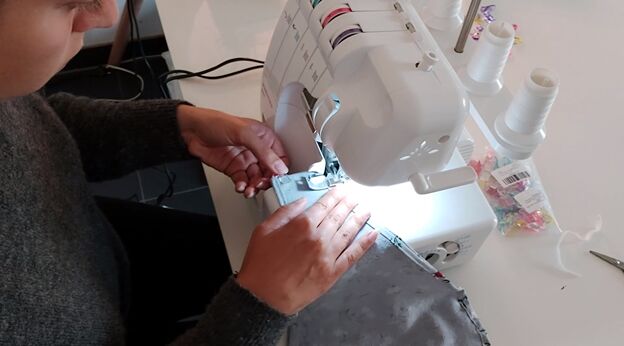
Put the front and back skirt pieces together, right sides facing, and sew the side seams. If you have a serger, you can serge the edges. If you don’t have a serger, you can use a regular zigzag stitch in the seam allowance.

4. Attach the bodice to the skirt
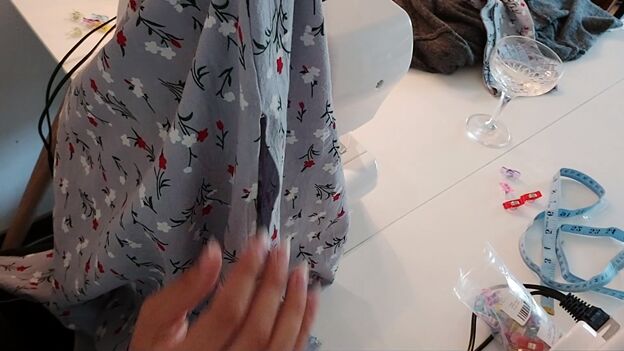
Trim the edges of your bodice piece. Fold the bodice in half with right sides facing and sew the two short edges together to make a tube.
Pin the milkmaid dress bodice to the skirt with right sides facing and sew them together using the same technique you used when sewing the elastic to the bodice.

Turn the milkmaid dress right-side out and finish the waist seam with a topstitch.
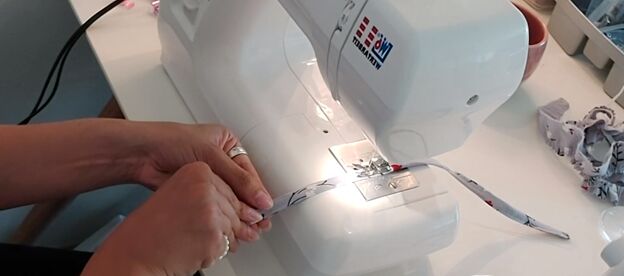
5. Make a bow
Using a long narrow piece of fabric, fold it lengthwise three times and stitch it in place. We'll use this to make a bow at the front of the milkmaid dress.
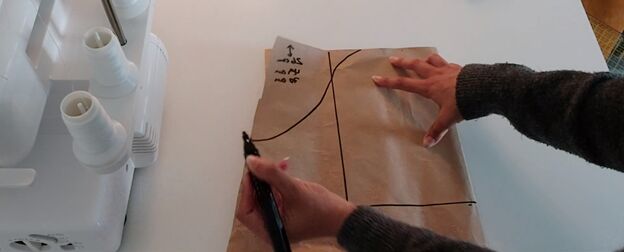
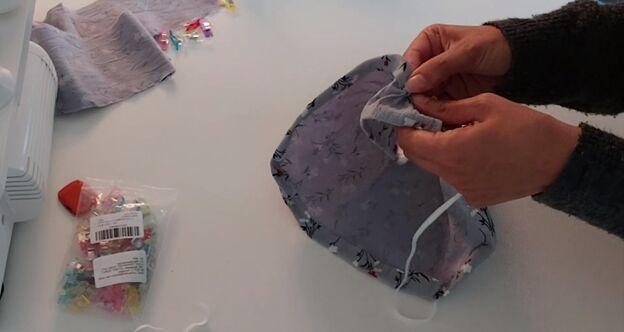
6. Make puffy sleeves
To make the pattern for the puffy sleeves, check the measurement chart in the video from 8:12 to 8:52. Create your puffy sleeve pattern on brown paper and cut it out.
Now, use the sleeve pattern you just created to cut two sleeves from the fabric.
Hem each sleeve along the curved top and the bottom, leaving both short sides unhemmed.
Fold each sleeve in half, with right sides facing, and sew the short ends together.
Fold in the bottom edge of each sleeve and sew it along the raw edge to create a casing for the elastic. Feed the elastic through the casing and sew the ends of the elastic together.
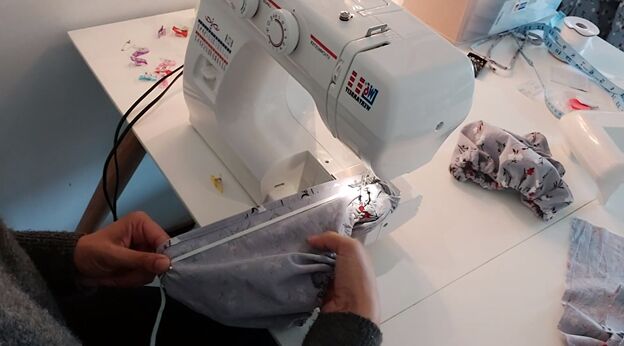
Using the same technique as for the bodice elastic, sew elastic into the top edge of the sleeve (the end that will attach to the dress).
Pin the sleeves to the dress with right sides facing and sew the sleeves to the dress with a straight stitch.
7. Finish the hem and side slit
Adjust the length of your dress to your desired hem length. If you want your milkmaid dress to have a slit in the side, open the side seam to the desired slit side. Hem the slit and the bottom of the milkmaid dress.
8. Attach the bow
Hand-sew the bow on to your milkmaid dress at the center top of the bodice.


DIY milkmaid dress tutorial
I hope you love this DIY milkmaid dress as much as I do! Come back for more patterns and tutorials like this puffy-sleeved milkmaid dress.
The author may collect a small share of sales from the links on this page.


Comments
Join the conversation
how cute is that! love the material as well. looks good on you.