How to DIY a Cute Multi-print Dress for Summer

I was inspired by a multi-print dress I saw on Pinterest to make my own beginner-friendly version.
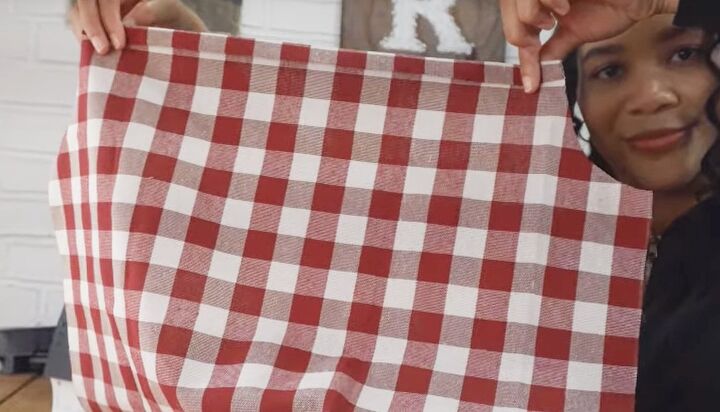
I constructed my DIY dress entirely from rectangles and used a thrifted curtain from my stash.
The other prints originally came from my stash as well but I had second thoughts part-way through, as you'll see.
Tools and materials:
- 3 different cotton prints
- 1/2" wide elastic
- Premade double fold bias tape
- Safety pin
- Measuring tape
- Ruler
- Pins
- Scissors
- Sewing machine
- Serger (optional)
1. Cut out the bodice and sleeves
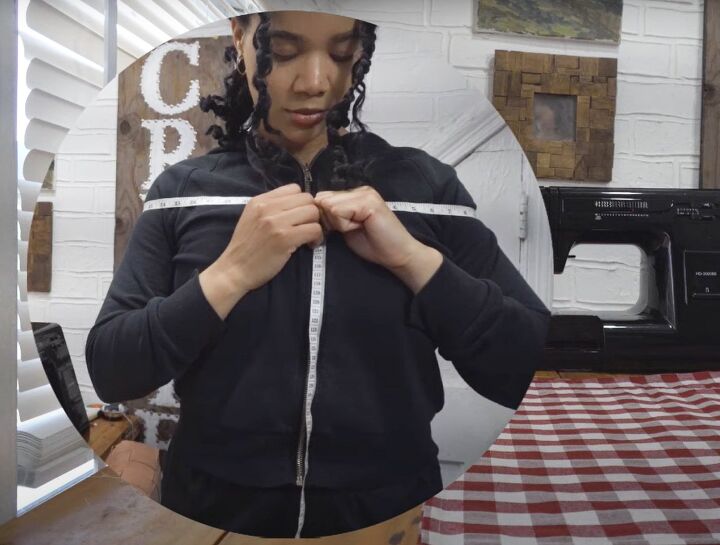
Measure around your shoulders and add 4 inches plus a seam allowance then divide by two.
Measure from where you want the neckline to be down to your waist, and add an allowance for a casing at the top and a seam allowance at the bottom.
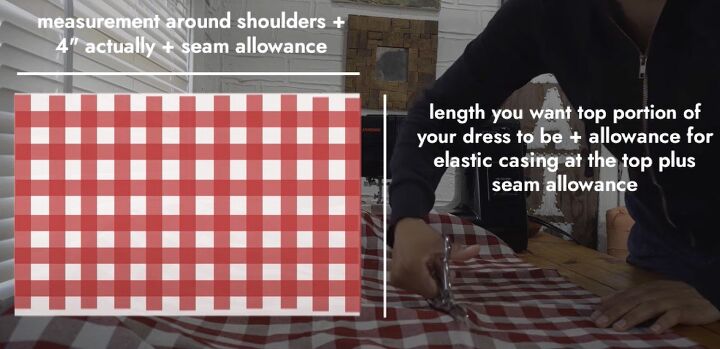
Cut two rectangles from your main fabric to these measurements.
Make a top casing on both pieces by turning the edge over by 1/4" and 3/4" and sew it close to the lower edge.
I used the casing on my thrifted curtain.
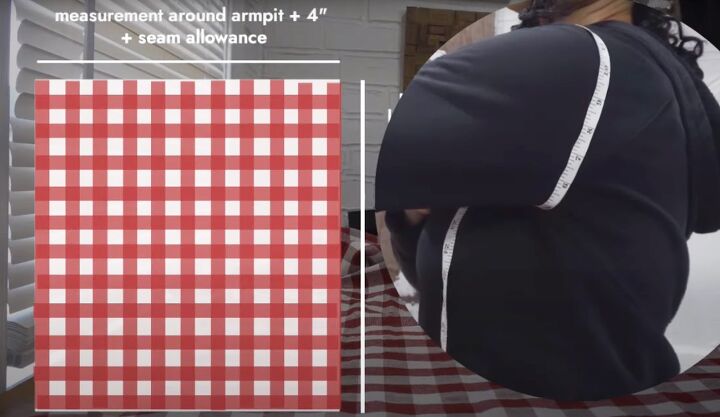
Measure around your armhole and add 4 inches plus a seam allowance.
For the sleeve length, measure from your shoulder for where you want the sleeve to end. Add an allowance for an elastic casing at the top and bottom edges.
Cut two rectangles from the bodice fabric for the sleeves.
2. Armholes
Measure 3 inches across the top edge of the front rectangle and 3.5 inches down the side.
Draw a curved line between them. Fold the front in half and cut the armhole shape from both sides.
Repeat for the back rectangle. Put the cut-out pieces aside.
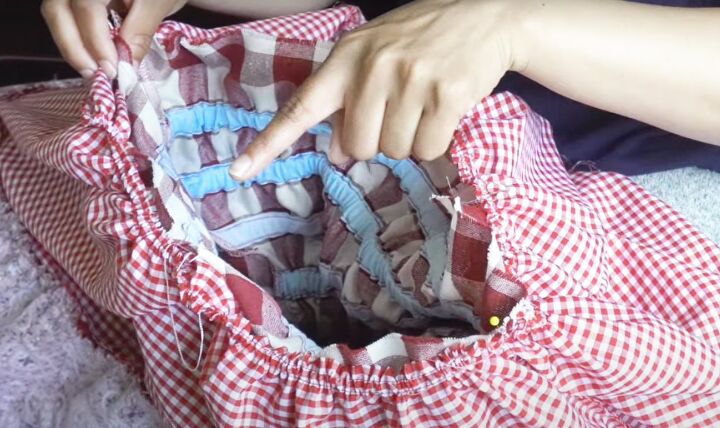
3. Bodice elastic
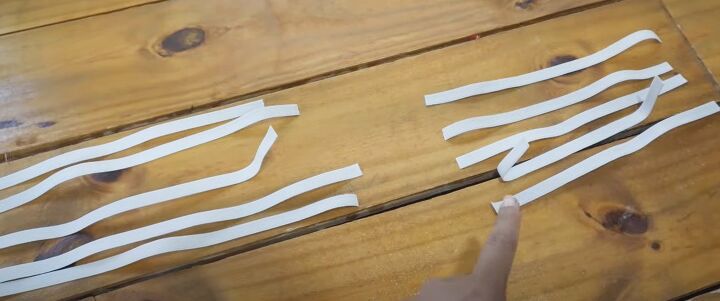
Measure and cut five pieces of elastic to fit across the front of your body, and five pieces for the back.
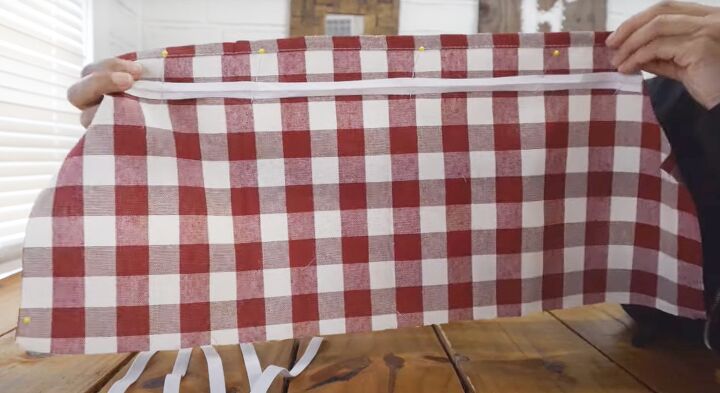
Open the first fold of the bias tape. Pin it across the wrong side of the front and back bodice in four rows, where you want the elastic to be.
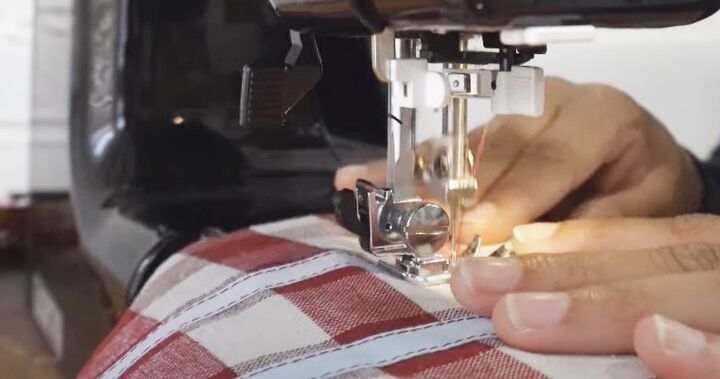
Sew the bias tape along the top and bottom edges.
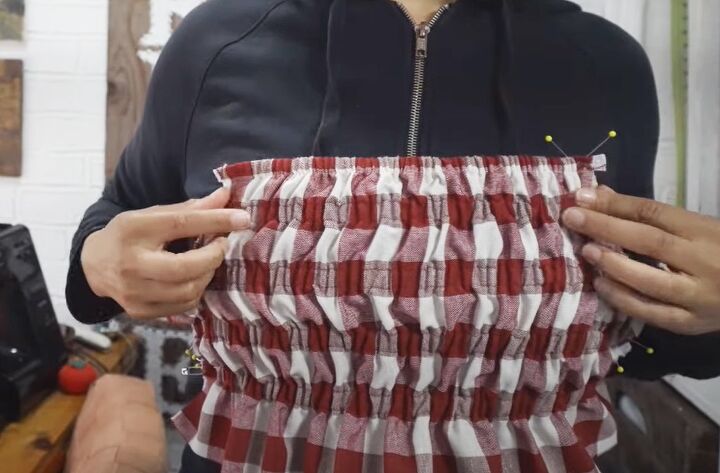
Use a safety pin to feed the pieces of elastic through the top casing and the bias tape. Sew the ends of the elastic in place.
4. Attach the sleeves
Sew the front and back bodice pieces together at the side seams.
Make a double fold at the top of the sleeve for the casing.
Before sewing it, fold the sleeve in half lengthways. Use the cut-out armhole piece as a template to cut the same shape from the top edge of the sleeve.
Top stitch the casing in place and sew the sleeve seam.
Thread elastic into the top casing and secure the ends.
Serge or finish the raw edges of the side and sleeve seams.
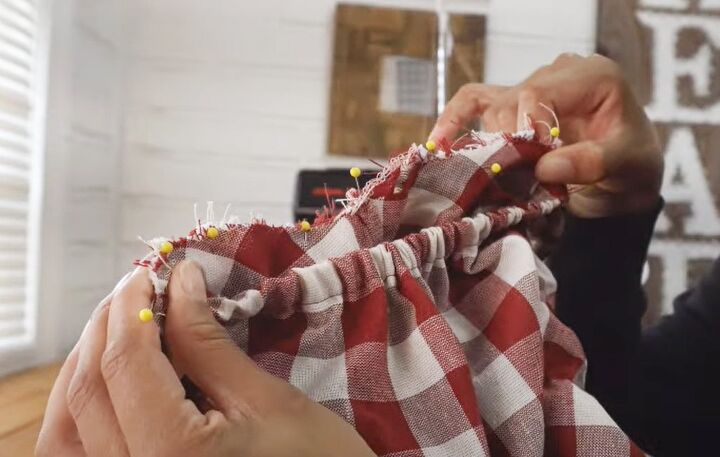
Pin the sleeve to the bodice, pinning the armholes together.
Sew the sleeve in place and finish the raw edge.
Make a casing at the bottom edge of the sleeve and insert a piece of elastic.
Repeat for the second sleeve.
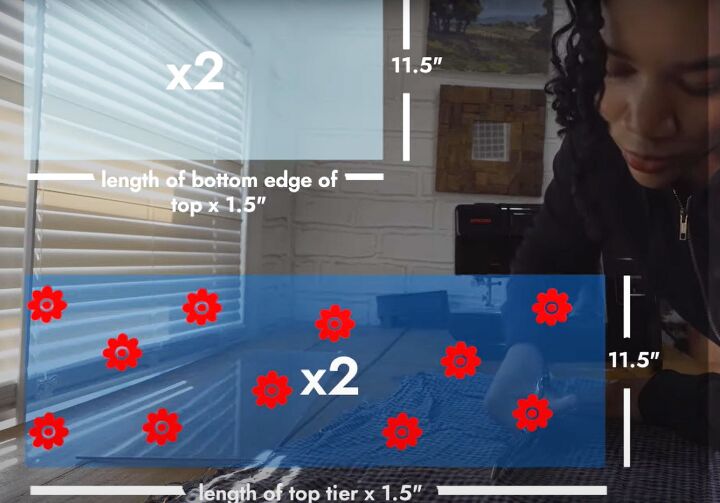
5. Tiered skirt
Cut two top rectangles for the top tiers, each the width of the bottom edge of the bodice x 1.5 and 11.5 inches long.
Cut two bottom tiers, each the width of the top tier x 1.5 and 11.5 inches long.
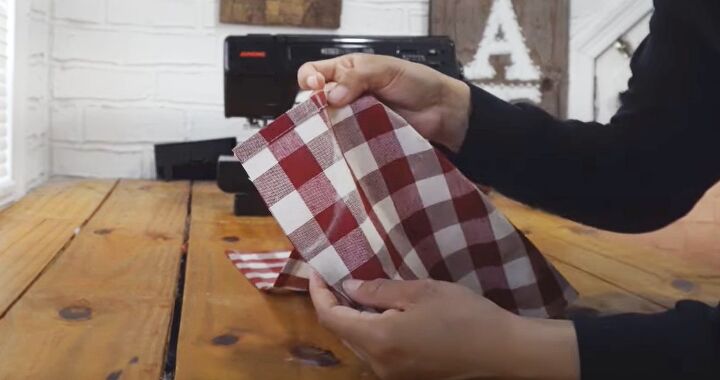
Join each tier at the side seams and finish the raw edges.
Set your machine to the longest stitch length and run two rows of gathering stitches along the top of the bottom tier. Backstitch at the beginning but leave long threads at the end.
Gather the bottom tier to fit the lower edge of the top tier.
Pin and sew the two tiers together with the right sides facing.
At this point, I decided the fabrics I'd chosen for the skirt didn't go together and bought two different prints.
Gather the top tier and attach it to the lower edge of the bodice.
Finish the dress with a double fold hem.


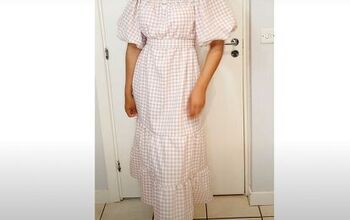
Multi-print dress
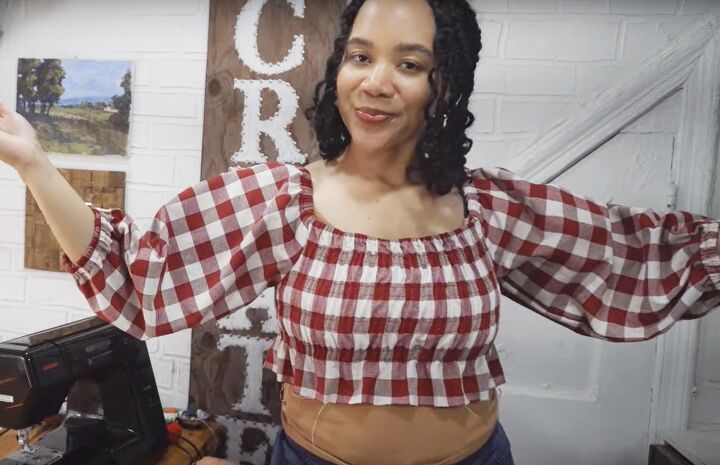
I'm so glad I changed the prints when I realized they weren't working well together. Now I have a dress I really love and will wear.
I am very happy with how the bodice turned out. It has a shirred effect without actually doing any shirring at all, so I'm sure I'll use this method again.
Tell me - do you prefer my first or second choice of fabrics? Let me know in the comments if you think I made the right choice in the end.
The author may collect a small share of sales from the links on this page.


Comments
Join the conversation