How to Turn a $2 Walmart Placemat Into a Hat With Cat Ears

In this sewing tutorial, I’m going to make a bowler-style hat out of a placemat. For this DIY, you will need a large round placement. I got mine from Walmart, and I would recommend buying two just so that you will definitely have enough material.
Get ready to witness an amazing transformation from a standard placemat into a cute DIY placemat hat! Oh, I’m also going to add cat ears to it for a fun little finish.
Upstyle Recommends!
Tools and materials:
- Placemat
- Seam ripper
- Sewing machine
- Toilet paper roll
- Scissors
- Chalk
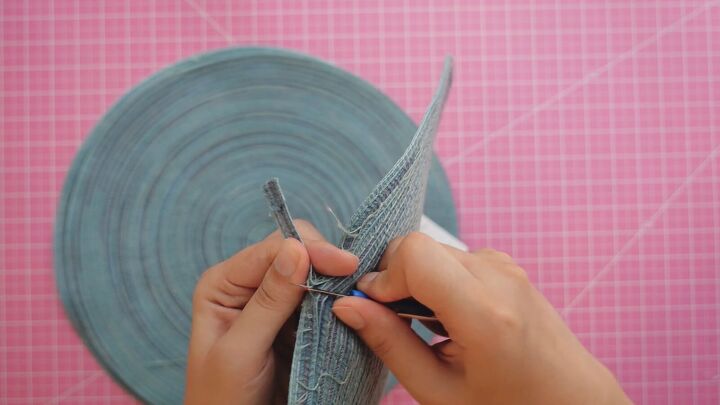
1. Unravel the placemat
Use a seam ripper to unravel about the outer third of the placemat. You also want to remove the threads.
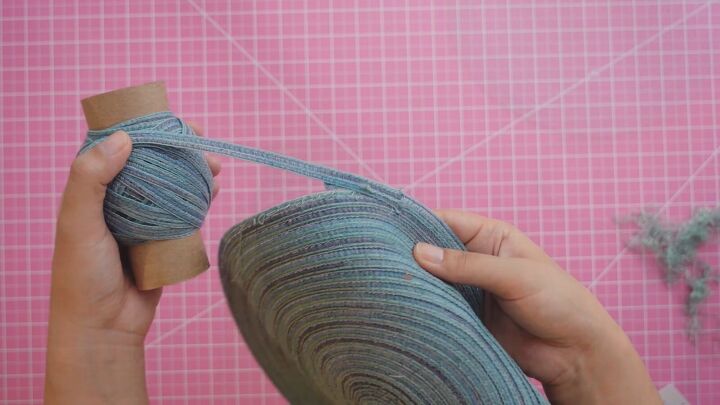
2. Wind up the yarn
Take a toilet paper roll or something of a similar size and make a snip at one end of it. Place the end of the yarn inside the snip, and then wind up the rest of it around the roll.
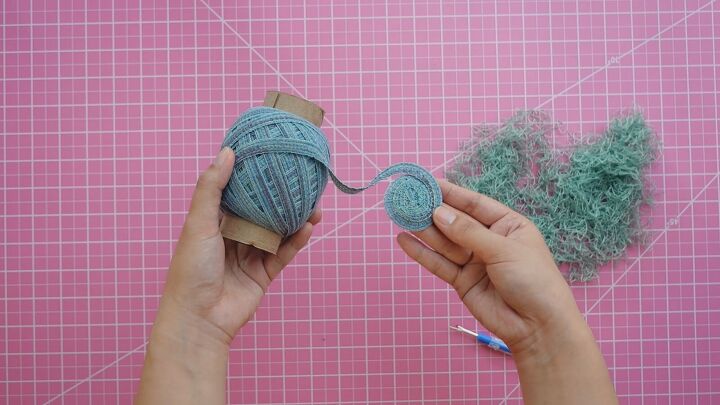
Continue to use the seam picker to unravel almost the whole placemat (leavingthea little circle in the center) and wind the yarn over the roll.
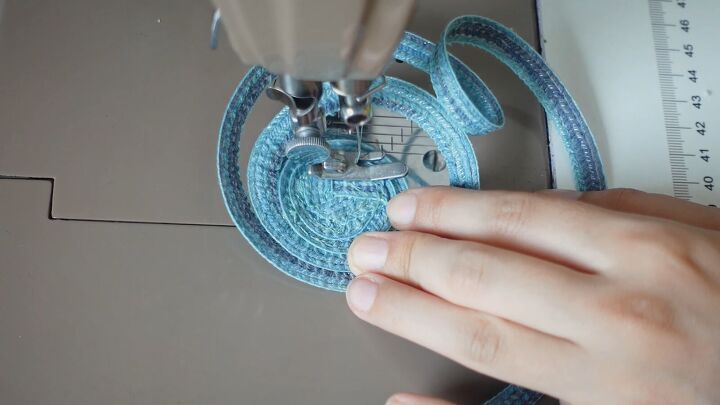
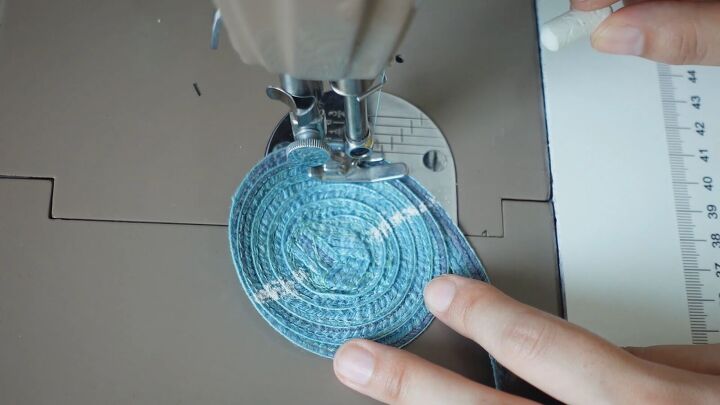
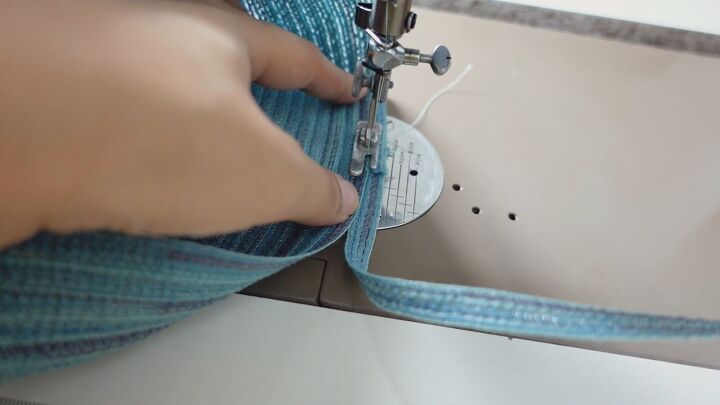
3. Sew the crown of the hat
The circle shape you are left with will be the top of the crown. Turn it so that it is right side up and sew an oval shape by controlling how much you overlap on one side.
Continue to sew up the hat in an oval shape.
I then realized that I needed some sort of guide for shaping, so I marked two lines with chalk.
If your hat starts “cupping” too early, as mine did, then seam rip it open. This will take longer than when you took the mat apart at the beginning.
Then, continue to sew, adding more guidelines on with chalk if this will make it easier for you.

I thought my hat was going well, but then I realized it was becoming quite uneven. I didn’t pay enough attention to keep the overlap width even.
So, I seam ripped more of the material off and proceeded to sew it up again in a more even manner.
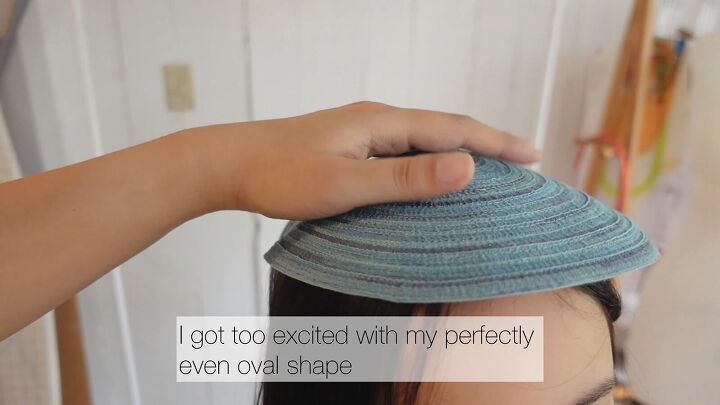
After sewing the hat up more, I put it on my daughter (who I’m making the hat for), but it was too big. I got too excited by my perfectly even oval shape and didn’t pay attention to how big it was getting!
At this stage, I thought about quitting, but the third time is the charm, right? I carried on sewing and thankfully managed to get the crown just right.
To see how I created the curve and depth of the hat, watch the video from 5:30.
If you run out of placemat, add the yarn from the placemat. This actually looks pretty seamless when it's done.
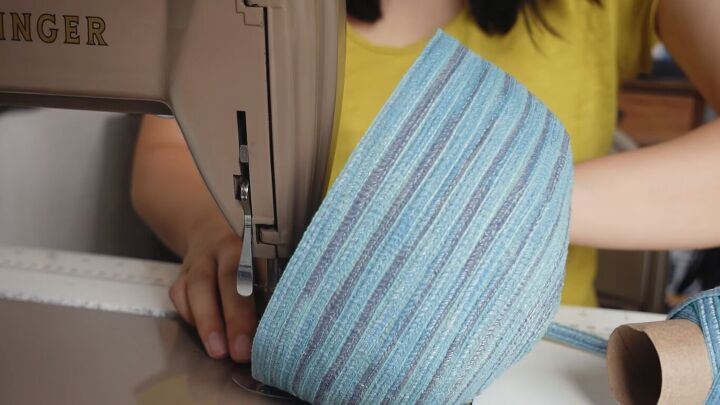
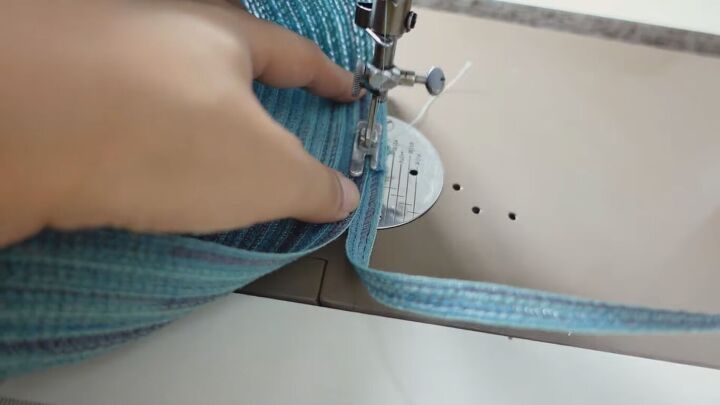
4. Sew the brim
When the crown is complete, it’s time to flip the hat right side out and start sewing the brim. I pushed with my right hand a little to ease the yarn, trying to make the brim flat.
Continue sewing, and you can make the brim as wide as you would like it to be. When you reach the end, double the outermost the round to reinforce the edge.
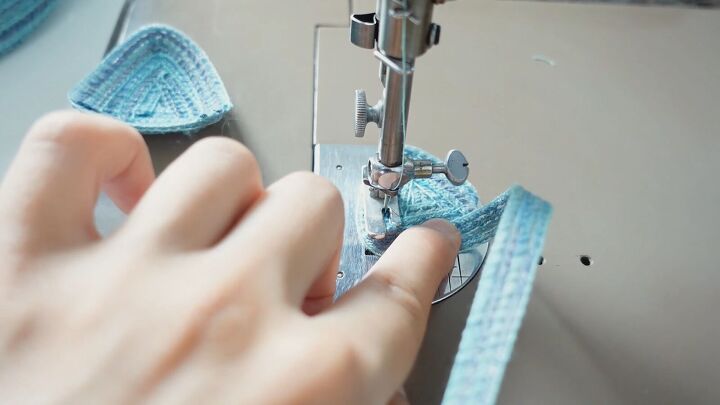
5. Make the ears (optional)
Now it’s time to add cat ears to the hat. Fold the yarn to try to start a triangle, and then go ahead and sew the yarn in a triangle.
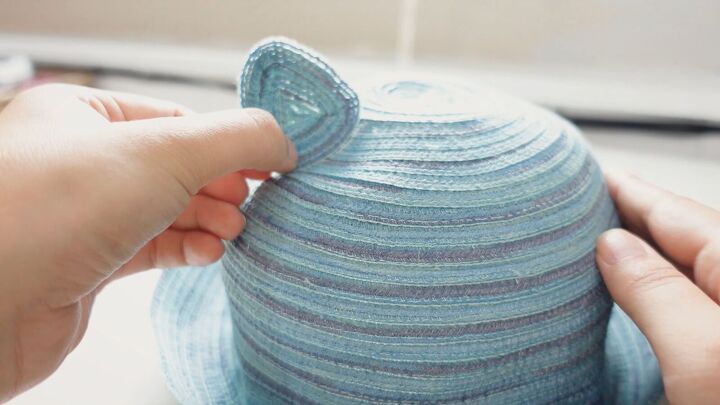
Once you’ve made both ears, place them on the hat where you want them to go and sew them into place.
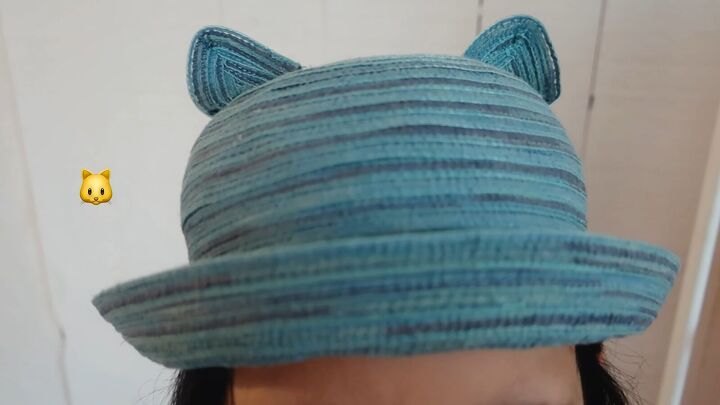
Here is the finished hat! No one will believe that this cute bowler-style hat with cat ears started off as a placemat. I’m really happy with how each element of this hat turned out - the crown, the brim, and the ears.
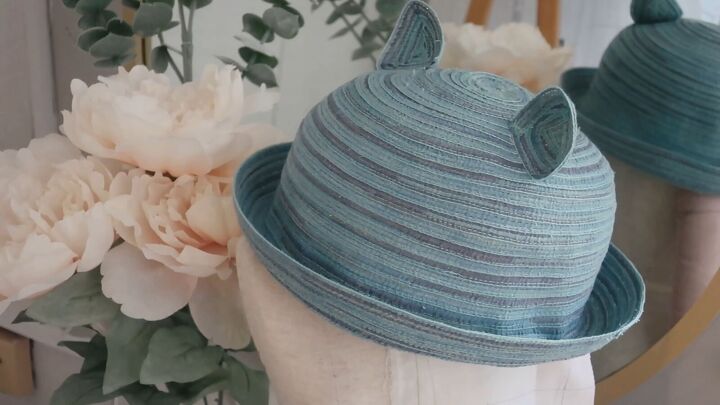
DIY placemat hat tutorial
Even though I encountered some difficulties along the way and had to undo and restitch what I’d already done, I’m glad that I pushed through and persevered. The finished hat was well worth the effort!
The author may collect a small share of sales from the links on this page.


Comments
Join the conversation
Could you have used a zigzag stitch ?
I am so impressed! I have tried making one of these hats with no luck. I can’t seem to figure out how to make the side turn down when I want and then straighten out for the brim. I am really frustrated and tired of ripping out. My material is starting to look tired also😟. Do you have any secrets you’d be willing to share. I would greatly appreciate any help you could give. Thanks