Sew a Bucket Hat in Just 5 Simple Steps

Bucket hats have been around for ages! Who doesn't love a lovely, cute hat for the outdoors? In this tutorial, I’m going to show you how to sew a bucket hat from scratch! It looks quite hard, but it’s actually fairly easy. There’s been a buzz about a strawberry dress, so I decided to recreate this look by sewing an easy bucket hat with cute, shiny, and sequined strawberries. Scroll down and let’s get sewing!
Tools and materials:
- Strawberry tulle
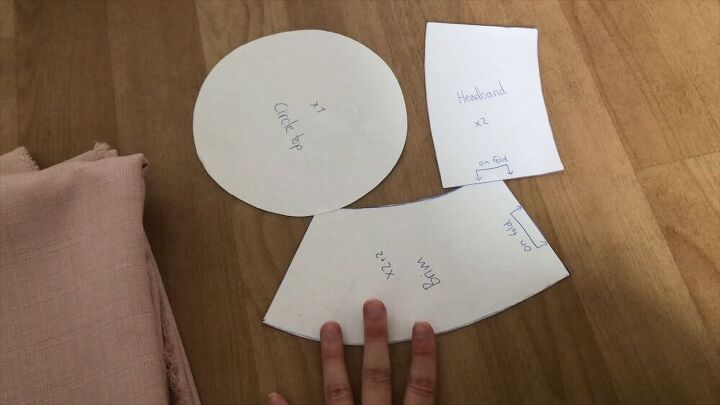
- Hat pattern- get the pattern here
- Paper
- Pink fabric
- Pins
- Sewing machine
- Scissors
Get everything ready!
I linked the free bucket hat pattern on top, so go ahead and download it and cut the pattern out on a piece of paper. Next, get your materials out, you will need a lovely strawberry tulle and pink non-stretch fabric that is kind of stiff; the perfect fabric for a bucket hat.
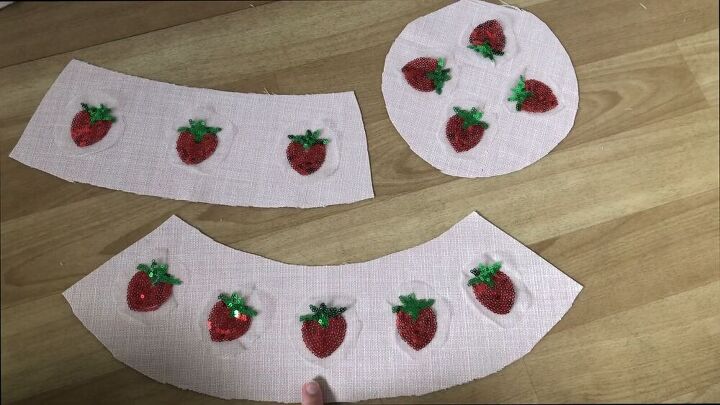
Cut the strawberries out
The strawberries are not close together and won't look nice if its cut as is, so I went ahead and cut out individual strawberries. Cut around the strawberries, making a circular shape. As you can see, I managed to fit a lot of strawberries on each pattern piece- mission accomplished!
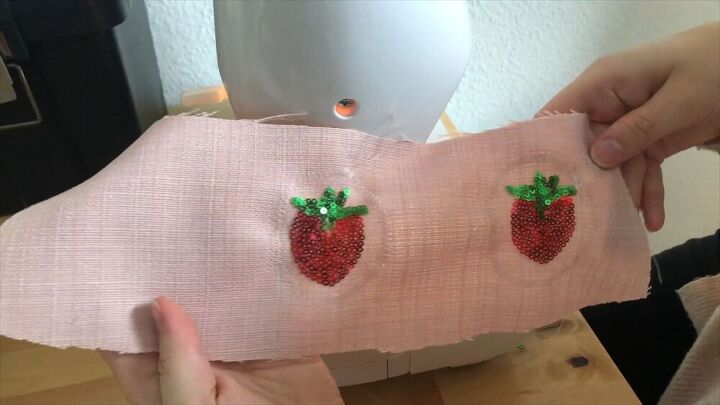
Now, sew them on your already cut-out fabric with a zigzag stitch.
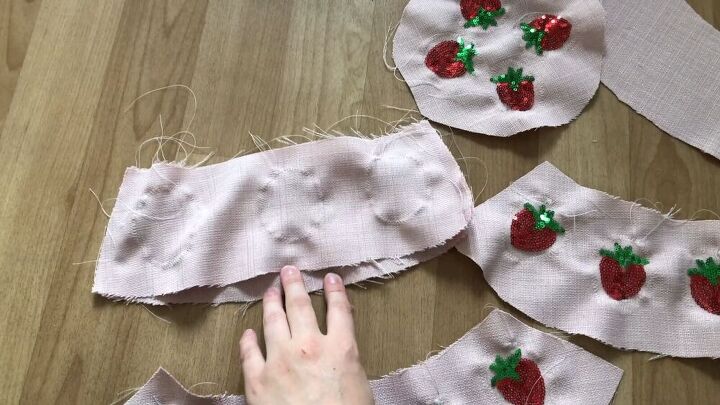
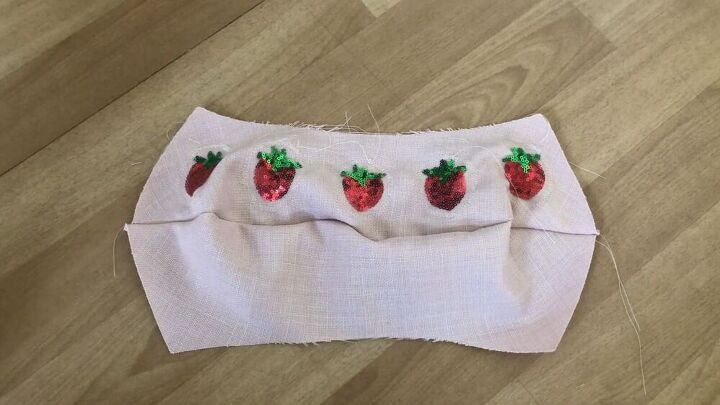
Assemble all the pieces
Now that your dazzling strawberries are sewn on, you can go ahead and assemble the fabric pieces to make your bucket hat. I already assembled the headband, by sewing the side seams together.
After the headband is sewn, sew it to your circular headpiece.

For the larger, brim pieces, take a piece of fabric without strawberries and place it on top of the other strawberry piece. Next, sew along the bottom, curved line.
Repeat the same for the other two pieces and place both fabric pieces right side together.
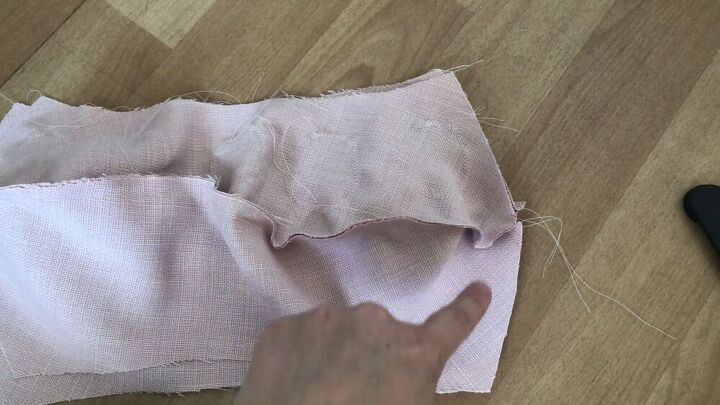
Sew the fabric pieces together on the side seams, on both sides.
Turn it inside out and now you have your lovely brim assembled! It looks really cute!
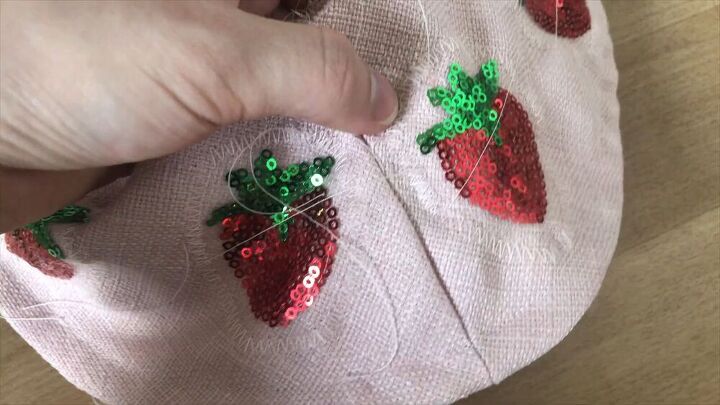
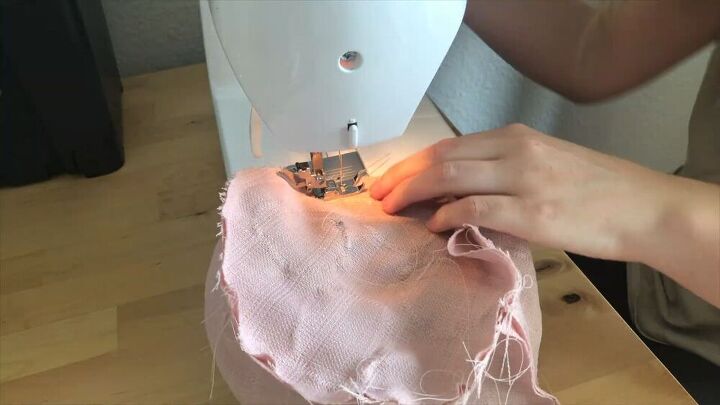
Stitch the brim flat
Normally, a bucket hat’s brim is stitched all-around a couple of times, but because we have our shiny strawberries, we don’t want to ruin them by stitching over them. So, the alternative is to stitch as much as you can while avoiding the strawberries. Stitch around the edge of the brim so that it flattens that part. Make another stitch line, just over the strawberries; ensuring that this part of the fabric stays flat, too. Additionally, I stitched over the zigzag stitches where each strawberry is placed to give it more stability.
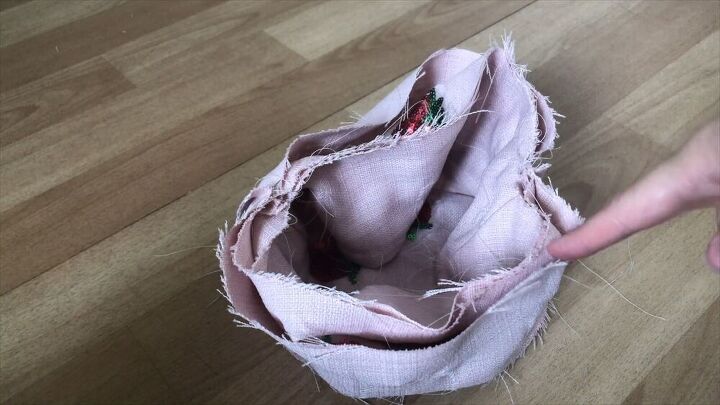
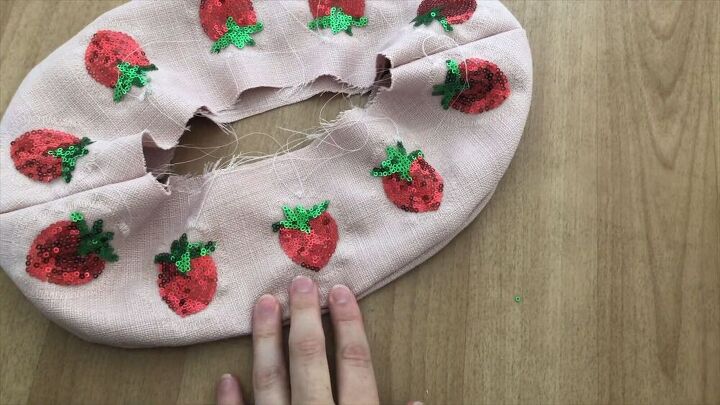
Attach the brim to the headpiece
This is a fairly simple step, and the last one! Woohoo! Pin the headpiece’s side seam to the brim’s side seam by matching the right sides together, as shown. Do this on both sides.
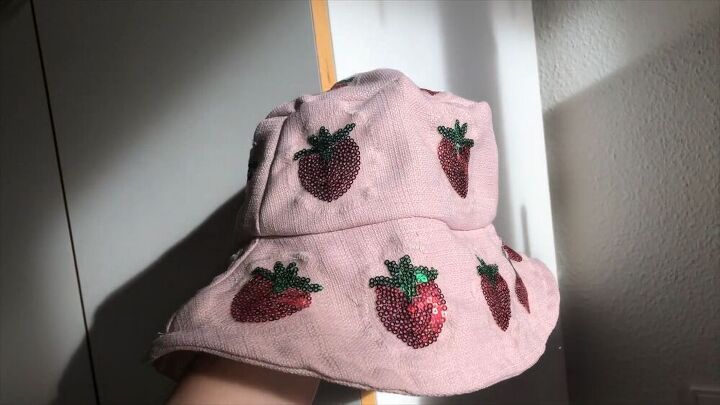
Sew around the hat
Sew around so that the pieces are in place. Turn it upward and your hat is complete!
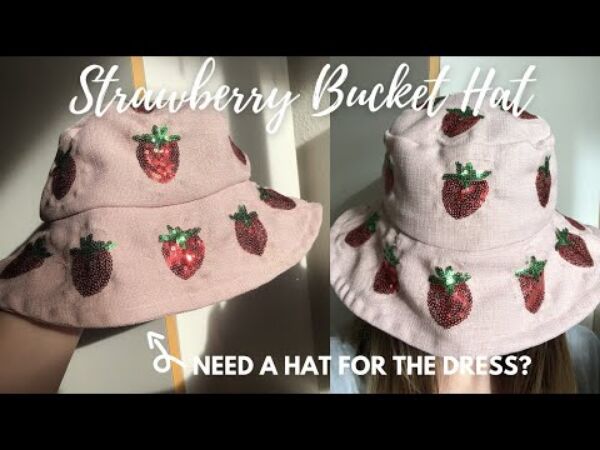
The sewing community may have been going crazy over the strawberry dress, but I’ve taken this idea to the next level with this perfect, strawberrylicious bucket hat. I love the design and the beautiful soft pink color of the bucket hat. I’m really chuffed with the outcome and I hope you will be, too!
How to fold hats
The author may collect a small share of sales from the links on this page.


Comments
Join the conversation
So cute and easy! I would recommend ironing the seams as you go...
Very cute hat. So clever😊