How to Make a Cute & Cozy Knit Sweater From Scratch in 5 Simple Steps

Want to know an easy way how to make a knit sweater? I use knitted fabric rather than just knitting to make this sweater which would take a much longer time!
You can buy knitted fabric at the fabric store or refashion an older larger sweater to make this cozy top. Let me show you how to make a knit sweater in under 2 hours that’s perfect for chilly days!
Tools and materials:
- Knit fabric
- Pins
- Scissors
- Your own sweater to serve as a template
- Sewing machine
- Ribbed fabric for waist and cuffs (optional)
1. Make the pattern
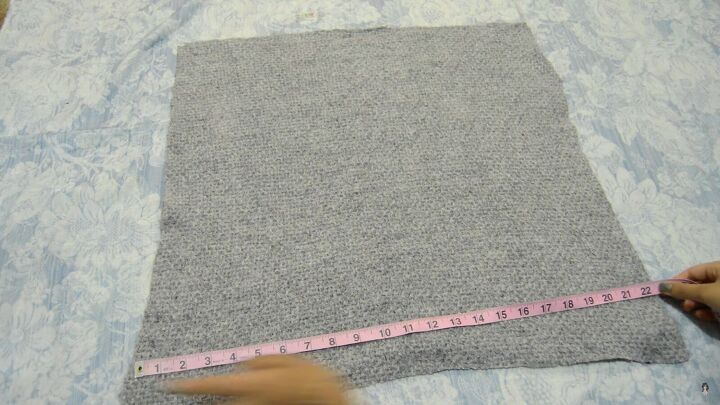
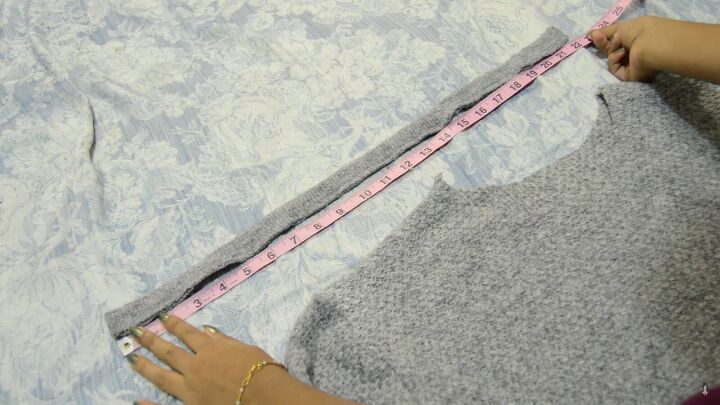
I used 22 X 22 inch squares of knit fabric, but you can adjust the size of the fabric to your measurements and level of loose fit. Fold the square in half.
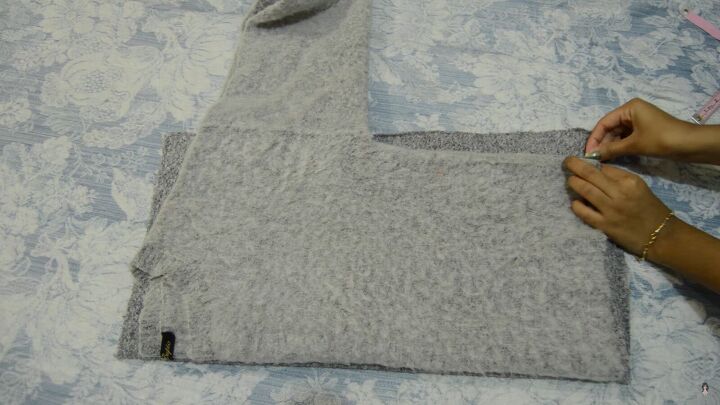
Then, fold your own sweater in half and lay it on top of the knit square to use as a template. This pattern is boxy so I used it as a guide at the front for the neckline and shoulder slope.
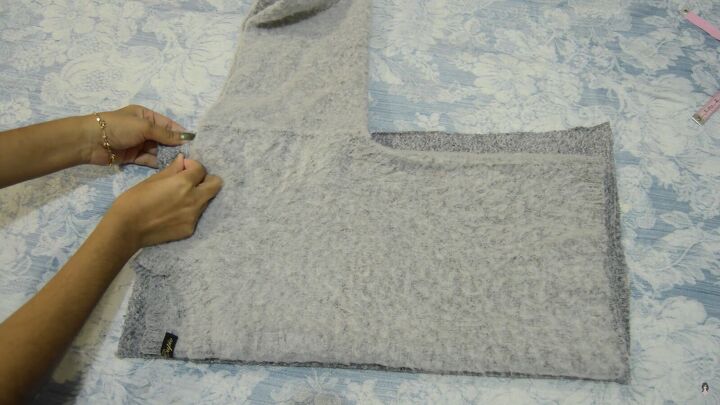
Pin the template in place to the fabric. I didn't use marking chalk because it wouldn't show up on the fabric. Make sure to keep at least a ½-inch seam allowance in mind, especially if your template is small. My template was large so I didn’t need to add seam allowance.

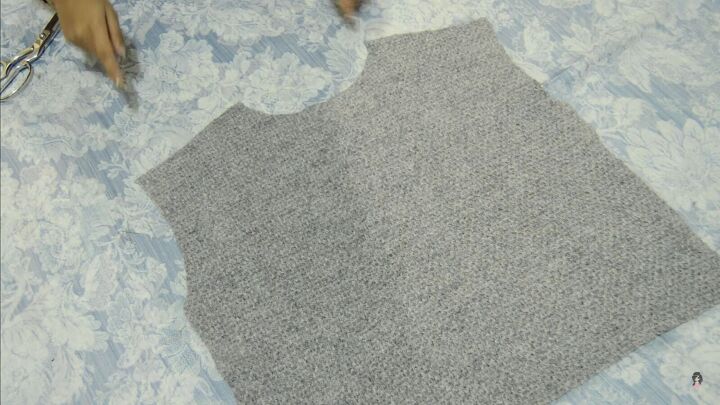
Cut the front piece first. Then, use the front piece as a pattern for the back piece, but cut the back neckline higher than the front.
2. Sew the sweater shoulders
Place the front and back right sides together. Pin and sew the shoulder seams using a zigzag stitch.
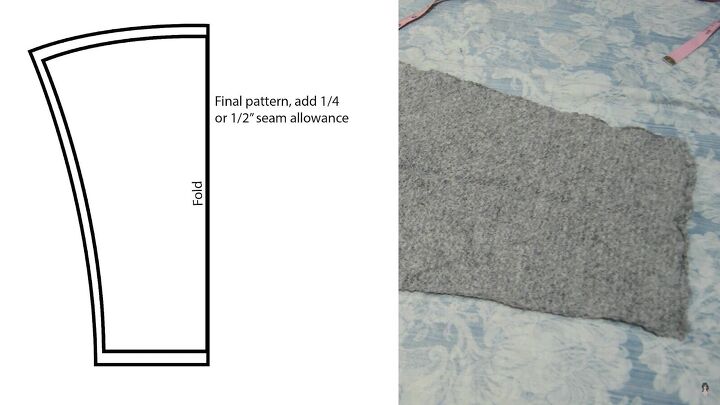
3. Make the sleeves
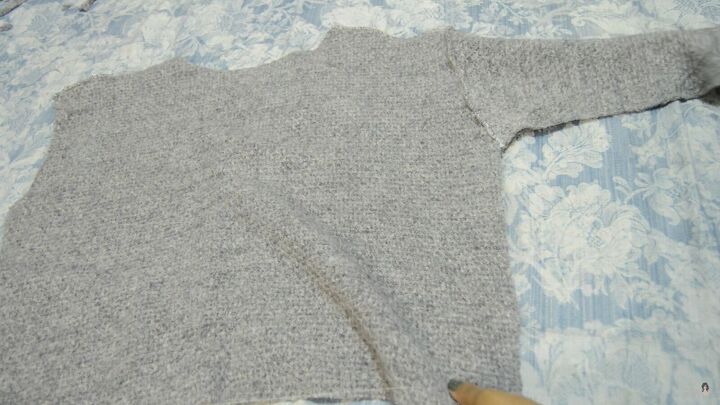
Cut the sleeves matching the sweater template.
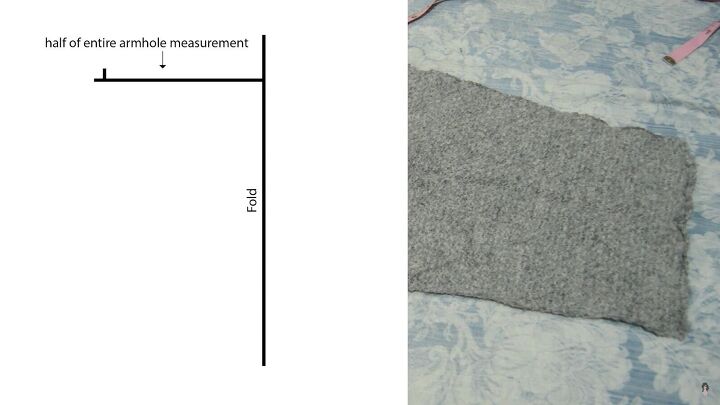
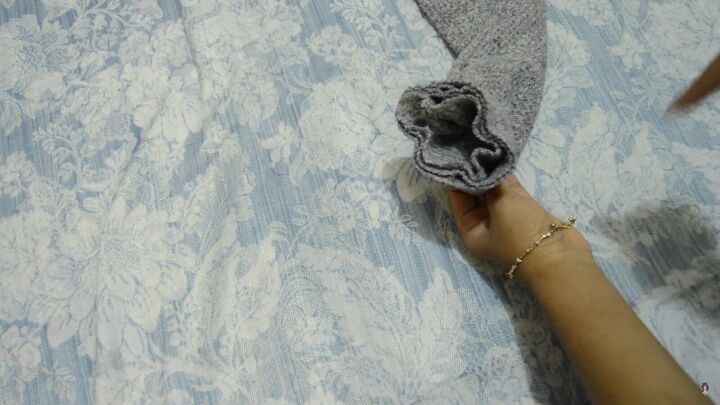
First, measure the armhole measurement. Fold the fabric in half and use half that measurement.
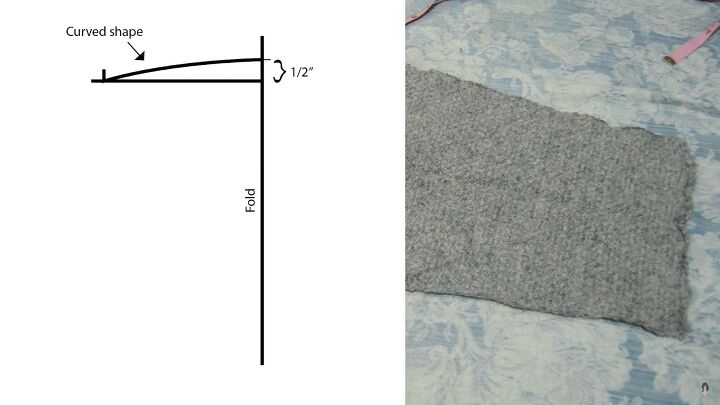
Then, make a curved shape at the top to fit the sleeve cap, as shown.
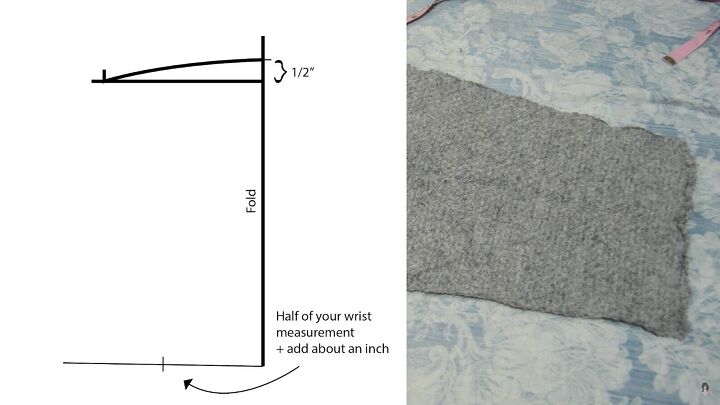
Now figure out your wrist measurement, divide by 2 and add an extra inch.

Then, create a curved shape for the inner seam of the sweater sleeve.
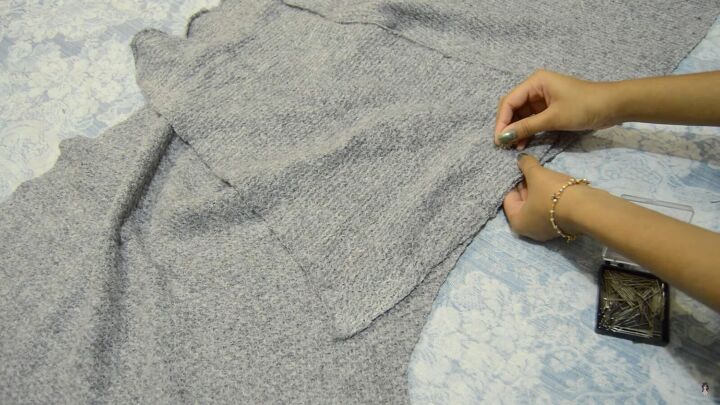
Pin the sleeves into the shoulder area and armhole. Make sure the right sides of the sleeve are touching the right sides of the sweater, though you will be sewing it together on the wrong side. Sew with a zigzag stitch.
4. Sew the rest of the sweater
Once the sleeves are in, sew the sleeve inner seam and the side seams.
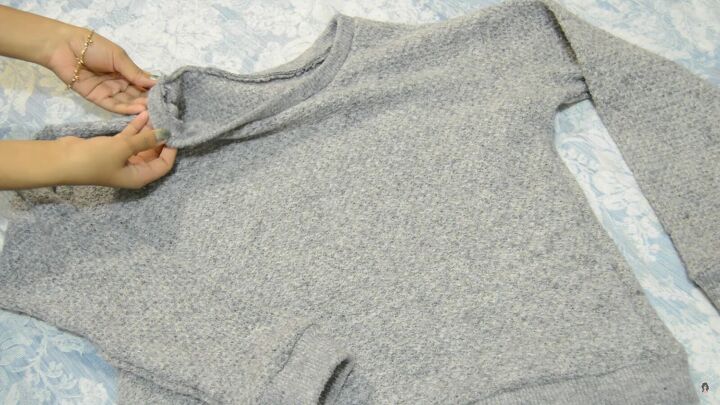
5. Sew the ribbed fabric to the waist, cuffs, and neckline
You can fold over all the raw edges and sew them down to create a finish. I decided to add ribbed fabric to the waist, cuffs, and neckline.
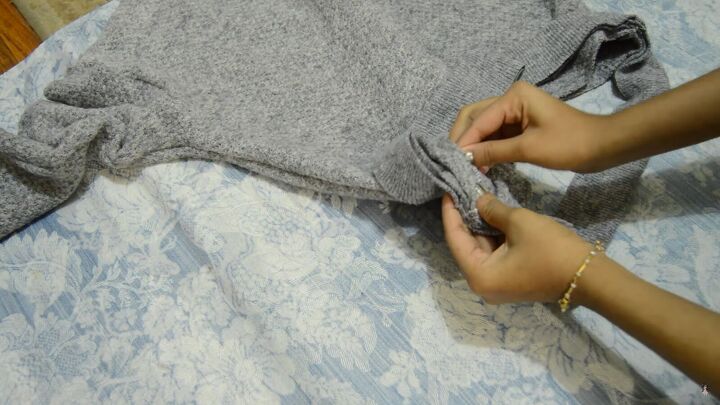
Ribbed fabric is usually smaller than the diameter of what you’re sewing it to. For the waist and cuffs, you’re going to sew the ribbed fabric into loops.
Make the ribbed loop at least 1 inch smaller than the waist. Fold the loop in half. Tuck the sweater into the loop so the unfolded edge meets the raw edge of the sweater. Pin in place.
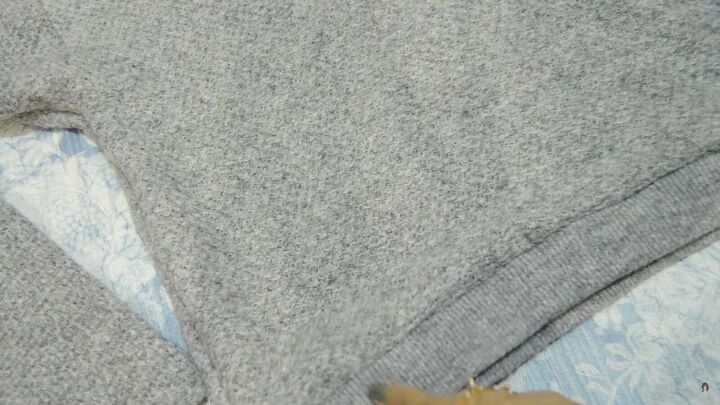
Sew right at the edge.
Follow the same technique for the sleeves by sewing together a loop, folding it in half, meeting the open edge of the loop to the raw edge of the sleeve, and sewing the two edges together.
To finish the neckline, measure the entire neckline and cut a strip of ribbed fabric. The strip I cut was about 22 inches long and 2 inches wide.

After sewing this strip of fabric into a loop, I folded it in half and pinned it along the neckline with the open edge of the fold at the raw edge of the collar.
Sew it together using a zigzag stitch.

How to make a knit sweater tutorial
I hope you can make yourself a warm sweater for the cold weather! Let me know in the comments if you enjoyed this easy tutorial on how to make a knit sweater without knitting just using basic sewing skills!
The author may collect a small share of sales from the links on this page.


Comments
Join the conversation
Thank you for sharing your process. Your sweater looks to have come out well.