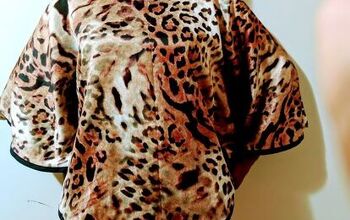
How to Make a Flattering DIY Batwing Top in 5 Simple Steps

This DIY batwing top is super sophisticated. If you’ve been looking to learn how to make a batwing top, this tutorial and pattern will help you. If you’re experienced in sewing, you can knock this out in a few hours. If you’re not, follow the instructions step by step to make your own DIY batwing top!
Tools and materials:
- Stretch fabric: 2½ meters or about 3 yards
- Pattern paper
- Pencil
- Pins
- Elastic
- Measuring tape
- Scissors
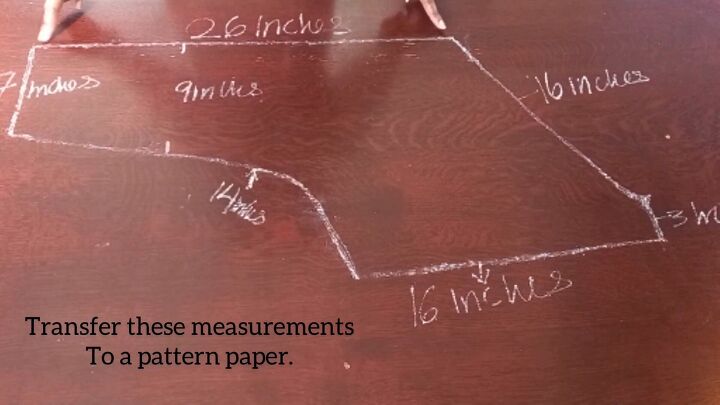
1. Make the pattern
These are the measurements you’ll need:
- 26 inches at the top
- On the left side measure 7 inches
- On the right side 16 inches
- Depth on the shorter left side 9 inches
- Curved area from the left towards the right 14 inches
- Bottom of the curved area 16 inches
- Small straight edge at the right 3 inches
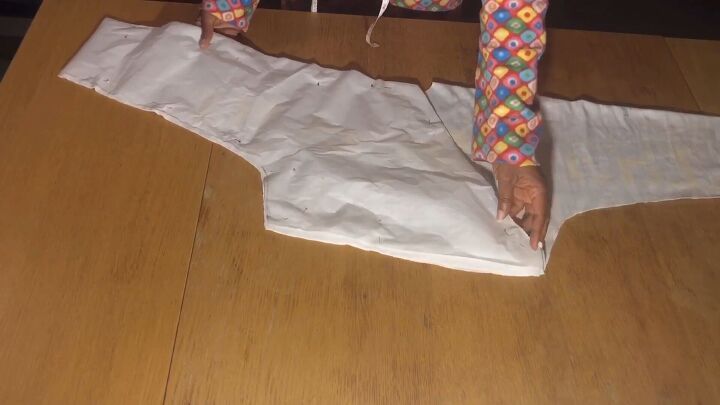
Use the pencil and pattern paper to draw the pattern for the batwing top, then cut out the pattern.
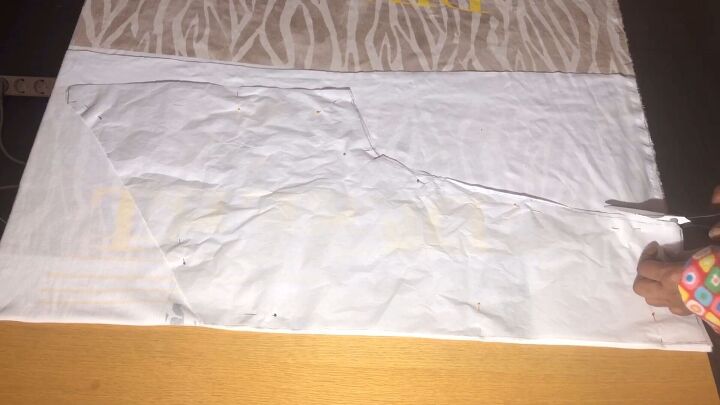
2. Cut the fabric
Lay the fabric on a flat surface. Fold the fabric in half, right sides facing in. Lay the pattern on top. Pin the fabric and pattern together.
Do not cut at the fold. Only cut where there is no fold. Once it’s cut, remove the fabric, keeping it folded.
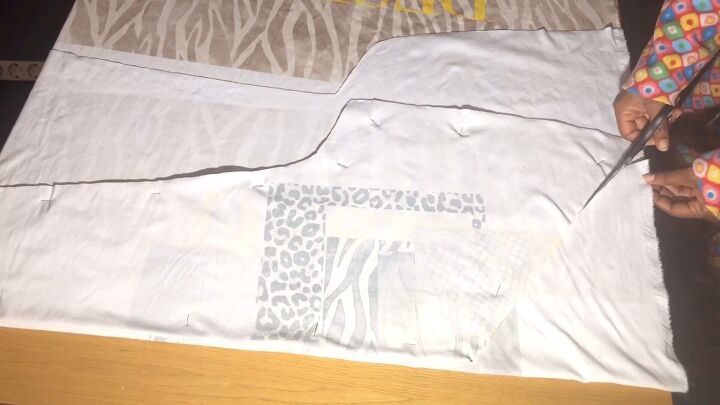
Now fold the fabric again. Flip the pattern to the other side. Cut the fabric, keeping the fold intact.
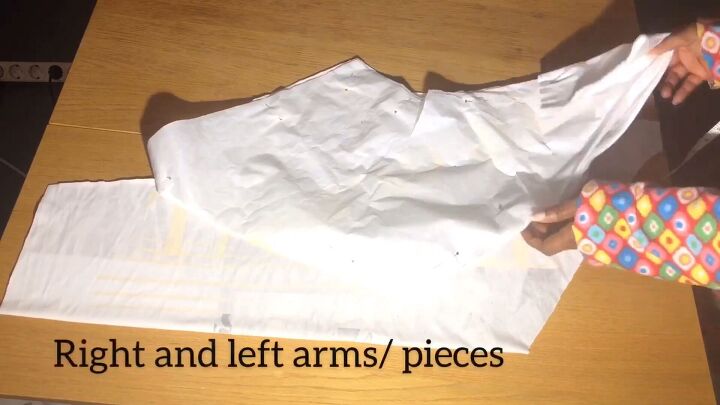
You should have 2 pieces: a right and left side.
3. Sew the pieces together
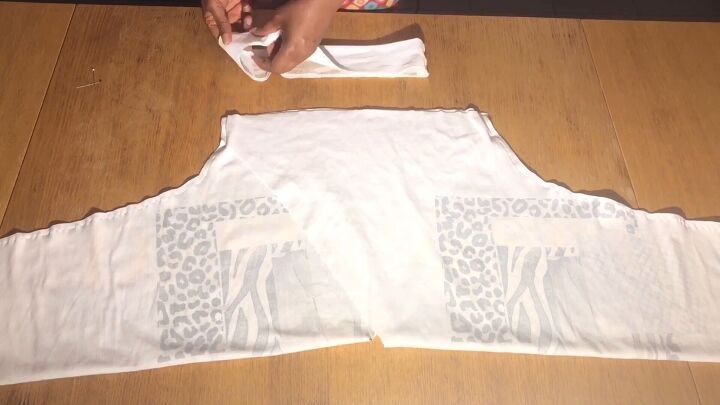
Lay the pieces with the longer edges facing outwards and the shorter edges towards the front. Remove the pins from the paper pattern.
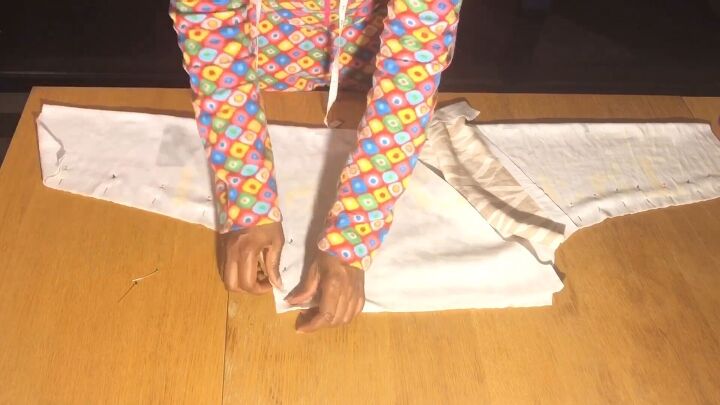
Pin the open bottom ends with straight pins facing straight on both sleeves.
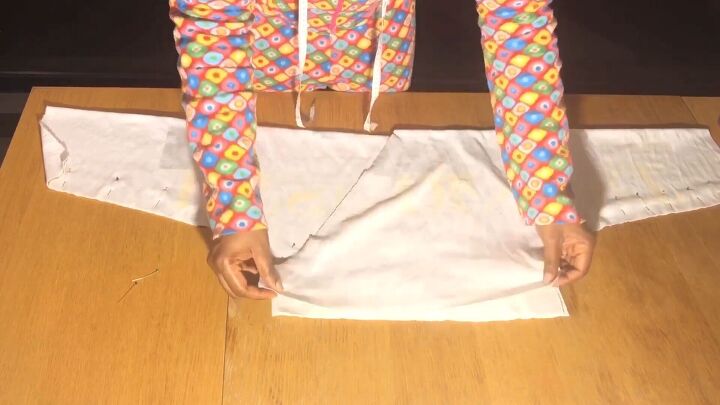
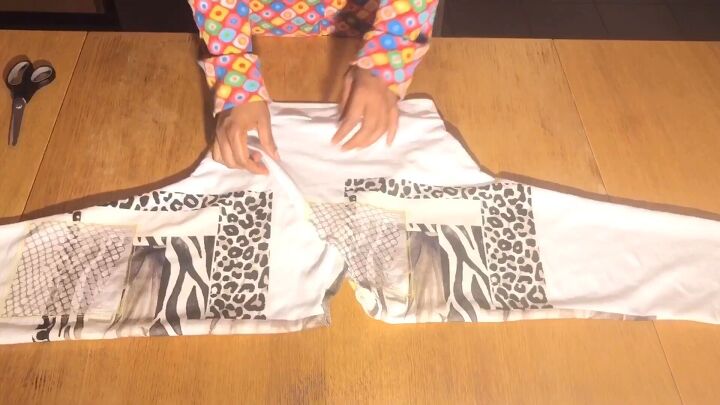
Open the triangular-shaped ends on one side and place the other ends in between, sandwiching it.
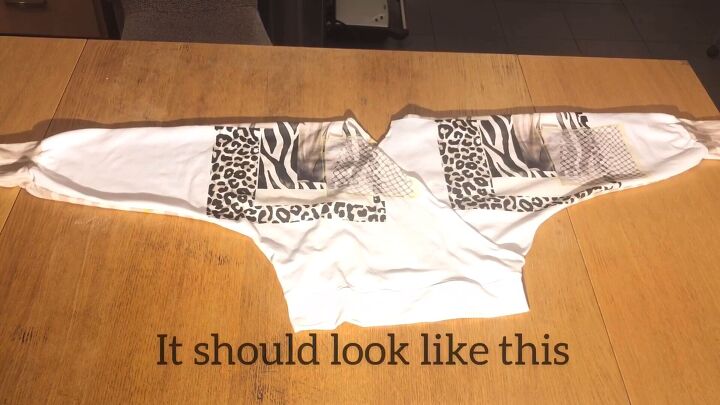
Align the ends and side seams properly before pinning. Pin the ends and side seams. Leave the bottom open. Sew the pinned sides using a zigzag stitch.
4. Finish the top
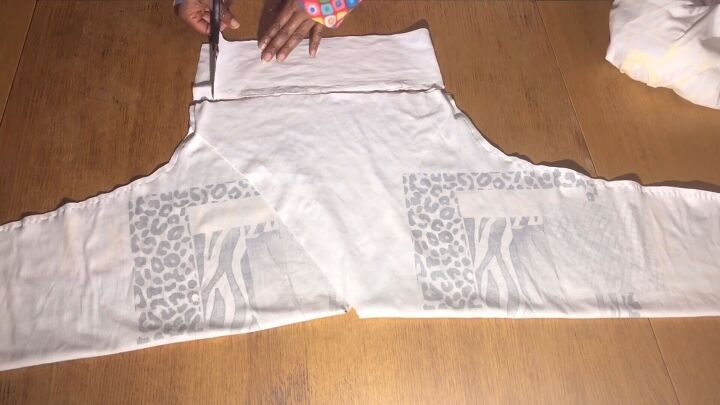
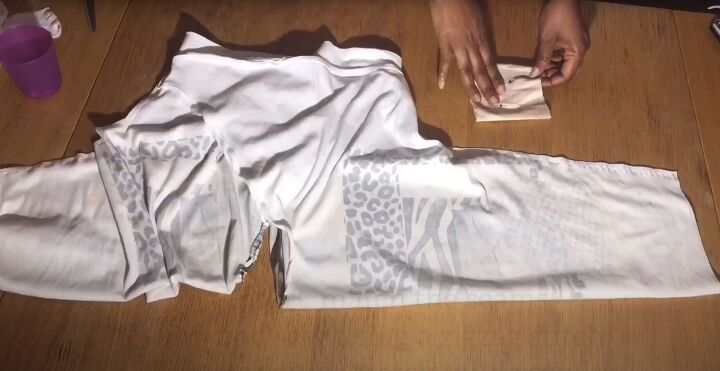
Fold the leftover fabric. Cut out a rectangle the same size as the bottom of the top. Measure 4 inches at the top of the rectangle and cut. Cut 2 inches off the side.
Pin the open end and sew using a zigzag stitch to create a loop.
Turn the loop inside out so the right sides face inward. Align the seam of the loop with a side seam and sew the loop inside the top, similar to how a sleeve is attached. Make sure to stretch the fabric when sewing.
Finish the edges on the long diagonal by folding twice, then pin and sew.
5. Make the cuffs
Turn the shirt inside out. Lay the sleeves out and measure 3 inches off the sleeve bottom. Cut off these pieces to make cuffs.
Cut out two rectangles from the cut pieces that are 5 x 8½ inches. Fold and sew the cuffs. They will look like loops.
To attach the cuffs, turn the cuffs right side facing outward. The shirt should be on the wrong side. Insert the cuff at the sleeve, matching the seams. Pin, then sew using a zigzag stitch. Remember to keep stretching the fabric when sewing.

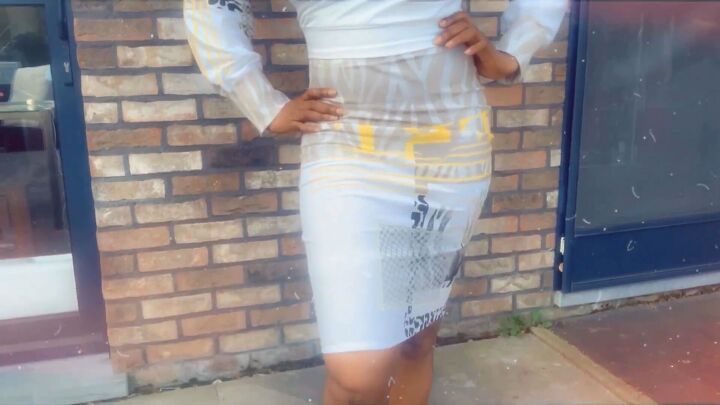
6. Make the skirt co-ord for a stunning outfit (optional)
To make the matching skirt for this outfit, follow my tutorial on How to Make a Mesh Skirt in Just 15 Minutes!

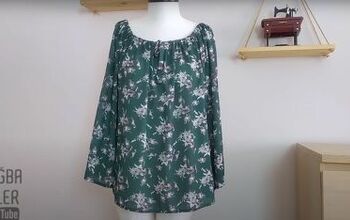
DIY batwing top tutorial
You can wear this flattering DIY batwing top with confidence, knowing you made it yourself. Please let me know in the comments how you enjoyed sewing and wearing this top!
The author may collect a small share of sales from the links on this page.


Comments
Join the conversation