How to Easily Make a Flattering Cape Top in 7 Simple Steps

In this DIY, I’m going to show you how to make a cape top. This is a great project to have a go at if you’re new to sewing because it is very easy and straightforward.
The finished cape top is not only super cozy but looks pretty as well. Let's get started!
Tools and materials:
- Fabric
- Scissors
- Pins
- Chalk
- Measuring tape
- Bias tape
- Top/dress
- Sewing machine
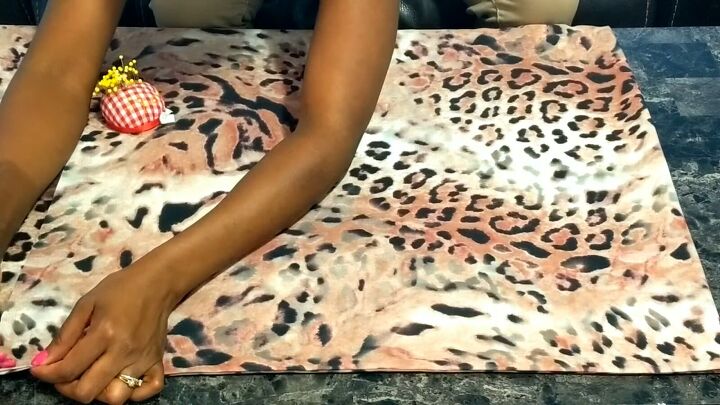
1. Fold the fabric
Start by folding the fabric in half and then folding again so that you have four layers of fabric. I’ve chosen a leopard print material, but you can go with whatever color or pattern you like.
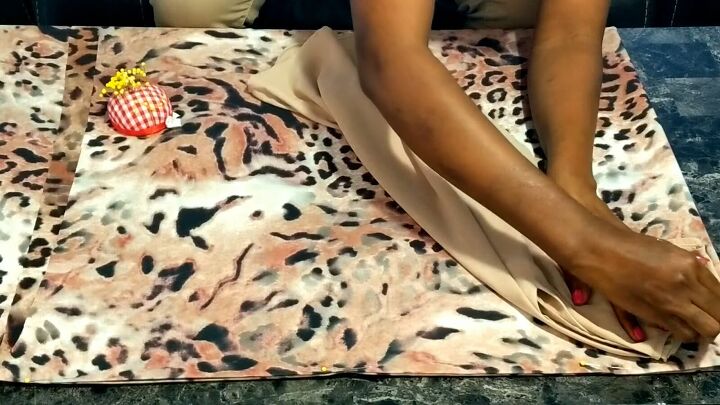
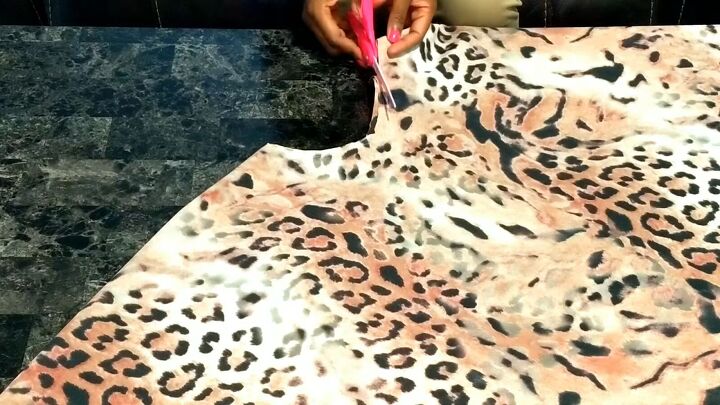
2. Make the neck hole
Next, take a top or dress that fits you well, fold it in half and then place it in the corner of your folded fabric. Draw around the neck hole to mark the neck hole for the cape.
Proceed to cut the neck hole out.
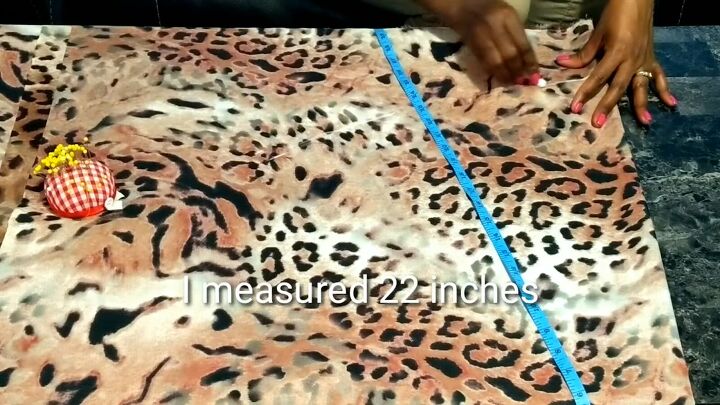
4. Measure and mark the length of the cape
Next, take a tape measure and measure 22 inches (56cm) from the neck hole, as this is how long the cape will be.
Mark 22 inches across the whole fabric, and you will end up with a semi-circle shape. Once you have marked this, proceed to cut it out.
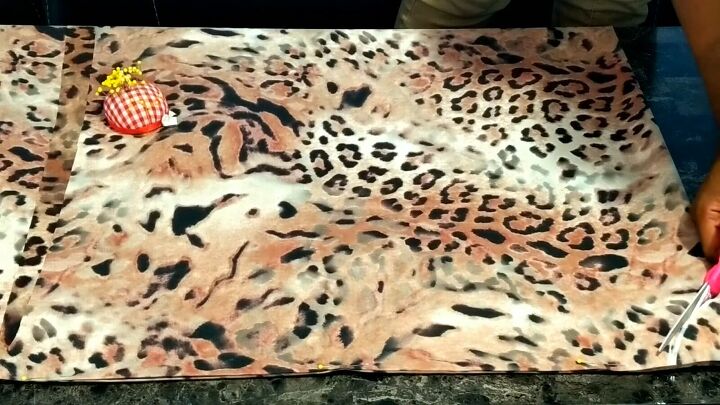
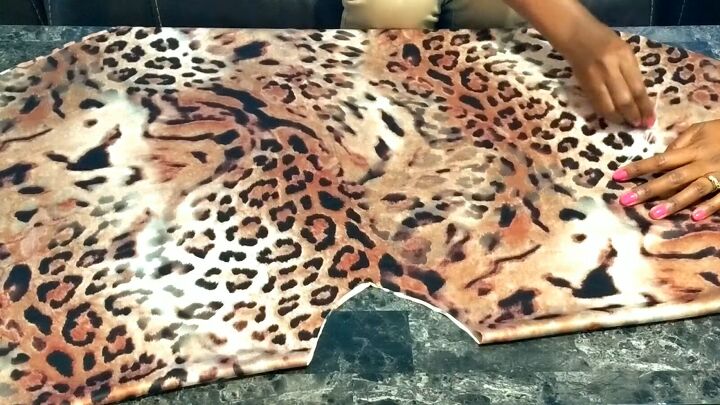
4. Shape the neck hole
The next step is to unfold the cape once so that you are left with it just folded in half. Ensure that it is centered with the midpoint running down the center front and back.
Now you can give the neck the shape you want and cut it more so that it is wider or more of a V shape - whatever you like.
Once done, open the cape up fully and then turn it right side out.
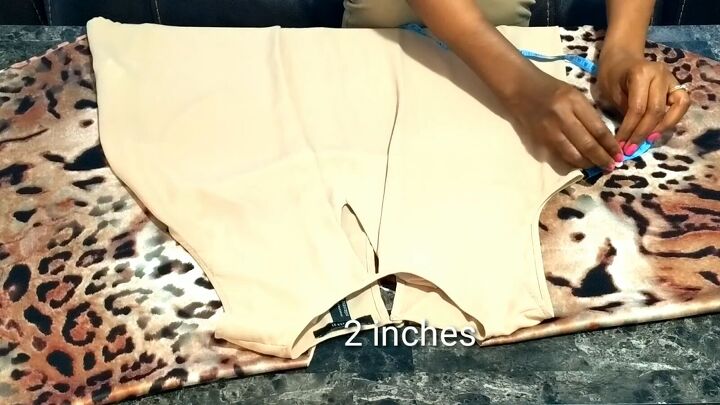
5. Mark the armholes
Place a top or dress on top of the cape and line the two necklines up. Then mark 2 inches (5cm) across from the bottom of the armhole on either side.
6. Mark a line and pin
Draw a line going from the point that you just marked down to the edge of the fabric and proceed to pin along this line.
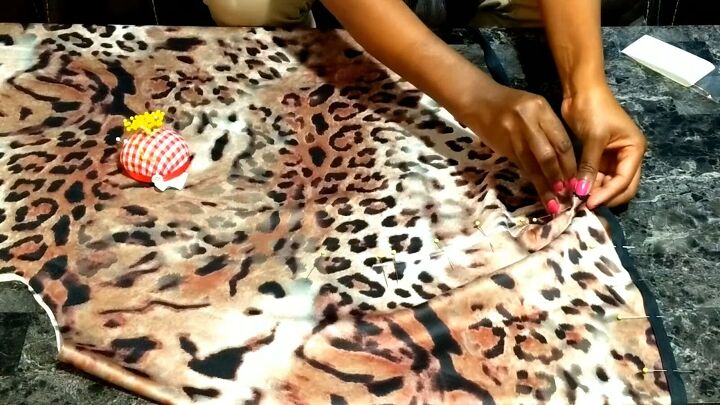
7. Pin and sew the bias tape
Next, pin your bias tape all along the circumference of the cape as well as the neck hole.
Once you have it pinned down, proceed to sew down. You also want to sew along the lines that you pinned down, as they will be armholes for your cape.
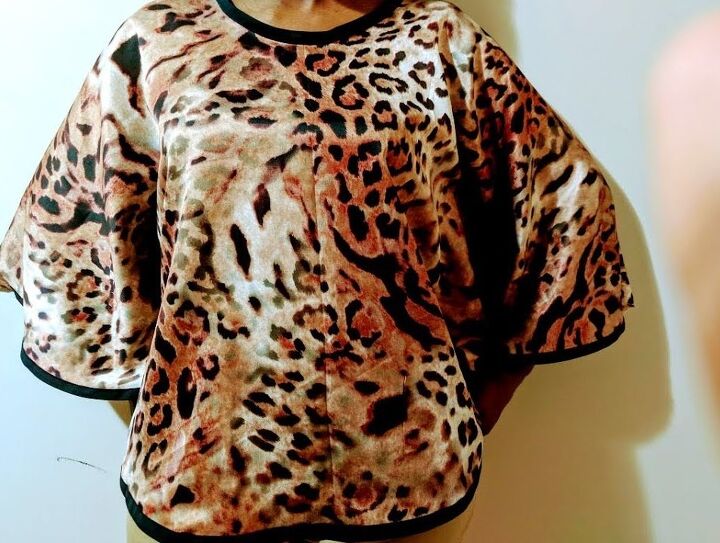
How to make a cape top
Here we have our finished DIY cape. It is cozy to wear, and I love the way it looks. I particularly like how the black border complements the black in the leopard print pattern.
This DIY is so easy and quick to do and definitely worth having a go at. Let me know what you think in the comments below.
The author may collect a small share of sales from the links on this page.


Comments
Join the conversation
I wasn't going to look, but I am so glad I did, the black bias binding makes it look very smart, as you say. It definitely makes it pop by bringing the black in the background out more ( and I don't like leopard print) but this looks great.🇦🇺