7 Simple Steps to Make This Cute DIY Ruched Top

In this tutorial, I'm going to show you how to make a DIY ruched top. If you love the easy breezy look of a ruched top, here’s an easy way to DIY to make this ruched top summer classic. Let's get started!
Tools and materials:
- Fabric
- Ruler and measuring tape
- Marking chalk
- Scissors
- Elastic
- Sewing machine
- Needle and thread
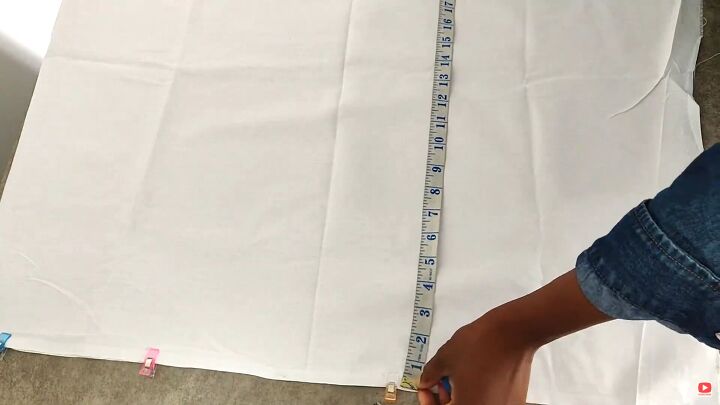
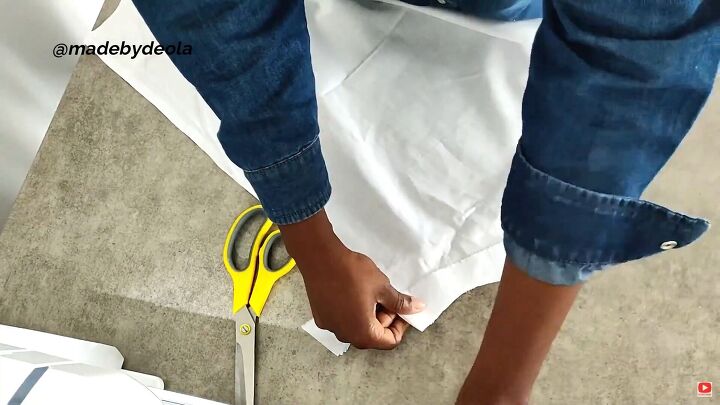
1. Cut the fabric
The top length should be 18 inches or 45cm. To customize this top, add your chest measurement plus 15 inches or 38cm. For my top, I measured 54 inches or 137cm total which is 27 inches or 58cm when folded.
Fold the fabric in half and trim any edges that aren’t perfectly straight. Then cut on the fold. You should have two pieces that measure 18 x 54 inches.
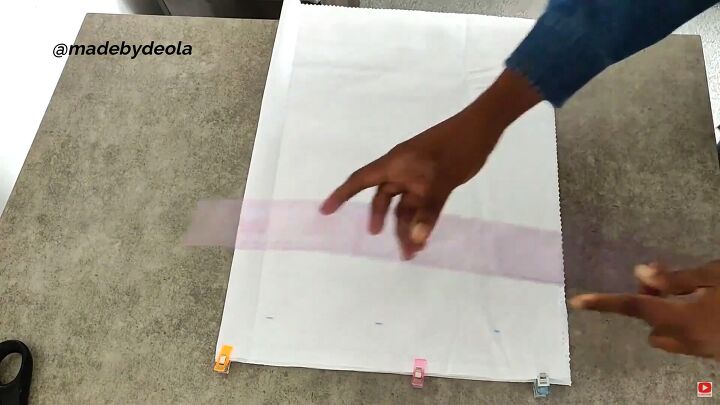
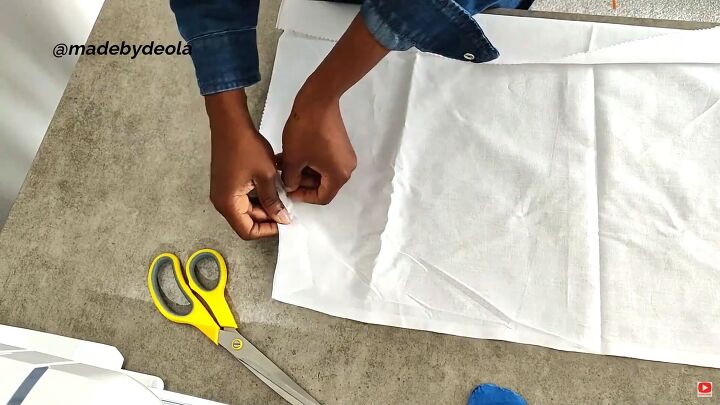
Fold in half widthwise. Mark about 2 inches or 5cm from the top down.
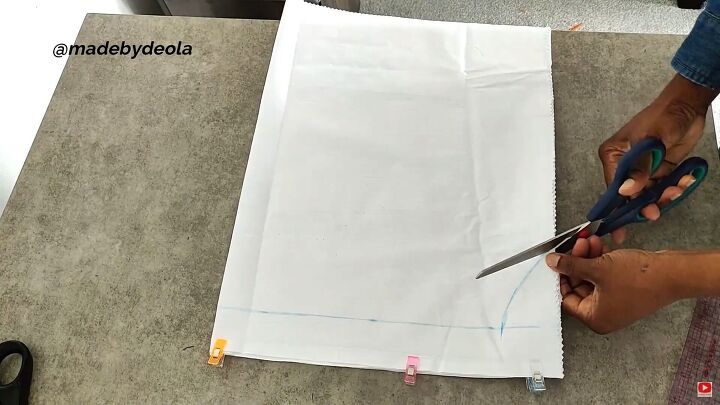
On the open side, mark 2 inches or 5cm in and 3 inches or 7cm down for the arm. Connect the two points on a curve and cut.
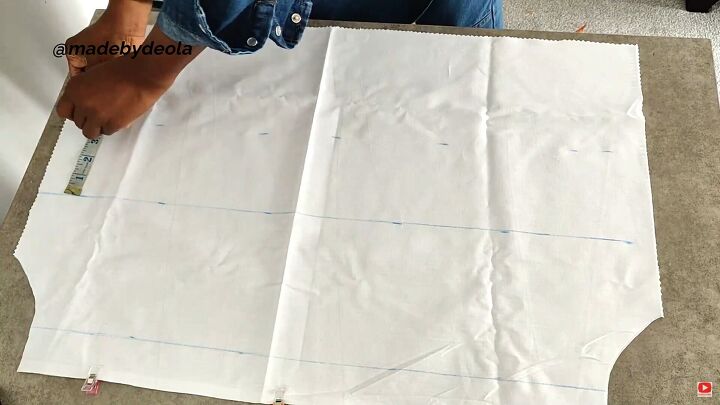
2. Mark the shirt for ruching
Open the folded fabric. From the top down, you should already have a 2 inch or 5cm mark at the top. Then measure 7.5 inches or 19cm to mark where the chest elastic will sit. From that point, measure 4 inches or 10cm down for the next ruching line and mark.
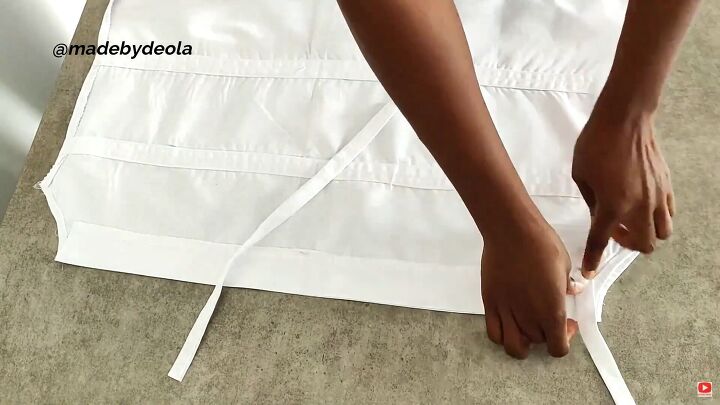
3. Make the elastic casing
From leftover fabric, cut strips of fabric that are 2 inches wide by 54 inches long or 5cm by 137cm for the elastic casing.
Fold in the raw edges of these long strips and sew them leaving enough space for the elastic to thread through.

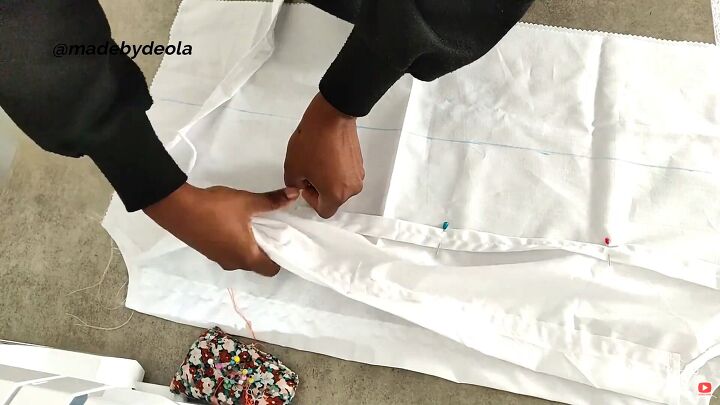
4. Sew the underarm
Cut a piece of facing for the armhole with a scrap of fabric.
Pin the facing to the right side and sew with ½ inch or 1.3cm seam allowance. Snip the curved area with tiny slashes so it lays flat when opened. Turn it to the wrong side and sew to hide the raw edges.
5. Sew the bodice
Pin the side seams and sew. Fold the top line and pin both sides in place. Do straight stitches across twice with space left for the elastic to go in between.
Pin the strips on the 7.5-inch line and the 4-inch line and then sew with a straight stitch. Hem the bottom.
6. Make the straps
Cut 2 inches x 15 inches or 5cm x 38cm fabric straps. Tuck the raw edges in and sew them down. Then, attach to the bodice at either end of the ruched top by hand or with the sewing machine.
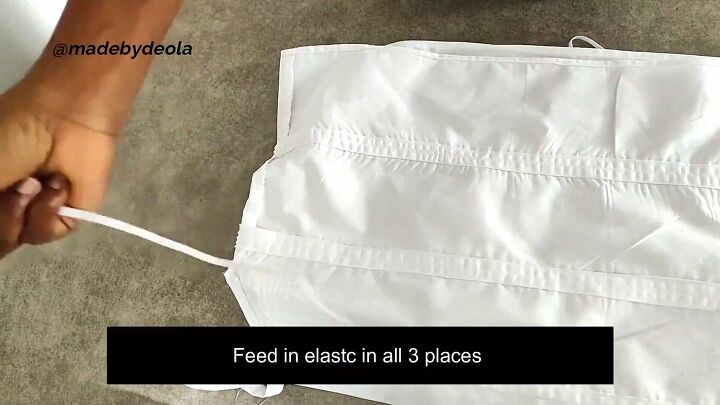
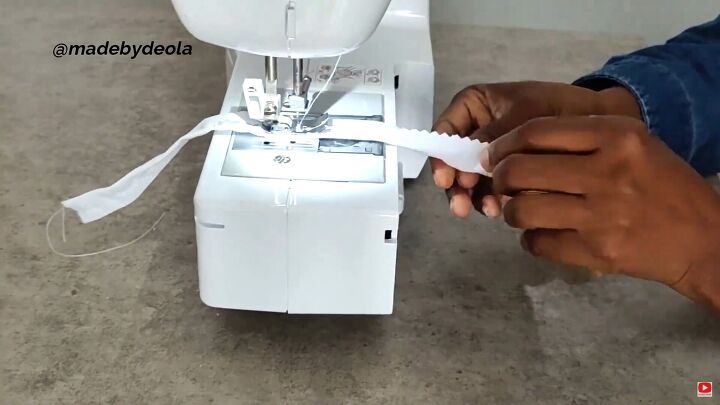
7. Insert the elastic
Feed the elastic at the neckline, center, and at the lower part using a safety pin to pull the elastic through. Tighten a bit so it creates the ruched effect. Sew all the gaps closed.

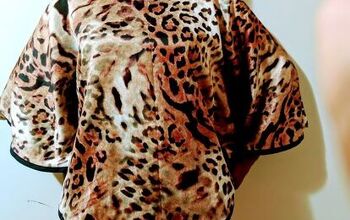
DIY ruched top tutorial
This charming DIY ruched top is fun and easy to wear and best of all, it’s made to fit you. Please let me know in the comments what color you think of this tutorial and the final result!
The author may collect a small share of sales from the links on this page.


Comments
Join the conversation