How to Make a Cute DIY Trapeze Dress in 9 Simple Steps

Today I will be showing you how to make a trapeze dress. This dress is very simple and does not take much time to put together.
It has a loose and flattering cut, which is great for all body types and does not require any zipper or button closures, which makes this a perfect project for those of you who are beginners at sewing. Let’s get started.
Tools and materials:
- Lightweight woven fabric (36 inches x 40 inches)
- Sleeveless dress or top (to trace)
- Fabric chalk
- Scissors
- Pins
- Beads
- Needle and thread
- Sewing machine
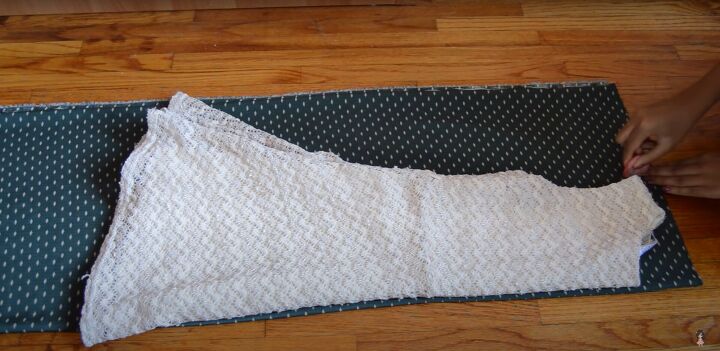
1. Draw the pattern
I began by folding my fabric in half and then folding it in half again. Then, I took a dress I already own and that fits me well, folded it in half, and placed the folded side of the dress along the folded side of the fabric.
I traced around the neckline, the shoulder, and the armhole, leaving a half-inch all around for seam allowance.
From the armhole, I just made a straight line to the edge of the fabric at the point where I wanted the hem of the dress to be. The wider you make this line, the looser the dress will be.
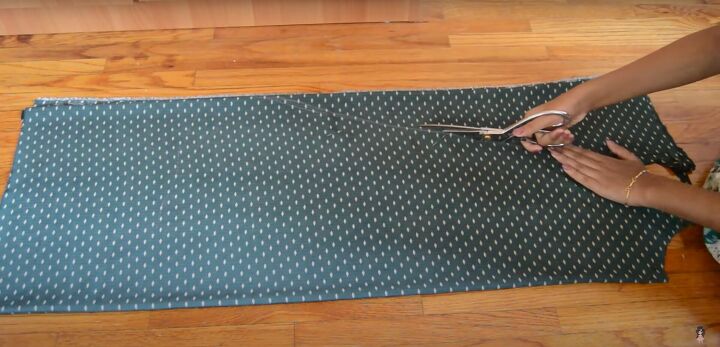
2. Cut the fabric
Next, I cut the fabric along the marked lines.
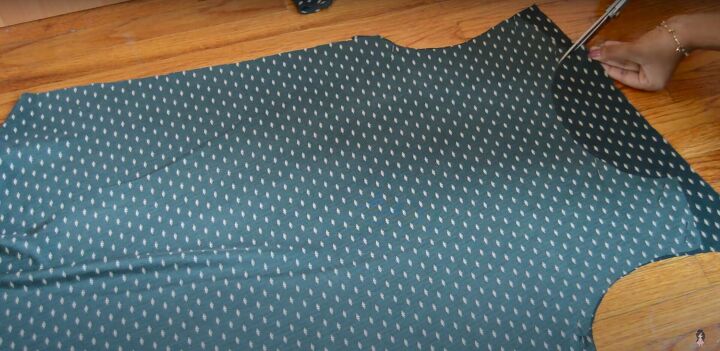
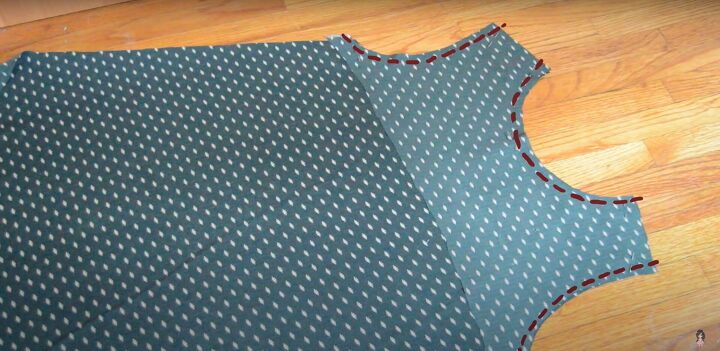
3. Cut the facings
I pinned the top of the dress to a piece of fabric and used it to cut around the neckline and armholes to create facings for both the front and back of the trapeze dress. The bottom edge of the facing should reach about an inch below the armhole.
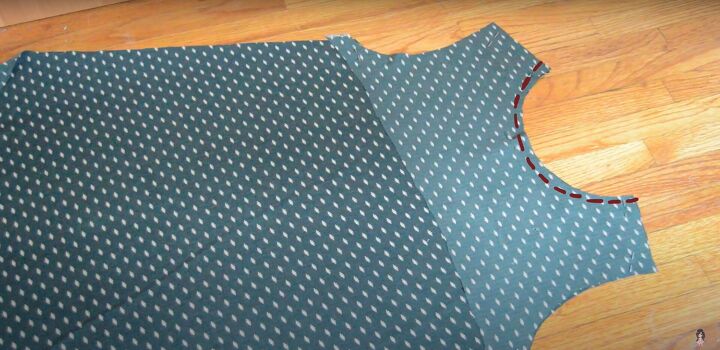
4. Pin and sew
I pinned the facing to the trapeze dress, right sides together, and sewed along the neckline first.
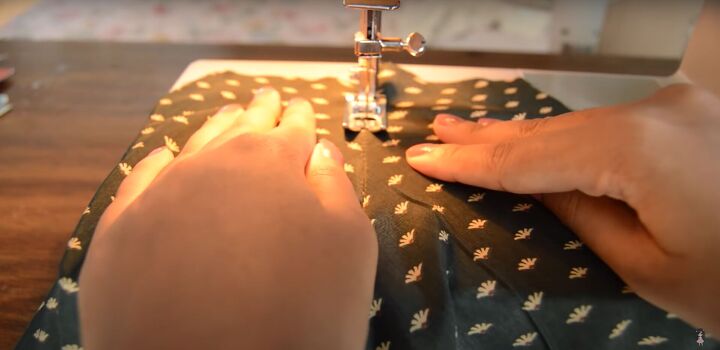
5. Topstitch
Once the facing was sewn along the neckline, I opened up the fabric and topstitched it close to the seam to help the facing lay flat.
6. Sew and topstitch
Then I repeated the same steps for both armholes: sewing down the seam and then topstitching.
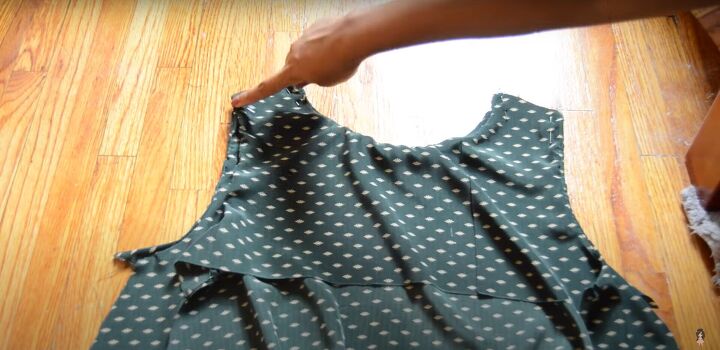
7. Pin and sew the DIY trapeze dress
Once the facings were sewn onto both sides of the dress, I laid the two pieces together, right sides facing, and sewed down the shoulder seams and side seams.
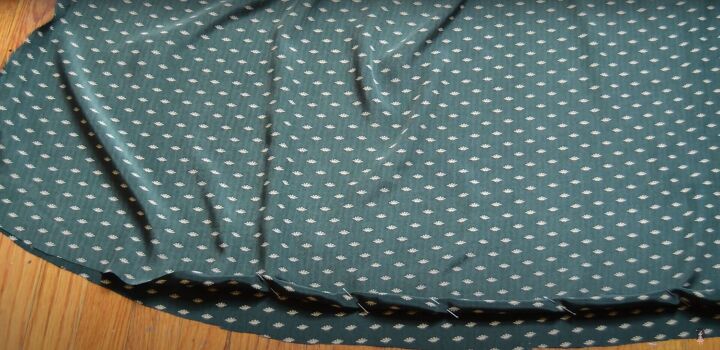
8. Hem
I hemmed the bottom of the trapeze dress by folding the hem up a quarter of an inch, and then another quarter of an inch, and sewing it down.
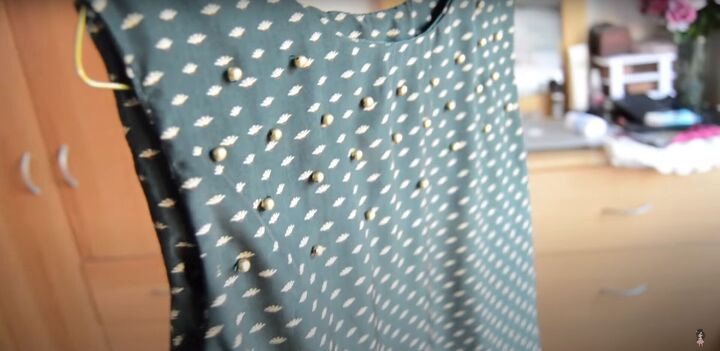
9. Add beads
Lastly, I hand-stitched a few beads onto the DIY trapeze dress for embellishment.

How to make a trapeze dress tutorial
Here’s how it turned out. Will you be using my DIY trapeze dress tutorial to make a trapeze dress of your own? What fabric will you use? I’d love for you to post your creations for me to see.
The author may collect a small share of sales from the links on this page.


Comments
Join the conversation