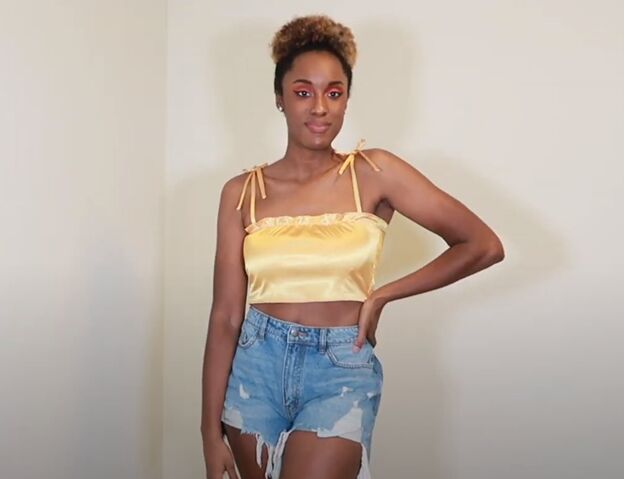
How to Make a Cute Satin DIY Crop Top in 6 Simple Steps

A pretty crop top like this can be worn with almost anything – shorts, pants, or skirts. And if you want it fancy you could bling it up! Follow this tutorial to learn how to make your own easy DIY satin crop top.
Tools and materials:
- Satin fabric
- Half-inch wide sewing elastic
- Crop top for a template
- Fabric chalk
- Scissors
- Thread
- String
- Sewing machine
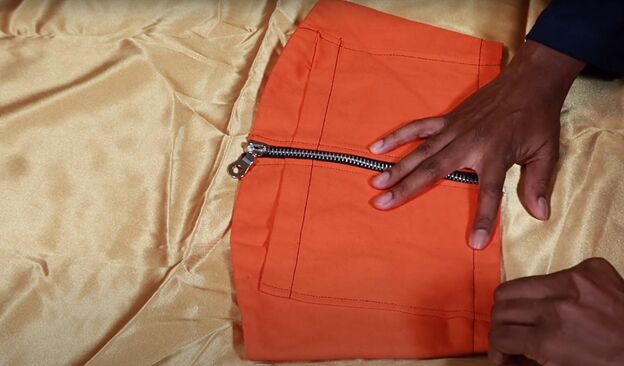
1. Make the crop top pattern
Fold the satin fabric so you have a double thickness. Lay a crop top on top of the fabric and trace the outline adding a seam allowance on all sides.
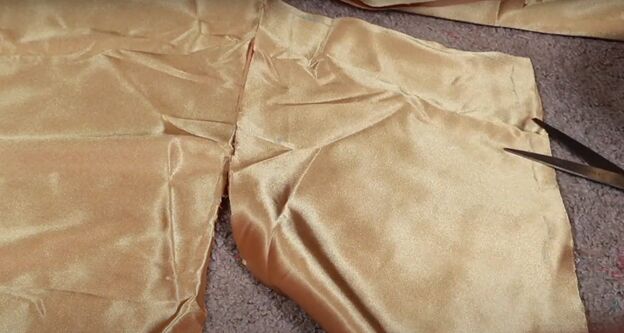
Then, cut the fabric. Don’t cut on the fold of the fabric because you need to end up with two identical pieces.
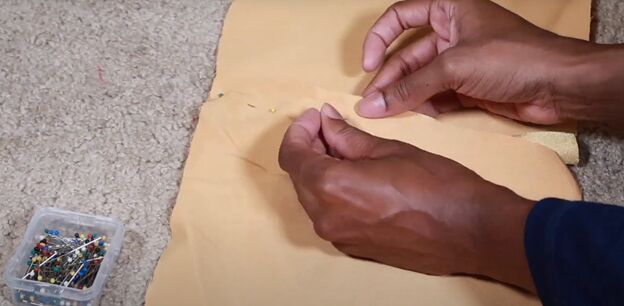
2. Sew one crop top side seam
Pin one side of the two pieces of fabric together with the right sides facing in and sew the side seam.
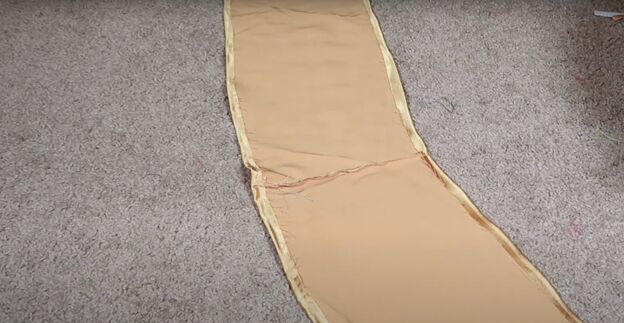
3. Hem the crop top
Fold in the top and bottom of the crop top fabric and pin the hems in place. Sew the top and bottom hems along the edges.

4. Add elastic to the crop top
Sew elastic to the top of the crop top just below the top hem. Make sure to pull the elastic tight as you are sewing in. That will create the ruched look at the top of the crop top.
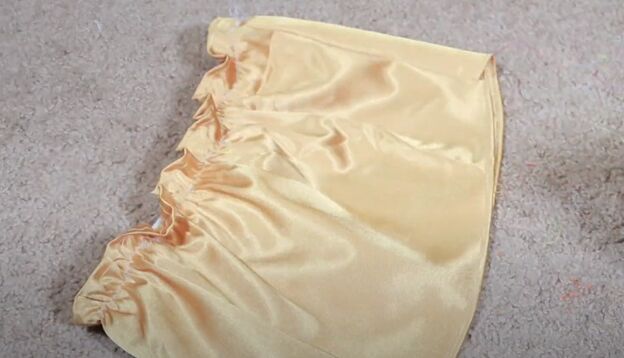
With the right side facing in, sew the second side seam.
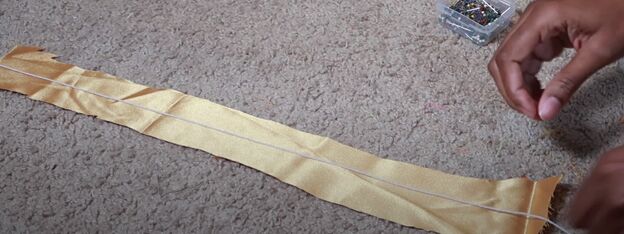
5. Make the crop top straps
Cut four strips of fabric for the straps. Place a piece of string along the center of the right side of each piece of fabric and fold the fabric in half lengthwise.
Pin the folded fabric closed and sew along the raw edge.
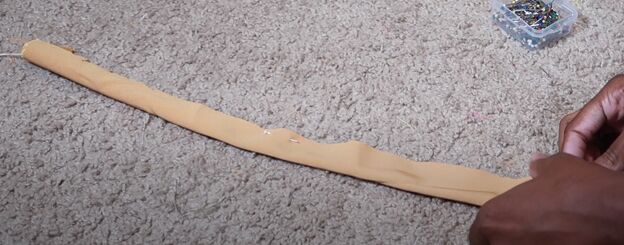
Sew across one short end of each piece of fabric to anchor the string in place.
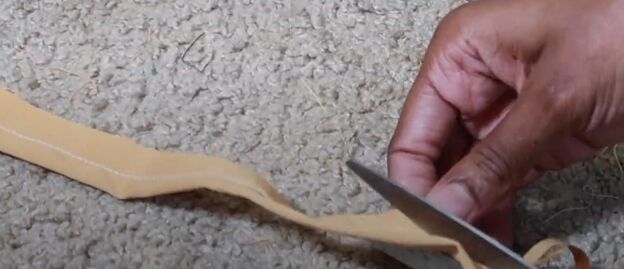
Cut excess fabric from the seam allowance.
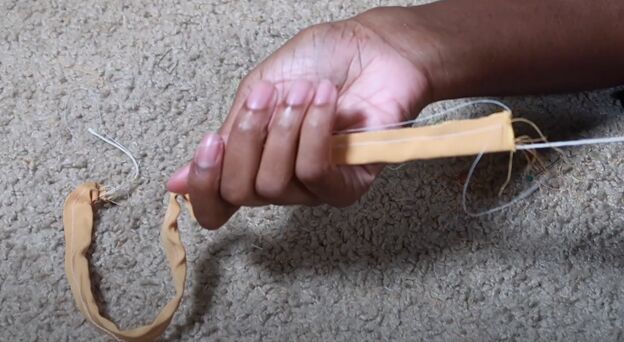
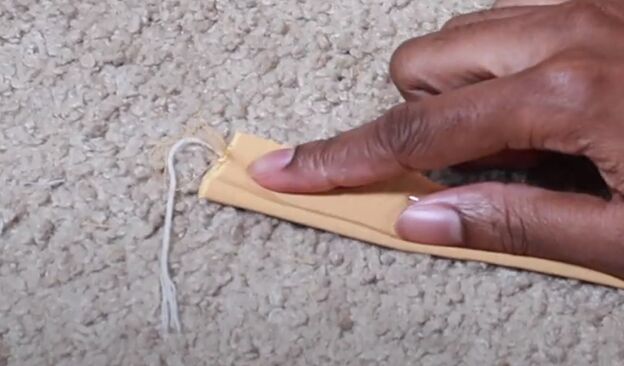
Use the string that extends from the unanchored side to help you turn the strap right side out. Gently keep pulling on that string and eventually, it will cause the strap to invert itself and turn right side out.
If the string breaks while you are pulling, use some other long thin tool, like a rat-tail comb, to help you push the fabric through to the right side. Follow the same process on the other three straps.
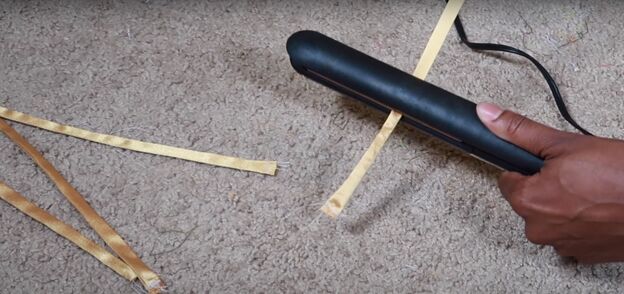
Use a flat iron to press the straps.
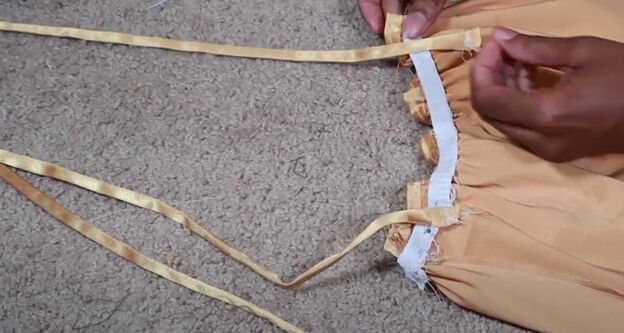
6. Attach the straps to the crop top
Sew two straps to the front of the crop top and two to the back, at the same positions from the edge. You will tie the straps closed at the top of your shoulders.
DIY crop top tutorial
This easy DIY satin crop top is so cute and simple to make you may just want to make several of them in different colors and patterns! Leave a comment to let me know what you think.
The author may collect a small share of sales from the links on this page.


Comments
Join the conversation