How to Make a Cute Babydoll Dress For Summer in 9 Simple Steps

If you’re looking for a simple-sew babydoll dress that’s absolutely perfect for your vacation wardrobe, then look no further. This easy DIY babydoll dress has balloon sleeves, a high, round neck, and ruffled bottom.
In this tutorial, I'll show you how to make a babydoll dress from scratch, from drafting a pattern to your own measurements to sewing the dress together, step by step. Let's get started!
Tools and materials:
- 2+ yards of cotton fabric
- Paper
- Scissors
- Pen
- Measuring tape and ruler
- Pins
- Sewing machine
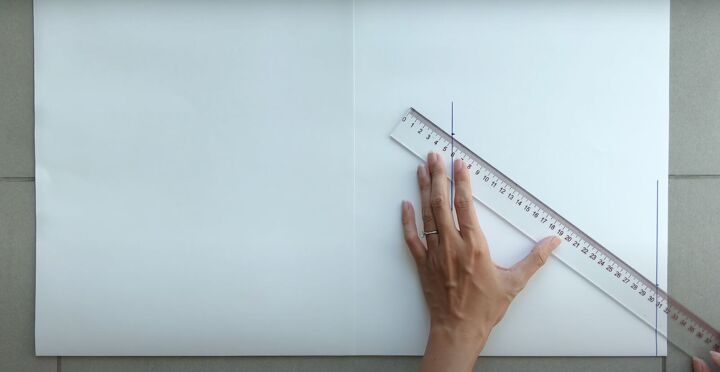
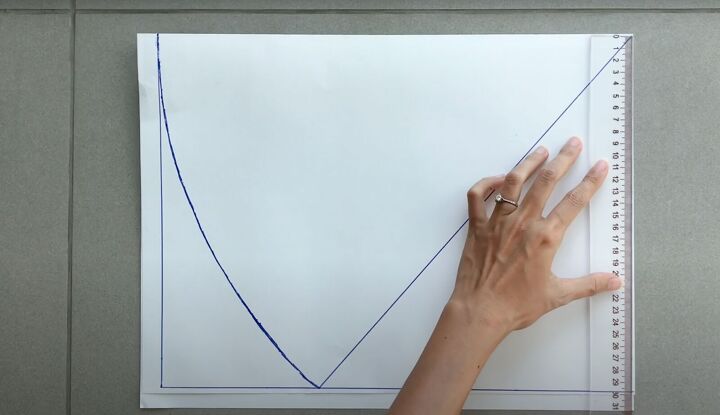
1. Make the front bodice pattern
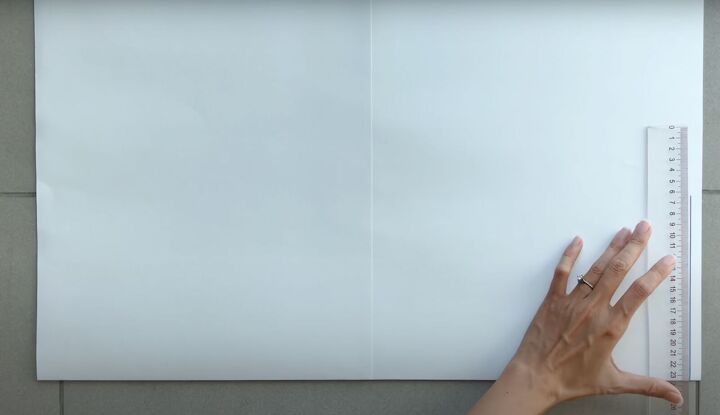
Fold a large piece of paper in half. You’ll make one side of the pattern on the fold and cut it out to full size.
On the right side of the paper measure and mark a 7-inch line about ¼ inch from the edge of the paper. This will be the top.

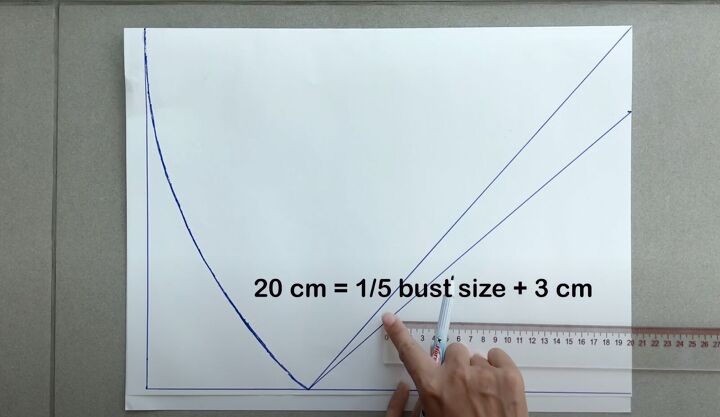
Then, draw the bust line. Measure your bust and take ⅕ of your bust size plus 1¼ inches.
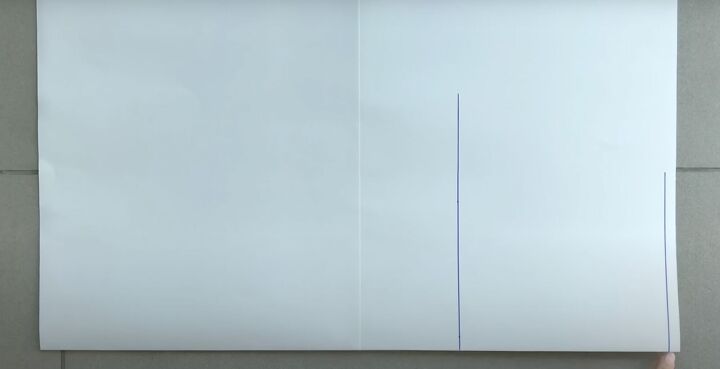
Here, it’s about 8 inches (20cm). Continue marking this measurement up on the bust line.
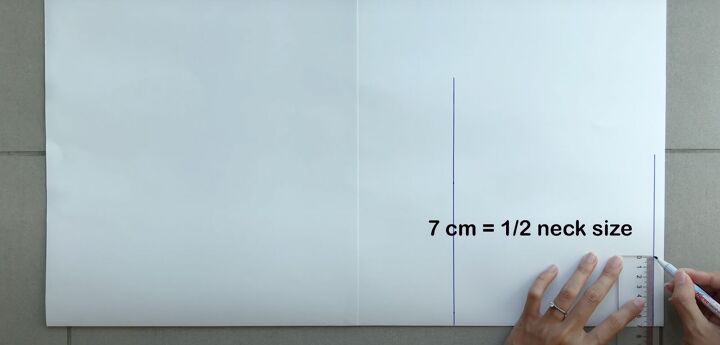
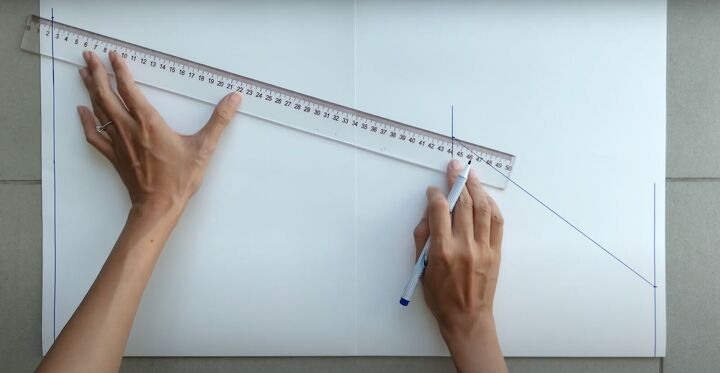
On the top line, mark half your neck size.
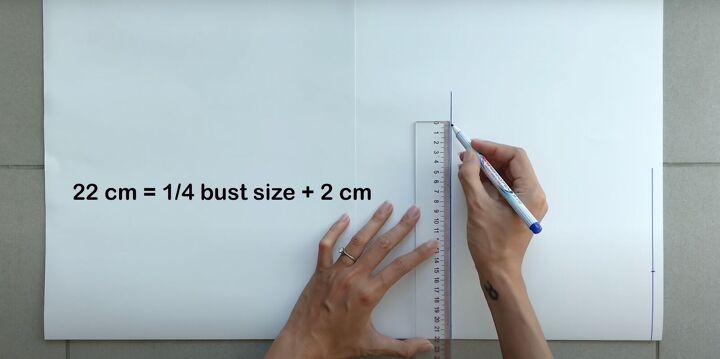
On the second straight line mark ¼ of your bust size plus 1 inch.
Connect these 2 points on a diagonal.
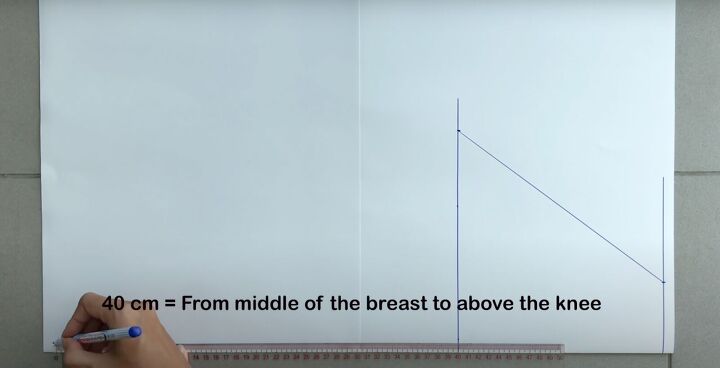
Mark a straight line from the middle of your bust to just above your knee for the length.
On the hemline mark the hip size which is 1.3 X ¼ of your hip size. Connect this measurement to the bust measurement.
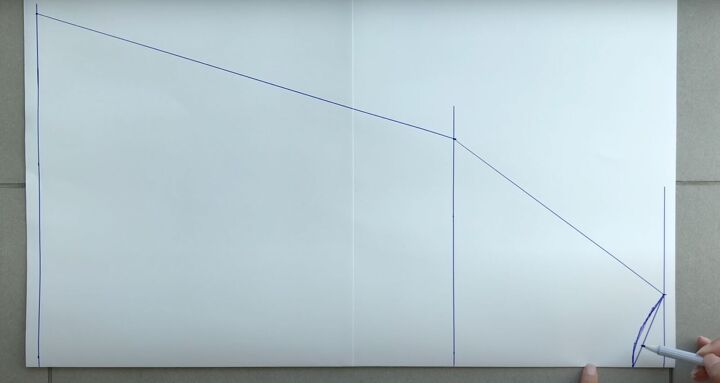
Mark 1¼ inches on the fold for the neckline. Draw a small curve.
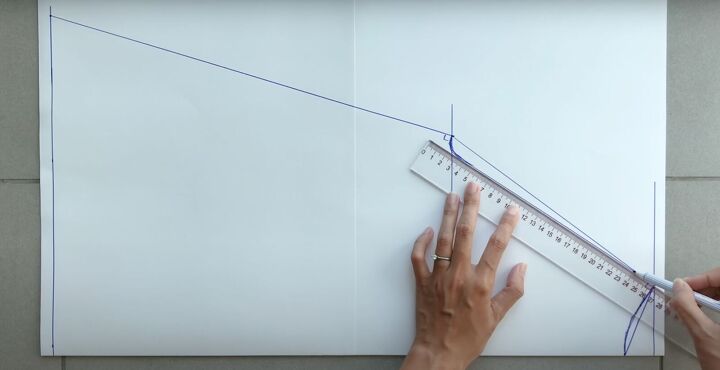
Draw a sleeve line at the edge of the pattern. Mark in ⅜ of an inch from the hem and connect that mark to the other end of the pattern.
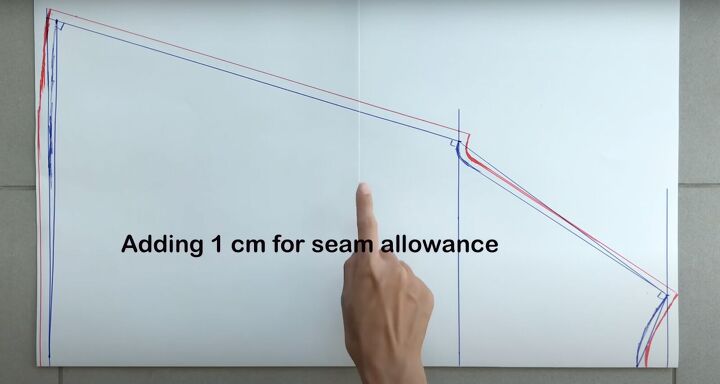
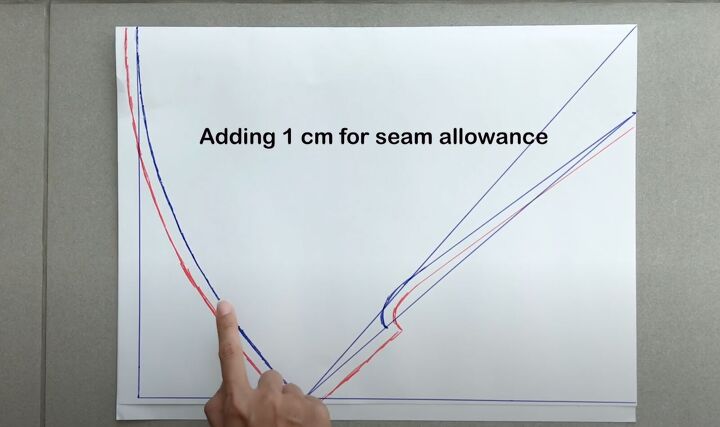
Add ⅜-inch seam allowance to the pattern.
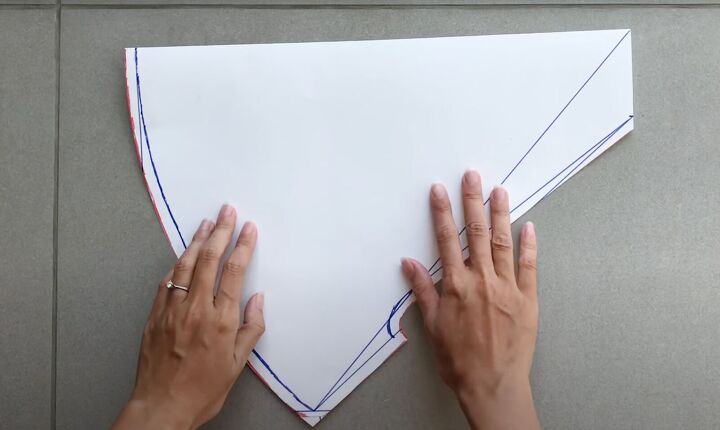
Cut the paper pattern out.
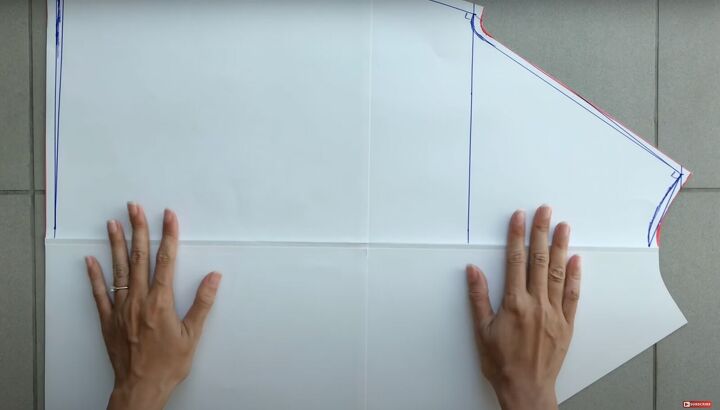
2. Make the back bodice pattern
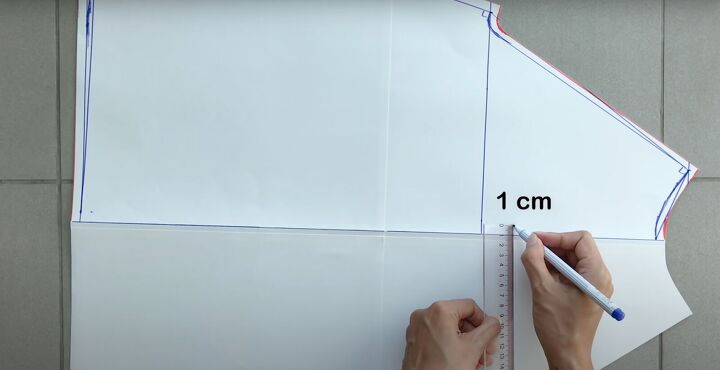
From the bustline to the hemline, draw another straight line ⅜ inch inward.
Fold along this line. You’ll need to cut 2 pieces for the back using one measurement from the original line from the front and the other piece from the new line you just marked.
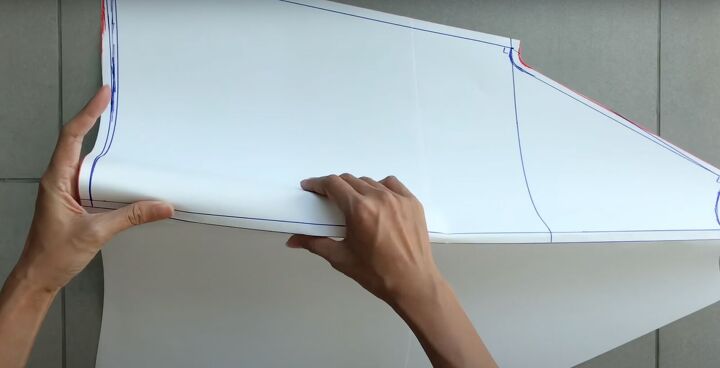
3. Make the sleeve pattern
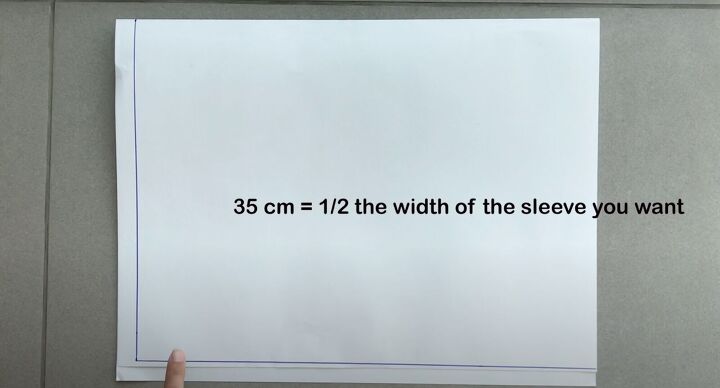
Mark half of the width you want your balloon sleeve to be on the folded paper. If you want it to be 10 inches, mark 5 inches.
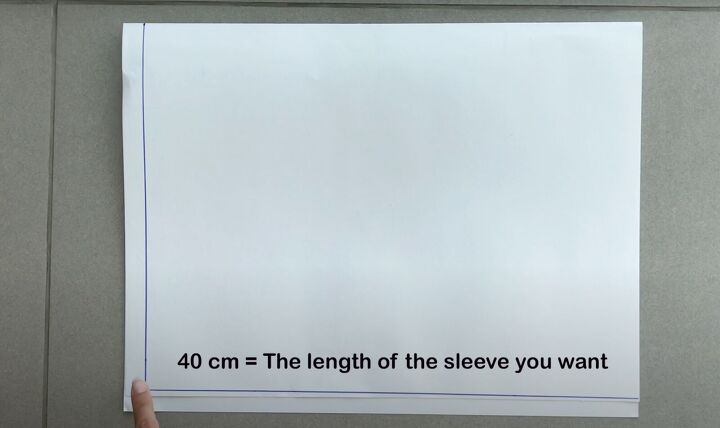
The length is up to you. In this tutorial, it is about 16 inches (40 cm). The top fold is the ending line of the sleeve.
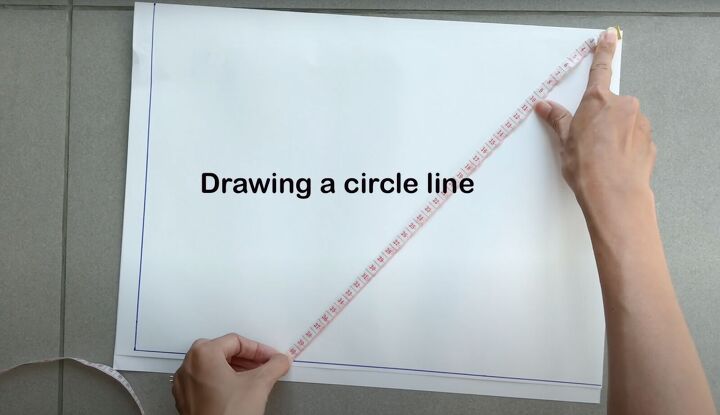
Draw the radius of a circle using the length measurement across the span of the sleeve.
Mark the width line of the sleeve line to be half your neck size. Connect these marks. Measure the width between the width line and the sleeve line. Mark it about 8 inches or your bust measurement you used above.
Add a ⅜-inch seam allowance.
Cut out the pattern.
4. Make the pocket pattern
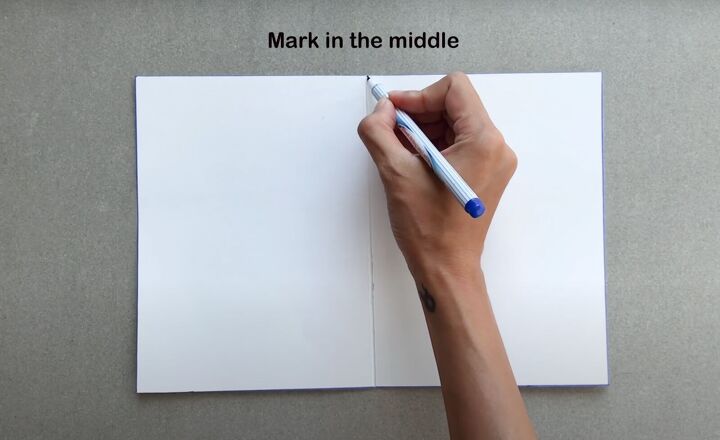
Cut a rectangle 8 x 12 inches. Fold it in half to mark the center. Mark the center and draw a curve from that point.
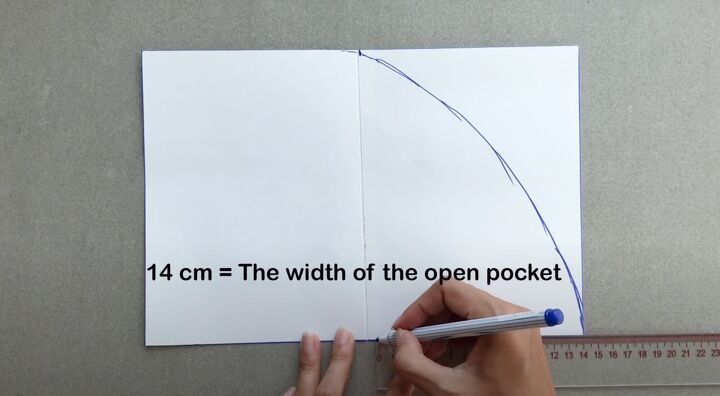
Mark the width of the open pocket 5½ inches (14cm). Finish making the pattern by cutting the curve in the pocket.
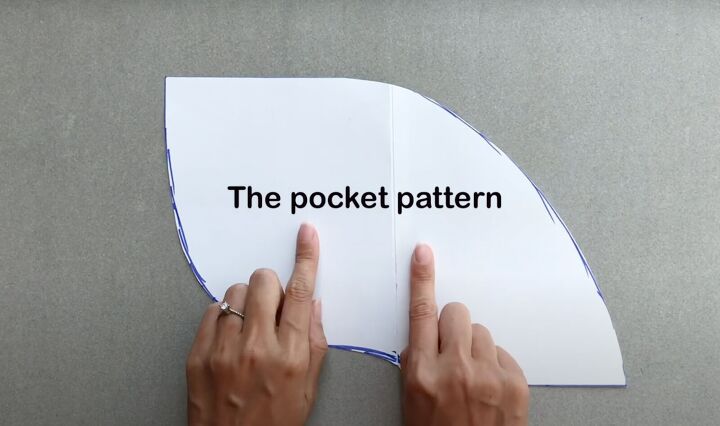
Cut out the pattern..
5. Start sewing
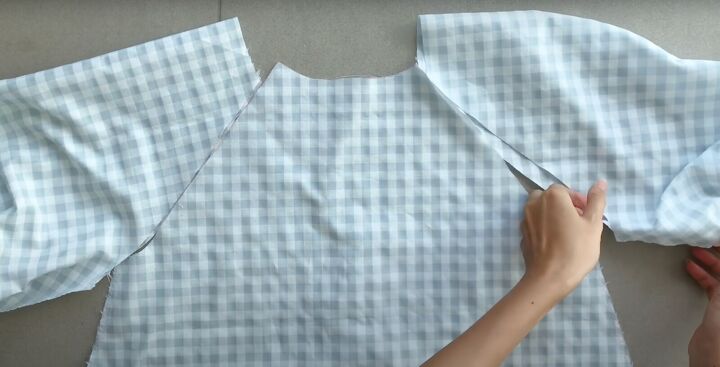
Start with the back first. Pin the two back pieces right sides together along the center with the right sides together.
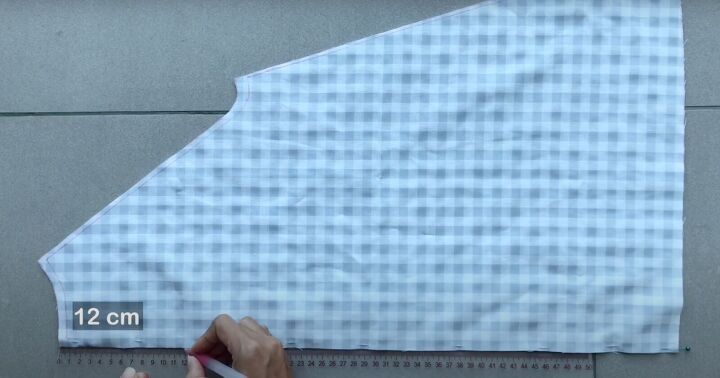
From the top of the neck, mark 4¾ inches (12cm) down to have a neck opening so it’s easy to take on and off. Pin from that point all the way to the bottom. Stitch together.

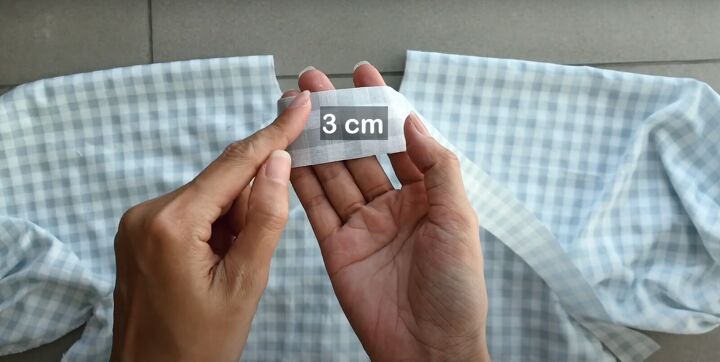
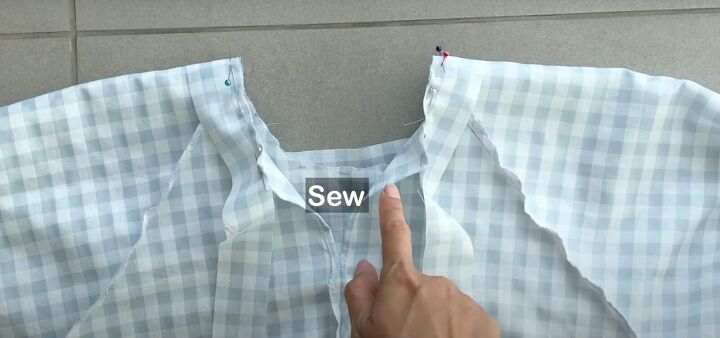
Double fold the open edges of the neck opening and stitch into position.
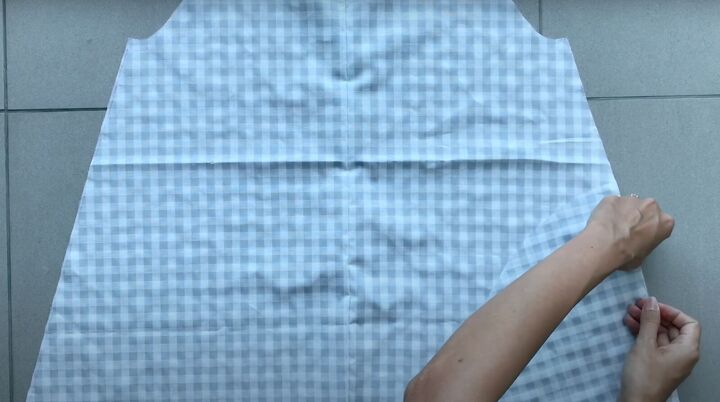
From the hem, mark up 4 inches (10cm) to position the bottom of the pocket. Pin the pocket in place up along the side. Do the same for the other side.
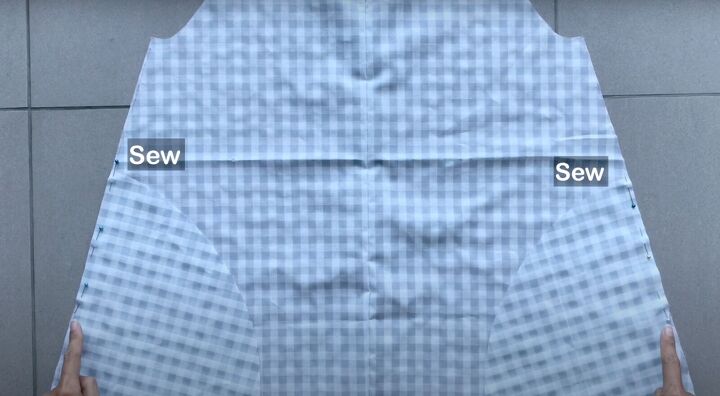
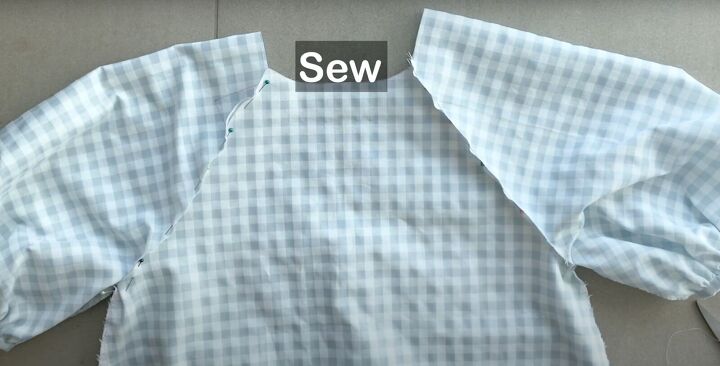
Place the pockets using the same technique on the front bodice pattern. Sew the pockets to both the front and back pieces on either side.
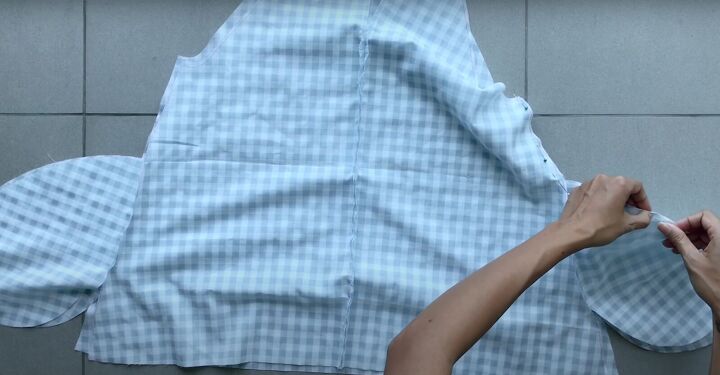
Place the front and back pieces right sides together. Pin the side seams and pockets. Sew together.
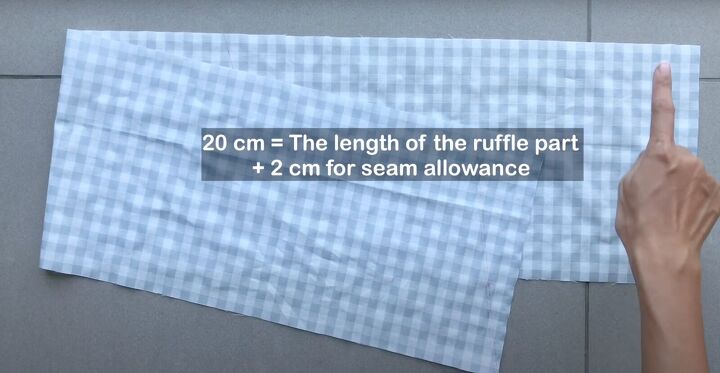
6. Make the ruffle
The ruffle width is up to you. In this tutorial, I’ve measured an 8-inch (20 cm) ruffle with a ¾-inch seam allowance. The length should be 1.5 X 1.3 X half your hip measurement. You may need to cut several pieces of fabric to reach this length.
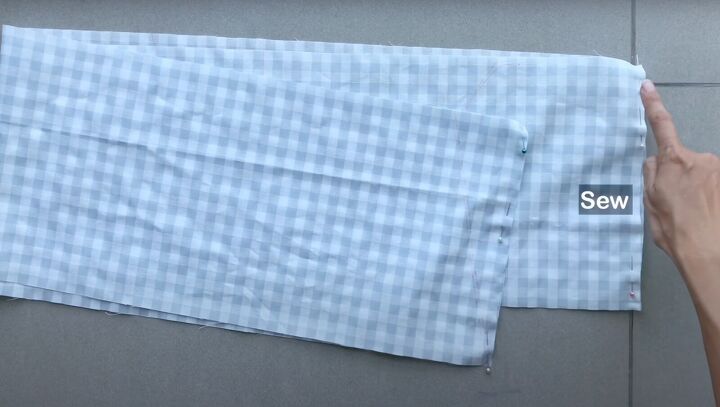
If you do, pin the fabric right sides together and sew to create one large circle.
Double fold one side to hem. Pin in place and sew together.
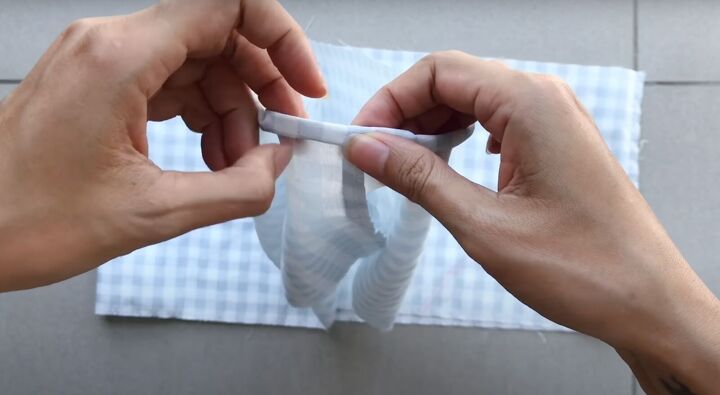
On the other side of the circle, sew a gathering stitch. Pull the gathering threads.
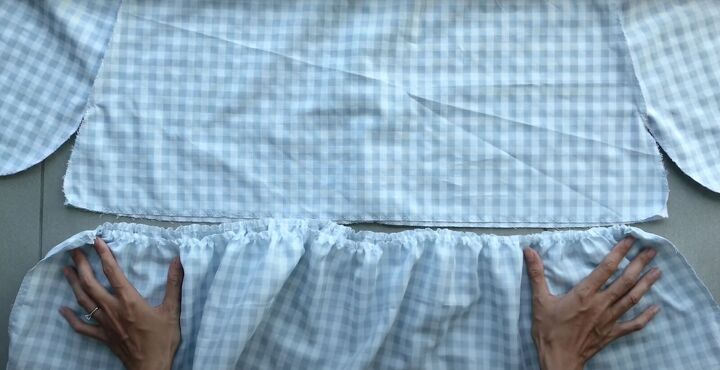
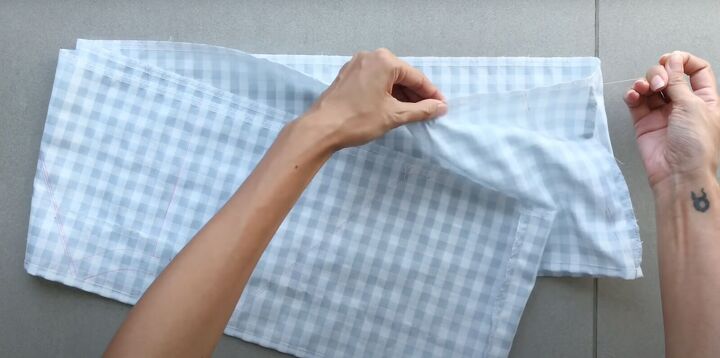
Make sure the final length, once gathered, fits the hem of the bodice. Lay the ruffle right sides together to the hem.
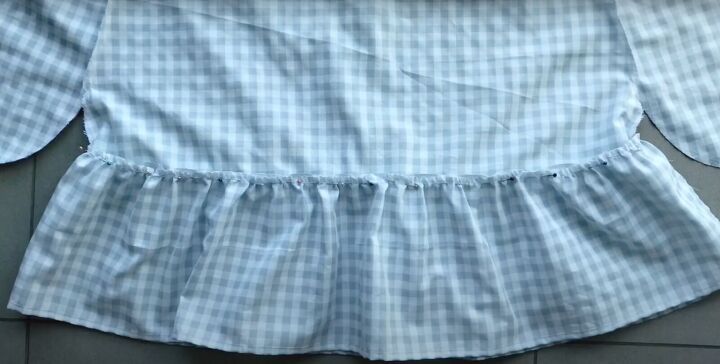
Pin in place and sew.
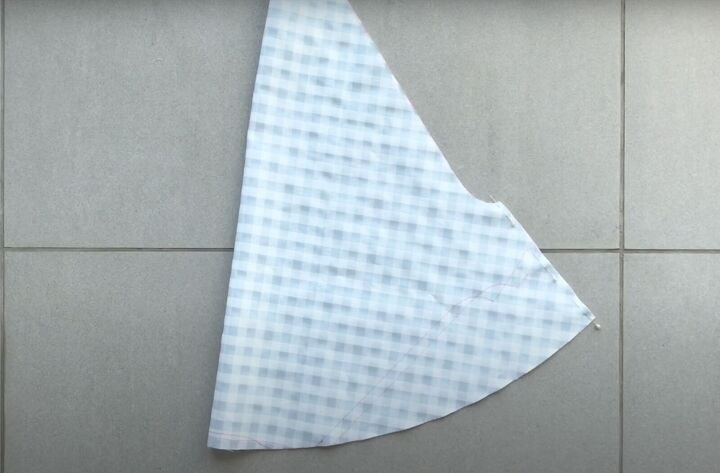
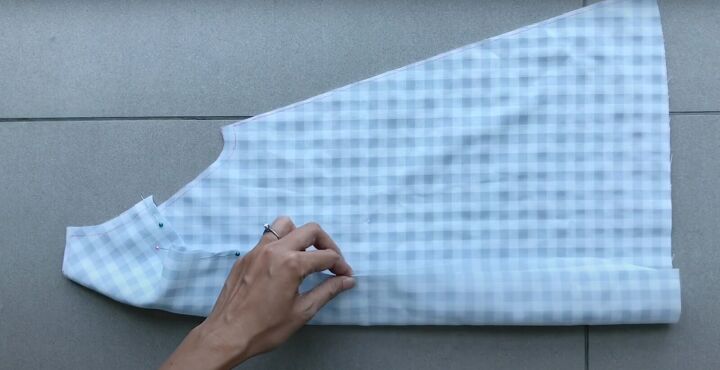
7. Sew the sleeves
Fold the fabric in half, right sides together. Pin the bottom portion up to the sleeve line and sew.
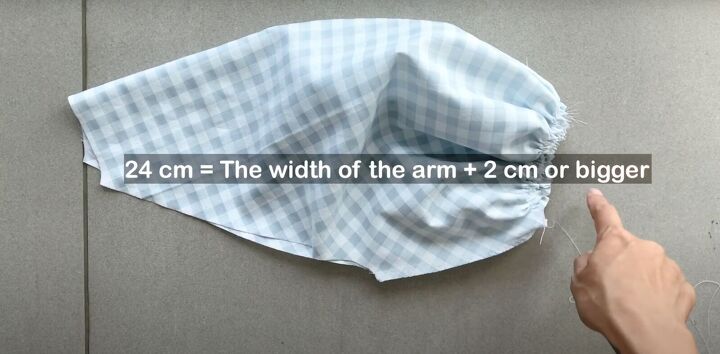
Then, sew a gathering seam along the long curved end. Pull the threads to gather. Match the measurement of your arm width plus 1 inch or even more.
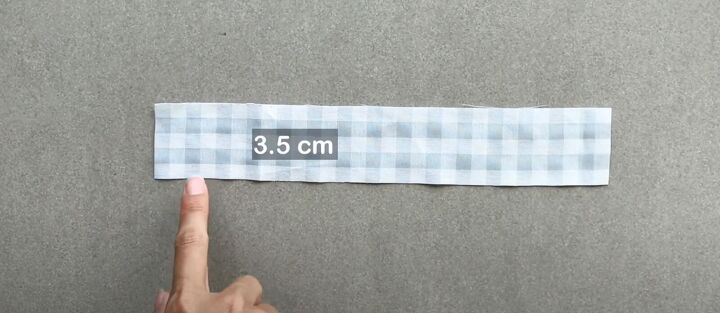
To finish the ends of the sleeve, cut a piece of fabric that is 1¼ inches (3.5cm) wide by the length of your sleeve bottom plus ¾ inch. In this tutorial, it is about 9 inches (24 cm). Pin it across and sew.
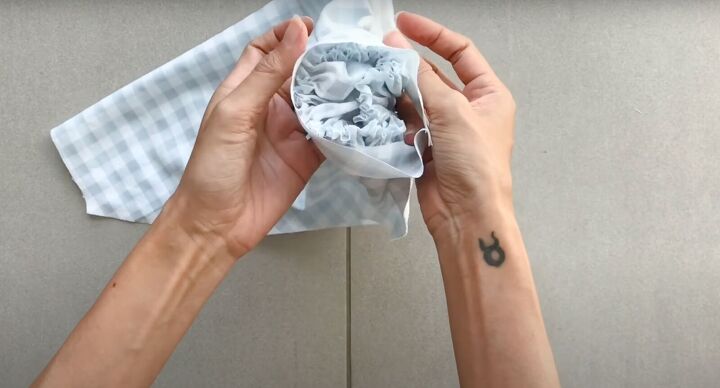
Place the sleeve inside the cuff, right sides together. Pin in place and sew.
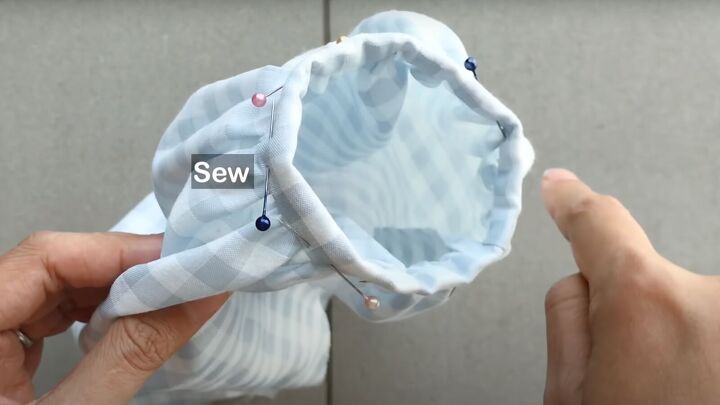
Once it’s sewn, flip it to the right side and fold the cuff twice towards the inside. Pin and sew together using a topstitch.
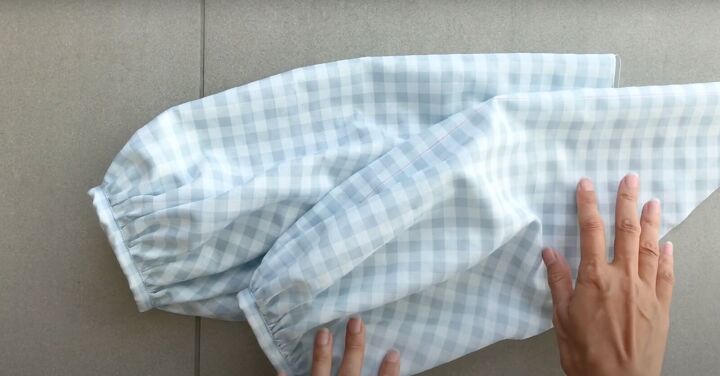
Repeat the process for the second sleeve.
8. Attach the sleeves
Line up the sleeves to the sleeve line with the right sides together.
Start pinning the sleeve seam to the side seam. Sew in place.
9. Finish the neckline
Cut a piece of bias tape that is 1¼ X 27½ inches (3 X 70cm) or even longer if you prefer.
Fold in half to find the center. Start by pinning the center point of the bias tape to the center point of the front neckline. Pin all the way around the entire neckline. Sew.
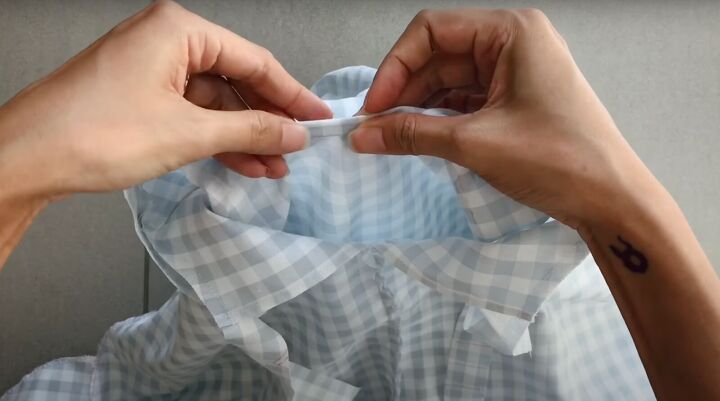
Double fold the bias tape in to the right side to hide the seam.
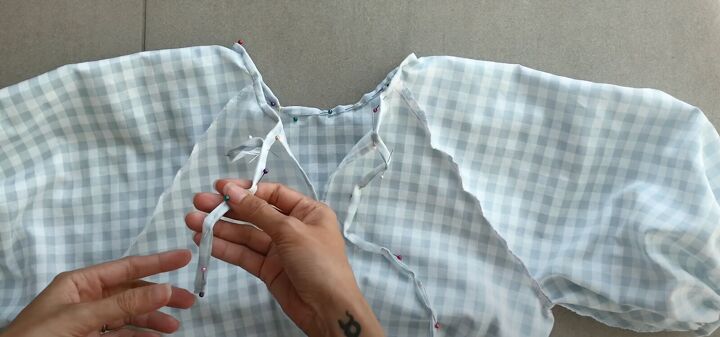
Fold the rest of the bias tape to make a neck closure. Pin in place. Stitch into position.

You’re done making this easy DIY babydoll dress!

How to make a babydoll dress
You’ve learned how to sew a babydoll dress that is absolutely perfect for your summer holidays! As always, please leave comments if you made this DIY babydoll dress and where you wore it. Thanks for joining!
The author may collect a small share of sales from the links on this page.


Comments
Join the conversation