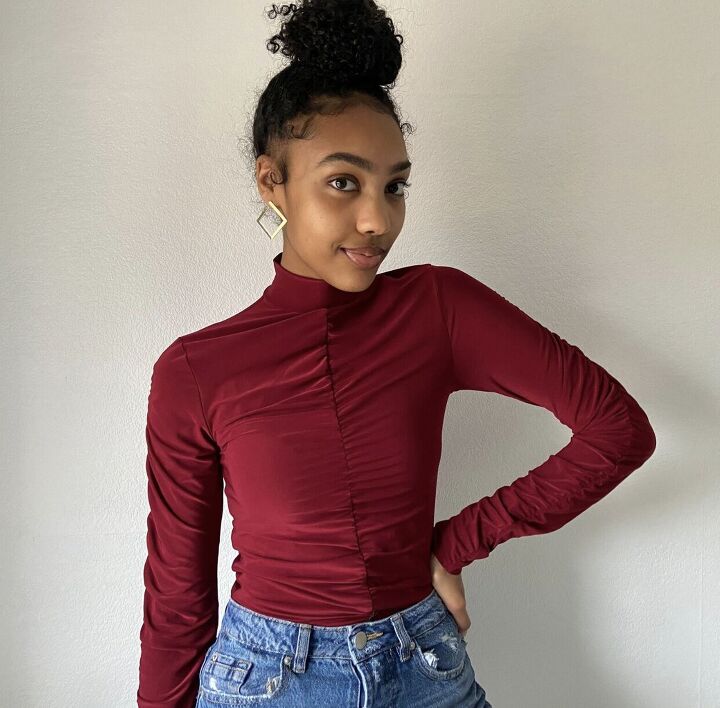
How to Make a Cute High-Neck DIY Ruched Top (Beginner Sewing Pattern)

A high-neck ruched top is timeless and perfect to wear in any season. Ultra-flattering with pants, skirts, or even shorts, it is a wonderful addition to your wardrobe.
My ruched top sewing pattern is available on Etsy and this ruched top tutorial will show you how to sew a ruched top using it. It’s got ruching down the front and back centers of the bodice as well as the sleeves for a fashionable and stylish top.
Let’s get started making your DIY ruched top!
Tools and materials:
- Stretchy fabric - 4-way stretch only
- ¼-inch elastic
- Jersey or stretch needle
- Ruched top sewing pattern
- Paper for the pattern
- Scissors
- Pins
- Measuring tape
- Serger (overlock machine) preferred or regular sewing machine
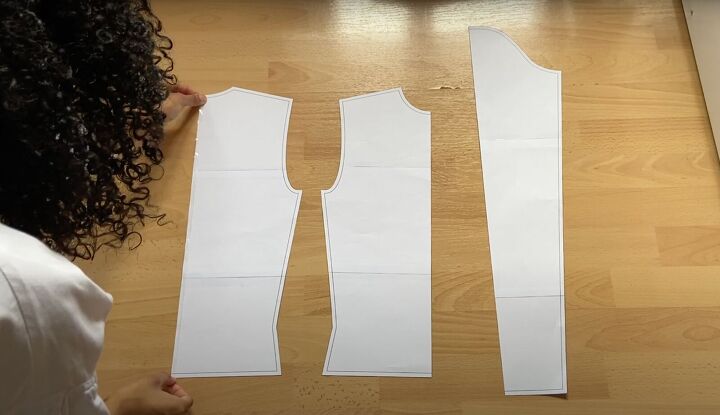
1. Make the pattern
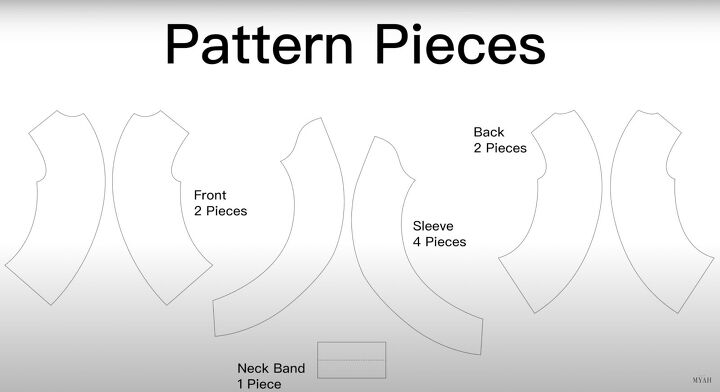
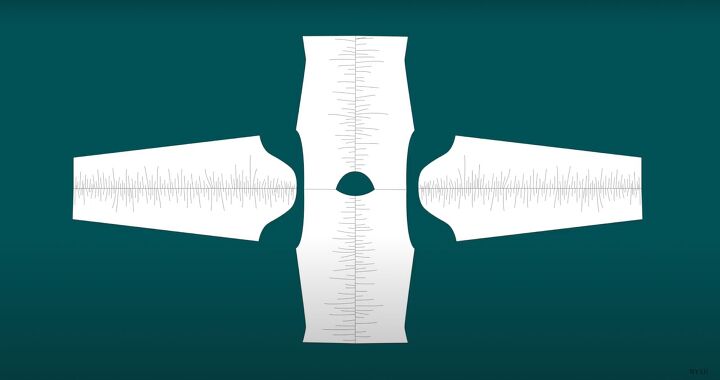
Download the pattern and cut out all the pieces. You’ll have the following pieces: 2 front, 2 back, 4 sleeve, and 1 neckband.
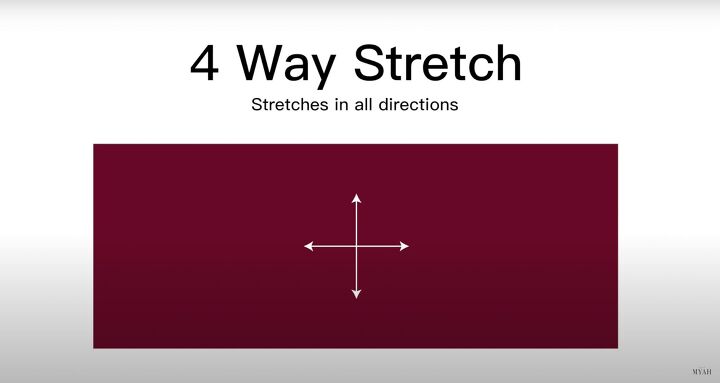
Use a 4-way stretch fabric that stretches in all directions. Make sure the fabric is very stretchy because the neck collar is quite small and you’ll want it to go over your head and to fit nicely.
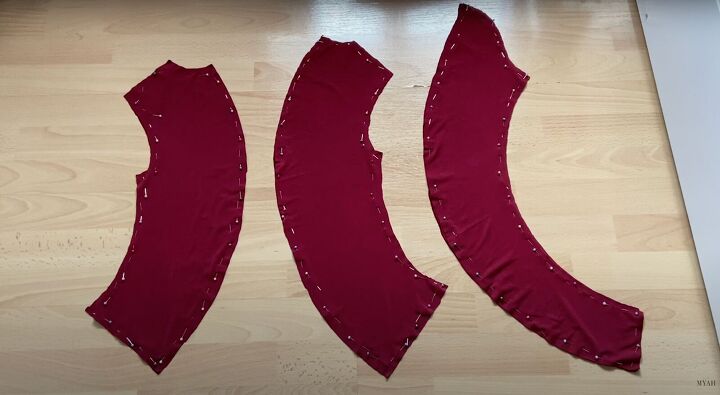
Make sure the cut the fabric to match the pattern so the stretch goes horizontally.
2. Prepare the elastic for ruching
Cut the elastic to match the length of the seams of the center of the front, back, and sleeves on your original paper pattern. You’ll need two for the bodice and two for each sleeve.
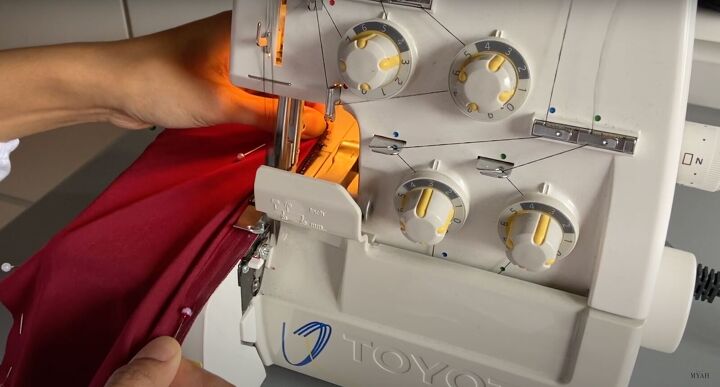
You’ll sew the elastic directly onto the fabric so this is easily done with a serger.
If you don’t have a serger, use a zigzag stitch on a regular sewing machine but make sure the stitches are close and not too far apart. This way your seams will be strong and hold together.
Use a stretch needle that matches the thickness of your fabric.

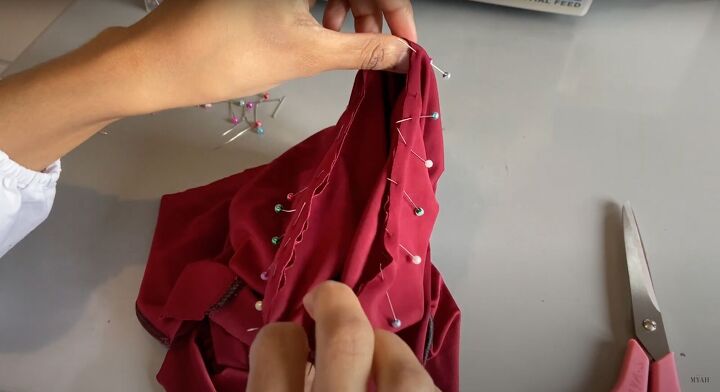
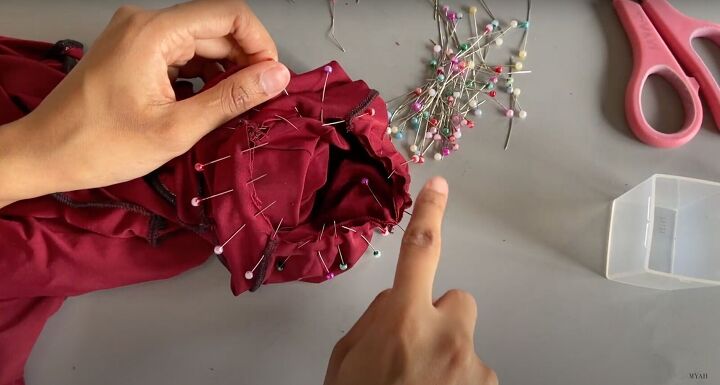
To get the ruching even, it’s best to pin the elastic to the fabric in increments. Pin the top and bottom first. Then pin the center. Then pin the other sections.
3. Start sewing
It can be tricky to get started sewing a ruched seam. You may find it easier to put the fabric under the machine with the pins still inside the fabric.
Turn the needle handle so the needle is sitting in the elastic on the fabric. Sew a backstitch, remove the pins, and stretch and sew as you go along.
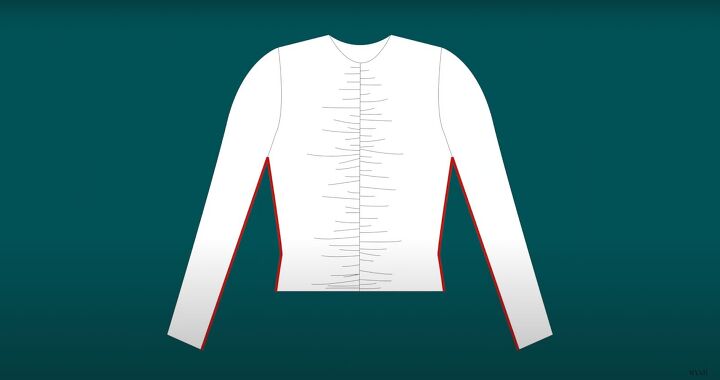
Once you’ve sewn the center front, sew the center back, and the sleeves.
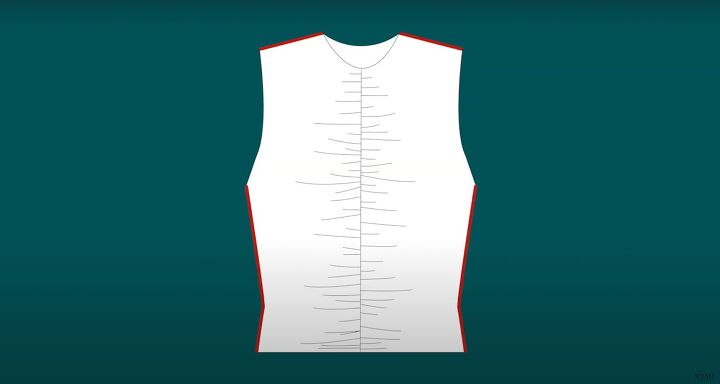
Place the front and back right sides together. Sew the shoulder seams and side seams together. Note that is only done when sewing very stretchy fabrics, as the armhole is the same size as the sleeve.
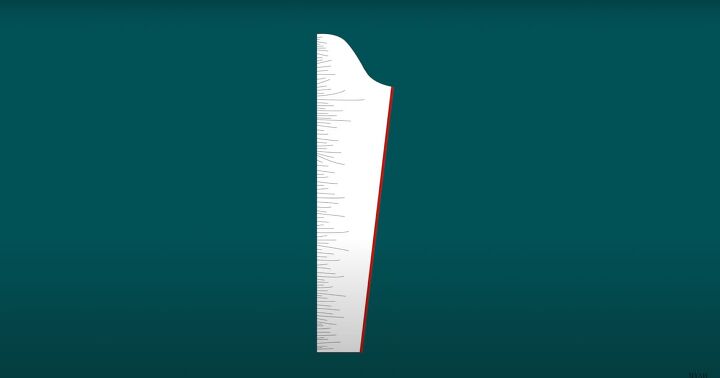
4. Sew the sleeves
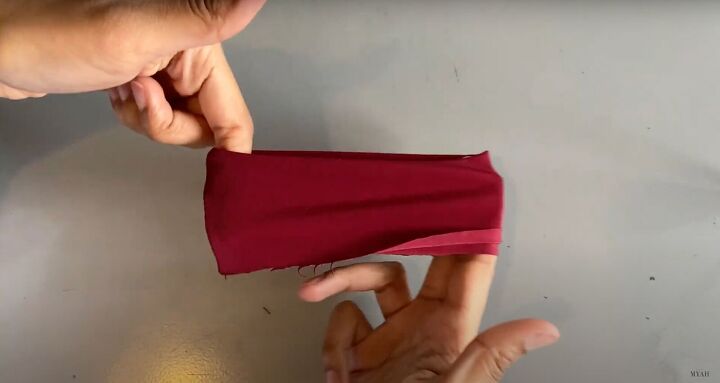
Pin and sew the side seams of the sleeves.
5. Attach the sleeves
Have the bodice right sides together. Have the sleeves right sides out. Insert the sleeves into the top so their right sides are touching.
The sleeve should slip easily into the armhole because the pattern has no ease. Match the side seam of the sleeve to the side seam of the bodice.
To make the sewing easier, shift the serged or overlocked edge of the sleeve and side seams so they aren’t directly on top of each other. This way they will lay flat.
Pin in place and continue pinning all the way around the armhole. Match up the shoulder seam and the center of the sleeve. Pin it with the seam allowance in the opposite direction.
Repeat the process for the other sleeve. Sew with your serger or a zigzag stitch.
Tip: Another way to sew the sleeves is to sew the shoulder seam together and leave the side seams unsewn. Pin the sleeves along the armhole.
Then sew up the sleeve and bodice side seams. This is the preferred method especially if you need to ease the sleeves in. When using such a stretchy fabric you can choose your sewing method to attach the sleeves as both will work well.

6. Make and attach the neckband
Place the neckband right sides facing together and fold it in half. Sew to create a loop.
Fold the loop in half so the right side is outside. Line up the neckbands seams perfectly.
Pin the neckband to the collar right sides facing, with the seam of the neckband aligning with the center back seam of the bodice. Make sure you pin the unfolded edge to the collar.
Sew all around using your serger or a zigzag stitch because this needs to go over your head without the stitches popping out.
Stretchy fabrics don’t need hemming. Hemming ruched fabrics is actually a nightmare so make sure your edges are beautifully straight to finish.

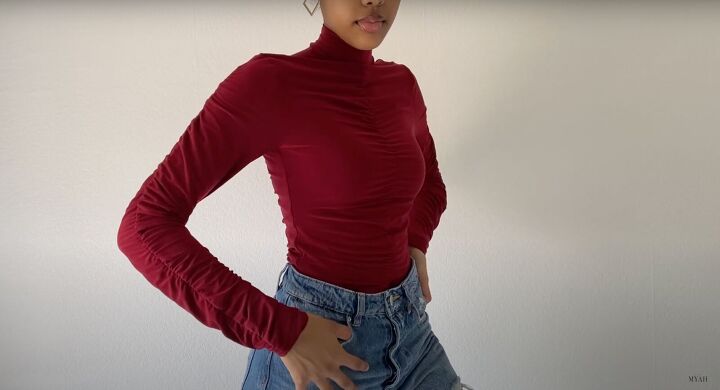
DIY ruched top tutorial
This high neck ruched top is so fashionable and beautiful you can wear it anywhere and at any time!
Please let me know in the comments if you made this DIY ruched top or share photos of you wearing it.
The author may collect a small share of sales from the links on this page.


Comments
Join the conversation