How to Make a Cute DIY Ruched Drawstring Top Out of Old Clothes

This is a ruched top DIY tutorial. You may have a pretty long-sleeved top that you’ve stopped wearing because it’s just a bit blah. How about turning it into a DIY ruched drawstring top that’s cropped and super fashionable?
While it sounds like it might be complicated, this ruched top sewing pattern is so easy! Let’s get started making a DIY ruched top.
Tools and materials:
- Long-sleeved top
- Rotary cutter
- Scissors
- Measuring tape
- Ruler
- Tailor’s chalk
- Sewing machine
- Needle and thread
- Safety pin

This is the long-sleeved, tunic-style top I wanted to transform into something new.
1. Make the ruched top sewing pattern
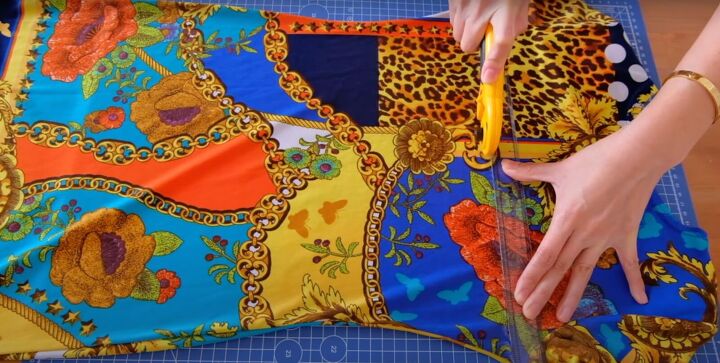
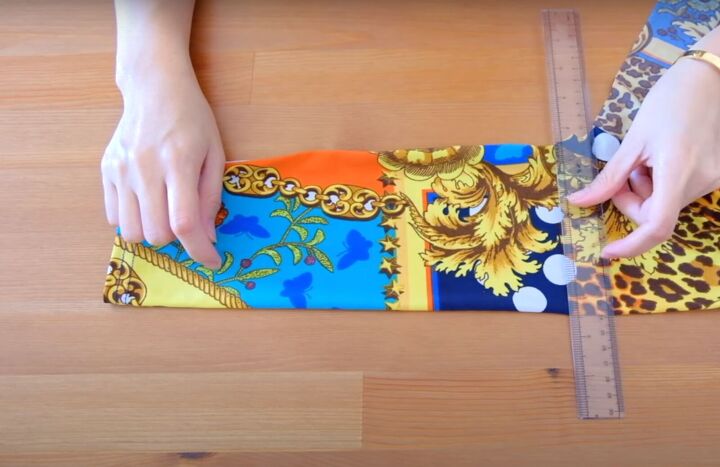
Lay your top on a flat surface with the front of the top facing you. Lay a long ruler across the top, right at the armpit toward the other side.
Use a rotary cutter right at the edge of the ruler to cut it straight across.
Your pattern should be 12 inches in length and 13½ (or larger depending on your size) in width. Measure the piece from the bottom up so the hem is already done for you!
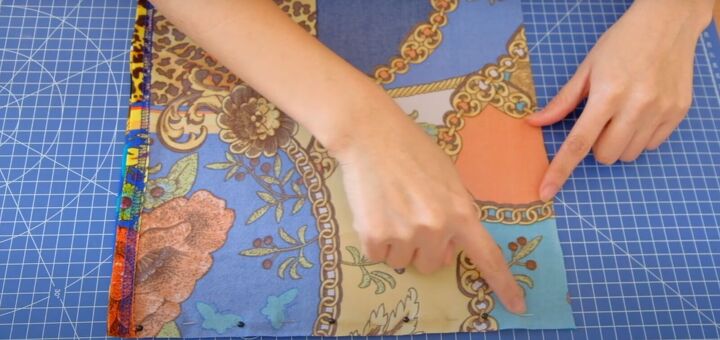
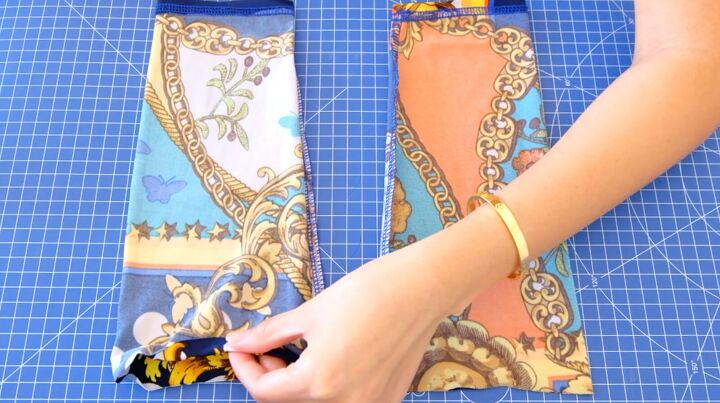
2. Sew the side seams
Turn the top inside out so the right sides are together. Pin the side seams to sew, leaving a small seam allowance of about ¼ inch.
3. Sew the neckline
Once the side seams are sewn, fold the top down a tiny bit. This is to create a smooth professional finish at the top. Pin in place and then sew with a straight stitch.
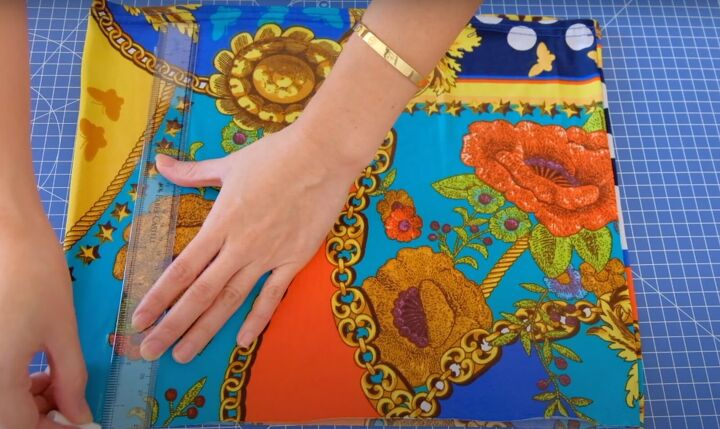
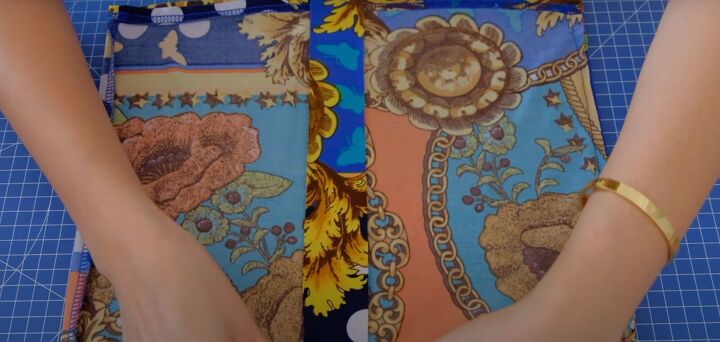
Lay the shirt flat with the wrong side facing you. Use the ruler to measure the center of the shirt. Mark with a line.
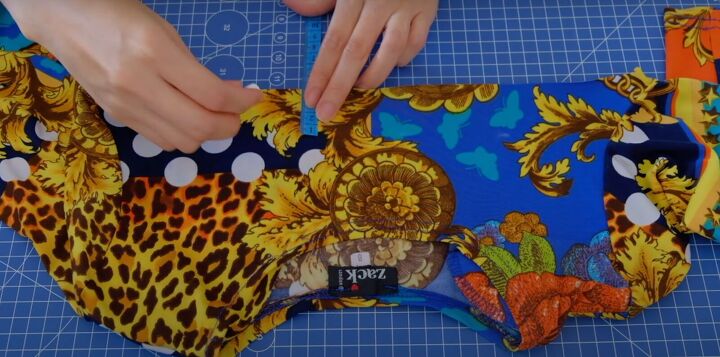
4. Make the drawstring casing
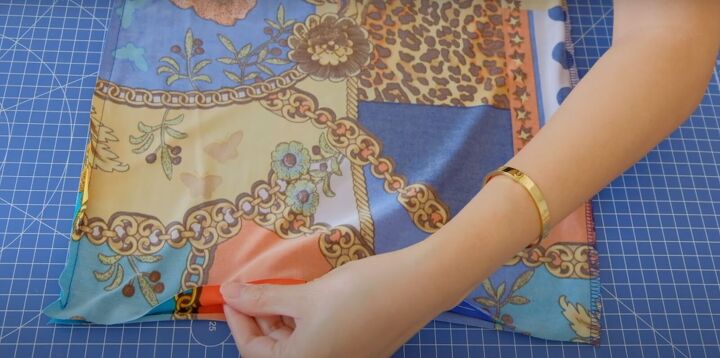
Use the top front of the shirt you cut away from to make the center strip that will hold the casing or channels for the ruching. Mark a piece that is 12 inches long by 1½ inches. Cut this piece out.
Lay this strip right side facing up on the wrong side of the shirt on the line you drew before. Pin the strip down.
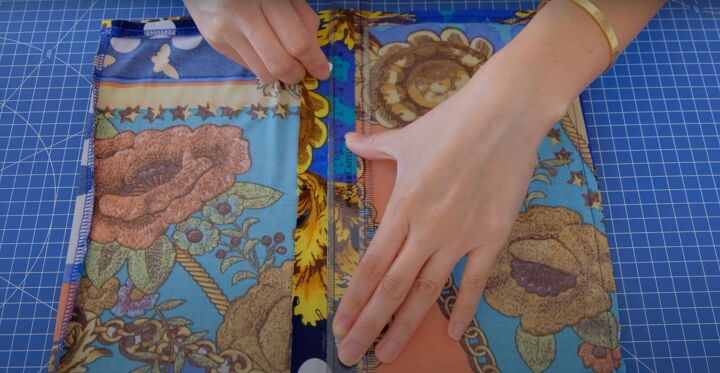
Lay your ruler down the strip and mark a straight line to guide you for sewing in the exact center. Sew a straight stitch down this line.
Now mark lines on either outer side of the strip, as close to the edge as possible to serve as a guide for you to sew.
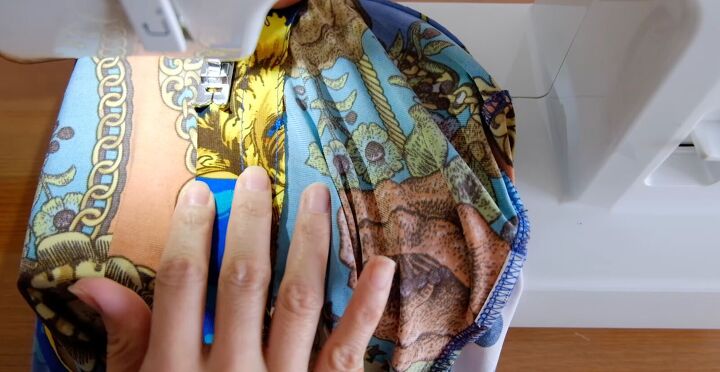
Sew these two lines with a straight stitch. Congratulations! You’ve made 2 casings!
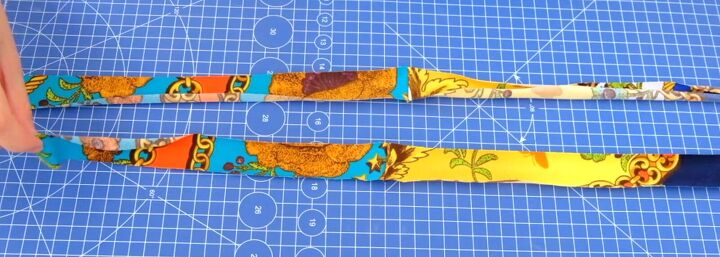
5. Make the drawstrings
Use leftover fabric to cut strips to make the drawstrings that will help you ruche the top. The width should be 1¼ inches and the length about 52 inches.
You’ll need to sew the pieces together in order to make such a long strip. Place them right sides together, pin them, then sew.
Once you’ve got a long strip, fold it in half so the right sides are facing out. Pin in place and sew as close to the edge as possible.
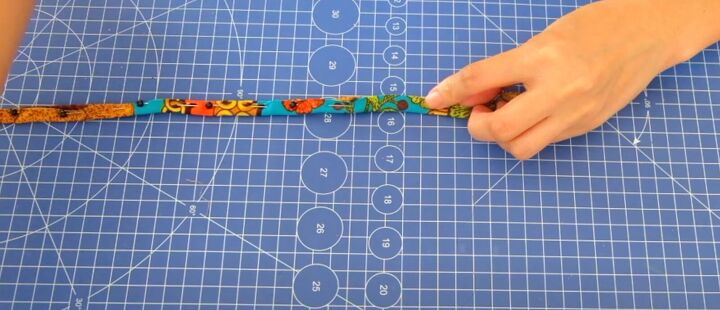
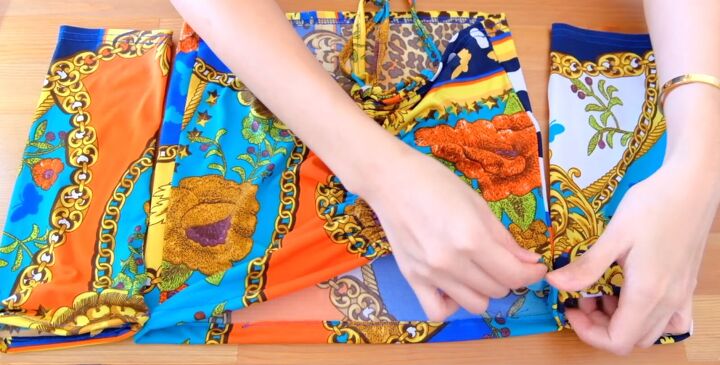
6. Insert the drawstrings
Attach a safety pin to the end of the long strip to feed it through the channels. Start at the bottom and move your way up the first casing.
Keep some of the strip at the bottom first channel.
When you get to the top, put the strip from the top going down through the second casing.
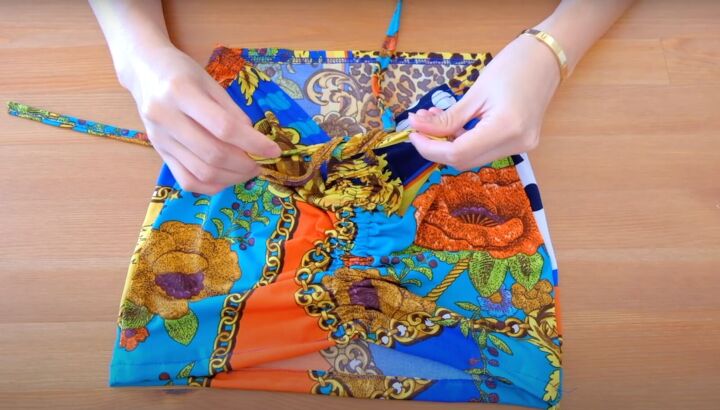
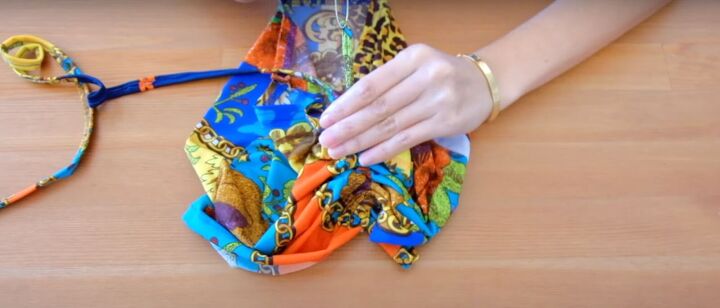
Pull the strip all the way through. Pull both strips to ruche the top. Tie the bottom into a bow.
7. Modify the sleeves
Lay down the top of the shirt you cut away from. Place a ruler just at the armhole to create a straight line.
Use a rotary cutter to cut off the sleeve. Do the same to the other sleeve. Flip them inside out.
Fold over the edges to create a smooth professional finish. Pin in place and sew with a straight stitch.
8. Attach the sleeves
Turn the sleeves right side facing. Lay the ruched top down on a flat surface and the sleeves on either side in the correct position.
Pin the sleeves in place to the top edges. Hand sew the sleeves to attach.
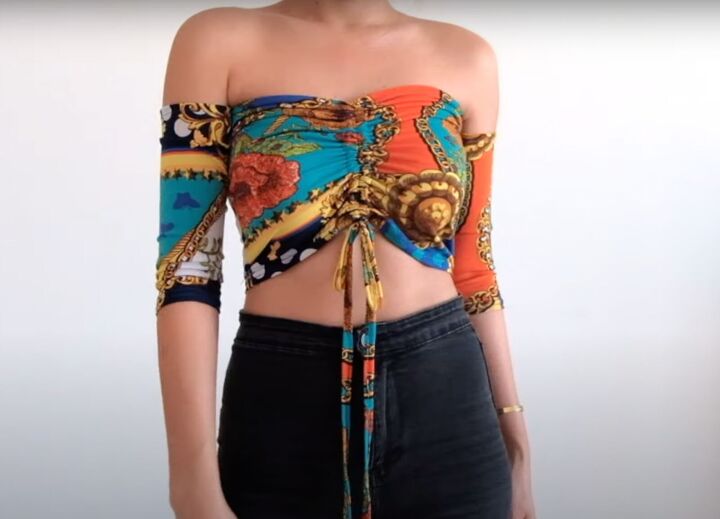
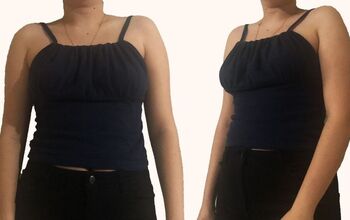
DIY ruched drawstring top tutorial
Here's the finished DIY ruched top! This sexy top is perfect for the summer and I love the boho style of the drawstring tie and off-shoulder, three-quarter-length sleeves.
Please let me know in the comments if you made this cute top and share your photos!
The author may collect a small share of sales from the links on this page.


Comments
Join the conversation