How to Make a Cute DIY Milkmaid Top Out of an Old T-Shirt

In this tutorial, I will be showing you how I turned an old t-shirt into an adorable milkmaid top. I love this DIY milkmaid top thrift flip because it’s so easy, and the results are beautiful. Happy crafting!
Tools and materials:
- Oversized t-shirt
- Scissors
- Measuring tape
- Fabric chalk
- Pins
- Sewing machine


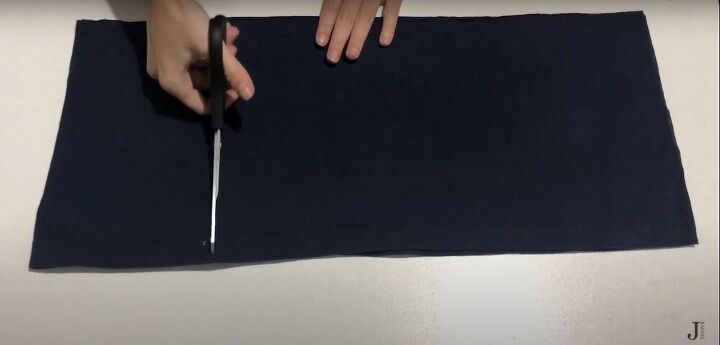
1. Mark
I measured a line across the t-shirt, 40 centimeters (15¾ inches) from the bottom, and marked it with pins.
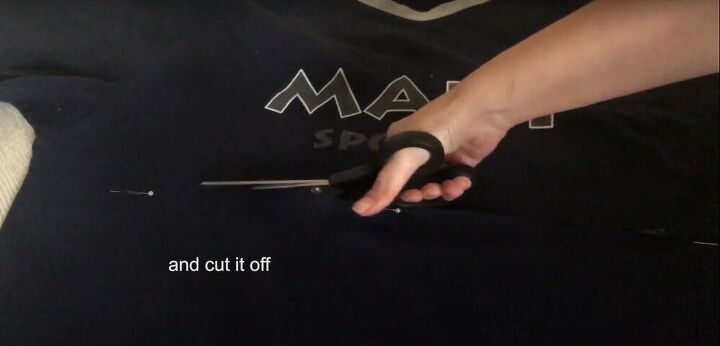
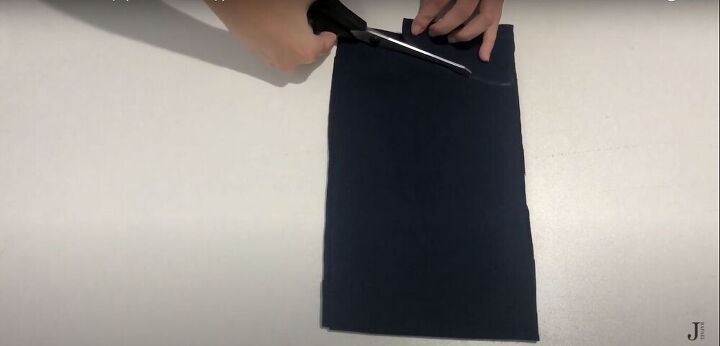
2. Cut
Then I cut across that line.

3. Measure
I measured from my chest to right below my bustline. For me, this was 15 centimeters (6 inches).
4. Mark and cut
I added 2 centimeters (¾ of an inch) to that measurement and measured and marked a line of that length from the top of the t-shirt. Then I cut across that line.
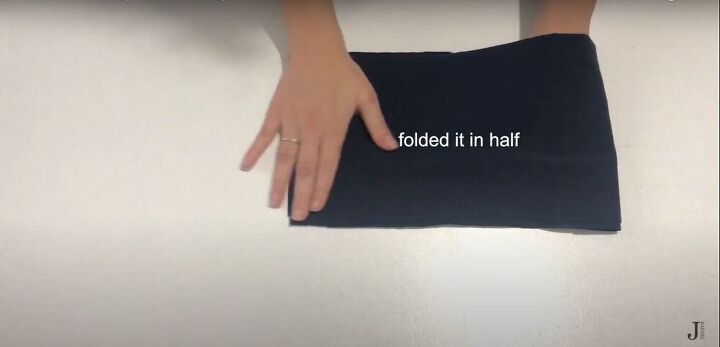
5. Fold
I turned the top half of the shirt inside out and folded it in half.
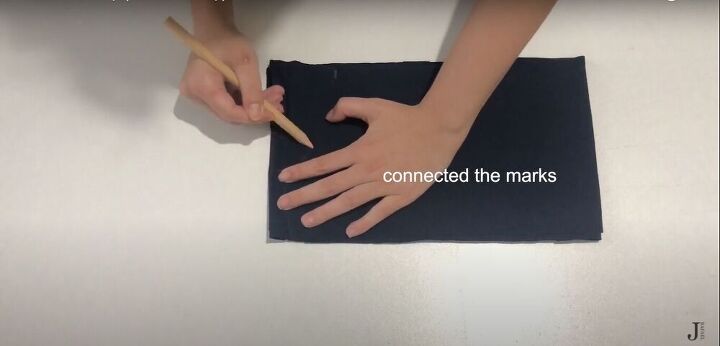
6. Mark
I marked a point 6 centimeters (2½ inches) from one raw edge, and another point 6 centimeters to the right of the edge opposite the fold, and then connected those marks with a line.
7. Cut
Then I cut along that line.
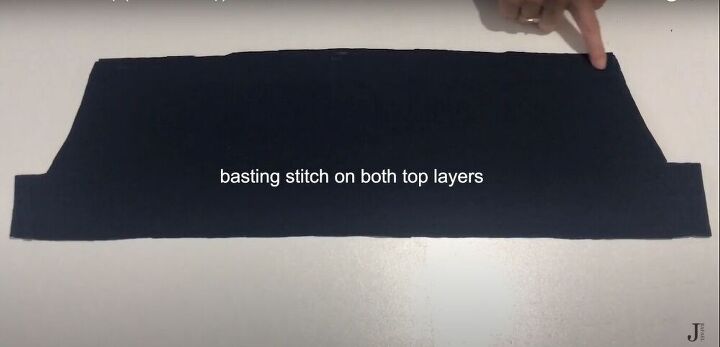
8. Sew
I sewed across both layers of the top edge with a basting stitch, with no back-stitching at the beginning or end.
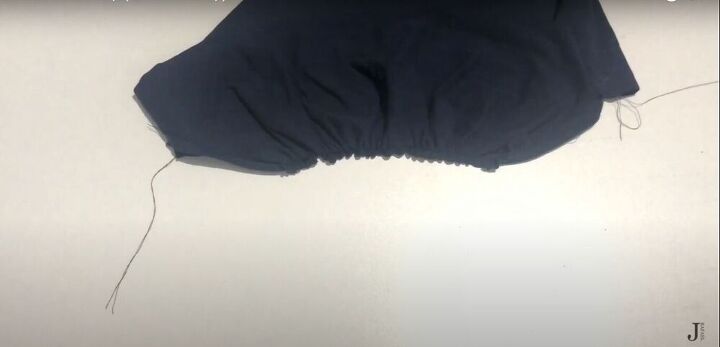
9. Gather
Next, I gathered the fabric along the thread, and then tied off and cut the threads at the edges.
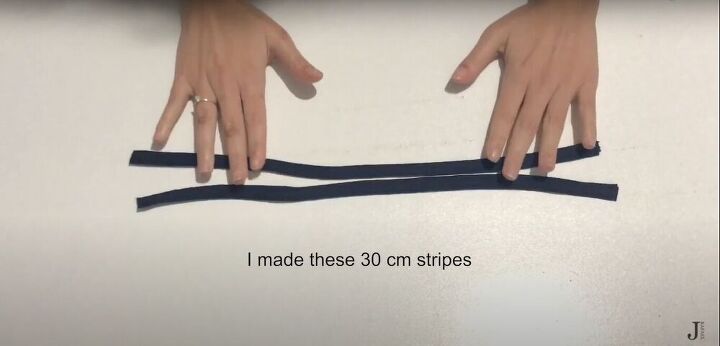
10. Cut strips
I cut two 30 centimeter (12 inch) strips.
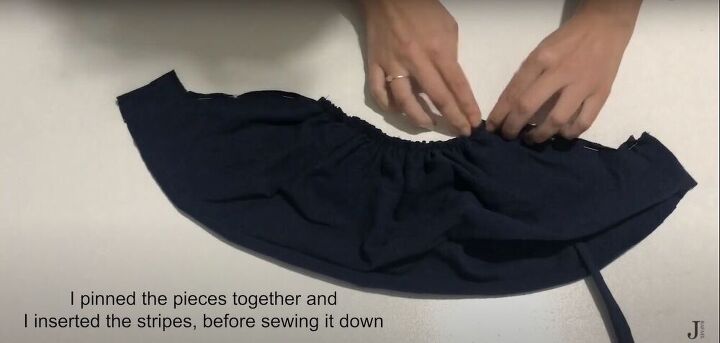
11. Insert the strips
I pinned the layers together on the sides and inserted the strips at the top corners, and then sewed the sides down, sewing the straps in place, as well.
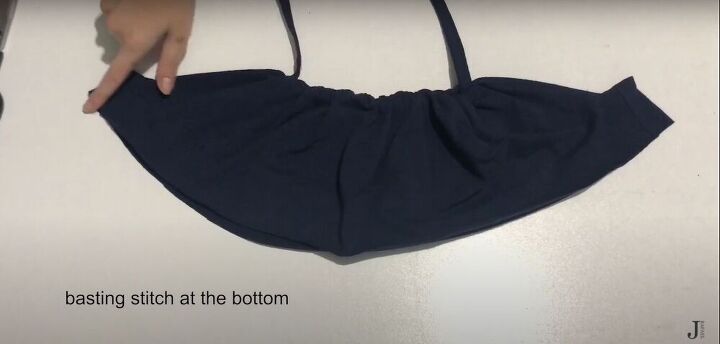
12. Sew
I flipped the fabric right side out and sewed the bottom edge with a basting stitch.
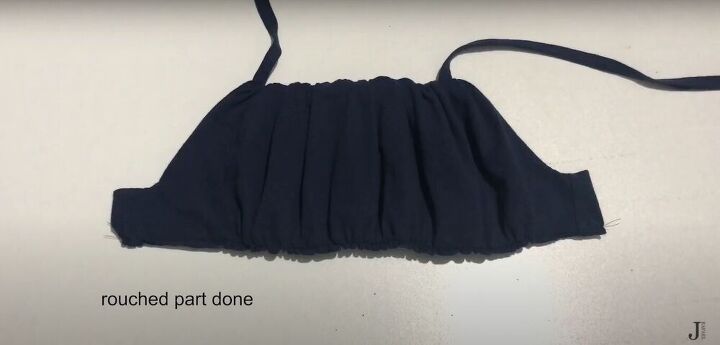
13. Gather
I gathered the bottom edge along the thread, as well, and tied off and snipped the ends of the threads.
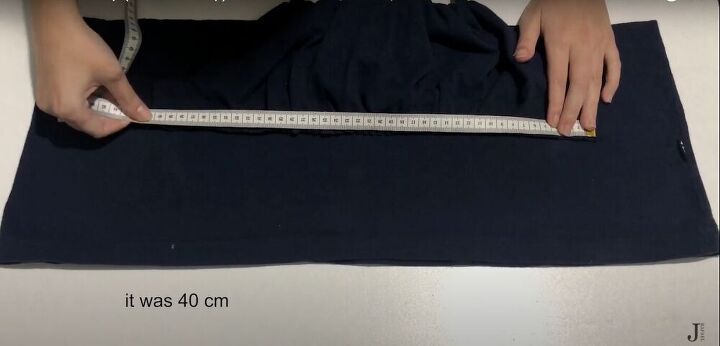
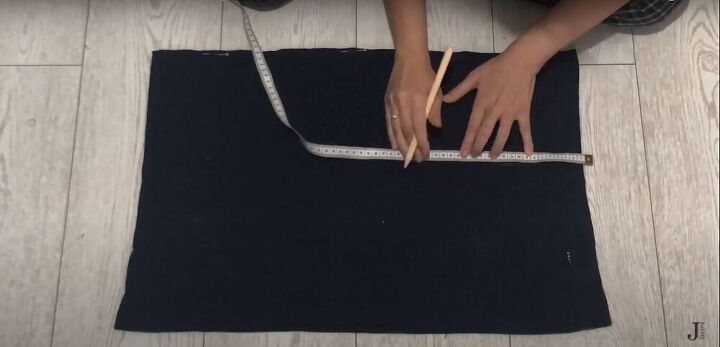
14. Measure and cut
I measured the bottom edge of the ruched part, which for me was 40 centimeters (15¾ inches), and cut the bottom half of the shirt to the same width.
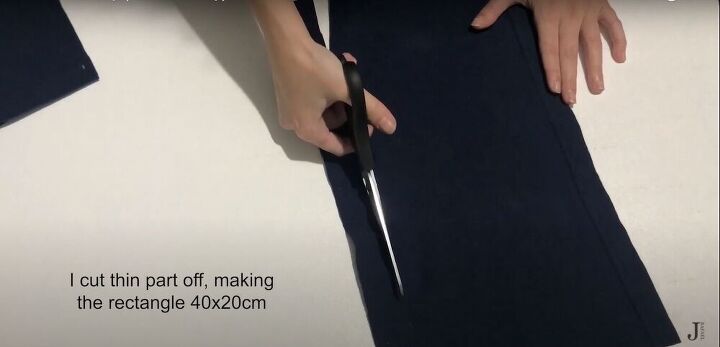
15. Cut
I separated the layers of the bottom of the shirt. I cut one layer so it was a rectangle measuring 40 centimeters by 20 centimeters (15¾ inches by 8 inches).
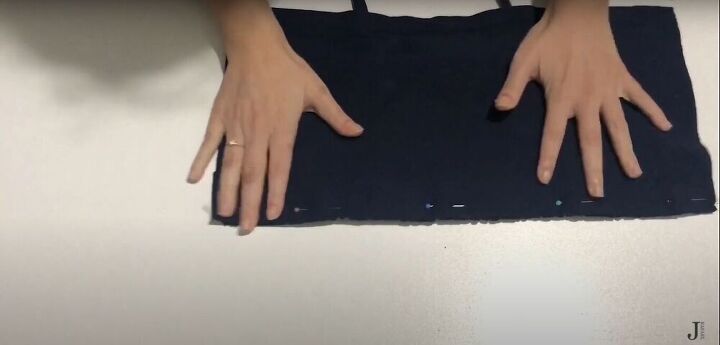
16. Pin and sew
Next, I pinned the rectangle to the top part of the shirt, right sides facing, and sewed it down with a zigzag stitch.
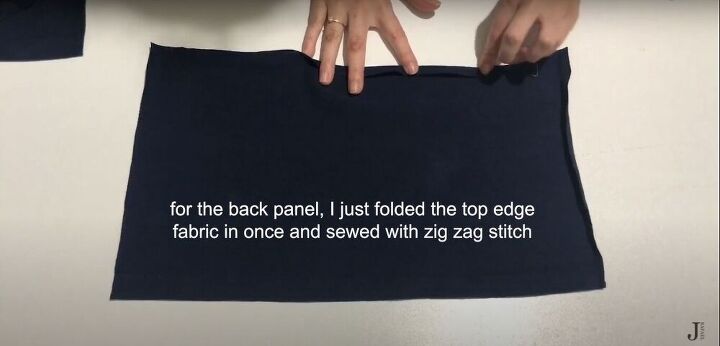
17. Pin and sew
On the back panel, I folded the top edge of the fabric in once and sewed it down with a zigzag stitch.
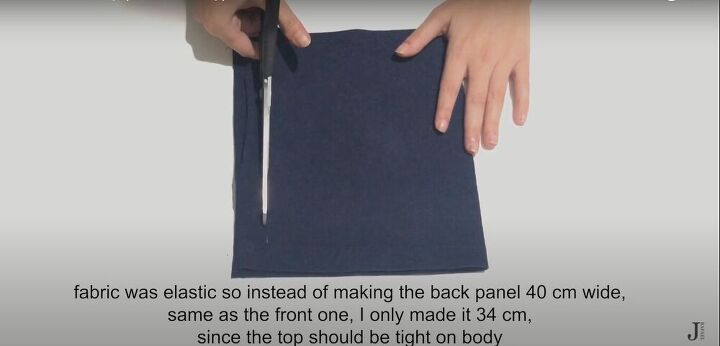
18. Cut
I folded the back panel and trimmed 3 centimeters (1 inch) off the open edge, so the shirt would fit snugly.
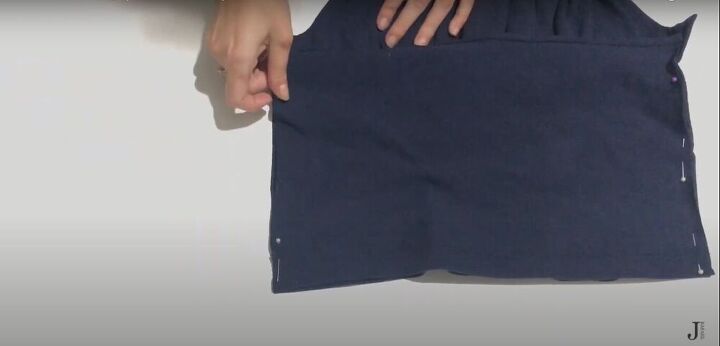
19. Pin and sew
I pinned the side seams of the front and back panels together, right sides facing, and sewed them down.

20. Measure and pin
On the back panel, I measured and marked 6 centimeters (2½ inches) from both sides, and pinned the ends of the straps at those points.
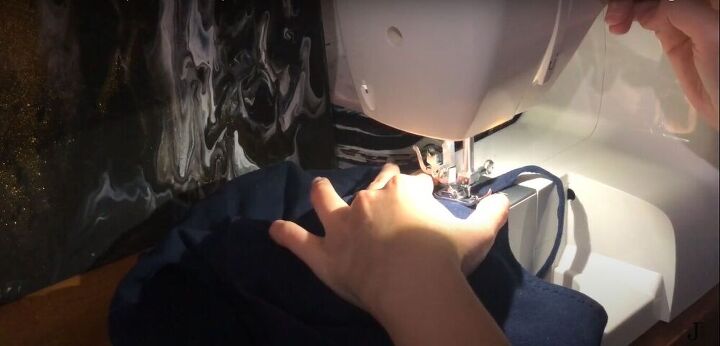
21. Sew
Then I sewed the straps in place.
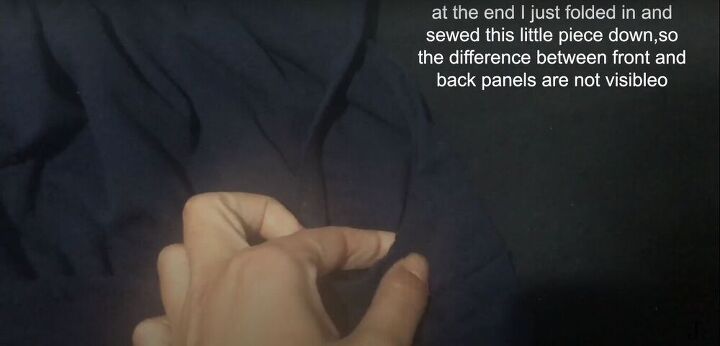
22. Finish it off
I folded down the little pieces on the side where the front and back were uneven and sewed them down.

DIY milkmaid top tutorial
I’m so happy with how this top turned out. I hope you enjoy doing this project as much as I did. Let me know what you think of this thrift flip!
The author may collect a small share of sales from the links on this page.


Comments
Join the conversation
Soooooo cute!! I'd like to try this.
My eyes glazed over reading the steps, guess I'm just not good at catching on. But I love what you did.