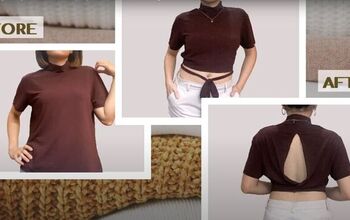
How to Make a Pretty Milkmaid Top Out of an Old T-Shirt

This tutorial is a great upcycle for all sewing enthusiasts! I will show you how to make a milkmaid top from a spare, oversized t-shirt lying around. Let’s admit, unless you have a capsule wardrobe, most of us definitely have at least one shirt or t-shirt that seems to find itself at the back of our closets.
In which case, you can make something beautiful and functional out of it with this milkmaid top DIY! Also, I have a milkmaid top pattern for you to follow, so page down, and let’s get started.
Tools and materials:
- Old shirt
- Rotary cutter
- Ruler
- Measuring tape
- Scissors
- Paper
- Chalk
- Thread (2 colors)
- Sewing machine
- Elastic
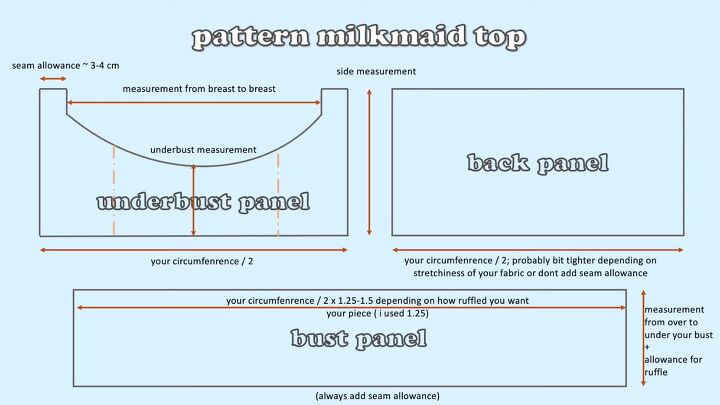
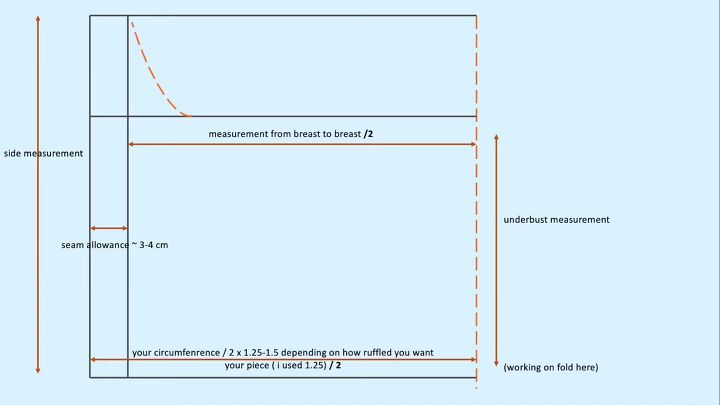
1. Make the pattern
To make the pattern according to your measurements, go ahead and measure yourself according to the milkmaid top sewing pattern shown above.
Next, transfer the pattern with your respective measurements to a piece of paper.
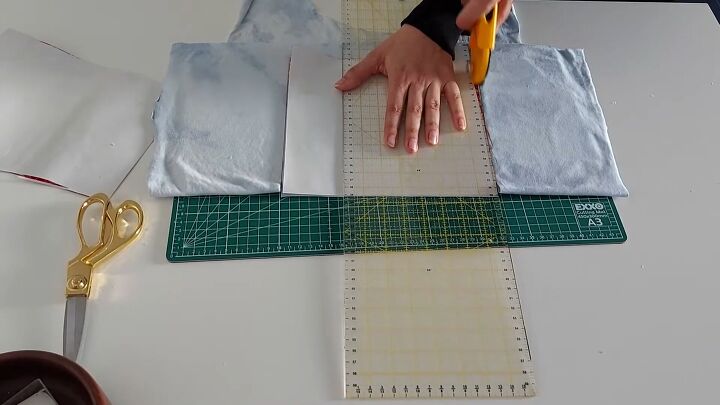
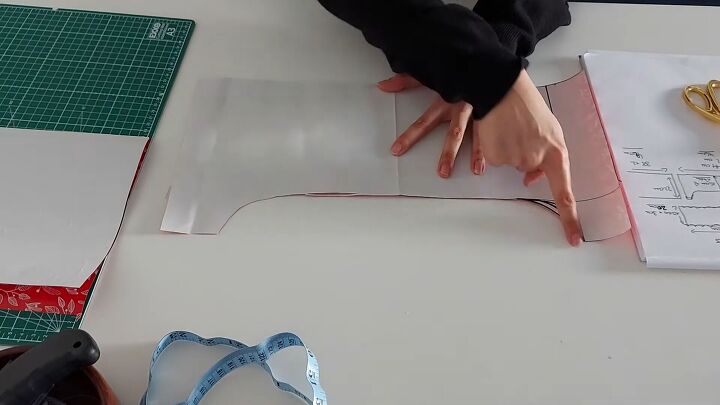
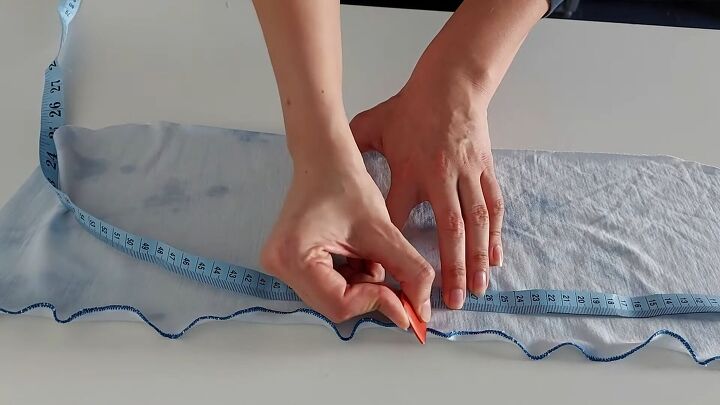
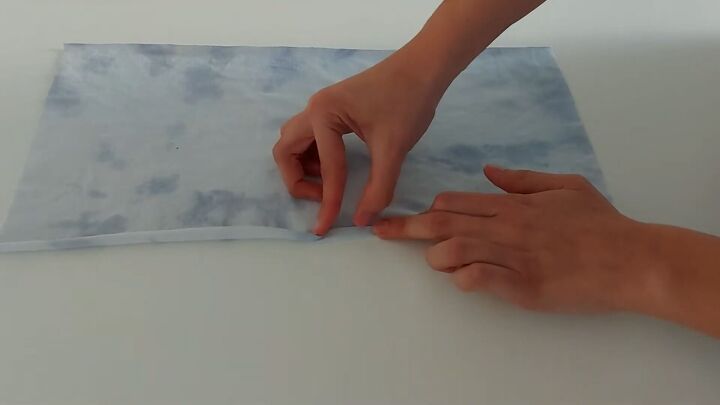
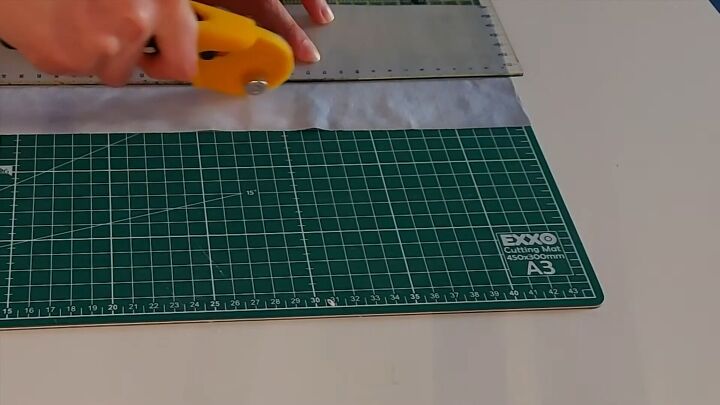
2. Cut the pattern pieces
Now, with either a sharp pair of scissors or a rotary cutter, carefully cut out your milkmaid top pattern pieces. You’ll notice that I took the shirt apart, leaving two bodice pieces for me to work with.
Tip: As a side note, I did manage to make a few mistakes in this step. It’s essential to make sure you’re cutting the fabric correctly to avoid wastage.
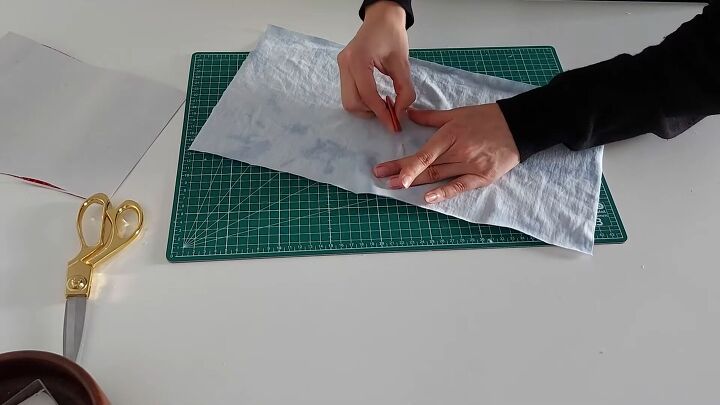
Mark the wrong sides of the fabric with chalk.
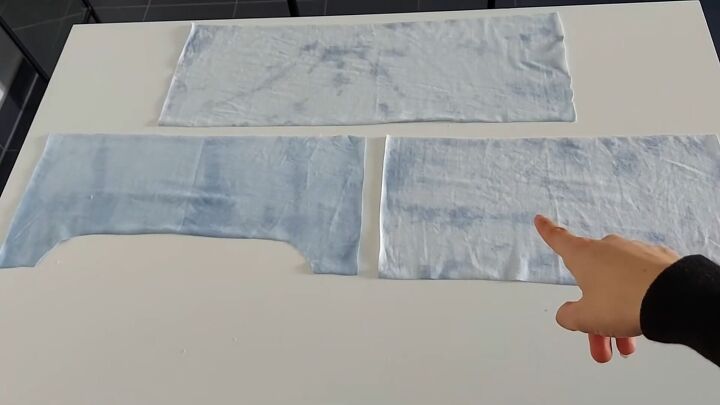
You should have three pieces.
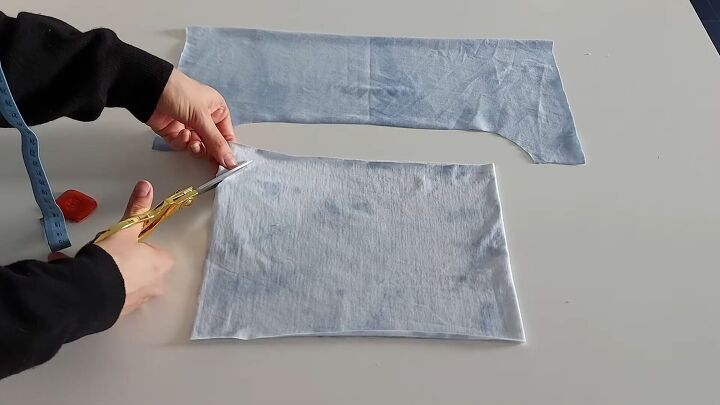
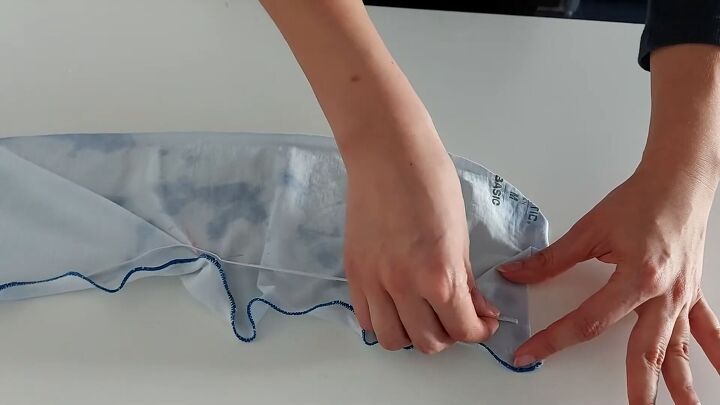
3. Make some modifications
Take your bottom bust piece (which you’ll be ruching later) and cut the corners, so in the end, when you fit it onto your main bust piece, it will fit cohesively.
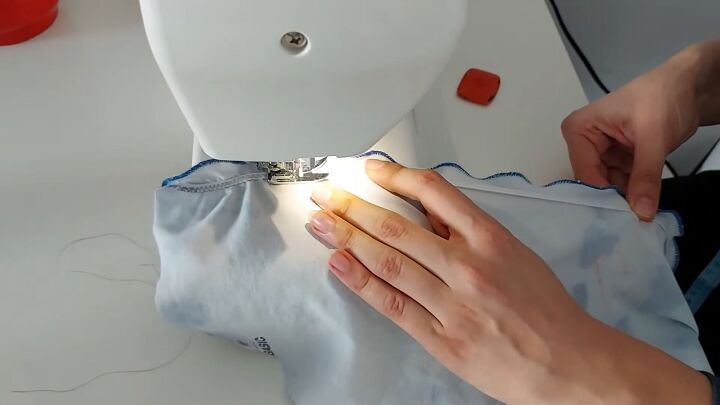
4. Overlock
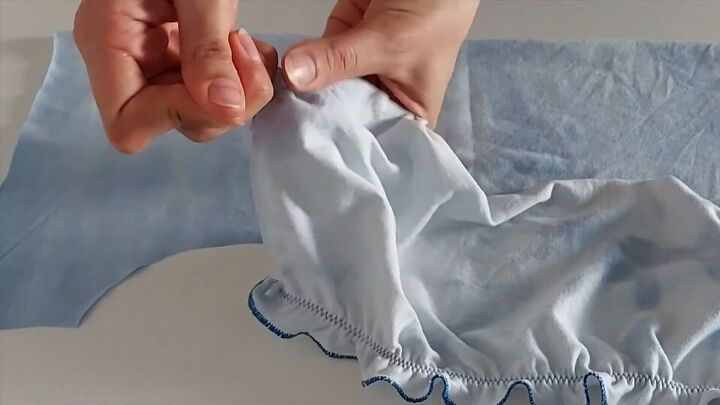
Serge the top of your bust piece, as shown.
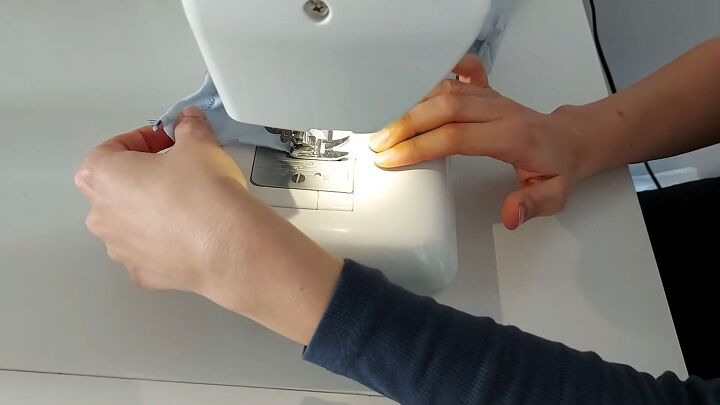
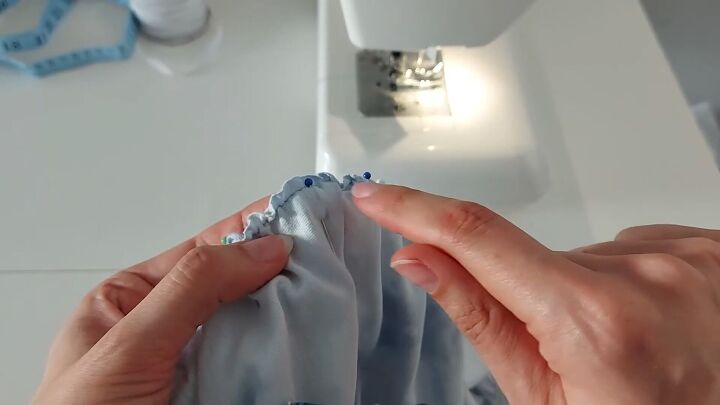
5. Sew the elastic
Mark the middle of your bust piece with chalk, and pin the middle of your elastic on that halfway mark.
Also, pin the short ends of the elastic to the sides of the bust piece. This will ensure that when sewing the elastic, it will be evenly distributed.
When you sew your elastic to your top, make sure to use a zigzag stitch. Also, don’t pull one the first few inches. Do a reverse stitch in the beginning, and then start pulling the elastic.
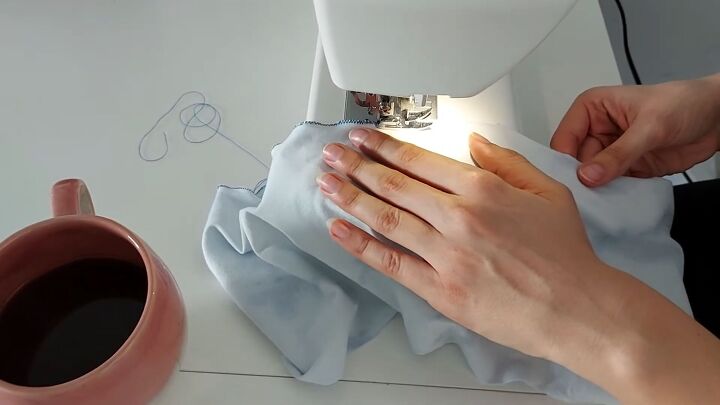
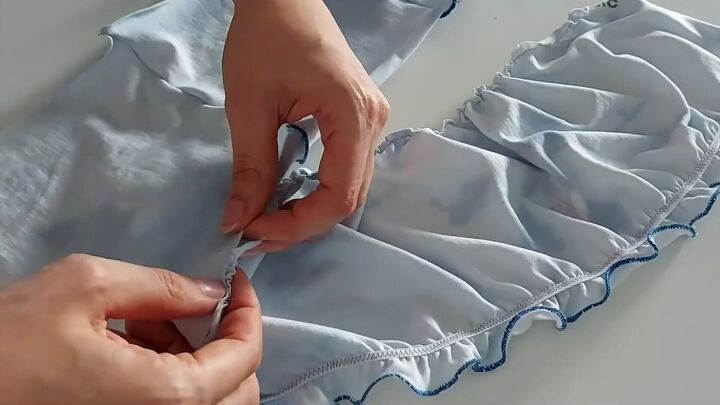
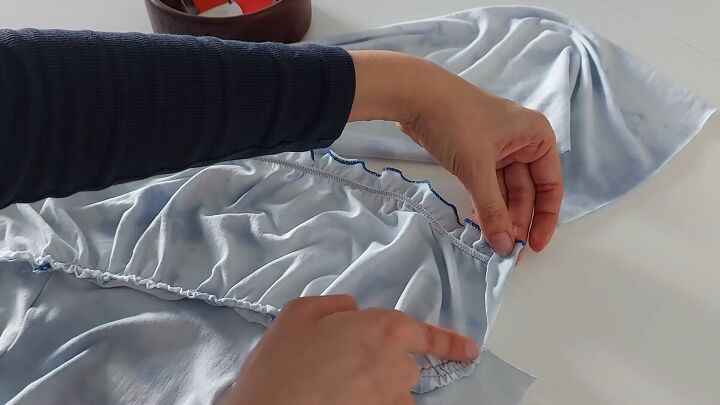
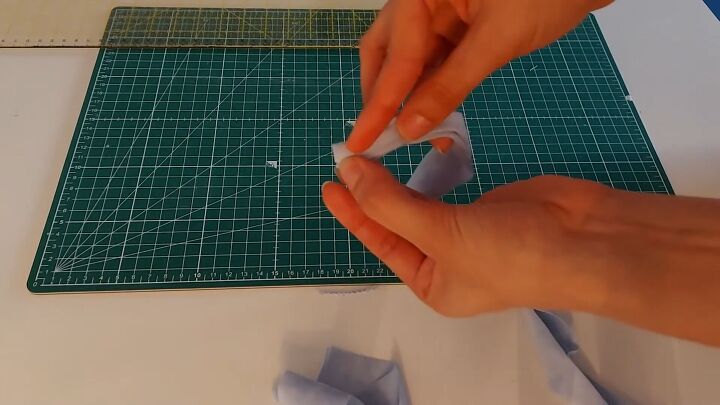
6. Ruche the bottom bust piece
Change your sewing machine’s settings to the longest stitch length and sew a straight stitch around the bottom edge of your bust piece; this will give a lovely ruched effect.
Now, pull the thread and make sure the small gathers are evenly distributed along the lower bust piece edge. When you’re done, make a double knot on the thread.
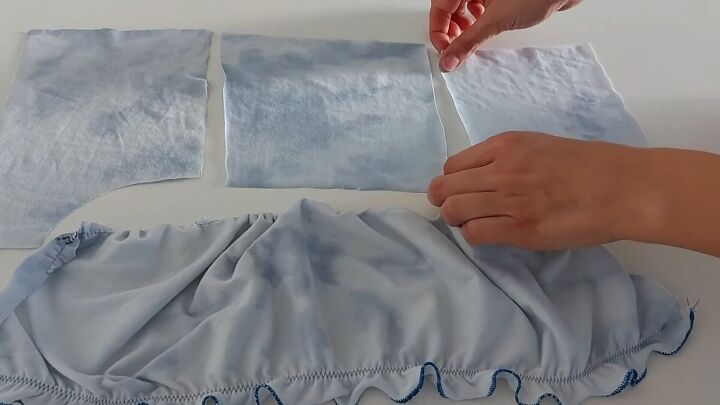
7. Create decorative seams (optional)
This is optional, but I cut my under-bust piece into three pieces as I wanted to add some decorative seams.
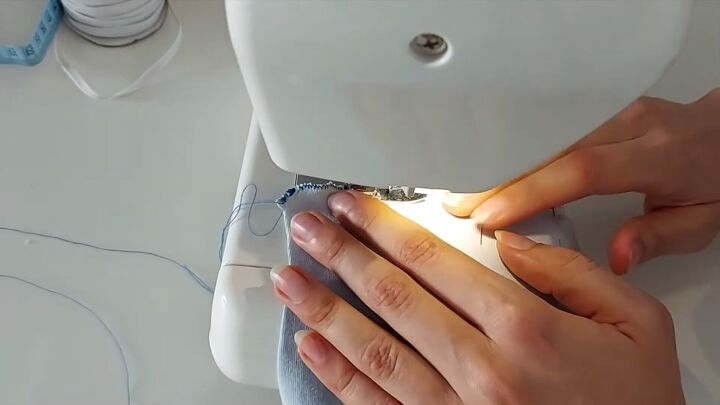
Pin the wrong sides of the pieces and sew a lovely lettuce hem, as shown. To sew a lettuce hem, stretch the fabric as you sew with a zigzag stitch along the hem.
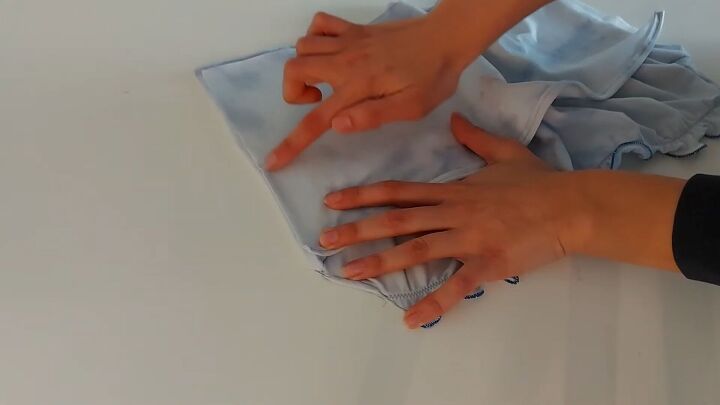
8. Assemble the milkmaid top
We’re almost done! Now pin your upper and lower bust pieces together accordingly.
Make sure they are right sides facing. Next, sew both pieces to secure.
I didn’t have enough fabric to make a bias tape around the raw edges. If you do have, go ahead and add a bias tape for a cleaner finish. If you don’t have extra fabric, simply roll the edges of your bust piece and hem it on both sides.
Next, roll and hem the back piece of your top, too.
Pin the back piece to the front, right sides facing. Then go ahead and stitch the side seams.
9. Cut and secure the straps
Now, for the final part, the straps! Cut your straps according to your shoulder measurement.
Fold your strap fabric and stitch along the seams with a straight stitch.
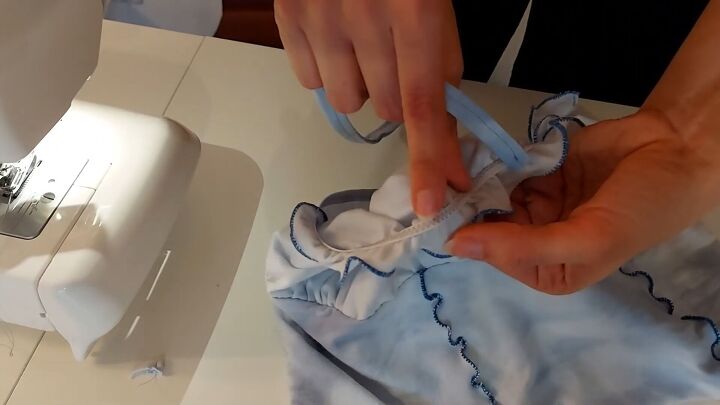
Secure your straps to your top, making sure each end sits equally adjacent to each other.

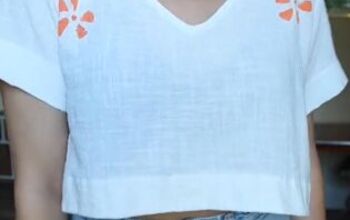
How to make a milkmaid top tutorial
Our milkmaid top DIY project is complete, and the result is super cute and fabulous! Who would have thought you can transform a dull t-shirt into a trendy piece like this?
I hope you enjoyed this tutorial on how to make a milkmaid top and that you now have the inspiration to transform your old, used items instead of discarding them. Let me know what you think in the comments.
The author may collect a small share of sales from the links on this page.


Comments
Join the conversation
And…. YA !!!!
And … YA !!!