How to Easily Make a DIY Open-Back Top Out of an Old T-Shirt

Follow this tutorial to learn how to make a DIY open back top from an old t-shirt. This crop-top has self-tie straps at the bottom for extra style. The best part is you can make this open-backed crop-top without a sewing machine! Let's get started.
Tools and materials:
- Old t-shirt
- Scissors
- Ruler
- Needle and thread
- Pins
- Seam ripper
- Loop turner
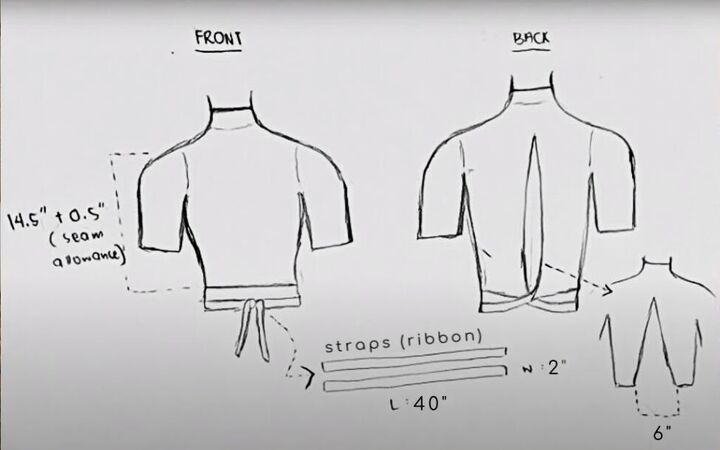
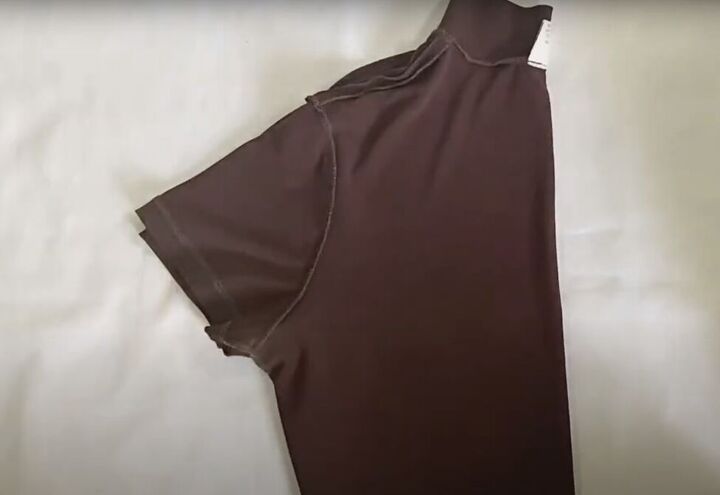
1. Measure and cut your crop top
Take your body measurements including your preferred crop top length and tie strap length. You can use the measurements in the image above as a guide.
You may need to piece together strips of fabric to get the necessary strap length.
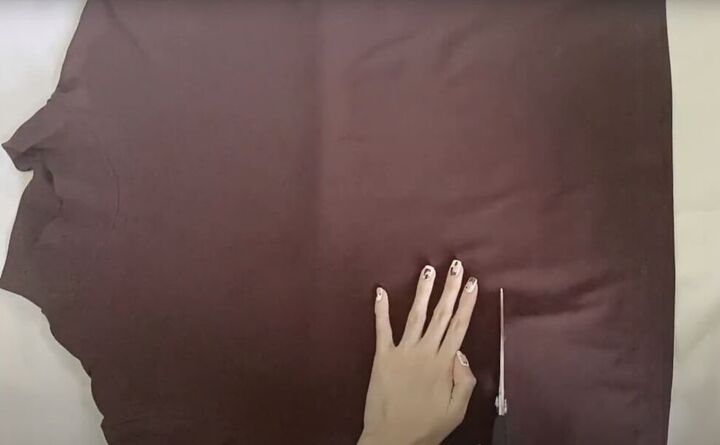
Cut the new length of the crop top, including seam allowance.
2. Make the V-shaped back
Turn your t-shirt inside out and fold it vertically along the center.
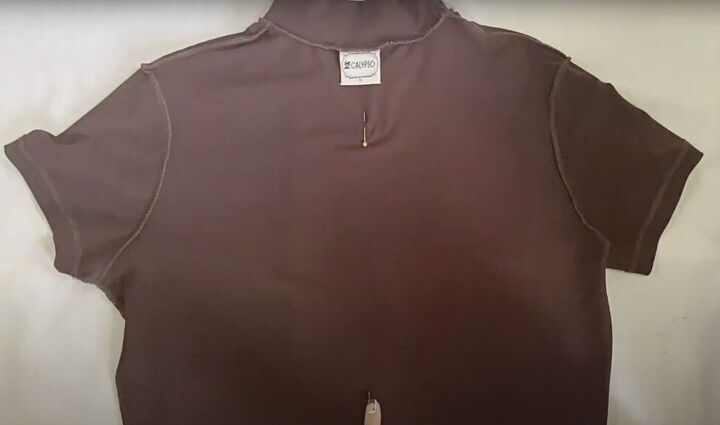
Mark the center line with pins and unfold the t-shirt.
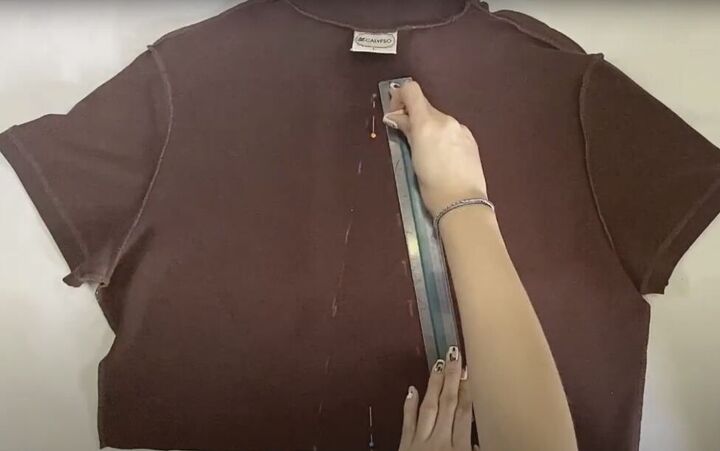
Mark the V-shape on the back of your t-shirt with the top point of the V at the center line of your t-shirt.
Measure the base of the triangle at the bottom of the shirt. Mine was 6 inches. Then, draw a triangle up to the pinned centerline of the t-shirt.
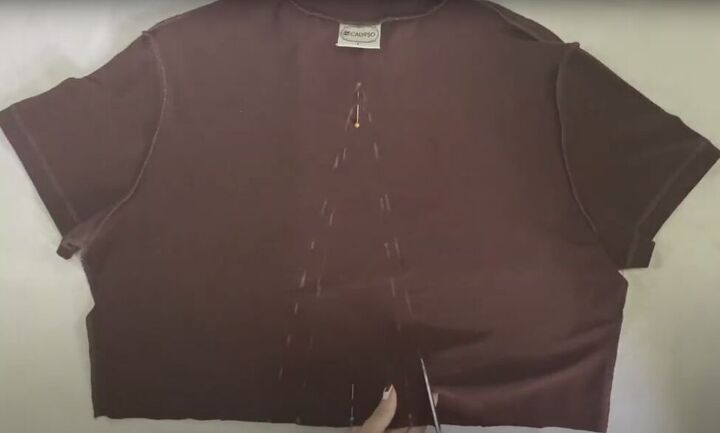
Make sure you are only cutting the V out of the back of the t-shirt, not through both layers!
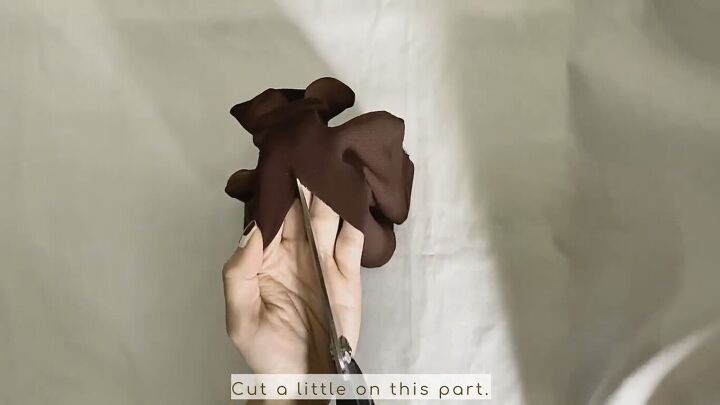
Cut a snip at the top of the triangle.
You can use the scrap fabric to make the straps later.
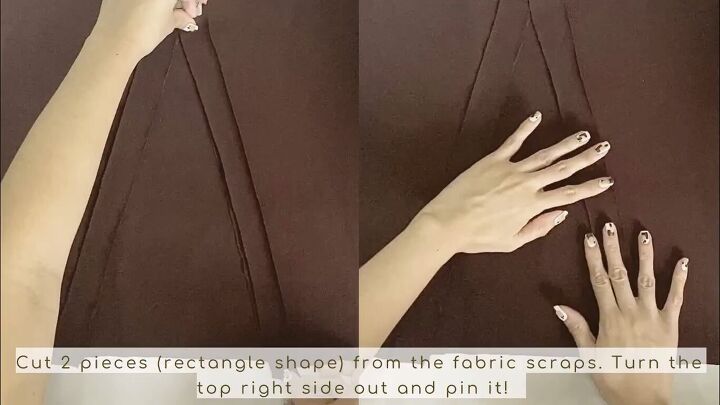
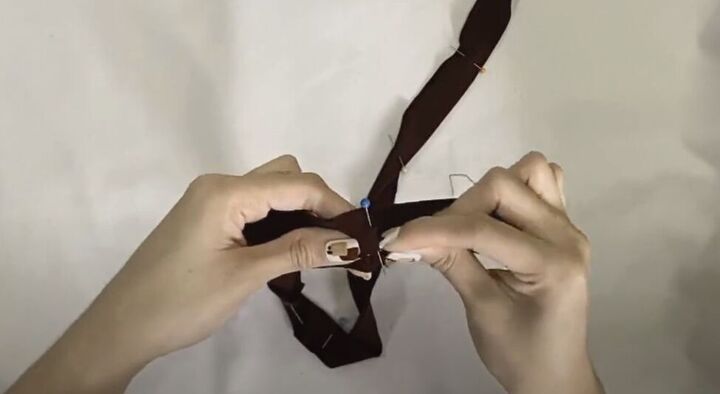
Then, fold the edges of the cut triangle and pin them.
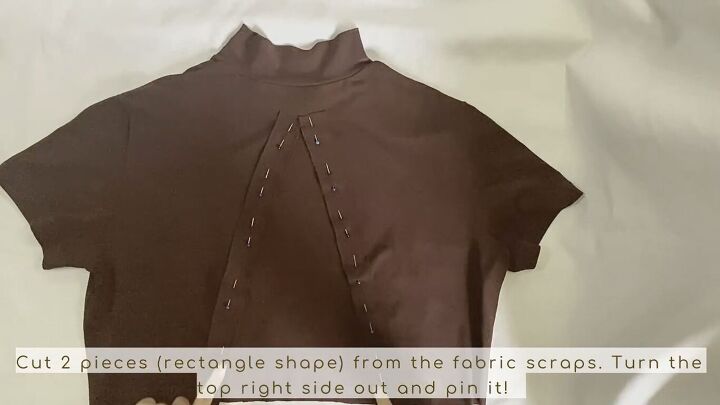
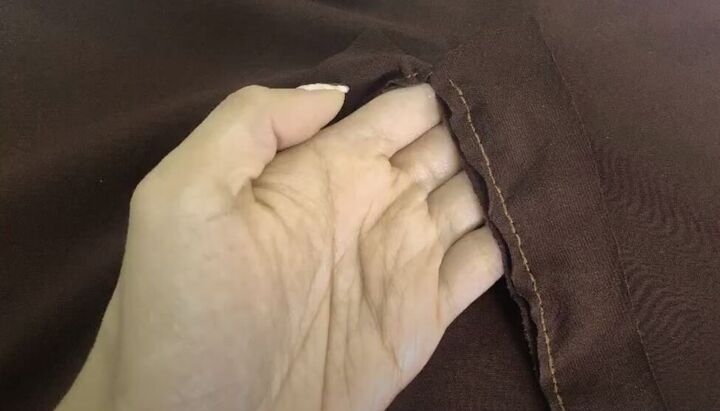
Sew the folded edges of the V-shape from the tip of the V to the bottom on each side. Trim the excess fabric.
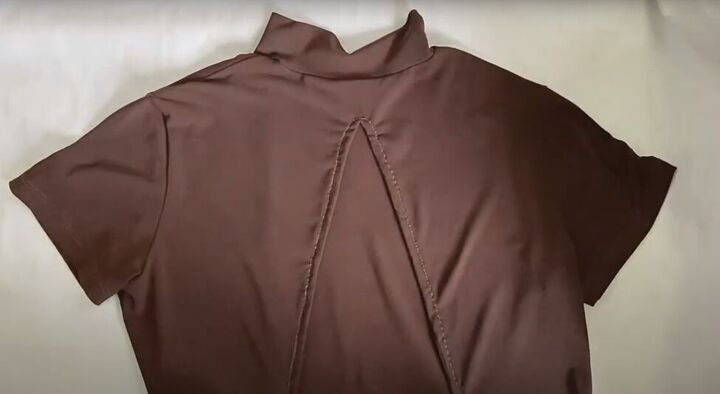
Fold in each edge in twice and pin them in place to hold. Then, sew along the open edge of each side of the V, with a few stitches straight across the top of the V.
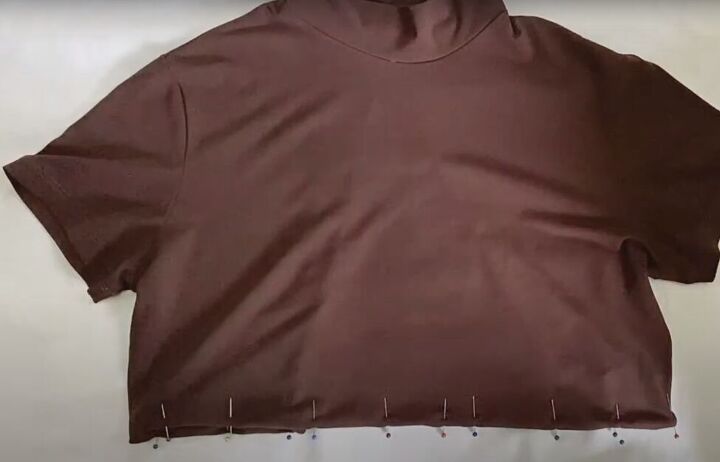
3. Hem the crop-top
Fold under the hem of your crop-top twice and then pin and sew it in place.
4. Make the strap ties
Use the fabric scraps to measure the ties (see the pattern above for measurements).
With right sides facing, fold each tie in half, and sew the three open edges closed leaving a small opening in the middle of the long edge.
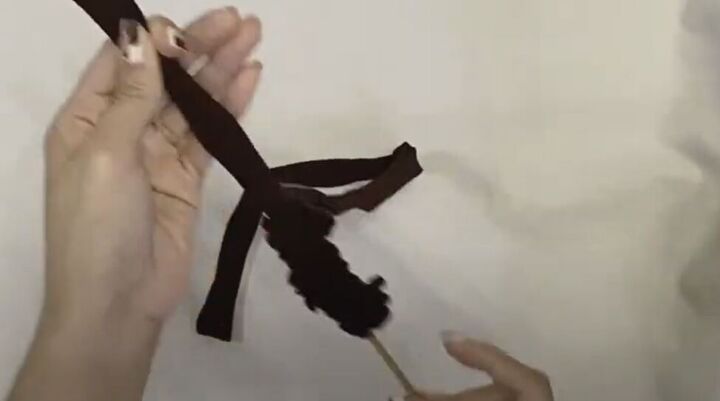
Snip the excess fabric from the corners of the ties, and then turn the ties right side out through the opening using a stick or safety pin. Sew the opening closed.
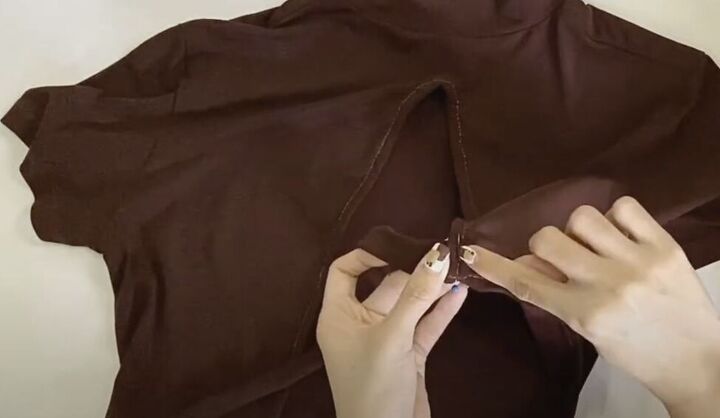
5. Attach the strap ties
Pin one end of each tie to the inside bottom of one side of the V-shape in the back of the crop top and sew the ties in place.
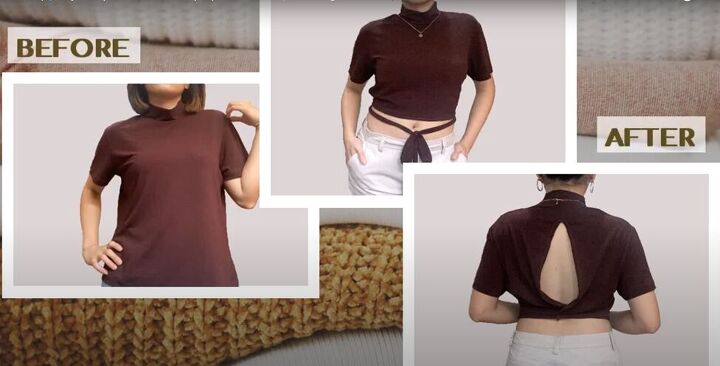
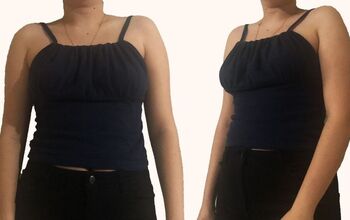
DIY open-back top tutorial
Your DIY open-back crop-top is all done, and it’s so cute! This will be a great addition to your summer wardrobe and a great way of upstyling some old t-shirts.
Leave a comment to let me know how you liked this tutorial and how your DIY open-back crop top turned out.
The author may collect a small share of sales from the links on this page.


Comments
Join the conversation
So you are going to hand sew all those stitches going up/down each side on the back and along the entire bottom- hoping you stay in a straight line? 🤔 it would take me years to do that