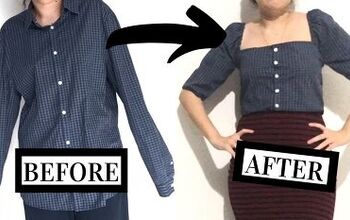
How to Make a Cute DIY Peplum Top Out of an Old Men's Shirt

In this tutorial, I’m going to show you how to transform an oversized men’s dress shirt into a cute peplum blouse. A peplum is a short flared, gathered, or pleated ruffle attached to the waistline of a blouse. It creates a frilly, flattering look that suits all figures. This peplum blouse is easy to make, and a great way to upstyle an old shirt.
Tools and materials:
- Old men’s button-down shirt
- Bias tape to match the shirt
- Measuring tape
- Thread
- Scissors
- Seam ripper
- Fabric chalk
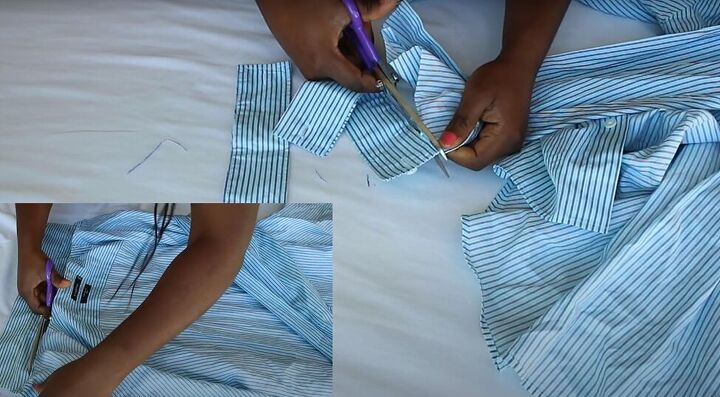
1. Disassemble the men’s shirt
Cut off the cuffs and collar from the men’s shirt and remove any pockets with a seam ripper.
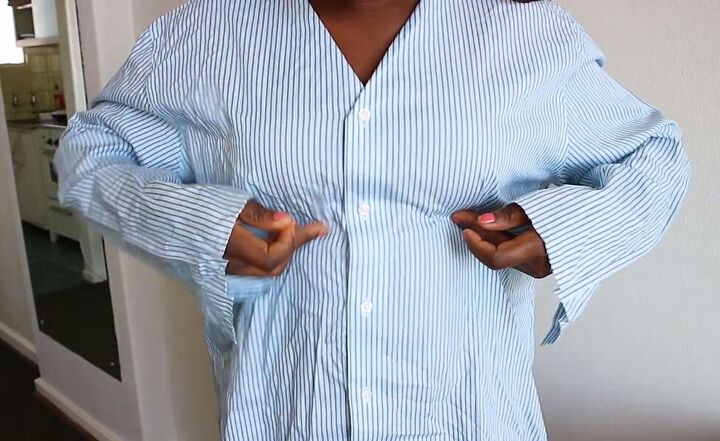
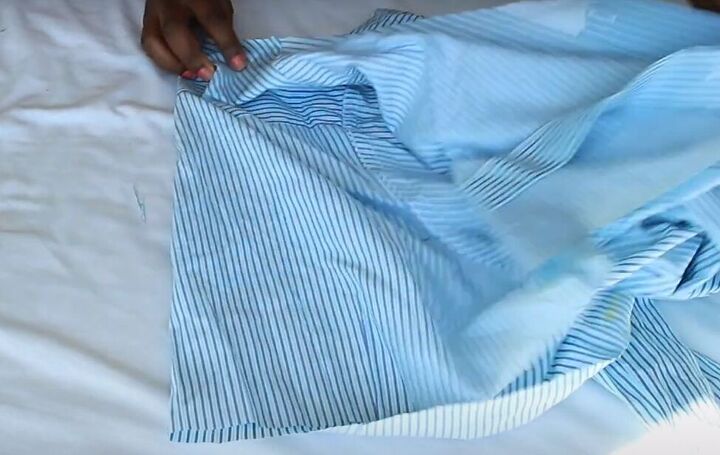
Try on the shirt and determine how deep you want the V-neck on your new blouse to be. Tuck in the neckline of the shirt to look like your new V-neck and then use your fingers to make a crease at that fold as a guide for cutting.
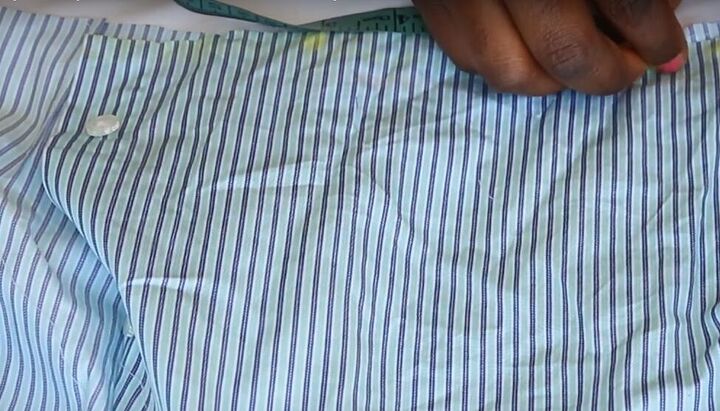
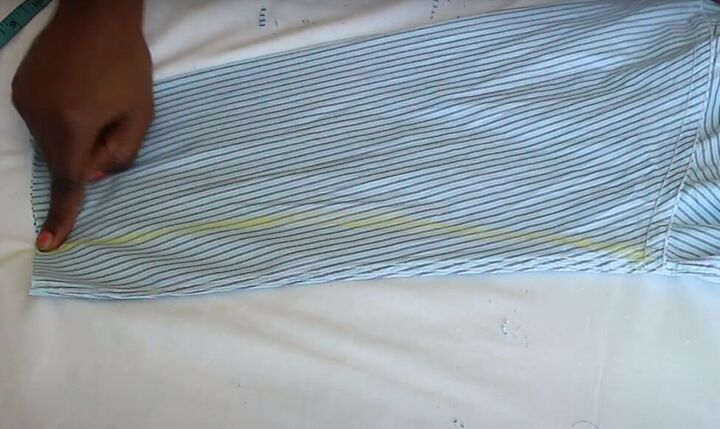
Then mark the front of the shirt under your bust, allowing for a half-inch seam allowance.
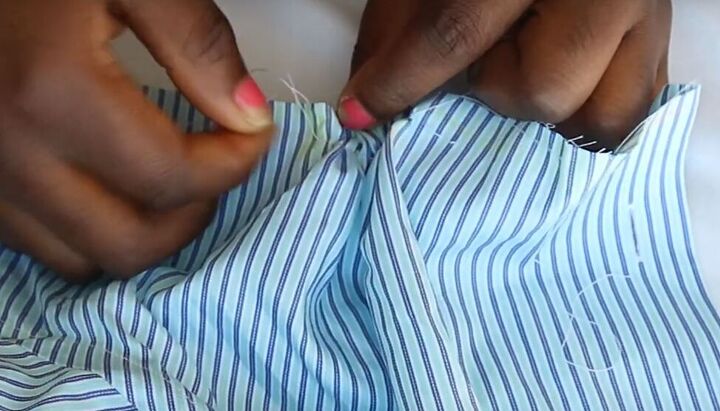
2. Create a V-neckline
Take off the shirt and cut off the excess neckline to form the V-neck
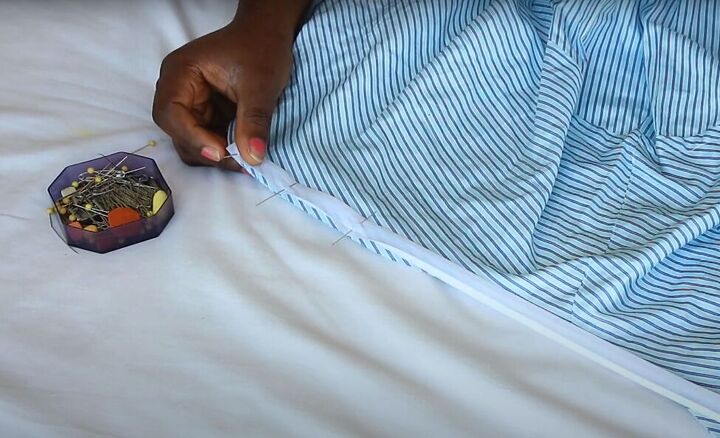
Pin bias tape all around the neckline on the right side of the fabric. Then sew the bias tape to the neckline close to the raw edge.
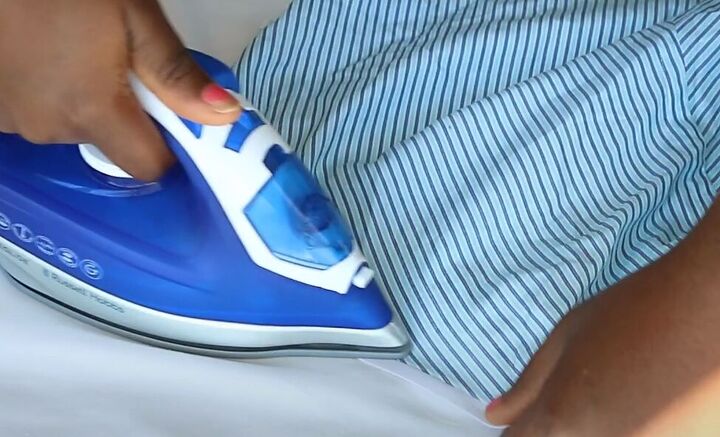
Iron open the bias tape seam.
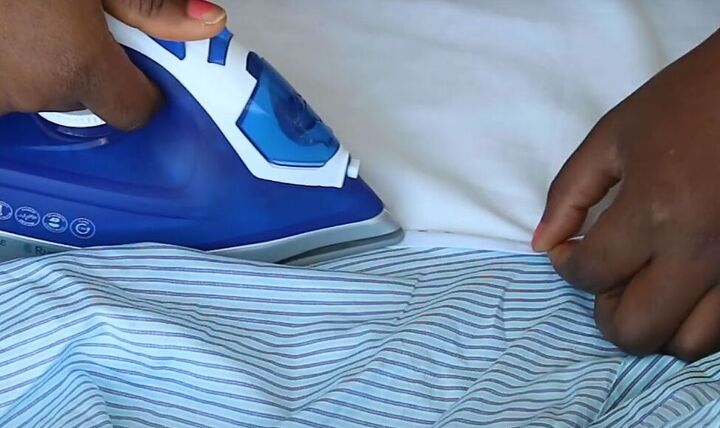
Now fold the bias tape over to the wrong side of the fabric and iron again.
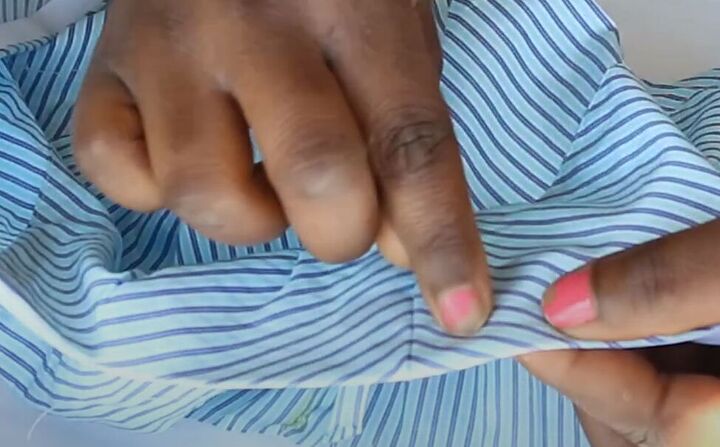
Sew the bias tape in place from the front side of your fabric.
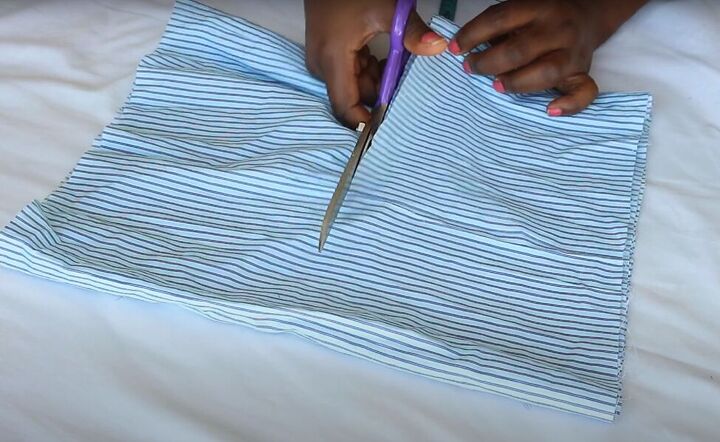
3. Make the top of the peplum blouse
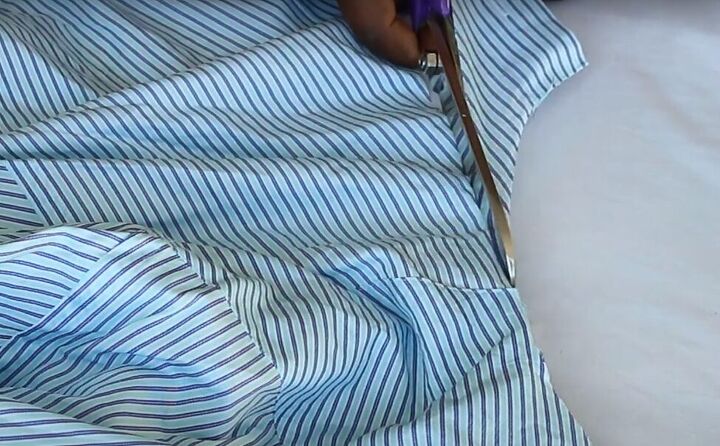
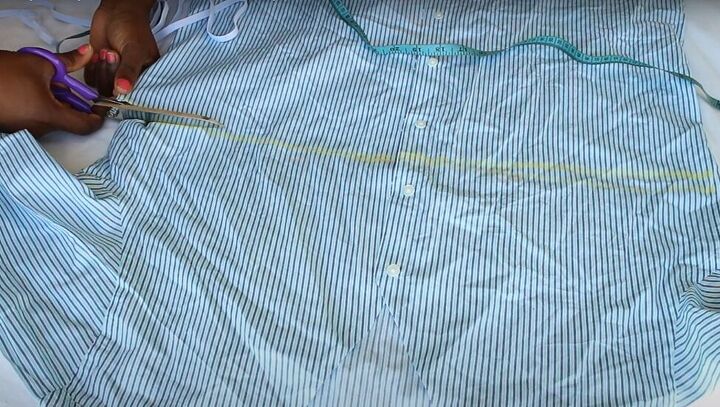
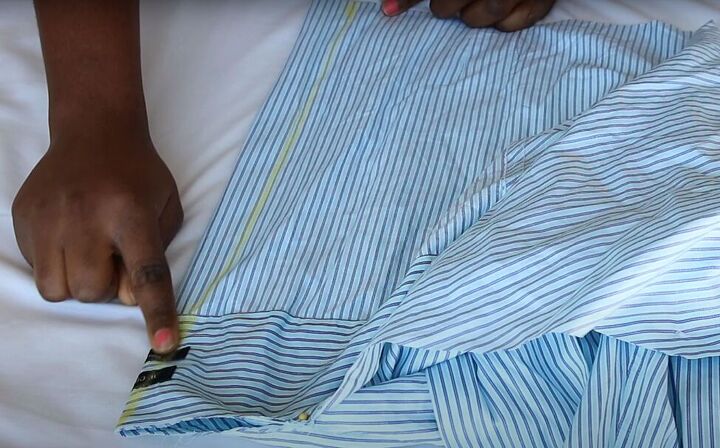
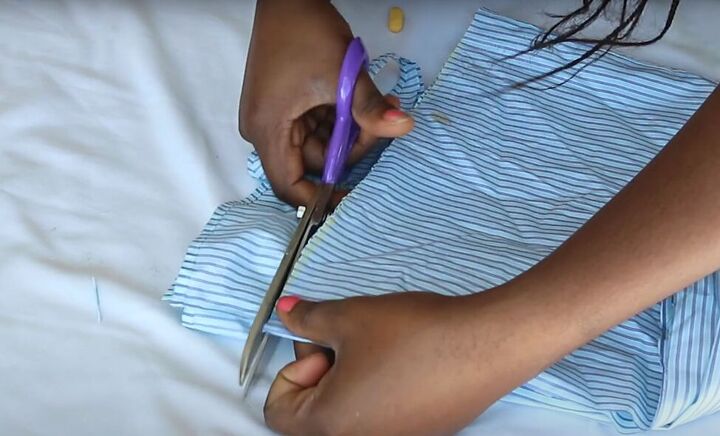
On the front of your blouse, draw a straight line across the under-bust marks you made previously, and cut through both layers of fabric along that line.
With the right side facing in, fold your blouse in half to reveal the center-back of the blouse.
Draw a gently curved line from the top of the neckline at the center-back of the blouse to the hem, to indicate where you will take in the shirt to give it a slightly more fitted look. Then sew along that line.
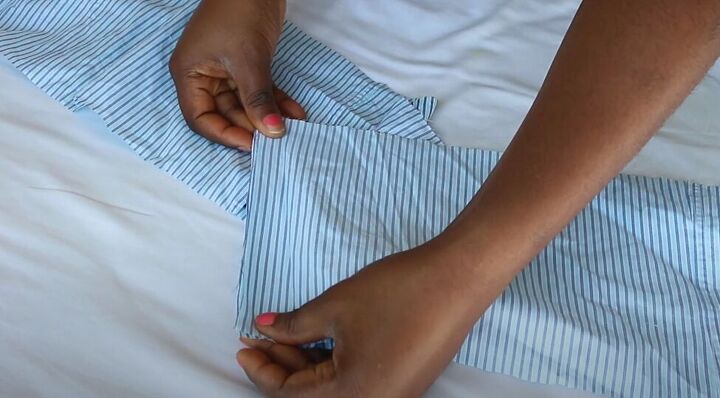
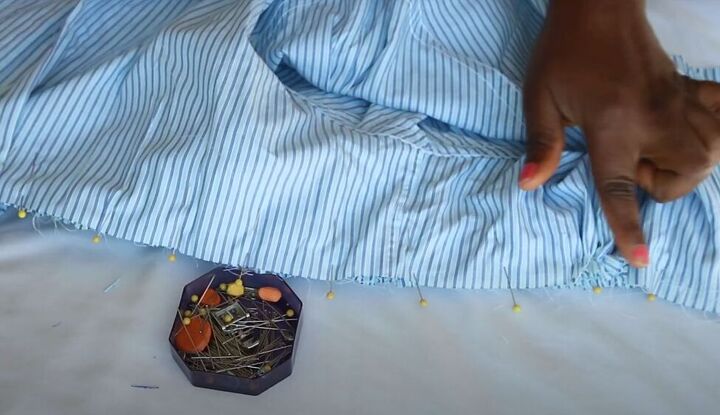
4. Make the ruffled bottom of the peplum blouse
Using the part of the shirt you previously cut off, straighten the curved shirt hem so you will have a straight hem on your peplum blouse.
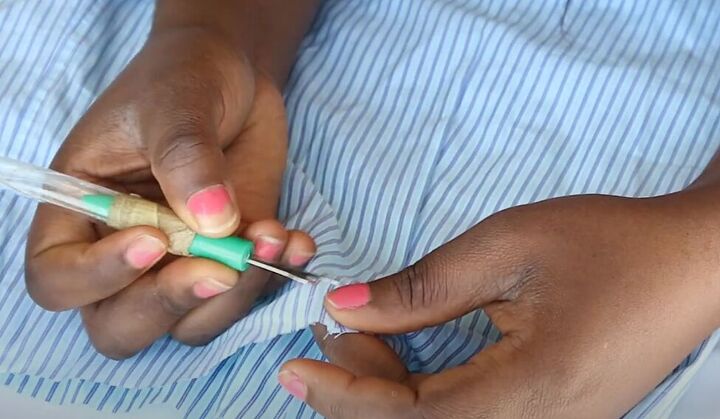
If there were any darts in the old shirt, open them with a seam ripper.
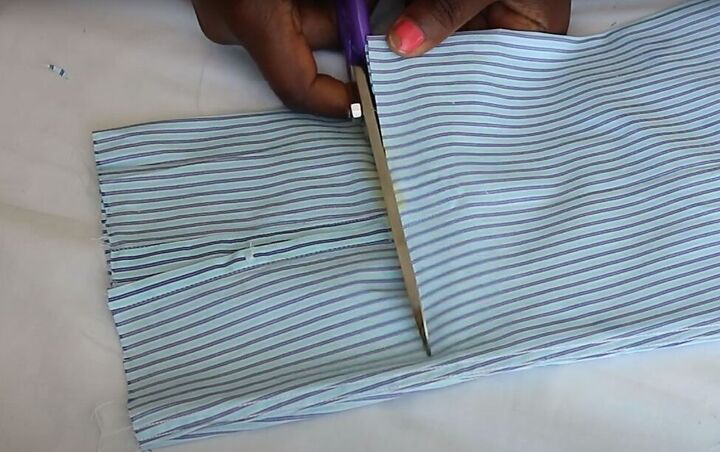
Now fold the fabric in half twice, mark the center point and cut the folded fabric in half. You will now have 2 long rectangles.
With right sides facing, sew the two rectangles together along a short edge.
Sew a basting row of stitches along one long edge of the joined rectangle. Then gather the fabric by gently pulling on one end of the basting thread. Keep pulling on the thread and adjusting the gathers along the edge until your fabric is the circumference you need for your peplum blouse.
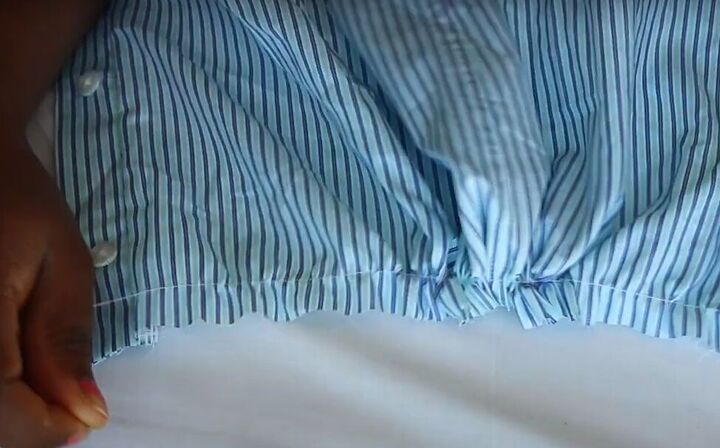
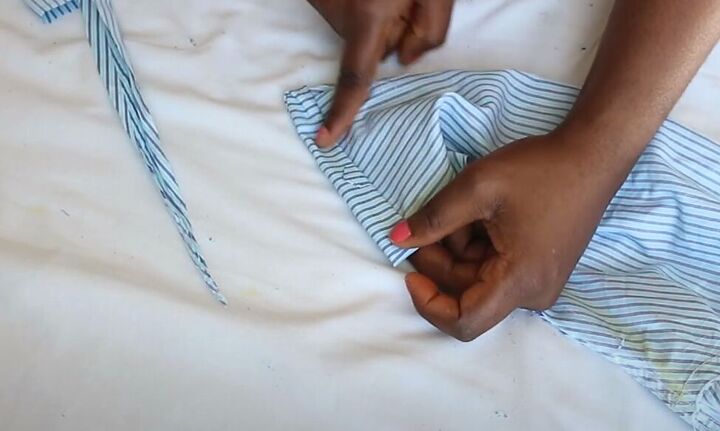
Now, on the top part of your blouse, mark 3 inches in from the button placket along the bottom edge. Then mark another 5 inches in from your first mark. Repeat on the other side of your blouse.
Sew basting stitches between the 3-inch and 5-inch lines on each side of your shirt and tightly gather those two areas.
5. Attach the ruffled bottom to the peplum blouse
With right sides together, pin the ruffled bottom to the peplum blouse. Then sew with a ½-inch seam allowance.
6. Hem the peplum blouse
Fold the bottom hem of the blouse up twice and sew the hem in place.
7. Finish the sleeves
Cut a few inches from the bottom of the shirt sleeves to suit the length of sleeves you’d like on your peplum blouse.
Mark a slightly curved diagonal line from the armhole of the blouse to the bottom of the sleeve to make the sleeves narrower. But make sure that you keep the sleeve wide enough to pass your arm through. Sew along that line.
Turn up the bottom of the sleeve twice and hem.
Repeat this step for the other sleeve.
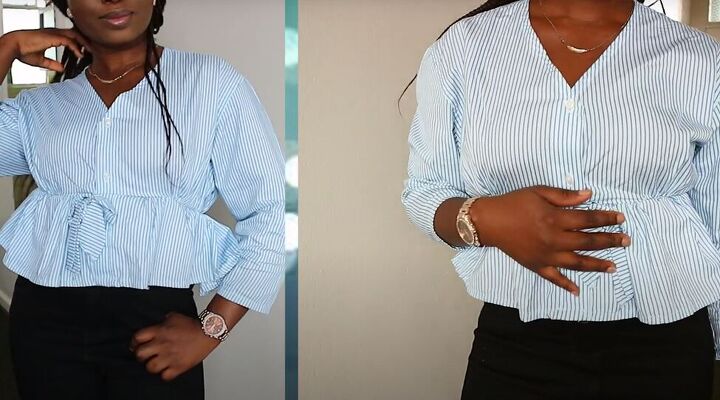
DIY peplum top
Here is the finished peplum blouse made out of an old men’s shirt. Now that old shirt has some style! This peplum blouse will pair beautifully with pants or skirts.
I hope you try making this DIY ruffled bottom peplum blouse and then leave me a comment to let me know how you liked this tutorial.
The author may collect a small share of sales from the links on this page.


Comments
Join the conversation
Cute cute cute !!!
Thank you for such detailed instructions with perfect photos to help with the directions. I have been saving all my husband's work shirts that aren't nice enough for goodwill, now I'll have some fun things to do with them. I might even use a different peplum colour by using two shirts and mixing the bottoms. I have a striped shirt that I can mix with a light blue shirt. Plus a little light blue peplum ruffle at the bottom of the sleeve might be cute too.Such fun and an awesome way to recycle!! Thanks !!!