How to Easily Make a Cute DIY Square Neck Top Out of a Men's Shirt

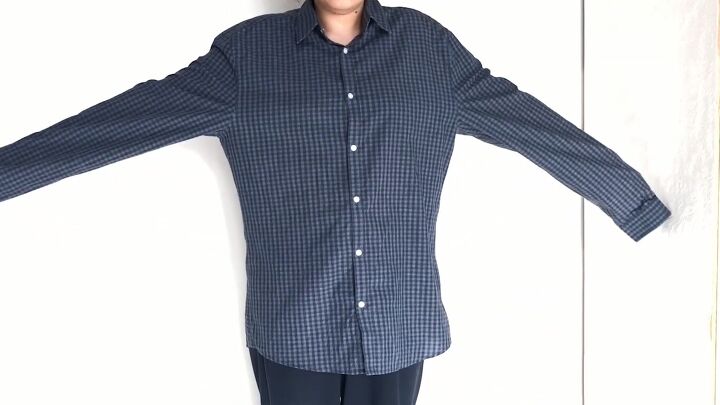
If you’ve been wanting to learn how to make a square neck top with puff sleeves, this is the tutorial for you! I’m a beginner at sewing and wanted to transform a men’s shirt into a feminine shirt with a square neck and puff sleeves. Let's get started on this DIY square neck top tutorial!
Tools and materials:
- Men’s shirt
- Scissors
- Ruler
- Sewing machine
- Marking pen
- Elastic
- Pins
- Safety pin
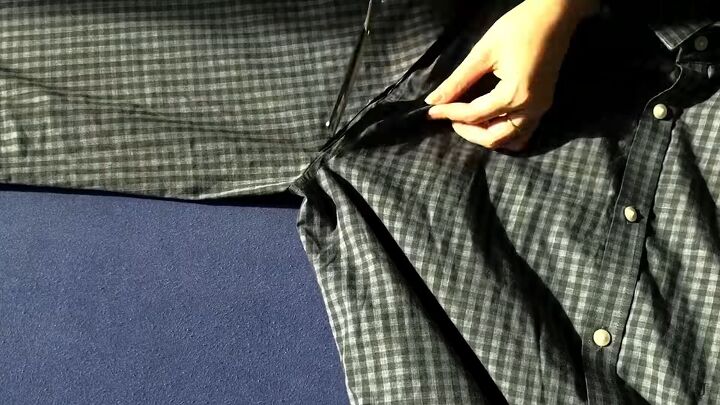
1. Cut the shirt
Lay the men’s shirt down on a flat surface. Cut off the sleeves at the armhole seam and put them aside.
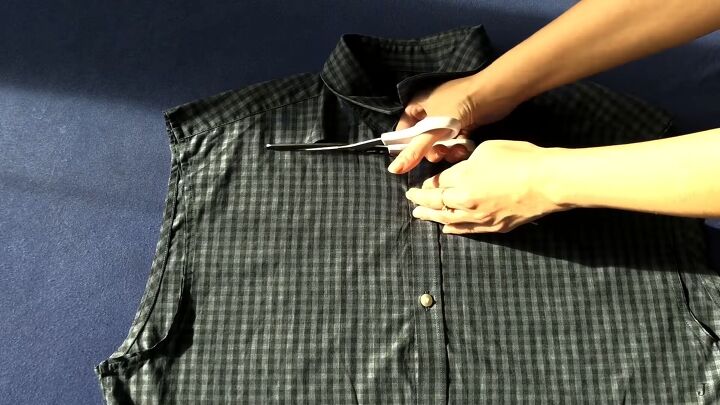
To make a square neckline and backline, measure 5 inches from the center right at the top of the collar and then 5 inches on the right and left sides. Make a line from these points down about 2 ¼ inches. Then measure 3 ½ inches on the sides. It will make a rectangular shape.
Cut the pieces out.
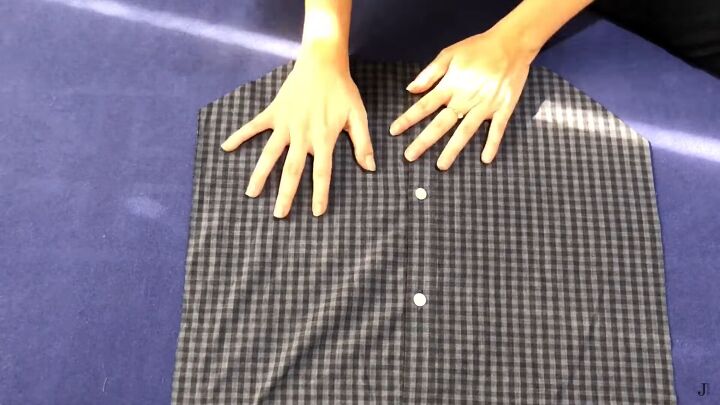
It looks like this.
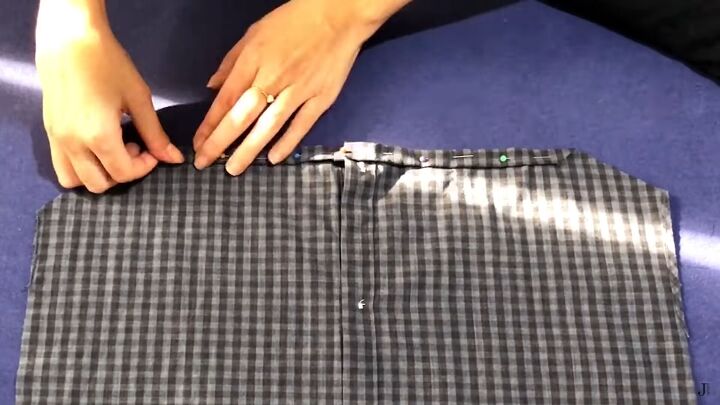
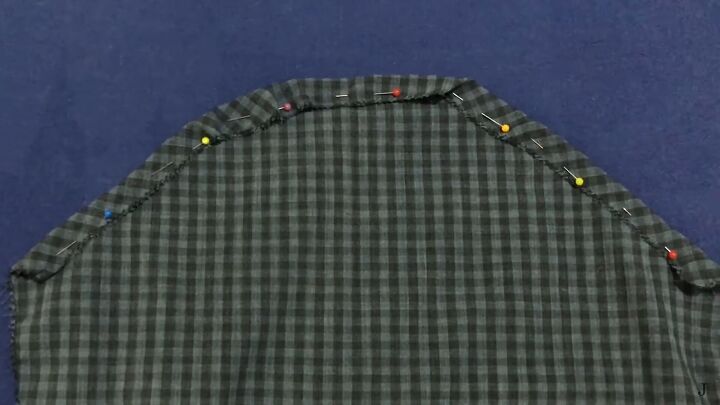
2. Sew the bodice
Separate the front and back pieces of the shirt. Lay the front of the shirt right side down. Fold the top down twice to form a double hem.
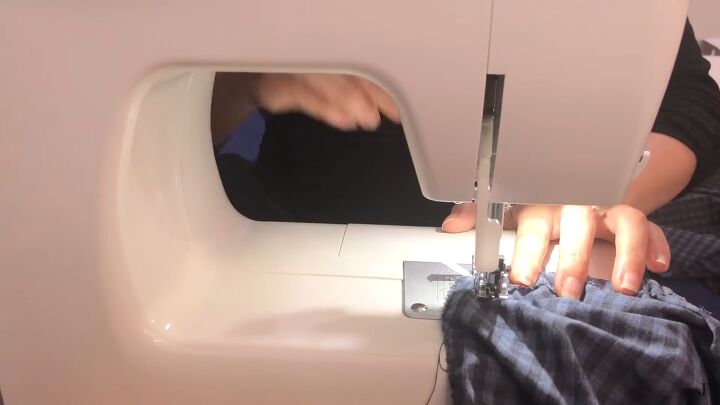
Do the same for the top of the back of the shirt. Pin them in place. Then sew the double hem using a straight stitch.

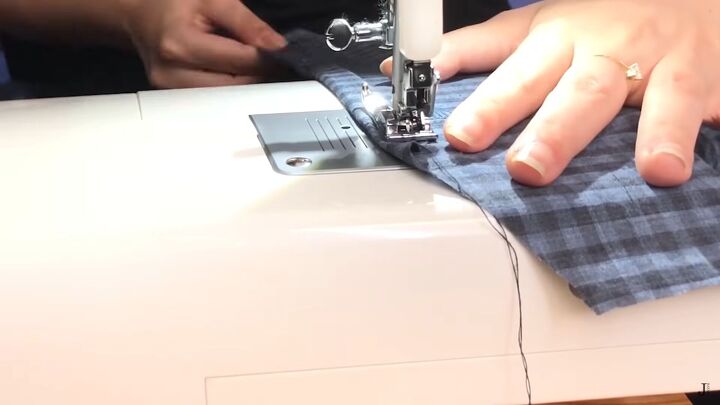
3. Crop the shirt
Most men’s shirts are extra long. Cut the bottom of the shirt to a good length for you.
Sew the raw edges with a zigzag stitch to prevent fraying.
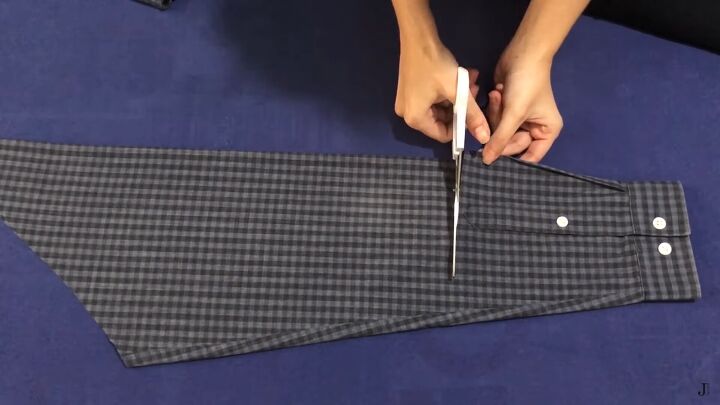
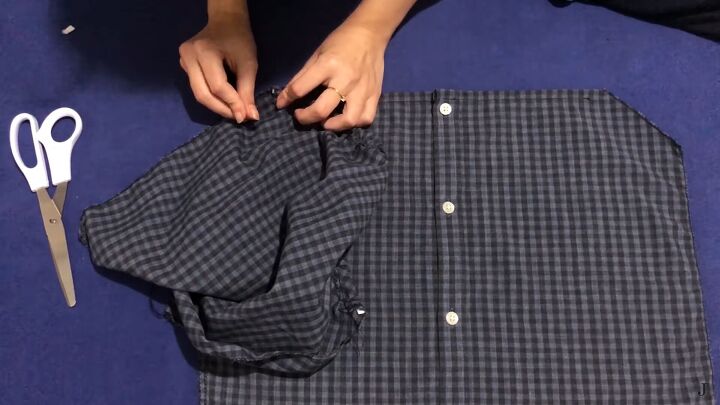
4. Make the puff sleeves
Lay one sleeve flat on the work surface. Cut about 5 inches from the cuff going up towards the shoulder.
Open the side seam and cut away the seam line.
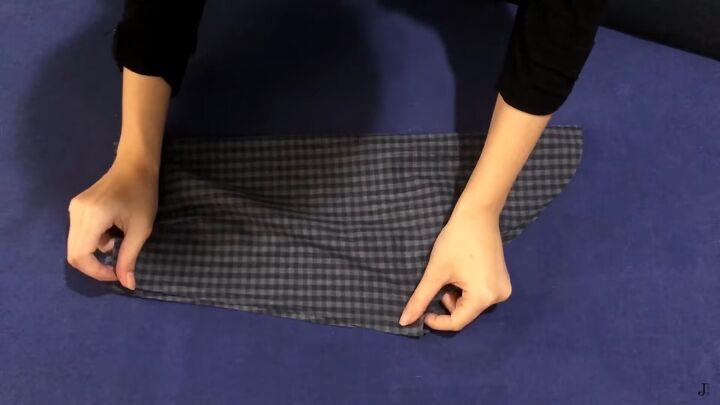
Fold the sleeve in half. Mark the shoulder curve in about 2 inches. Do the same for the second sleeve.
Zigzag stitch all the raw edges of both sleeves so the fabric doesn’t fray.
Fold and pin the fabric over at the rounded edge to make a tunnel.
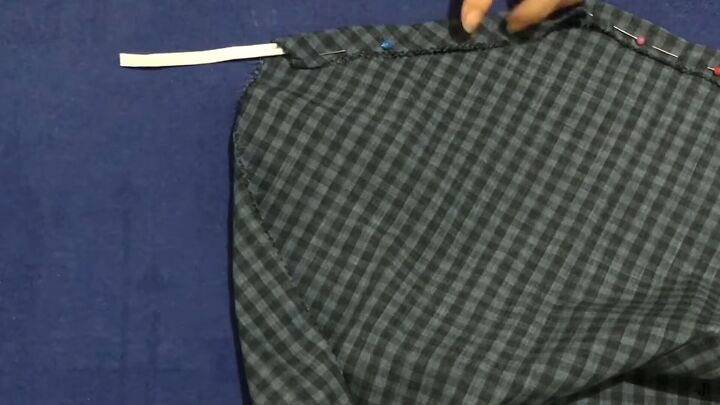
Add a piece of elastic to go through the tunnel by using a safety pin to pull it through.
Pin the elastic in place. Sew it down on the end of each open sleeve.
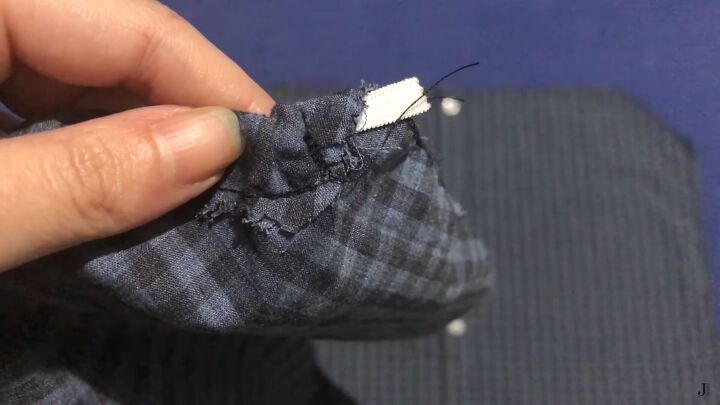
It should look like this. Trim any extra elastic off.
5. Add the sleeves to the bodice
Pin the ruched end to the top of the shoulder where there is the diagonal line. Sew the sleeve to the front and back.
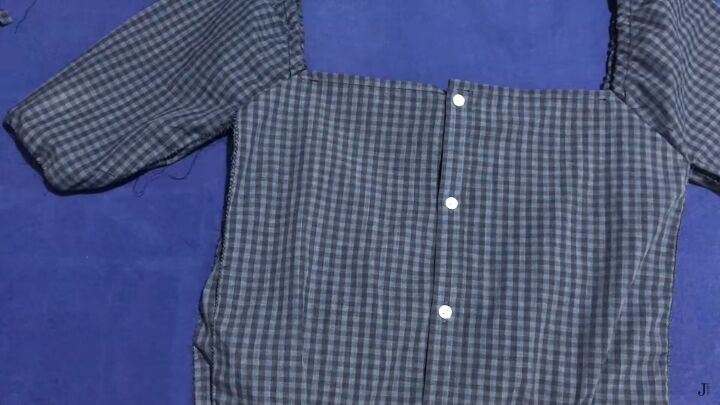
The side seams and the sleeve seams will be open.
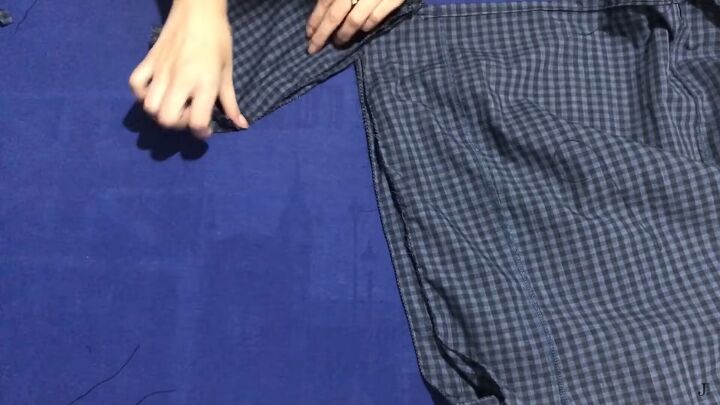
Sew the sleeves and the side seams together.
I wanted the top a bit shorter for a more cropped look, so I cut it even more at the bottom.
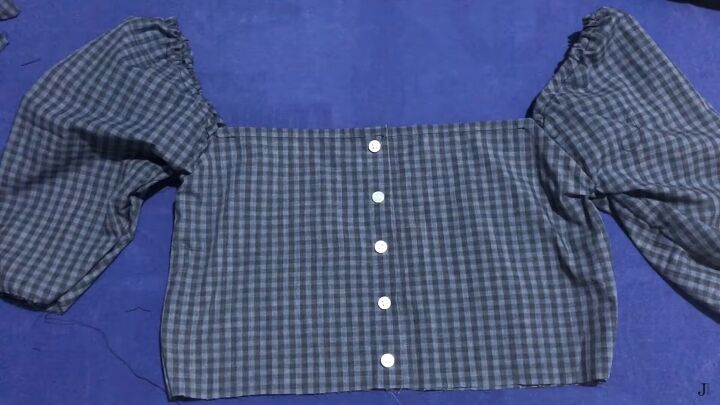
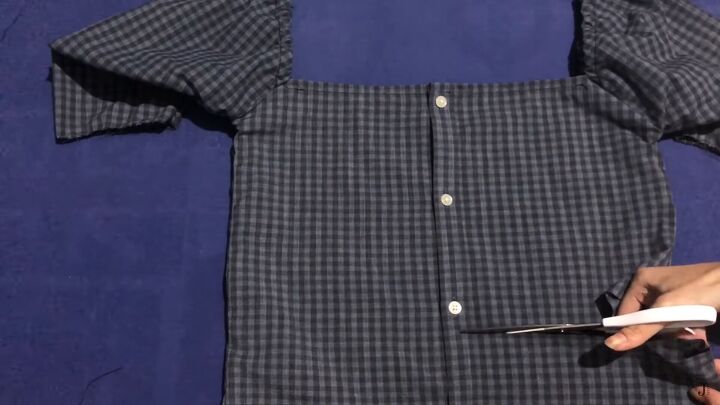
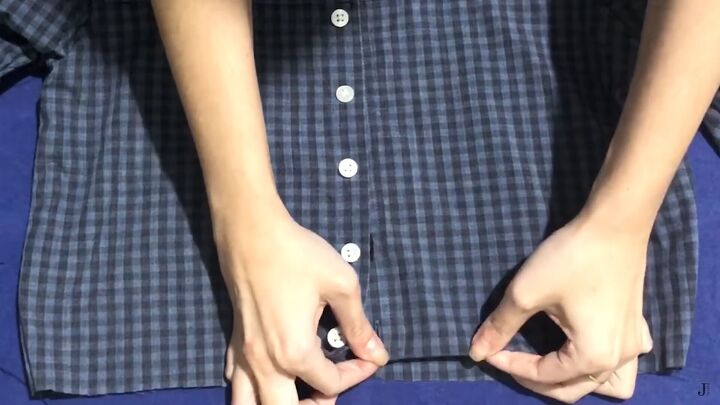
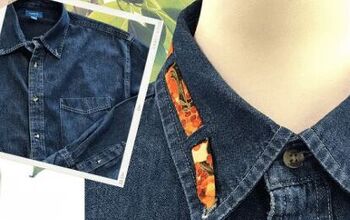
6. Add extra buttons
I added 2 buttons from the part I cut off. I measure the space to add the buttons and buttonholes. I like the way the additional buttons look!
7. Finish the shirt
Hem the bottom of the shirt and the sleeves by folding over the fabric and then sewing it down.

The top was still ill-fitting so I decided to cut or sew in the side panels a bit, tapering the shirt to make it fit better.
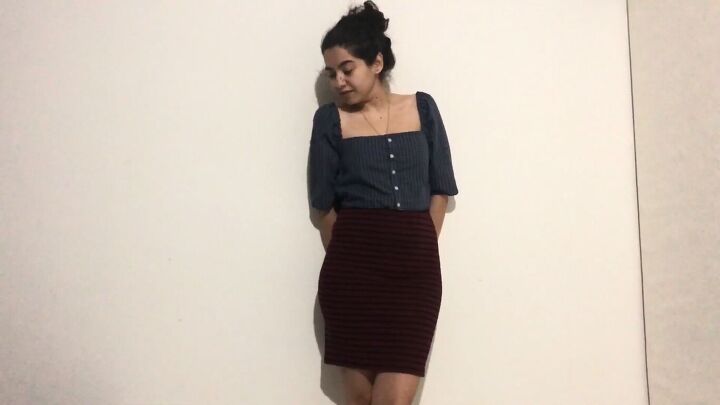
The shirt is finished!
DIY square neck top tutorial
Let me know what you think of this square neck puff sleeve top tutorial! I think it’s still a bit iffy, but I’m learning how to sew better. I’m so glad you’re here on the journey with me. We all have to start somewhere! I’ll probably fix it later on. I hope you enjoyed this video!
The author may collect a small share of sales from the links on this page.


Comments
Join the conversation
Impressive. What a great job!
That was inspiring. Now I’ll look at hubby’s side of the closet hahahhaha