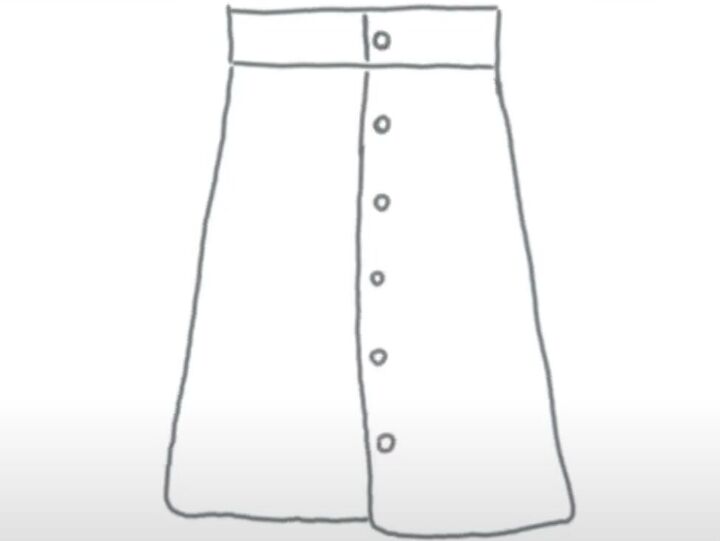
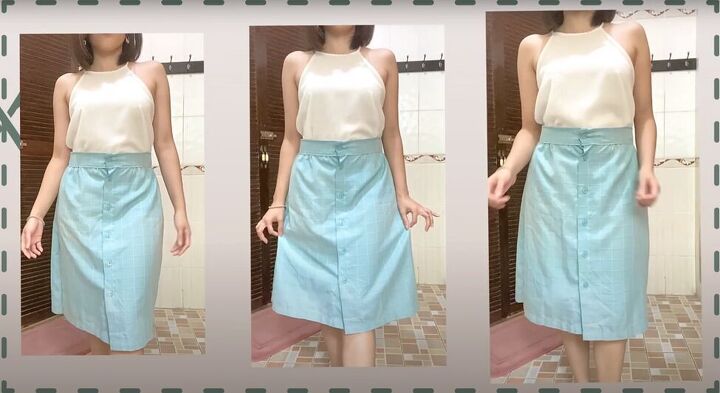
How to Make a Long DIY Button-Down Skirt Out of an Old Men's Shirt

There’s nothing as classic as a simple A-line button-down skirt. Learn how to make one from an old man’s shirt with this DIY button-down skirt tutorial.
I’ll show you how to make the skirt sewing pattern and sew the skirt, from start to finish!
Tools and materials:
- Old man’s button-down shirt
- Scissors
- Ruler
- Thread
- Sewing pins
- Sewing machine
1. Make the button-down skirt pattern
Measure your waist circumference, hip circumference, and preferred skirt length. Use those measurements as your pattern size.
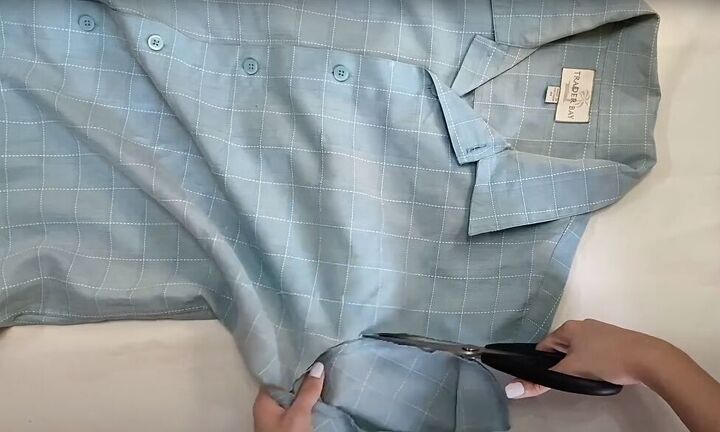
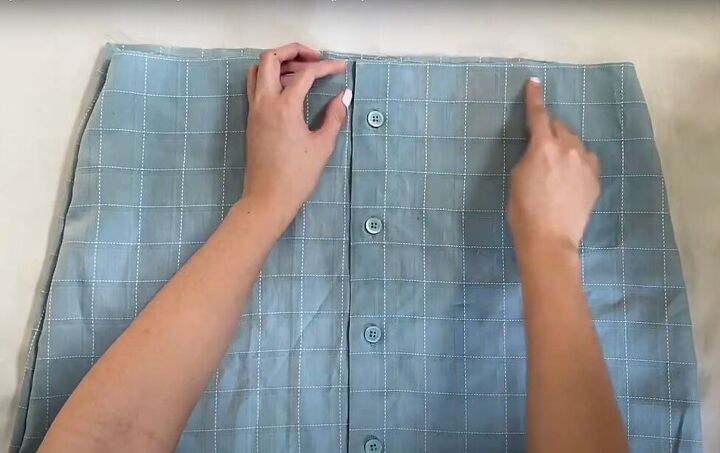
2. Cut the skirt from the shirt
Lay a large man’s button-down shirt on your work surface and cut out the sleeves of the shirt. Don’t discard the sleeves – you will use them later.
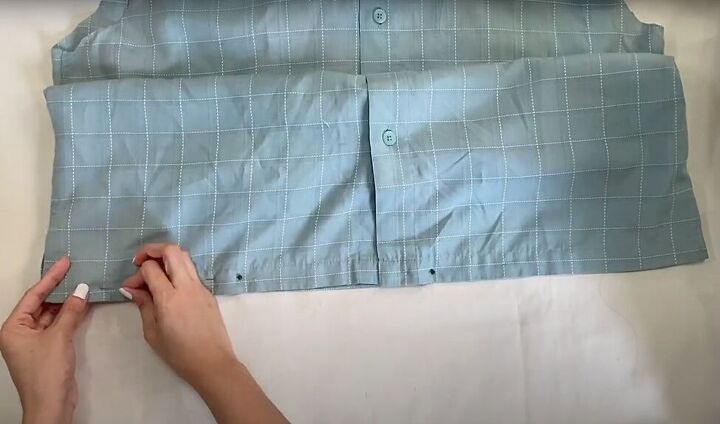
Line up the bottom hem of the shirt and pin the bottom of the shirt closed.
Measure and mark your desired skirt length on the shirt, measuring from the bottom of the shirt.
Place pins below the mark of the skirt length to keep the layers of fabric from shifting, and then cut along your marked line.
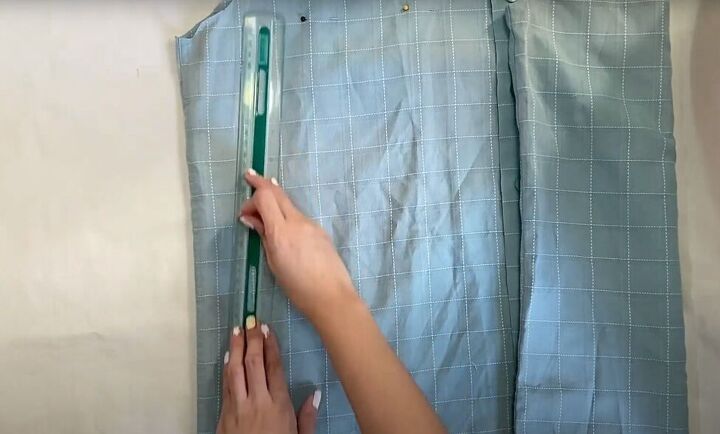
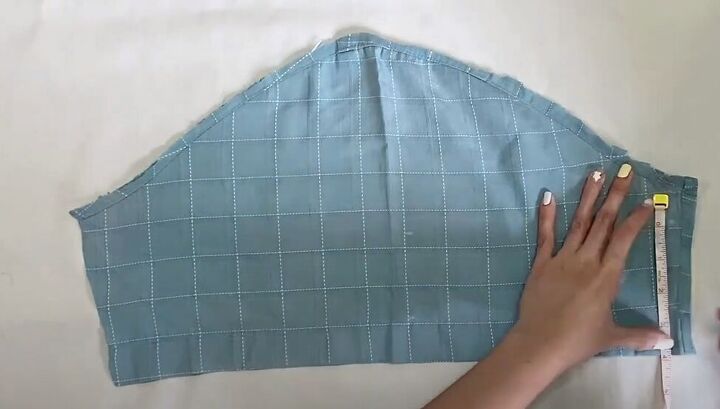
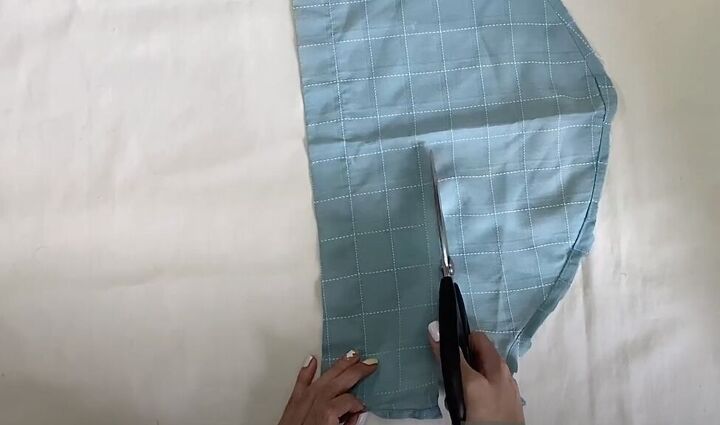
Now measure and mark the A-line of your skirt along the sides of the shirt from the waist of the skirt to the hem.
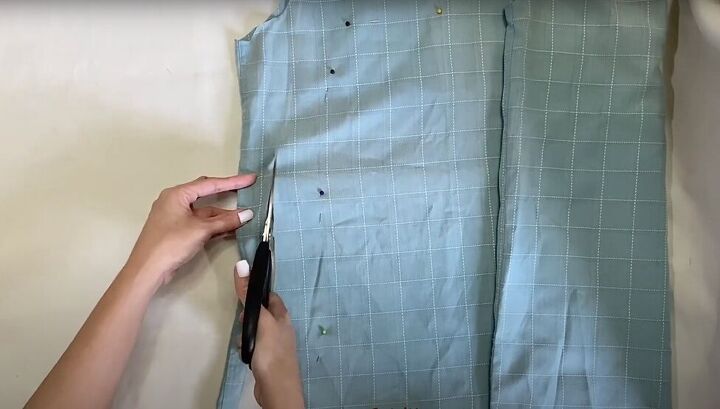
Pin the shirt together to keep the layers from shifting and cut the sides of the skirt adding a seam allowance to your marking.
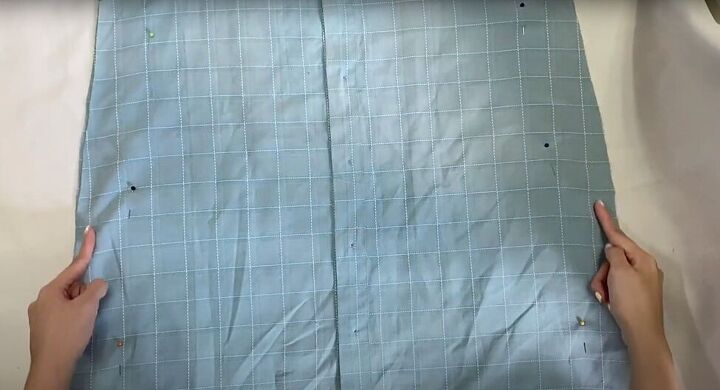
3. Sew the skirt
Turn the skirt inside-out and sew the side seams.
Sew a row of basting stitches along the waistline edge of the skirt. Do not backstitch at the end of the row and leave a long loose thread before cutting.
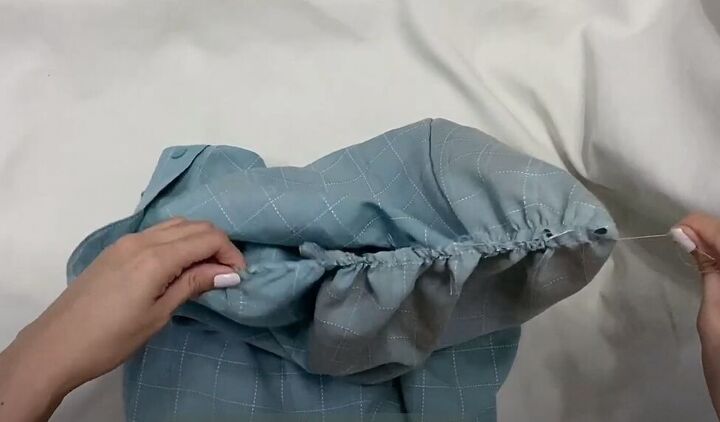
Gather the waist of the skirt by pulling on the long loose end of the basting stitches.
4. Make the waistband
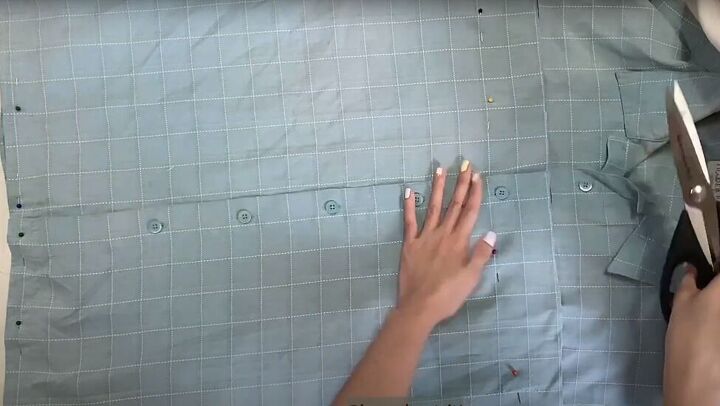
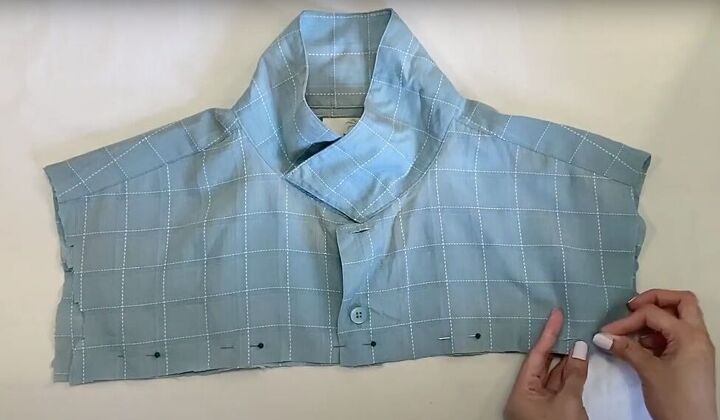
From the scrap upper part of the shirt, align the bottom and pin it closed.
Measure and mark the desired width of your waistband with seam allowance. Mine was 2½ inches in total.
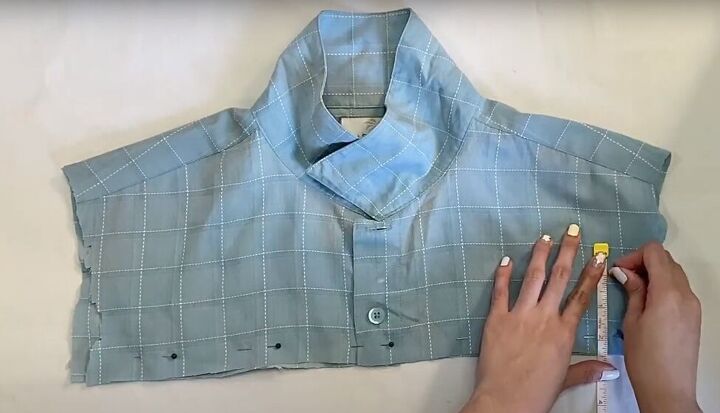
Cut the waistband from the bottom of the shirt.
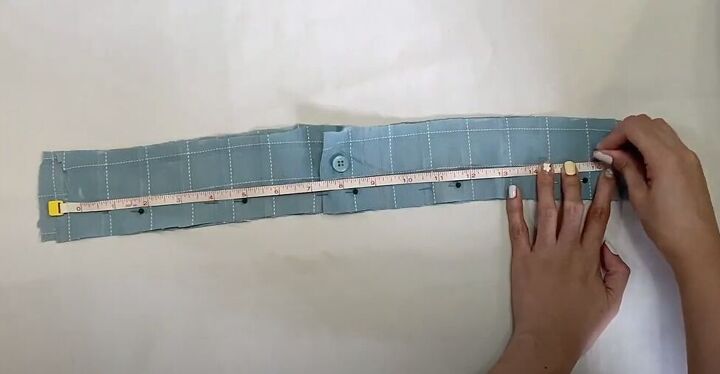
Measure, mark, and trim the sides of your waistband to your desired length. This is only the front of your waistband, so you only need half the circumference of your waist.
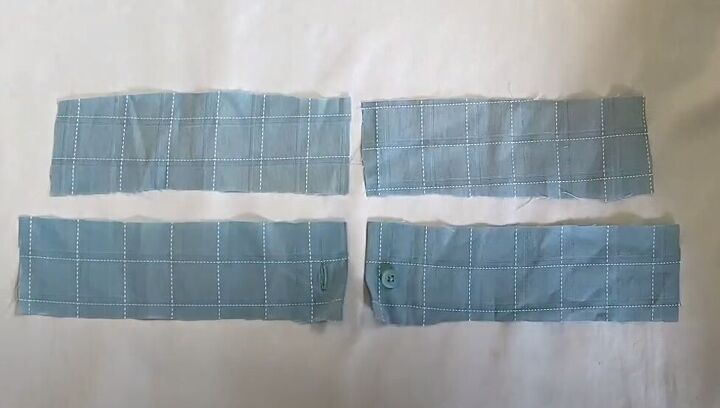
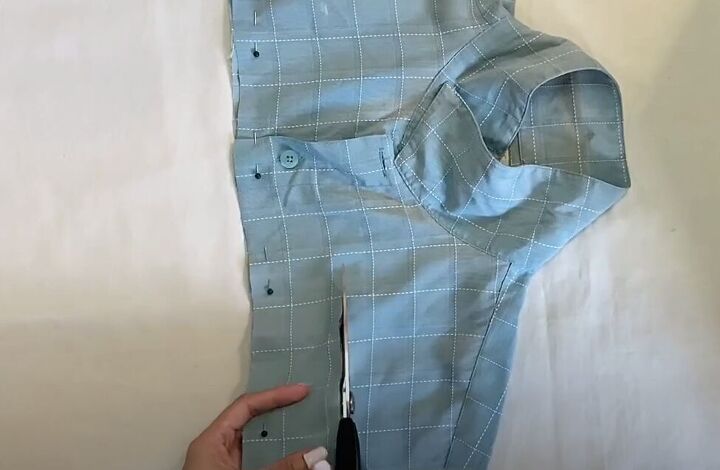
Separate the two layers of the waistband. Unbutton the outside pieces and cut the inside pieces in half so you have four pieces.
With right sides facing, place the two front waistband inside pieces on top of the two front outside pieces. Turn in the edge of each waistband backpiece at the end that will be at your side seams when you join it to the back waistband.
Then sew the top edges of each waistband piece together.
For the back of the waistband, measure and mark the width of the waistband on the widest part of one shirt sleeve.
Cut along that mark.
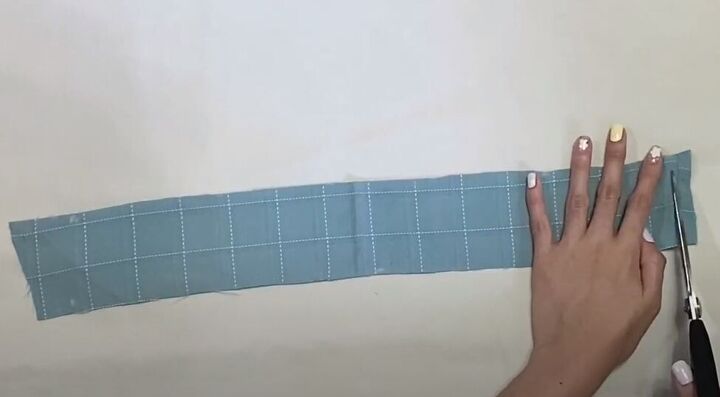
Trim the sides as necessary to get the right length.
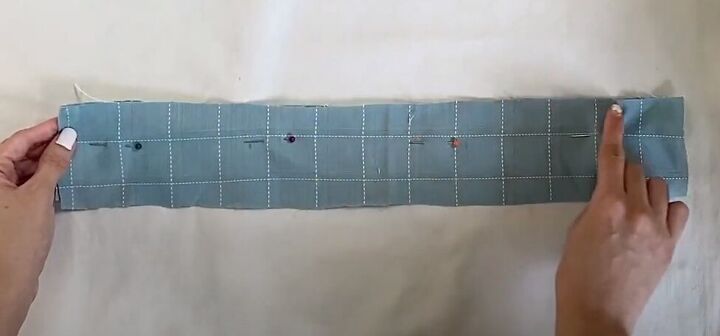
With right sides together, pin the two back waistband pieces together and sew along the top edge.
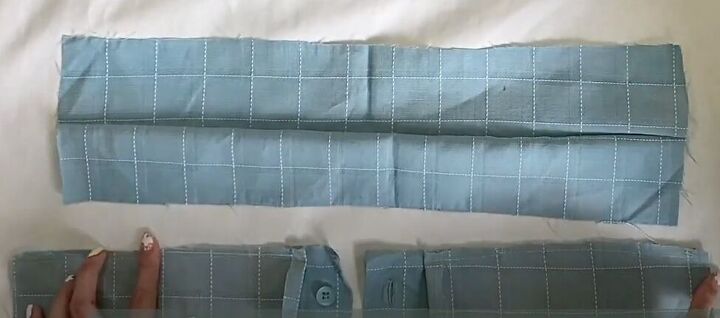
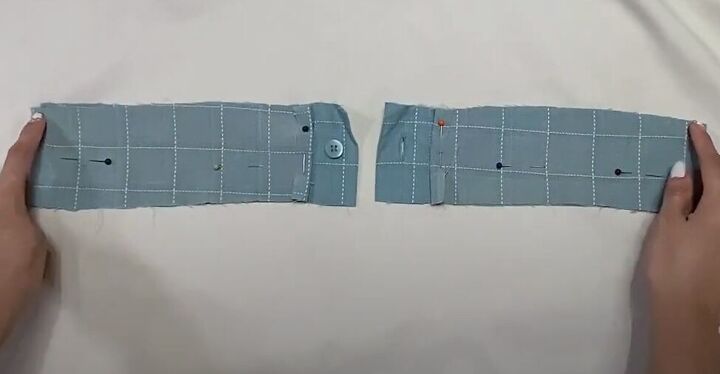
You should now have one back waistband piece and two front waistband pieces.
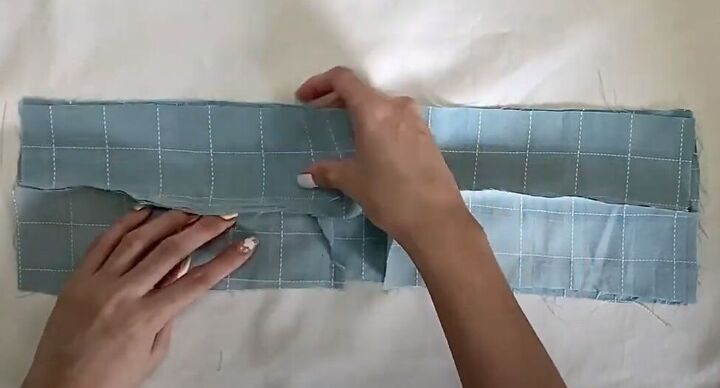
With right sides facing, lay the two front waistband pieces on top of the back waistband piece, aligning the button and buttonhole on the front pieces.
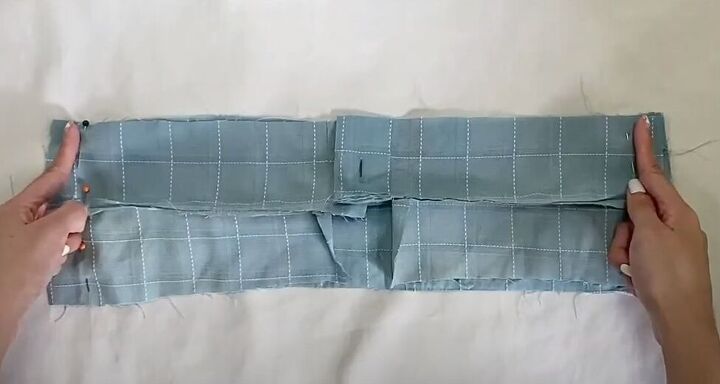
Pin and sew both waistband side seams.
Turn in and pin both long edges of the waistband.
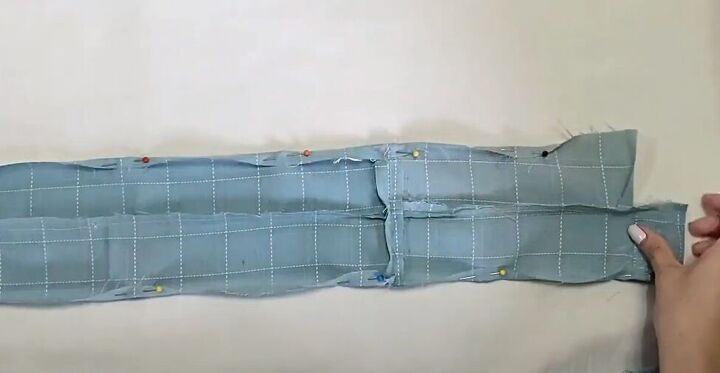
5. Attach the waistband to the skirt
Pin the waist of the skirt to the bottom edge of the waistband, centering it along the waistband.
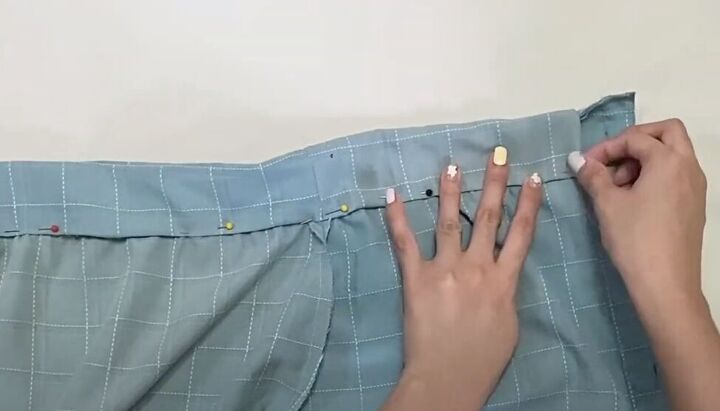
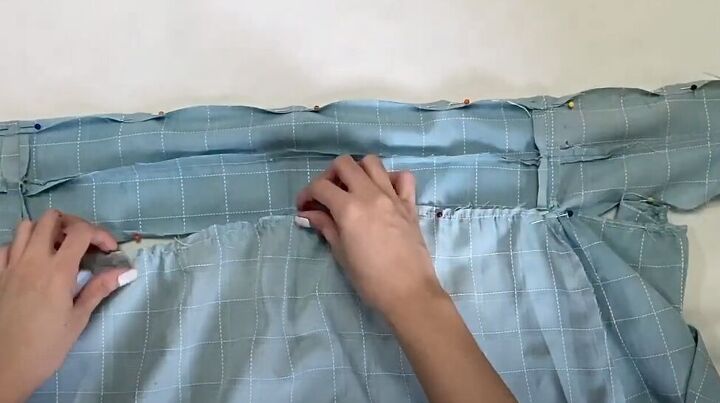
Fold the waistband in half over the skirt waist and pin it in place. Don’t cover the button and buttonholes on the front of the waistband.
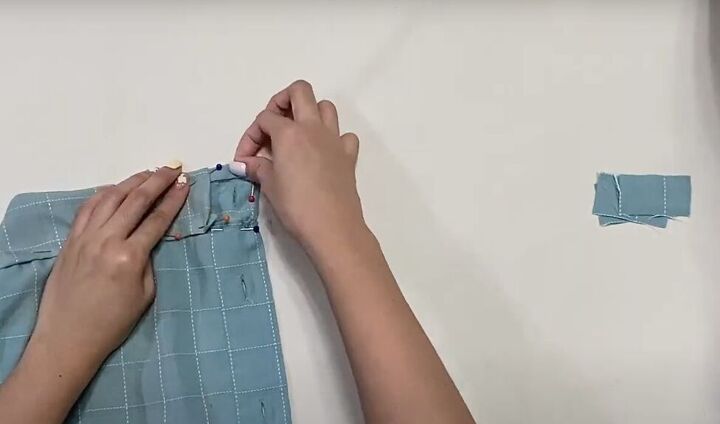
Cut four 2” x 1” rectangles from leftover fabric. Fold them over twice lengthwise and insert them at the raw waistband edges above and below the button and buttonhole.

Tuck in the raw outer edges and pin in place.
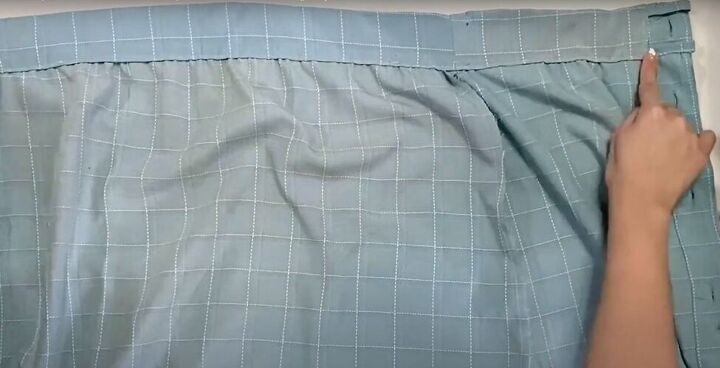
Sew the waistband and the tabs around the button and buttonholes in place.
DIY button-down skirt tutorial
It’s hard to believe that this classic button-down skirt was once a man’s shirt! Your friends might just not believe you.
Please leave a comment to let me know how your DIY button-down skirt turned out and what reactions you got!
The author may collect a small share of sales from the links on this page.


Comments
Join the conversation