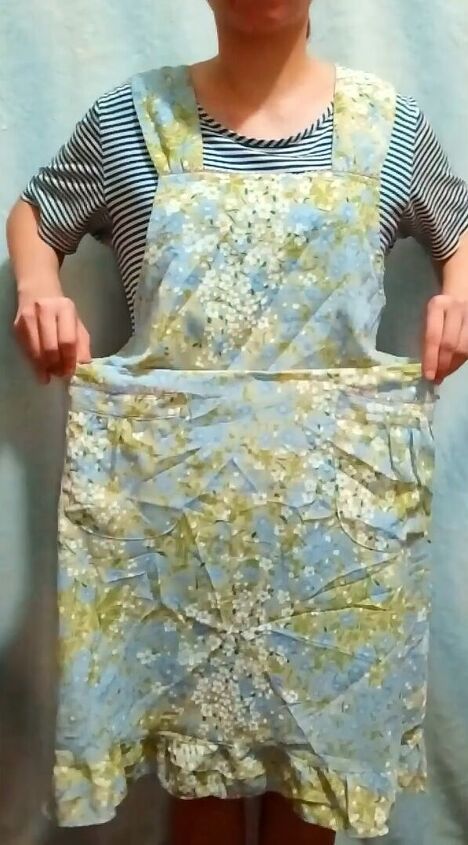
How to Make a Cute DIY Crop Top and Skirt Out of an Old Apron

In this tutorial, I'll show you how to make a DIY crop top and skirt from an old apron. This DIY matching crop top and skirt is inspired by Brandy Melville and I love how it came out.
This is to inspire everyone that we can still use and remake our old clothes by being creative and having fun. Let’s get straight to it!
Tools and materials:
- Apron (or fabric)
- Pins
- Scissors
- Sewing machine
- Matching thread
- Ruler
- Measuring tape
- Crop top as a guide
- Ribbon
- 1-inch elastic
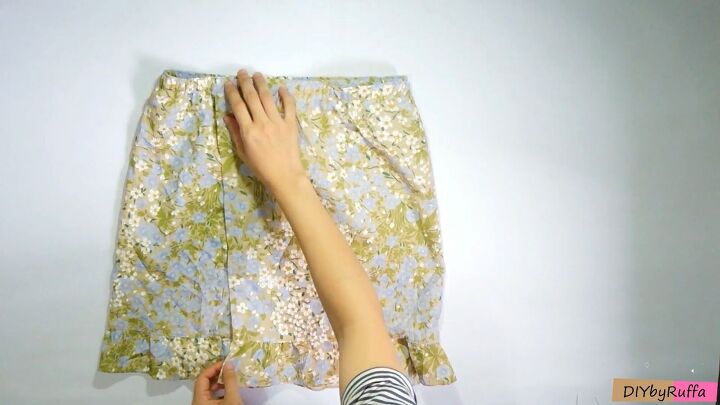
DIY skirt
1. Pin the new length
Wearing your old apron, see what length you’d like the skirt to be, fold the apron at the waist, and pin.
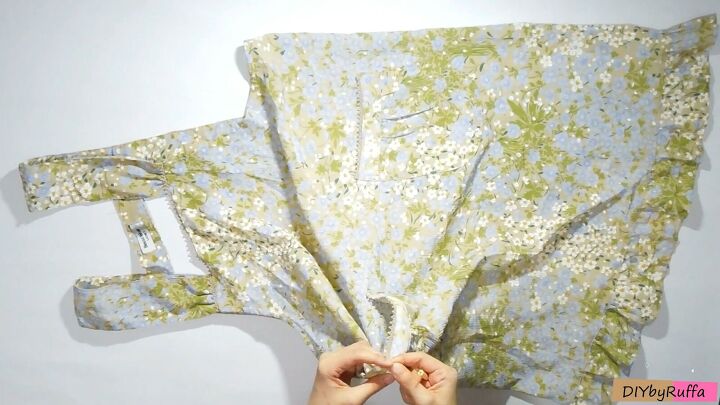
2. Seam rip the pockets
Using a seam ripper, take out the pockets.
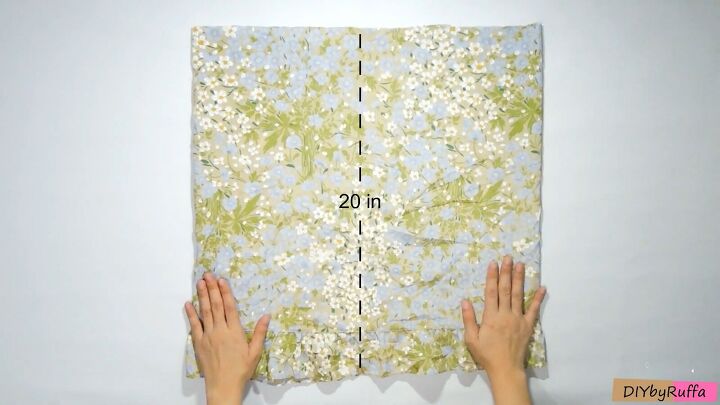
3. Cut the bottom of the apron
Cut off the bottom part of the apron. My skirt was 20 inches long.
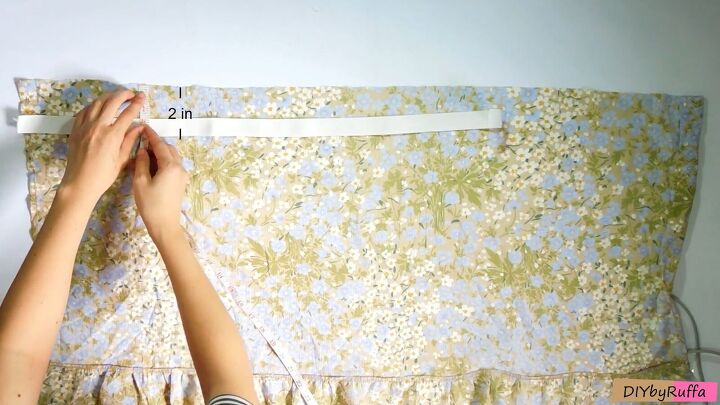
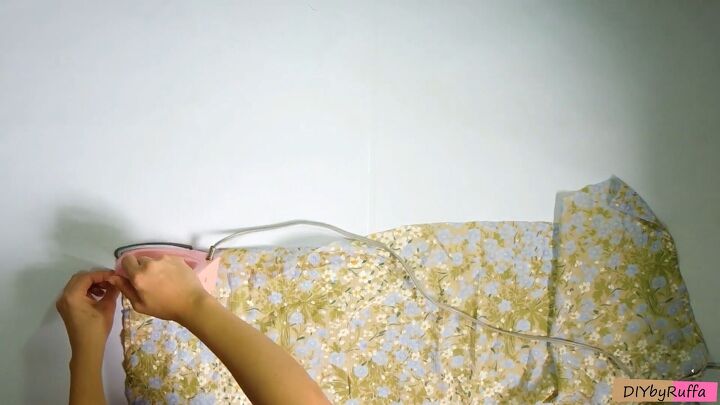
4. Add elastic to the waist
Cut a 1-inch elastic that fits the size of your waist. Measure and mark 2 inches from the top and fold over the fabric to create a tunnel for the elastic. Mine was 29 inches.
Press the fold for a clean finish.
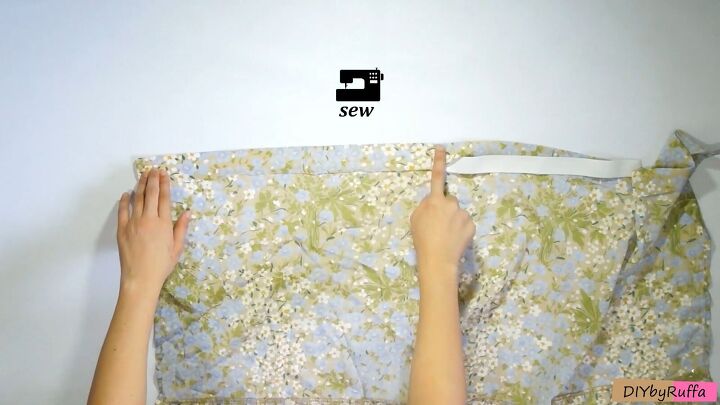
Place the elastic in the fold and sew the top edge of the fabric and the elastic. Stretch the elastic as you sew to create a gathering effect.
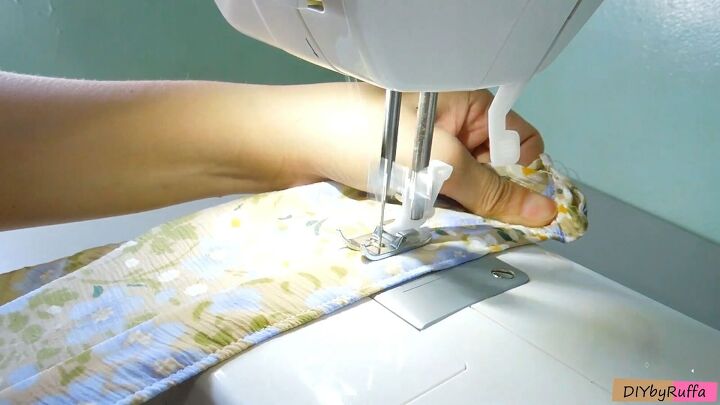
Fold the bottom edge of the fabric under the elastic. Sew along the bottom edge, stretching the elastic for the same ruched effect.
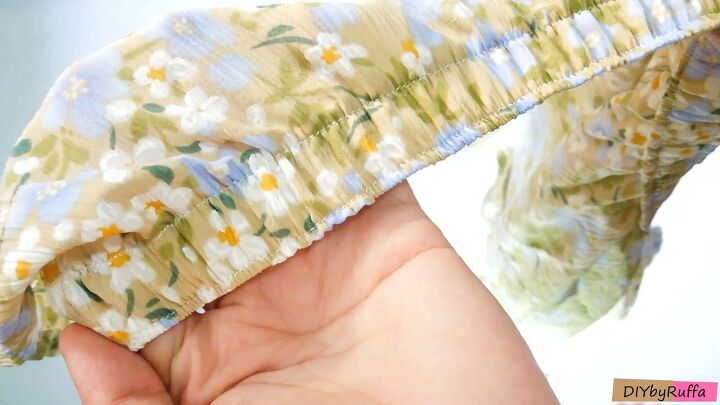
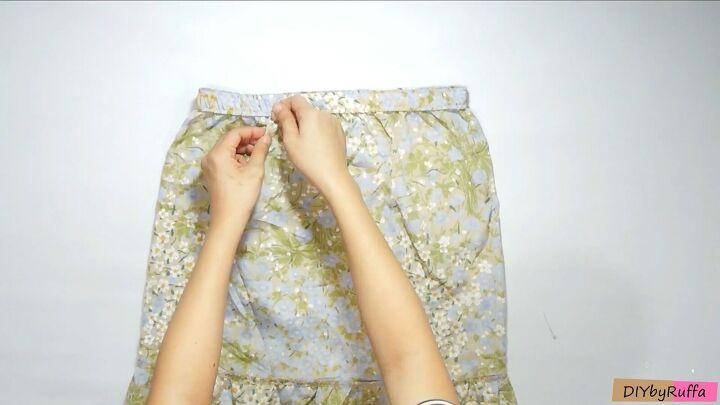
This is how the waistband should turn out.
5. Pin and sew the side seam
Fold one side of the skirt over by a few inches, and then fold the other side to meet the other folded end.
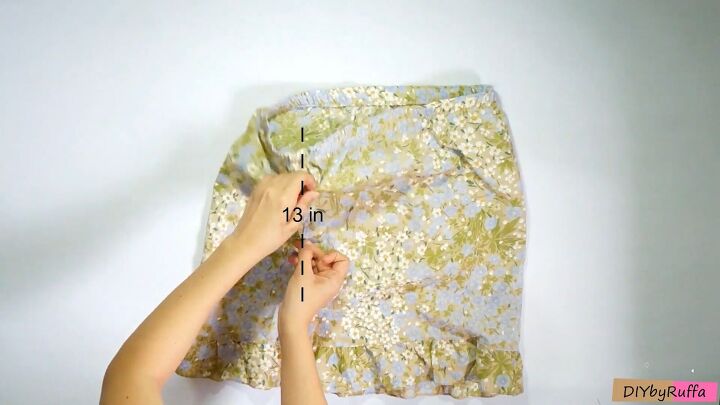
Pin both edges together around 13 inches downward. You should have a cute slit at the bottom. Sew the edges together.
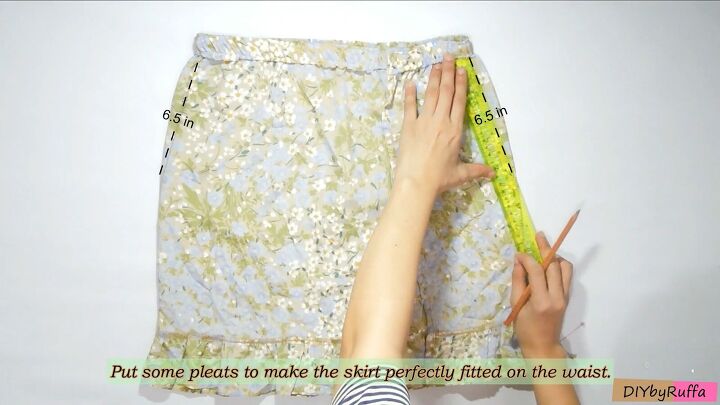
6. Sew pleats
Create pleats on either side of the skirt. Make sure to fit the skirt before (with the pleats pinned down). Mine measured 6.5 inches.
Add another two pleats at the front and back, each around 4 inches from the sides.
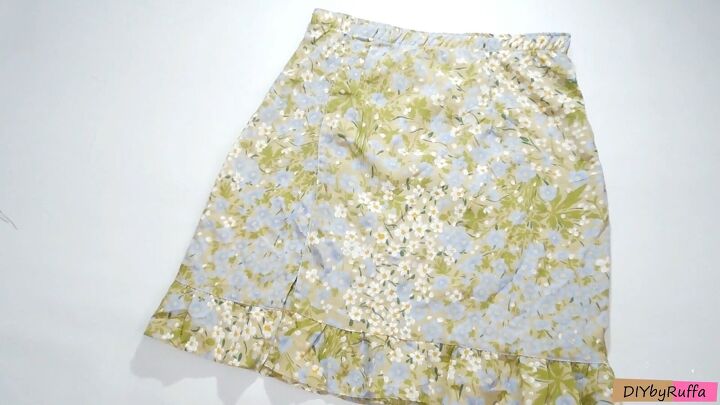
We're done with the skirt! Let’s move on to the crop top!
DIY crop top
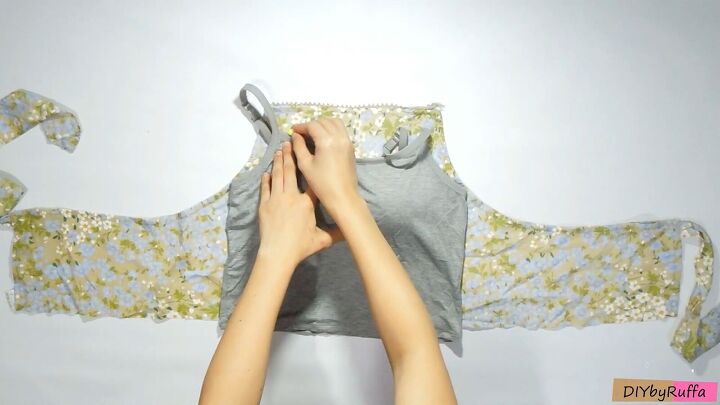
1. Make the pattern
Remove the upper straps from the apron. Take one of your crop tops, and use it as a guide to get measurements.
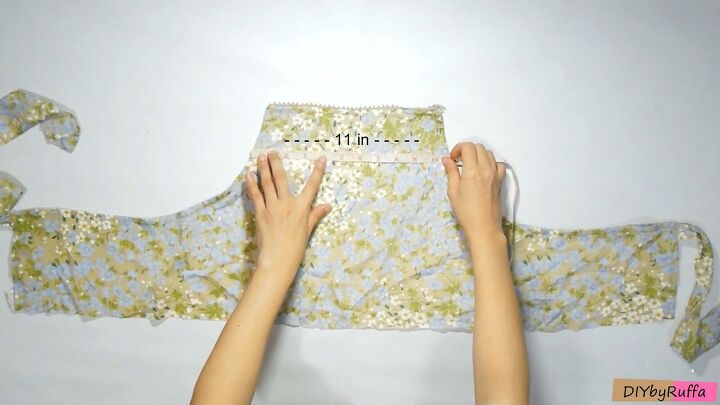
Draw 11 inches (or more depending on your personal measurements) and remove the excess fabric on top.
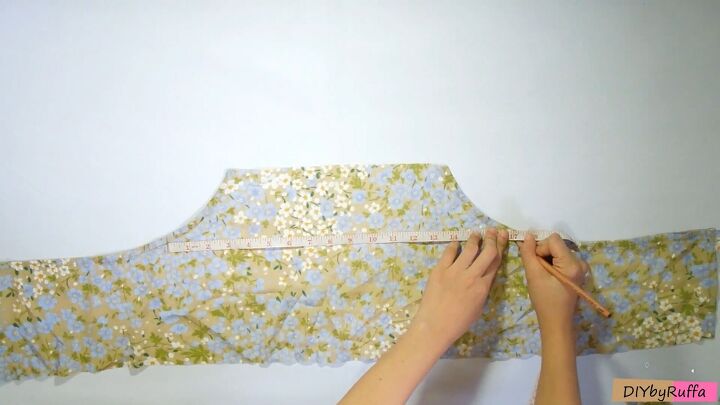
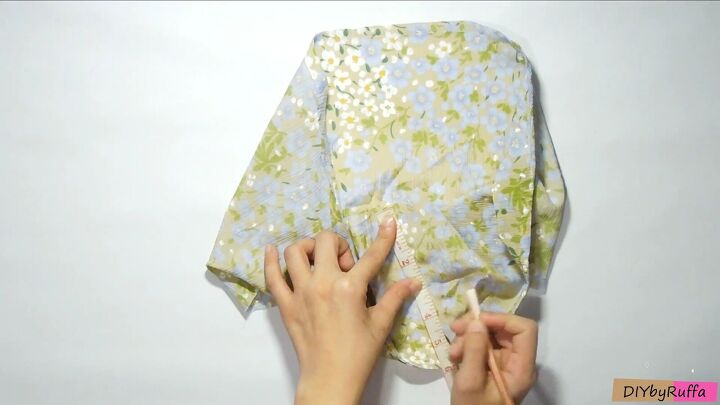
Measure the bust part (mine was 17 inches) and mark either side.
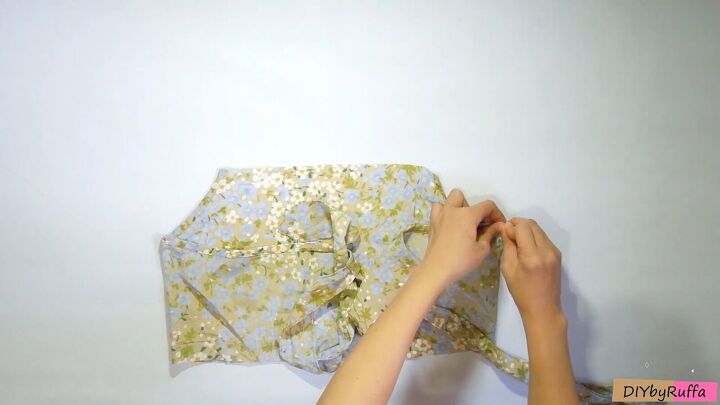
Fold over the short ends and pin where the bust marks are drawn.
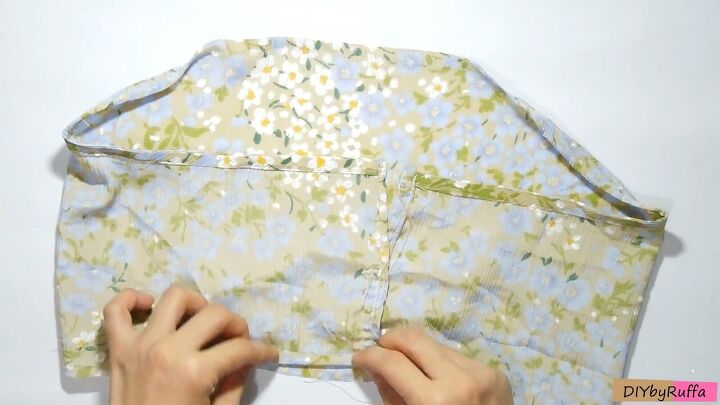
Now, fold the crop top in half and mark the center on both sides of the fabric.
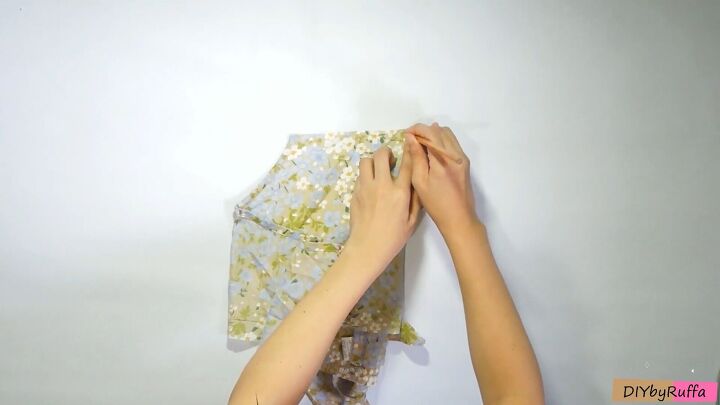
Take a ruler and place it on the top center line you just marked. Then, mark the short end of one side at the bottom.
Then, repeat on the other short end.
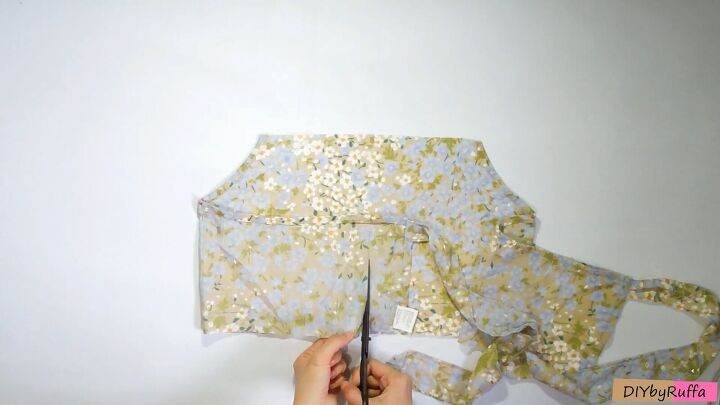
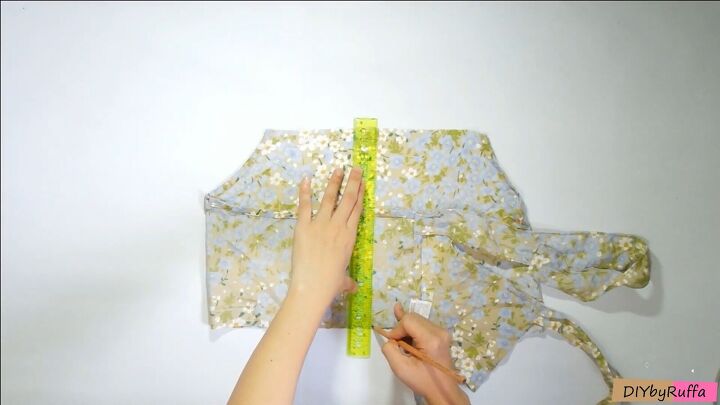
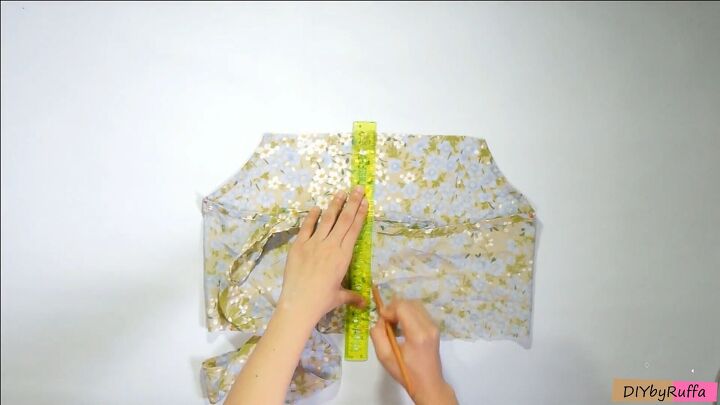
Use the markings to cut along the lines. This is excess fabric.
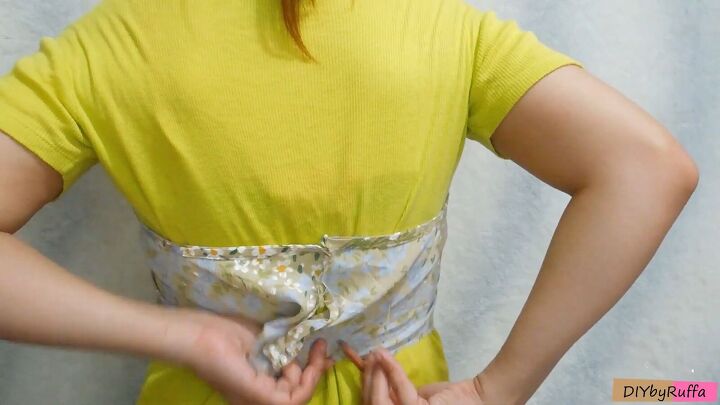
2. Check the fit
Wear the top and see if it fits. Mine was still pretty big, so I pinned the short ends at the back.
Adjust the neckline where needed.

Pinch the bottom parts right under your bust area to create pleats. Pin to secure.
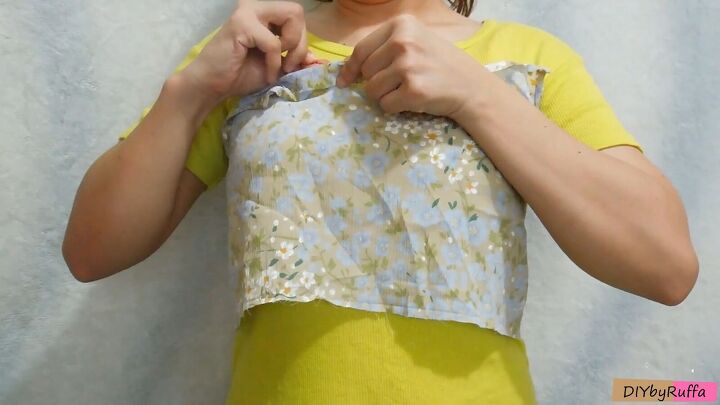
3. Hem and sew the crop top
Press the top neckline fold and cut the curved edges fabric for a cleaner finish. Hem the edges of the whole crop top as well as the edges of the short ends (excluding the bottom edge)
Fold the edges of the short ends, pin around 3 inches down and sew.
Sew the seam down to one side.
Double fold the bottom of the crop top, pin, and sew all around.
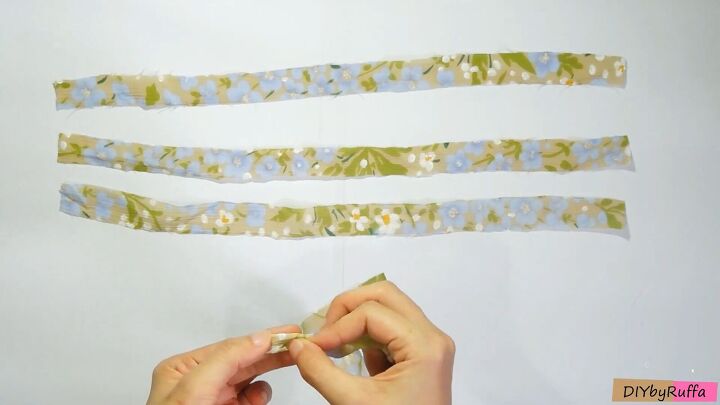
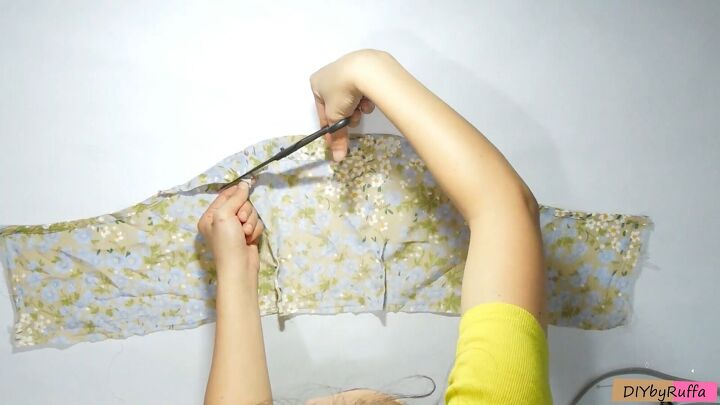
4. Make the straps
Cut four 15-inch strips from the remaining fabric. Fold the edges inward, and fold the whole strip in half. Sew to secure.
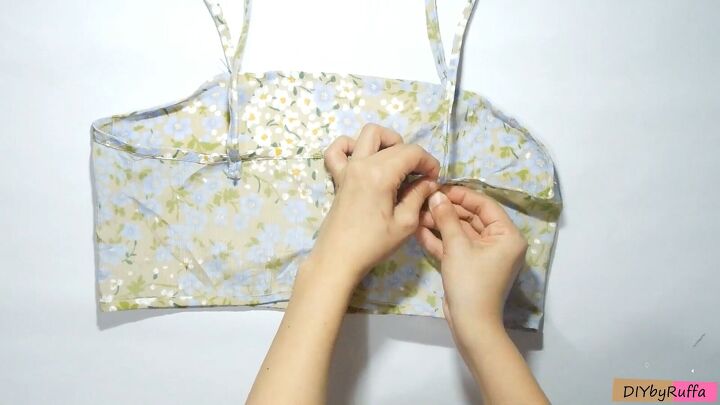
5. Attach the straps
Next, place the straps on both the front and back side of the crop top, making sure they are evenly spaced out on both sides, and each adjacent side’s placement is aligned. Sew each end to secure it.
6. Make the lace-up back
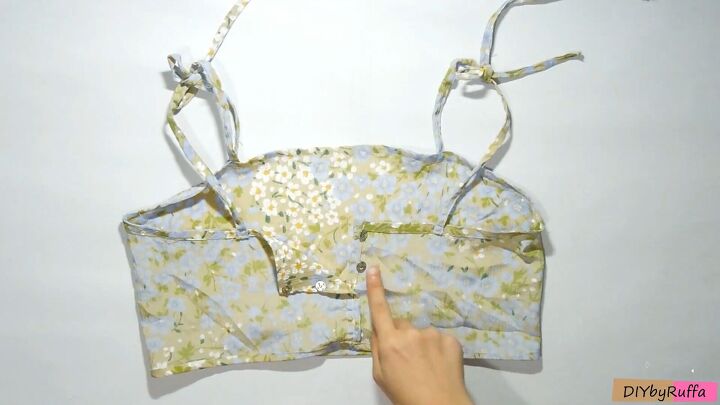
Place two buttons on the back slit. Also, make two buttonholes on the other side.
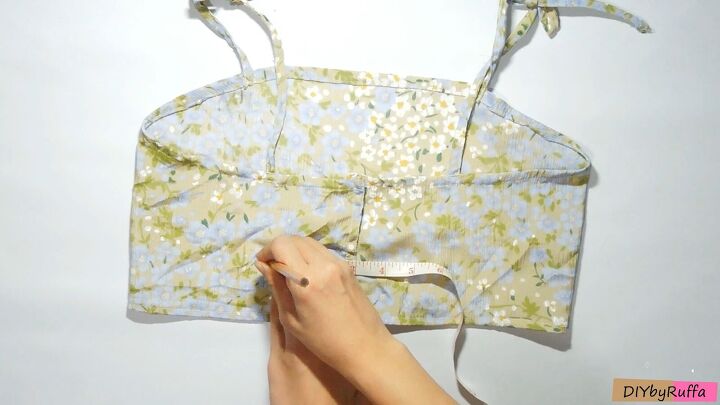
Measure 3 inches from the center back, and make 3 markings, each spaced out by 1 inch. Repeat on the other side.
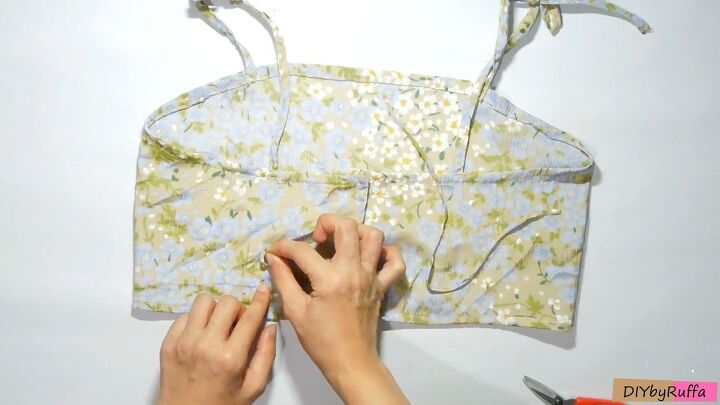
Take a thin strip of fabric and cut it into pieces. These will be looped and placed on each mark on either side of the crop top’s back.
Hand-stitch each loop and sew it onto each respective mark.
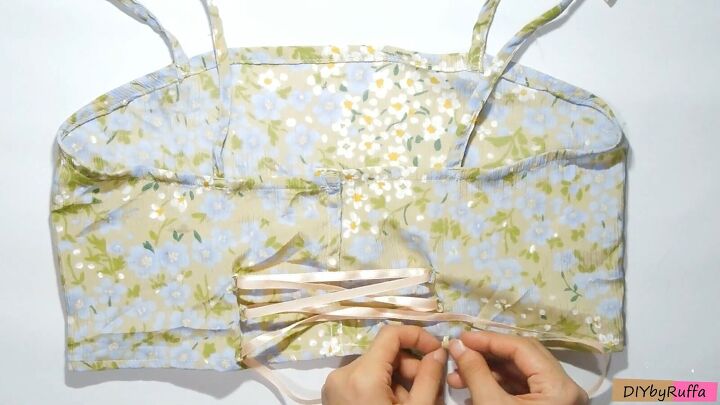
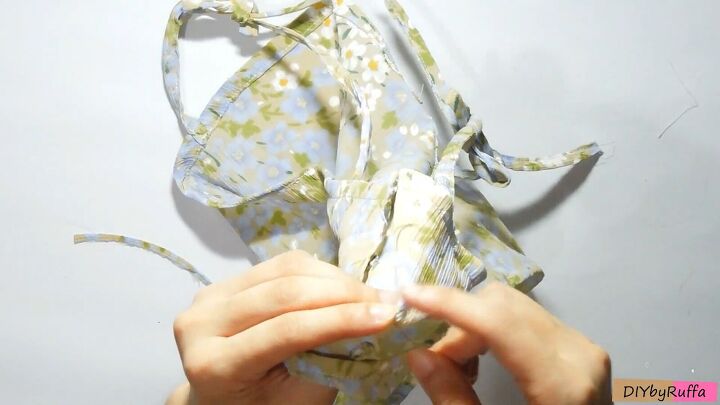
Feed a 53-inch ribbon through each loop in a criss-cross effect.
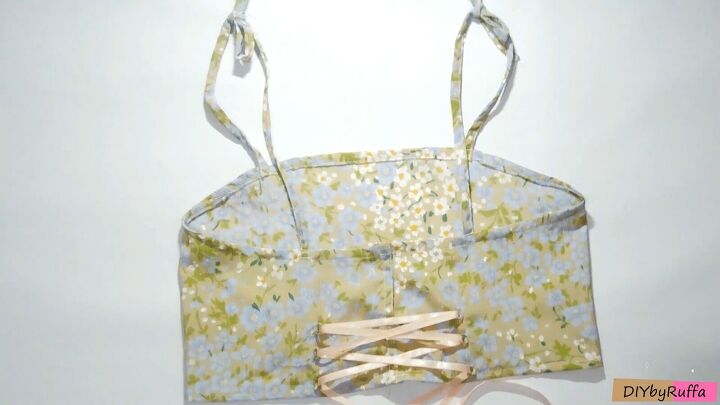
Your crop top is done!


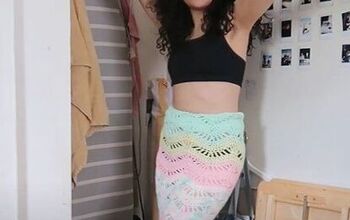
DIY crop top and skirt tutorial
I hope you found this tutorial on how to make a crop top and skirt useful! What do you think of this gorgeous DIY crop top and skirt? I love that this ensemble was actually made out of an apron.
I hope you found this tutorial on how to make a crop top and skirt useful! Let me know your thoughts in the comments below.
The author may collect a small share of sales from the links on this page.


Comments
Join the conversation
Very beautiful looks very good on you
🙂